Bootable USB flash drives have become one of the most practical solutions for all people who are involved in the IT support world in one way or another, since they allow us to simplify installation, reinstallation or troubleshooting tasks in any operating system avoiding the use of DVDs. So being able to make a USB bootable Mac from Windows allows us to have our macOS system easily..
With the imminent arrival of the new macOS operating system, we must be prepared for the updates and other configurations that will undoubtedly request us. We can download its beta version, in order to be able to test and assess all its news. Perhaps we are interested in knowing how to install the Mac operating system in a virtual machine and thus be able to test it on any computer. This time we are going to analyze how we can create a bootable USB Mac OS in Windows 10 with the macOS operating system from computers with Windows 7, 8 and 10.
This is something quite useful since it allows us to manage ISO images in the usb memory, from any platform (Windows, Linux, MAC, Etc) and from there to repair or install a new operating system. In this way, in the event that we have a problem with our operating system, we will be prepared to solve it in a simple way, and without this inconvenience turning into real chaos..
The compatibility problems between Windows and Mac OS are not a secret for anyone, but we will understand with the use of a simple tool how we can create a bootable USB from a Windows computer. In this case we are going to use Windows 7 to see the effectiveness of the tool.
In the case of macOS, we know very well that ISO images can weigh up to 9 GB (Catalina 10.15), which becomes a complex task since a normal DVD (4.7 GB) does not support that image, we should use a Double layer DVD, but we must validate the compatibility of the equipment and more, making this task much more delicate to carry out. For this reason , bootable USBs have become a great ally of many users due to their functionality. Today the process that we will see will be to create bootable USB Mac from Windows..
Uses of USB Boot Mac
TechnoWikis will explain in detail how to create a bootable USB macOS Catalina in Windows 10 to have it available in situations such as:
- Does not boot the system on macOS computer
Next, we leave you the whole process to know how to create USB Bootable Mac OS in Windows 10
To stay up to date, remember to subscribe to our YouTube channel! SUBSCRIBE
1. Download Mac ISO image
In the case of macOS we know that the behavior is different with respect to systems such as Windows or Linux since we do not have an ISO image, in macOS we download the system image in .app format from the App Store which is known as Package Bundles or set of packages where internally are the files that allow the image to be used to install the system, this .app file cannot be used to create the USB media, but we can do some actions on it to convert it to ISO.
As a first option, if you prefer the simplest method, it is to search the Internet for the ISO image of the desired operating system, as we mentioned, macOS Catalina weighs around 8.5 GB and can be directly available in ISO format. Now, if you prefer to use directly with the downloaded .app image, we will explain how to do it, first of all, you must download the image at the following official link in the App Store:
ISO Mac
Step 1
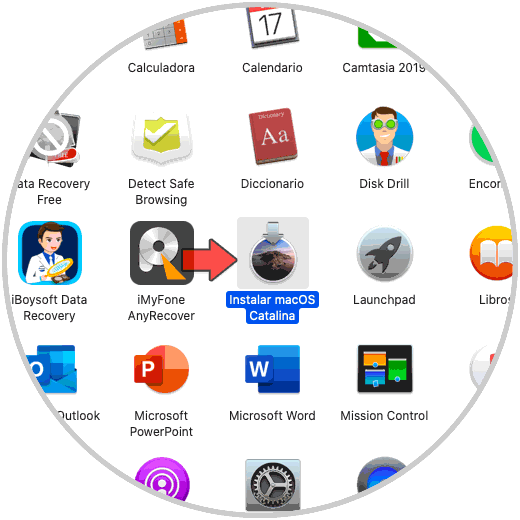
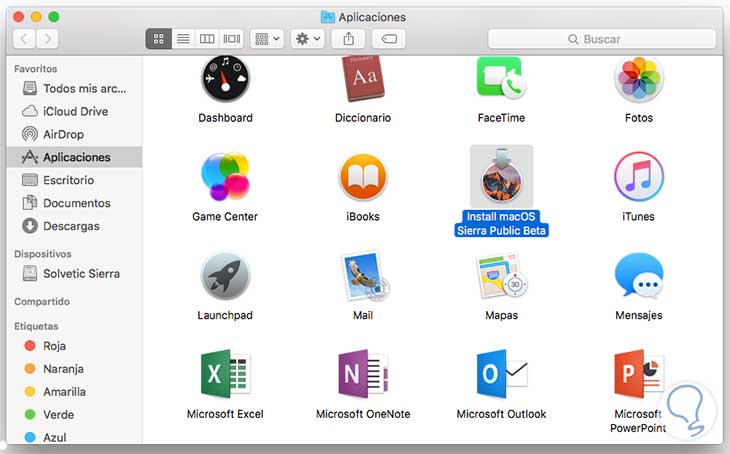
This file will be present in Applications with the name "Install macOS 10.15":
Step 2
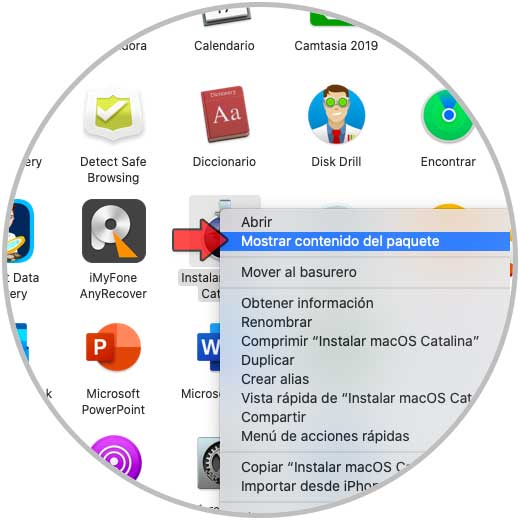
There we simply access the content of this file by right-clicking on it and selecting the "Show package content" option:
Step 3
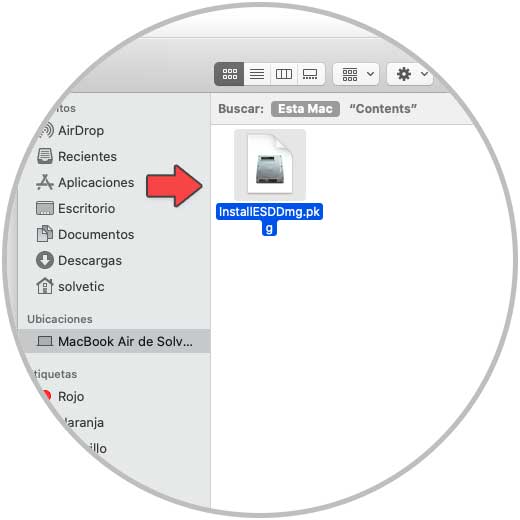
Then we look for the InstallESD.dmg file. We can copy this file to the desktop and then burn it to a DVD drive (double-sided) and it will convert from there to ISO.
Step 4
Alternatively we can convert it directly to ISO from the terminal by executing the following lines:
hdiutil create -o /tmp/catalina.cdr -size 8g -layout SPUD -fs HFS + J hdiutil attach /tmp/catalina.cdr.dmg -noverify -mountpoint / Volumes / install_catalina sudo / Applications / Install \ macOS \ Catalina.app/Contents/Resources/createinstallmedia --volume / Volumes / install_catalina mv /tmp/catalina.cdr.dmg ~ / Desktop / InstallSystem.dmg hdiutil detach / Volumes / Install \ macOS \ catalina hdiutil convert ~ / Desktop / InstallSystem.dmg -format UDTO -o ~ / Desktop / catalina.iso mv ~ / Desktop / catalina.iso.cdr ~ / Desktop / catalina.iso rm ~ / Desktop / InstallSystem.dmg sudo spctl --master-disable
This will create the macOS ISO file.
2. How to create USB Bootable Mac OS in Windows 10
Step 1
Once we have the macOS ISO image, we are going to use the ImageUSB utility which is available for free at the following link:
ImageUSB
Step 2
This is an application that has been designed to allow us to write an image to one or more USB flash drives, you can create exact copies taking the bit level criteria of the USB drive (UFD) thus allowing the full integrity of the ISO.
With ImageUSB it will be possible to create massive duplications of UFD, in addition to this, it supports writing an ISO file byte by byte to a USB drive, with this utility we can conserve unused space during the cloning process, this also integrates the Master Boot Record (MBR). There is the possibility of deleting all the contents of the unit before creation or just deleting the existing MBR or GPT entries.
Set up USB drive
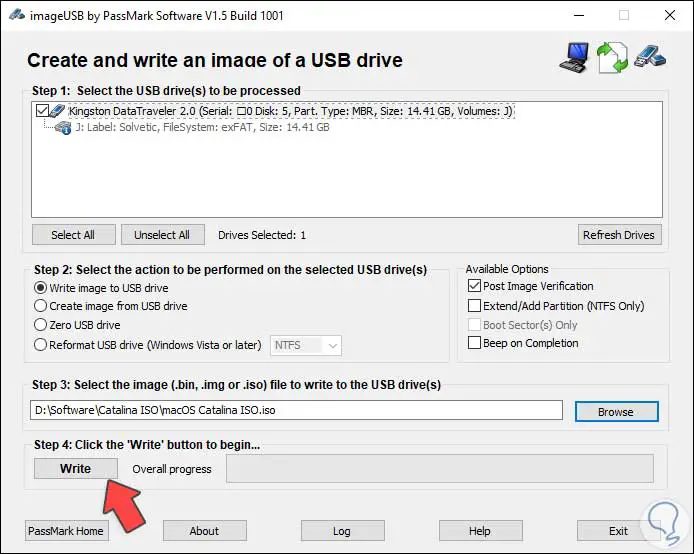
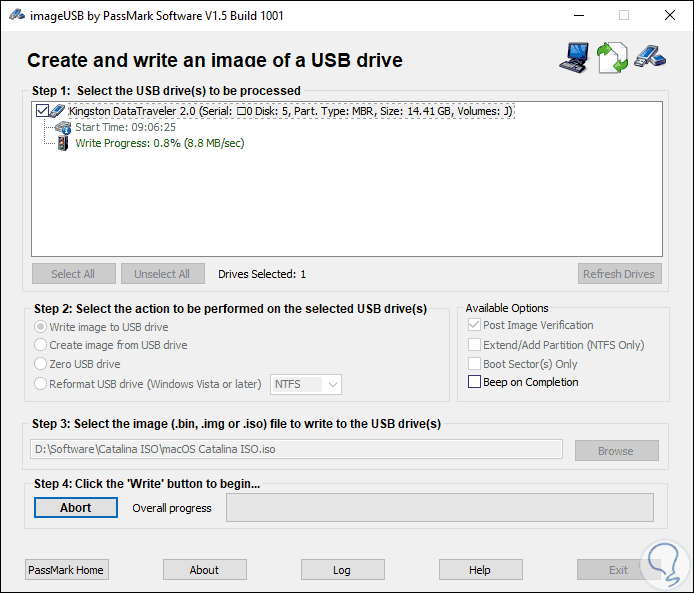
To create our bootable or bootable macOS drive in Windows 10, we access the ImageUSB utility and there we configure the following:
- In the field "Select the USB driver to be processed" we will select the USB to use which must be at least 16 GB (based on the operating system to use)
- In the field "Select the action to be performed on the selected USB drive" we activate the box "Write image to USB drive" since we are going to copy the ISO image so that it can boot from there
- In the "Select the image" field we click on the "Browse" button and we will go to the path where the ISO image is downloaded and select it
There are a number of additional options such as:
- Verify image after created
- Create an alarm after the process completes
Step 3
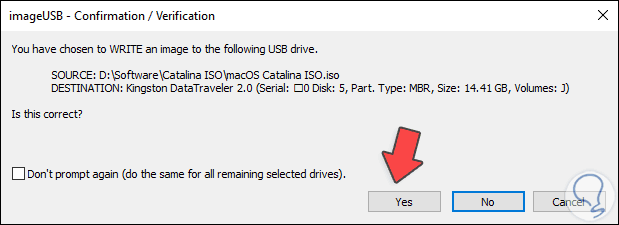
Once we define these values ​​we click on the “Write†button and the following warning will be launched:
Step 4
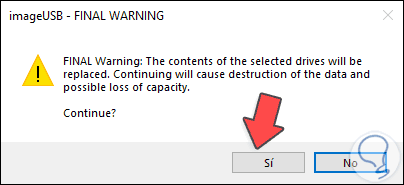
We confirm the action by clicking on the “Yes†button and it will start the process of creating the USB medium with the image of macOS Catalina, but before we received the following message indicating that the data on the USB will be deleted:
Step 5
We confirm by clicking Yes and the process will begin:
Step 6
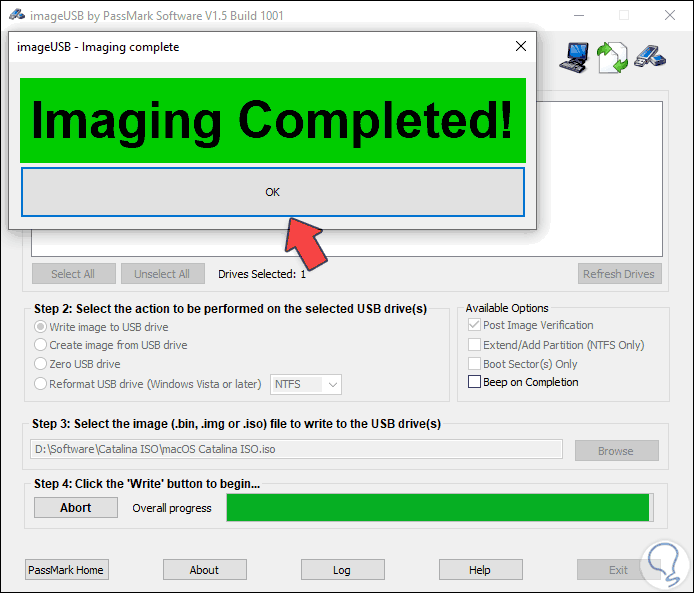
When this process ends we will see the following. We click OK and we can exit the utility.
3. Open USB Bootable Mac
Step 1
Once the USB is complete we remove it from Windows 10 and connect it to the Mac computer. There we turn on the computer with the Alt key and we can see that the local disk or the macOS installer that is created is displayed within the options previously:
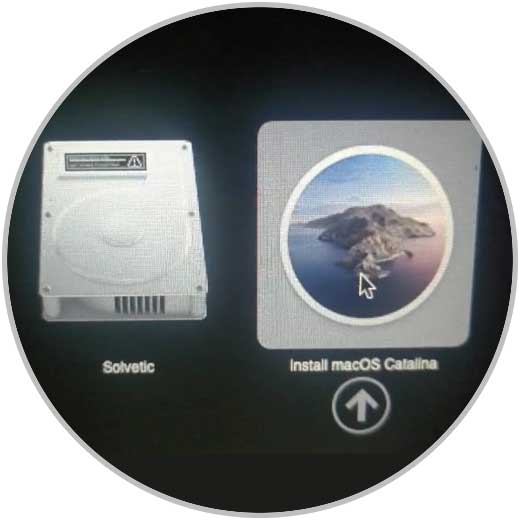
Step 2
We select the installer and in the next window we select Install or Reinstall macOS as the case may be:

4. How to create USB Bootable Mac OS in Windows 10 with TransMac
The tool that we will use is called TransMac and in its full version it is paid (it costs 48 USD for a license), but we have the possibility of trying it for 15 days which gives us enough time to carry out the process. The tool can be downloaded from the following link:
DOWNLOAD TRANSMAC
Main features of TransMac
- Create, convert, expand dmg images (We can convert dmg to ISO)
- We can format drives and disks for use on Mac
- With TransMac we can copy dmg image files and Mac disks
- It allows us to open disks in dmg format on Windows computers
Requirements
The requirements that we must have at hand to correctly create our bootable USB with macOS are the ones that we are going to show below.
- Have the trial version of TransMac downloaded
- Minimum 8 Gb USB flash drive (macOS weighs 4.1 GB)
- Computer with Windows 7, Windows 8 or Windows 10
Step 1
Once our ISO image is downloaded as we have seen before, we can locate the image in the Go / Applications path:
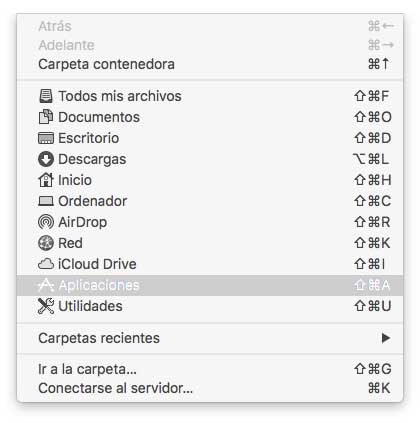
Step 2
There we will see our downloaded macOS dmg image and we can proceed to copy it to the Windows computer for the respective configuration.
Step 3
Once we have downloaded the TransMac tool we proceed to install it normally:

Step 4
To run TransMac correctly, the ideal is to run it as administrator (Right click, Run as administrator), the following window will be displayed:

Step 5
As we are using the trial version, press the Run button and the following window will open:
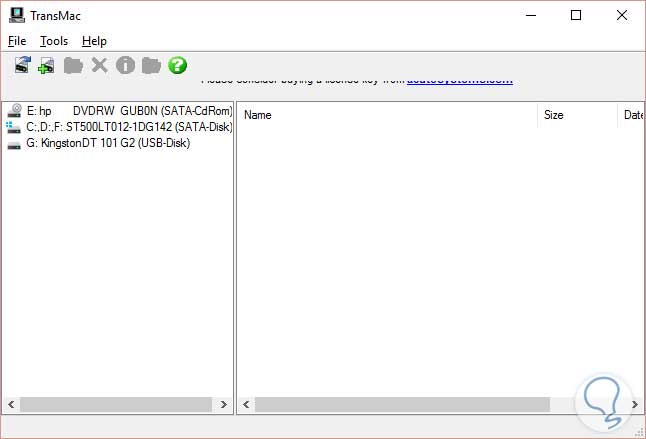
Step 6
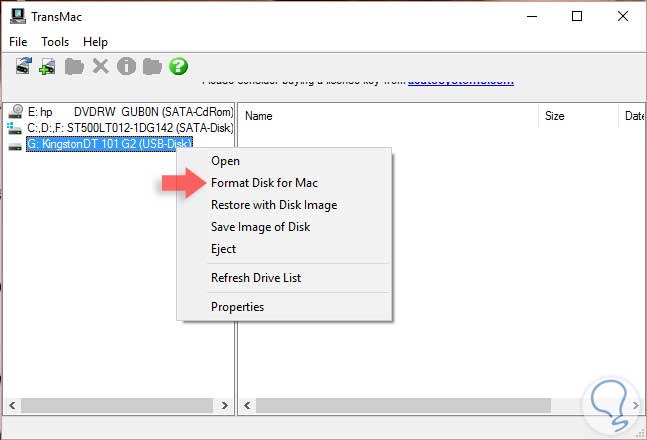
As we see there we have our USB memory (Drive G), right click on it and select the Format Disk for Mac option:
Step 7
Once this option is selected, the following messages will be displayed:

Step 8
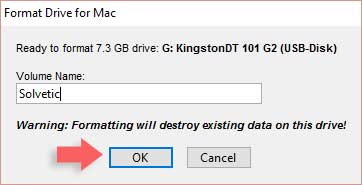
This message is due to the fact that, as we are in Windows, the partition system is MBR, with this warning the partition system will become GPT. Press Yes and the following message will be displayed where we must assign a name to the USB memory:
Step 9
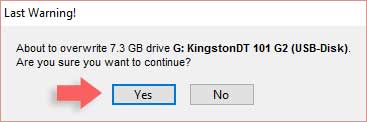
Press OK to start the process of formatting the USB memory, but before the following message is displayed, which we will accept.
Step 10
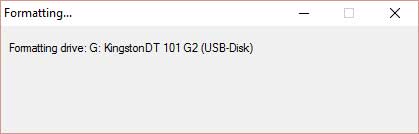
We see that the process begins:
Step 11
Finally, the formatting of the USB memory ends correctly.
The next step is to add the image that we already have on our computer to the USB memory to complete the boot process.
Step 12
To do this, right-click on the drive again and select the Restore with Disk Image option.
We see that the following window opens:

Step 13
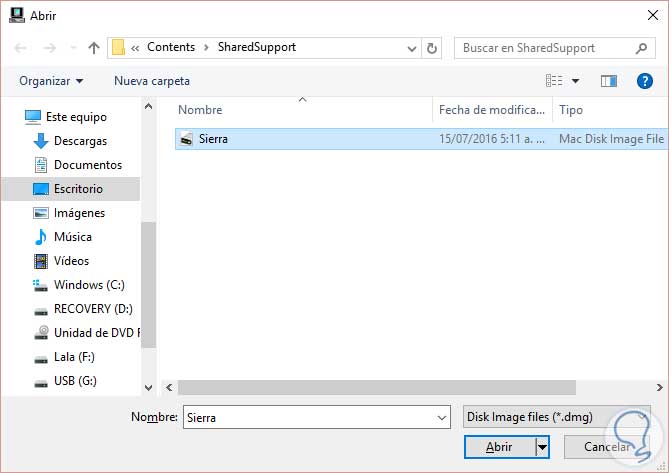
In this message we press Yes and the following window is displayed from where we must select the macOS dmg image by pressing the right button.

Step 14
We locate the image on the computer:
Step 15
Press Open and we will see that the image loads correctly. Once the image is selected, the following message is displayed:
Step 16
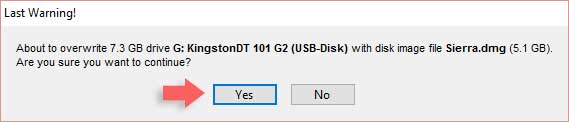
This message warns that we are about to overwrite the memory information with the .dmg image, press Yes and the image restoration process begins.
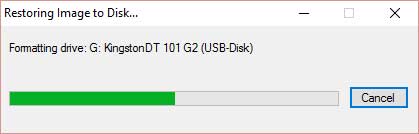
Step 17
This process takes between 25 and 40 minutes. Finally we see that the process has been satisfactory. Once the memory has been configured we can start the computer to boot from it and thus perform the installation of macOS without problems. We leave an official Apple page with the key combinations to start the Mac OS system.
We have seen how this simple but very useful tool called TransMac can help us create a USB boot Mac from the latest Apple operating system, macOS, using a Windows environment which is very helpful and satisfying for everyone.
From this point we follow the steps of the wizard to install macOS and all thanks to the bootable USB drive that we have created in Windows 10. In the event that we are interested in knowing how to create a bootable USB in all operating systems (Windows, Linux or Mac) in the following tutorial you will be able to see how to do it.