Currently, as system administrators, we have practical solutions to administer in a much simpler way the entire process of support and administration of operating systems, where one of the most common cases is the installation or reinstallation of an operating system for multiple reasons such as:
- Viruses and more reasons.
Previously it was necessary to load with one or more discs where the operating system was recorded but currently we have a much simpler solution and it is to record that same ISO image of the system on a portable medium such as USB sticks, this simplifies the transport process and the How we can update a computer without much effort now, there are several tools that allow us to carry out this task in a simple way but the Windows 10 operating system itself gives us the opportunity to perform this process with its Windows PowerShell console and that is where TechnoWikis wants to explain the process to burn our ISO image and create the bootable media using the Windows PowerShell console..
For this we require the following:
Requirements
- ISO image of the operating system to use
- USB stick with at least 8 GB of free space
To keep up, remember to subscribe to our YouTube channel! SUBSCRIBE
Create a bootable media with commands in Windows 10
Step 1
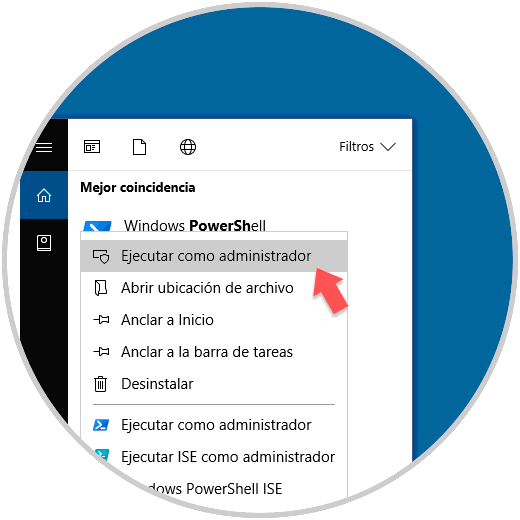
To perform this process we must access Windows PowerShell as administrators by right clicking on the utility and selecting the option "Run as administrator".
Step 2
We proceed to connect the USB memory to the device and proceed to execute the following lines in PowerShell emphasizing that this command will permanently delete all the data in the selected USB drive, therefore it is ideal to create a backup of the data.
The lines to use are:
$ Results = Get-Disk | Where-Object BusType -eq USB | Out-GridView -Title 'Select USB Drive to Format' -OutputMode Single | Clear-Disk -RemoveData -RemoveOEM -Confirm: $ false -PassThru | New-Partition -UseMaximumSize -IsActive -AssignDriveLetter | Format-Volume -FileSystem FAT32
Step 3
With this command we have:
- The first line obtains a list of all the disks connected to the equipment.
- In the second line it filters them to USB drives only.
- The third line sends those results are sent to Out-GridView for the user to select the USB drive to format in case there is more than one USB drive connected to the system.
- The fourth line erases all data and partitions of the selected disk.
- The fifth line creates a new partition using all available space on the USB drive and assigns it a drive letter.
- The last line formats the USB drive, in this case we can use NTFS or FAT32, but keeping in mind that some computers are not compatible with NTFS so we will use FAT32.
Step 4
When executing this command, a pop-up window like the following will be displayed:
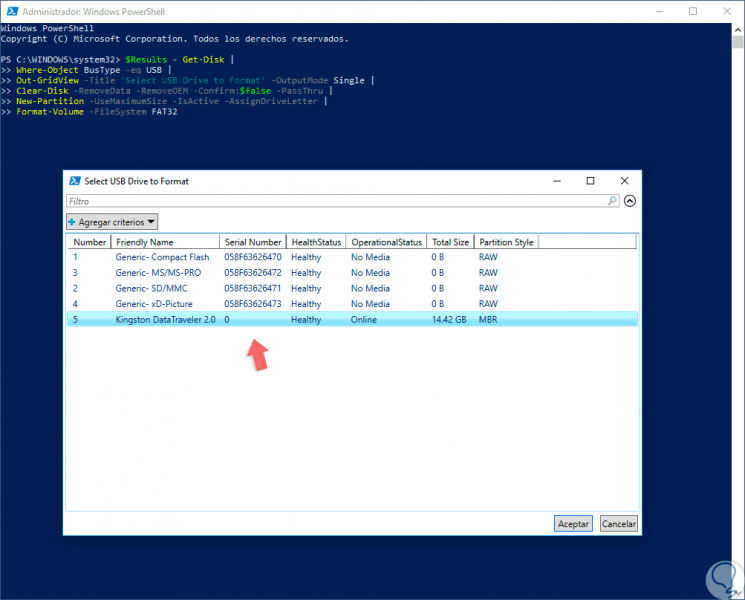
Step 5
There we select the USB drive to use and click on the OK button
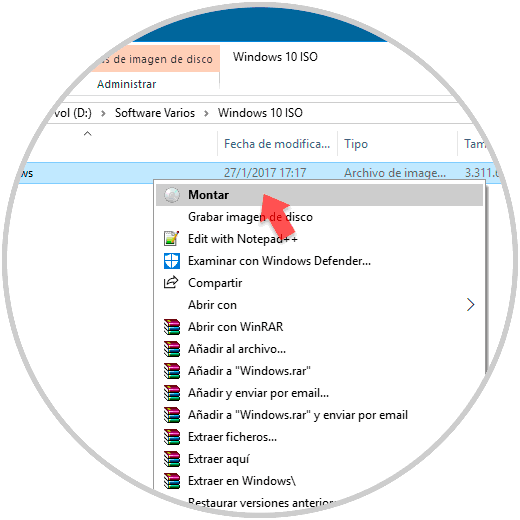
. The next step to take is to mount the ISO image in Windows 10, this is achieved by going to the path where the ISO image is, right clicking on it and selecting the option “Mountâ€:
Step 6
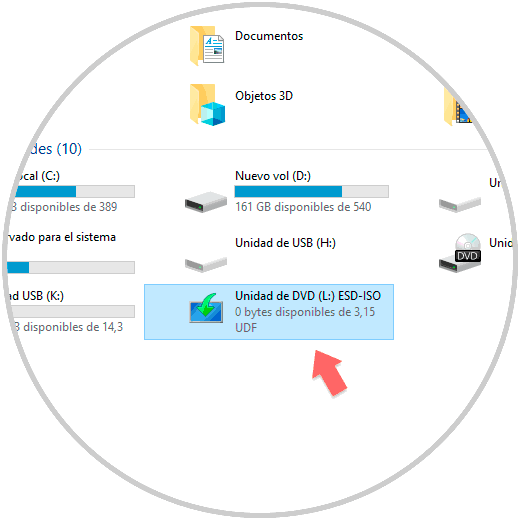
By selecting this option, we will see that the system automatically mounts it and assigns it a letter, in this case the letter L:
Step 7
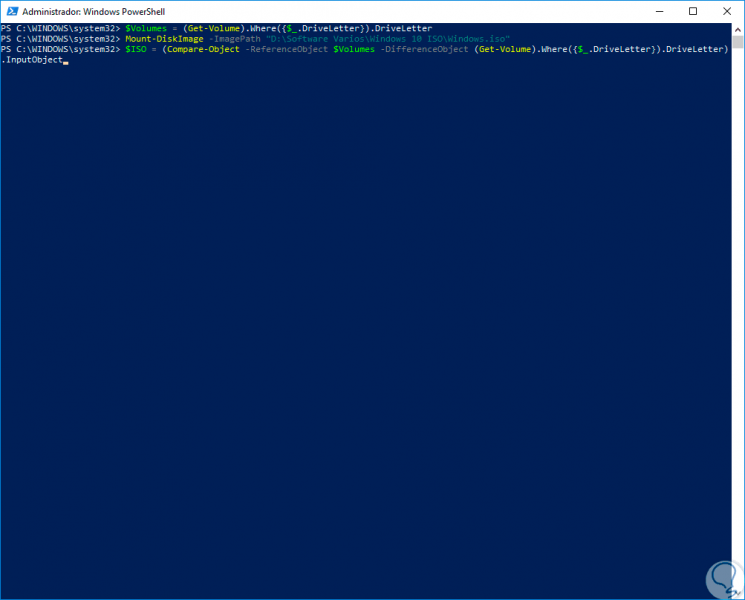
In case you don't want to use this method, we can execute the following syntax directly in Windows PowerShell:
$ Volumes = (Get-Volume) .Where ({$ _. DriveLetter}). DriveLetter Mount-DiskImage -ImagePath "Image.iso" $ ISO = (Compare-Object -ReferenceObject $ Volumes -DifferenceObject (Get-Volume) .Where ({$ _. DriveLetter}). DriveLetter) .InputObject Step 8
In Image.ISO we must indicate the route where our ISO image is to be used.
Step 9
This will automatically mount the selected image to the system. The $ ISO variable will contain the mounted drive letter.
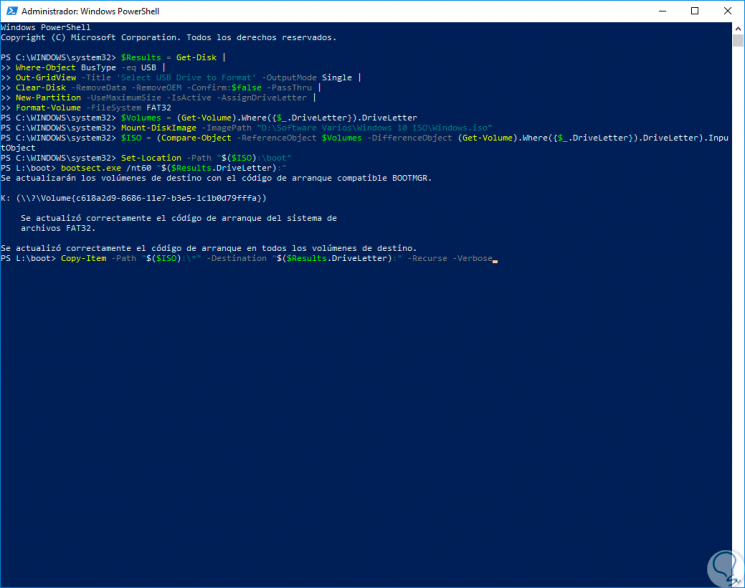
Now, we must change the directory to the home folder (BOOT) in the mounted ISO unit to make the unit bootable and copy the ISO content to the USB drive, for this we execute the following lines:
Set-Location -Path "$ ($ ISO): \ boot" bootsect.exe / nt60 "$ ($ Results.DriveLetter):" Copy-Item -Path "$ ($ ISO): \ *" -Destination "$ ($ Results.DriveLetter):" -Recurse -Verbose
Step 10
When executing this, the following will be displayed:
Step 11
We can see that the first lines update the selected volume and the boot code is created, just press Enter to start the process of creating the bootable USB media:

Step 12
Once the process is finished, it is enough to configure the equipment so that it starts up from the USB medium and we can continue with the normal installation process:
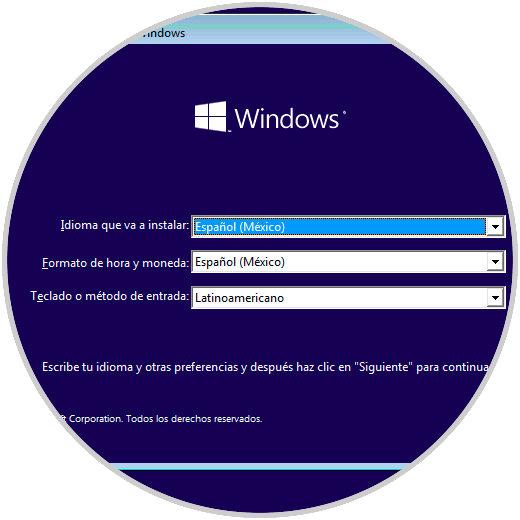
As we can see, this method is practical since it is within the operating system's own utilities and we should not resort to third-party tools.