The use of Wi-Fi networks has been booming due to the number of portable devices existing today and that is why with our Windows 10 computers we constantly connect to this type of network. The traditional method for this is from the Notification Center and there selecting the desired Wi-Fi network , after this we enter the network credentials and voila, we are ready to use the internet to its full potential but did you know that there is another method to activate or disable WiFi Windows 10 and it is through the command line command prompt..
The WiFi connection is important and vital practically in most homes or in any public or private place. It is the most stable way to connect to the Internet at a good speed and globally. Although mobile data is also a demanded resource, knowing how to activate or deactivate WiFi Windows 10 cmd gives us the possibility of controlling this connection and avoiding unauthorized uses.
If you did not know it with TechnoWikis you will learn today how to have a command to enable or disable WiFi Windows 10..
To stay up to date, remember to subscribe to our YouTube channel! SUBSCRIBE
Enable or disable WiFi Windows 10 CMD
Step 1
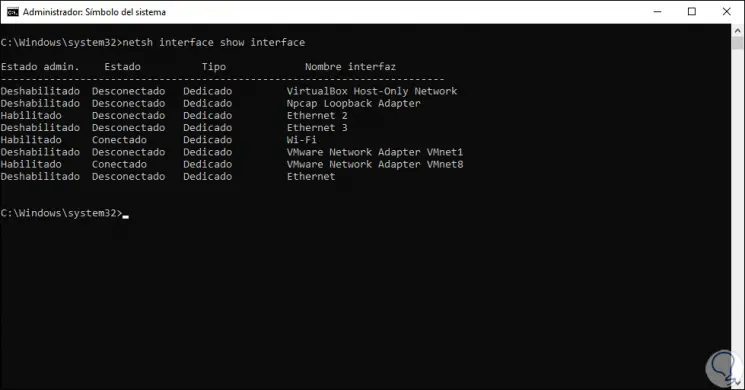
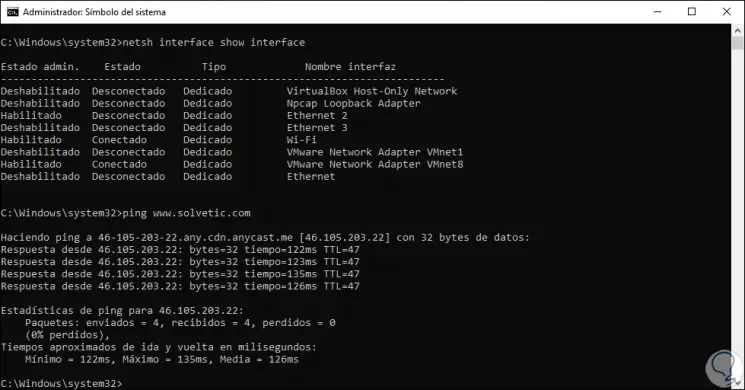
The first step will be to view the network adapters on the computer, for this we access the command prompt as administrators and execute the following:
netsh interface show interface
Step 2
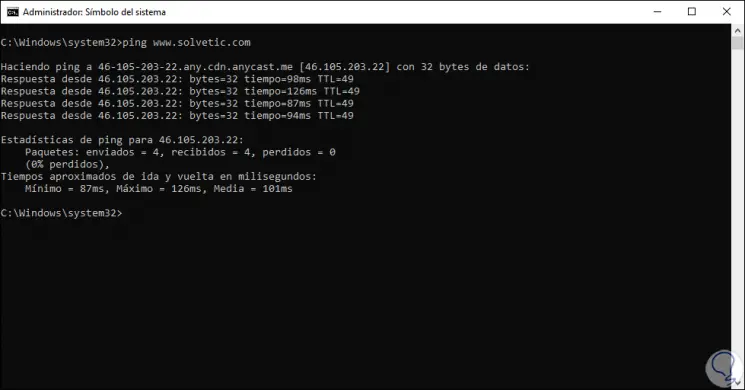
We note that the Wi-Fi network is connected (Status Column). To check Internet access and that everything is working normally, we will ping any website to check connectivity:
ping www .solvetic .com
Step 3
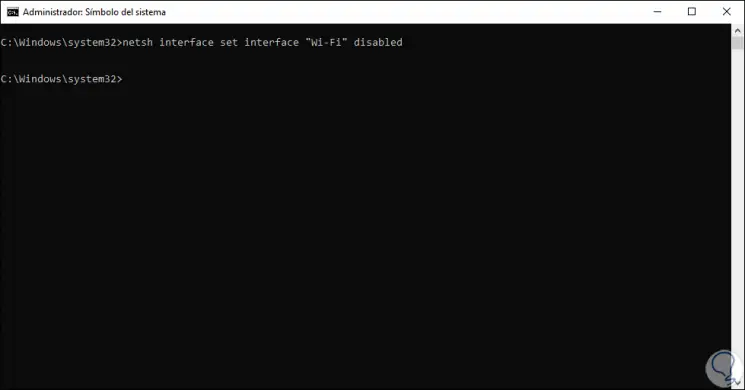
Now we disconnect the Wi-Fi network by clicking on the Wi-Fi network icon in the taskbar and selecting "Disconnect" or from the command prompt executing the following:
netsh interface set interface “Wi-Fi” disabled
Step 4
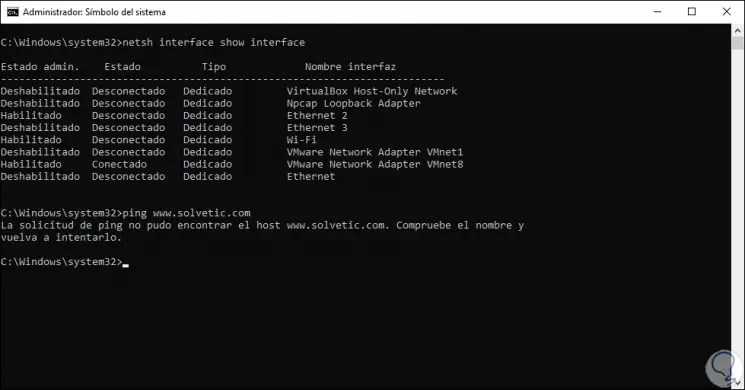
We go to the command prompt and execute the following command again and we will see that the Wi-Fi network is deactivated (Disconnected state) and we can try to ping again and this time we will not receive a response from the destination:
netsh interface show interface
Step 5
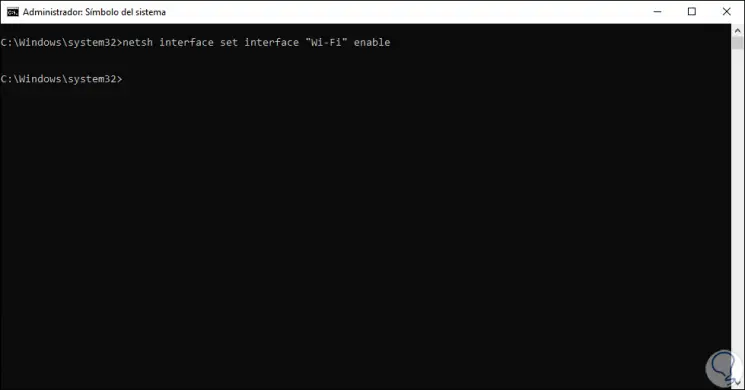
Now we go back to the Wi-Fi network in the taskbar and select "Connect" to activate the Wi-Fi network again or from the command prompt by running:
netsh interface set interface “Wi-Fi” enable
Step 6
If we go to the command prompt and execute the following we will see that the Wi-Fi network is active again and the ping responds as expected:
netsh interface show interface
This is the traditional method, to simplify this we can do with command activate or deactivate the Wi-Fi network Windows 10 from the command prompt.