Designing a mind map is something that is not easy for everyone, since it involves creating connectors, ideas, sequences, etc., that revolve around a main idea. Creating this from scratch can be very expensive in terms of time and effort, so it is interesting to have a tool to help us do this..
One of the most complete tools that we can find to create mind maps is MindMaster, since it has a number of options for free. Here we tell you how it works and all the possibilities it offers.
What is MindMaster
MindMaster has been created as a mind mapping tool that integrates numerous templates and symbols so that the action of creating the map is not chaotic but quite the contrary, an enriching experience. This utility can be used in different operating systems such as Windows, Linux or macOS.
Its free download is available at the following link:
Download MindMaster
Enter and download MindMaster for free
Advantage
The advantages of acquiring this utility are:
- It is free, although it offers a more complete paid version.
- It has 33 predefined themes for a better design.
- It offers 12 structures for mind maps such as tree map, circular map, sector map or fishbone.
- In MindMaster we will find more than 700 cliparts to add professional design to the mind map.
- It has the loud voice function.
- The brainstorming mode is integrated, this allows us to make use of group sessions much more comprehensive.
- We can track the progress of the mind map.
- It offers labels and resources to control each idea on the mind map.
- A Gantt chart is integrated.
- Each project can be exported to Office, PDF, Evernote, or graphic files.
- It allows to create an HTML link of the project in order to share it on social networks.
Buy MindMaster
If we choose to buy MindMaster we have the following options:
- 12 month subscription plan: 49 Euros
- Subscription plan for a lifetime: 99 Euros
- Perpetual License + 2 years of updates: 79 Euros
How to use MindMaster
Step 1
Once the executable is downloaded we double click on it and we will see the following:
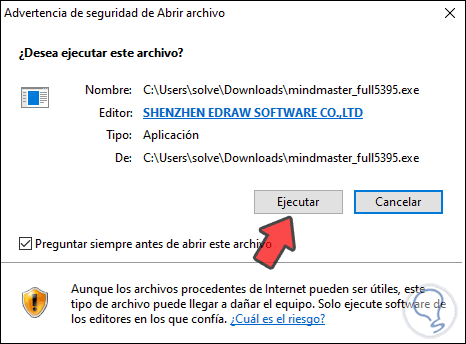
Step 2
We click Run and we must accept the license terms:
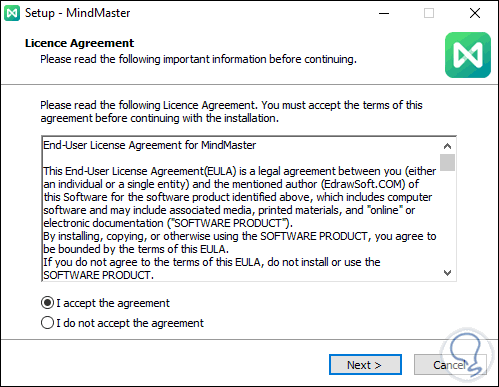
Step 3
We click Next and follow the steps of the wizard:

Step 4
Once installed we access MindMaster we will have a wide set of templates ready to be used:
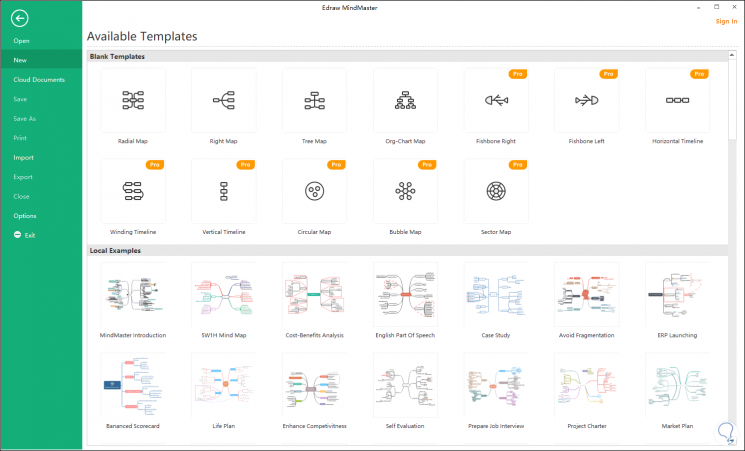
We can see that at the top we have options such as radial, bubble, horizontal maps and more, at the bottom we find pre-designed maps in different business or theme environments, as well as fish map options..
Step 5
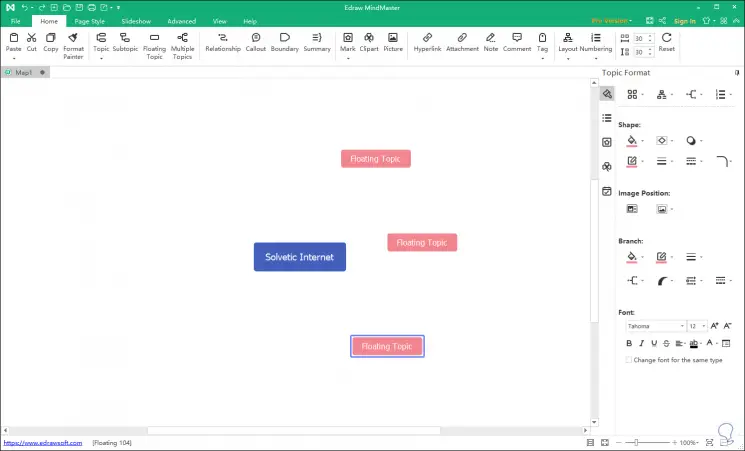
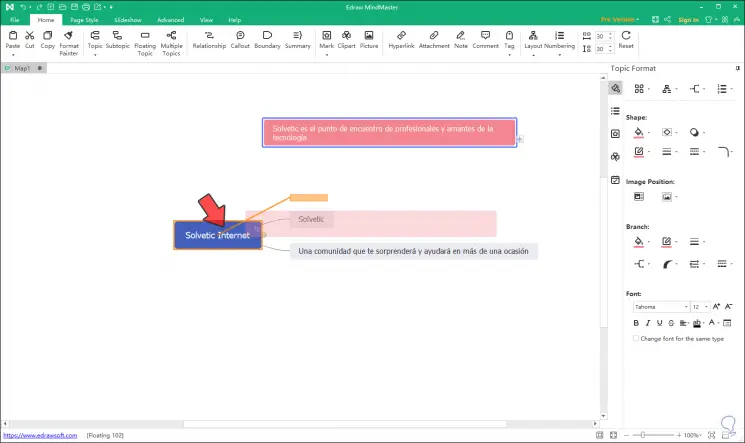
We double click on the desired map and then we will have the main idea. Double-clicking on blank spaces will integrate the floating windows where we can enter the main ideas:
Step 6
To integrate them into the main idea, just drag these lines to the center point and the connector between these ideas will automatically be added:
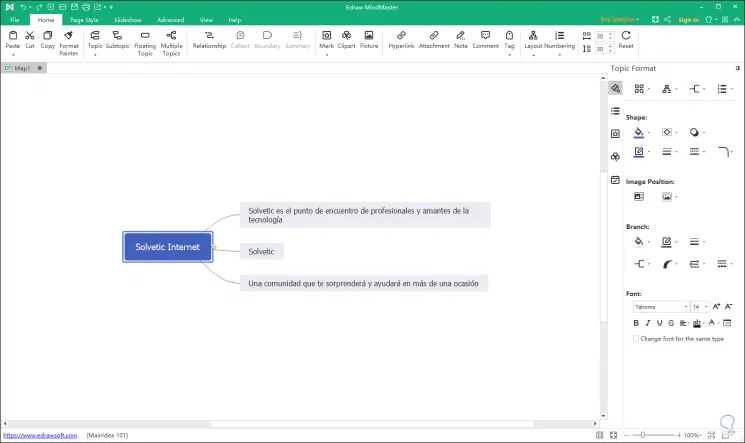
Step 7
As a result of this we will see the ideas united with the appropriate connector:
Step 8
At the top we have a menu that is made up of:
File
From there we can open, print or save the current project or use more MindMaster mind map templates
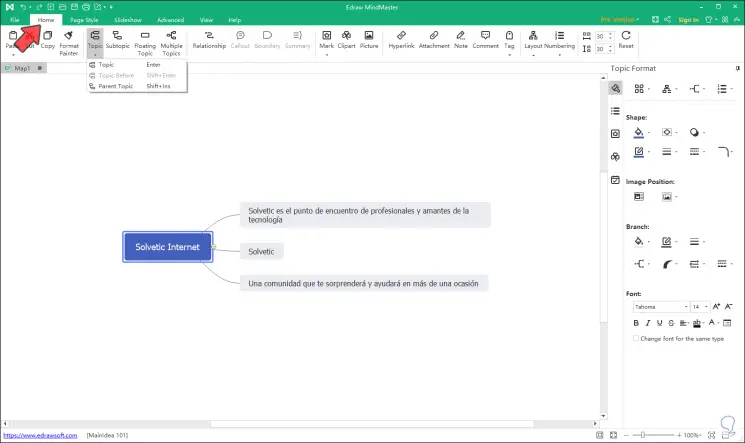
home
In Home we have everything related to global aspects such as the font (size, style), cut, copy or paste text, insert images, as well as a set of options related to the windows associated with the main idea (topics)
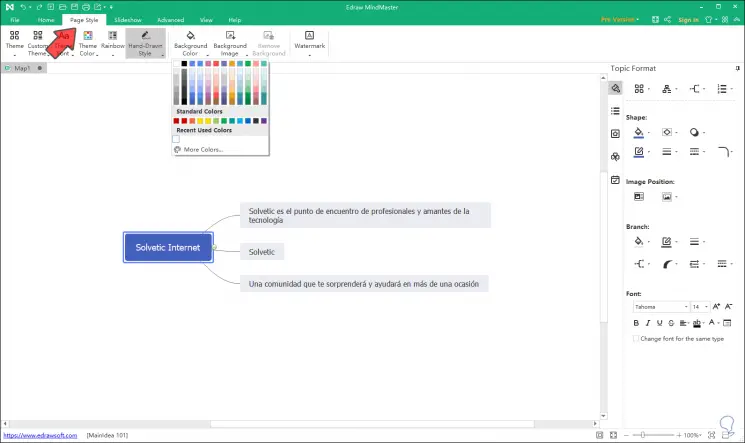
Page Style
In Page Style we can manage the page parameters such as its orientation, themes, background, watermark, etc.
Slideshow
In Slideshow we can define how the mind map will be presented
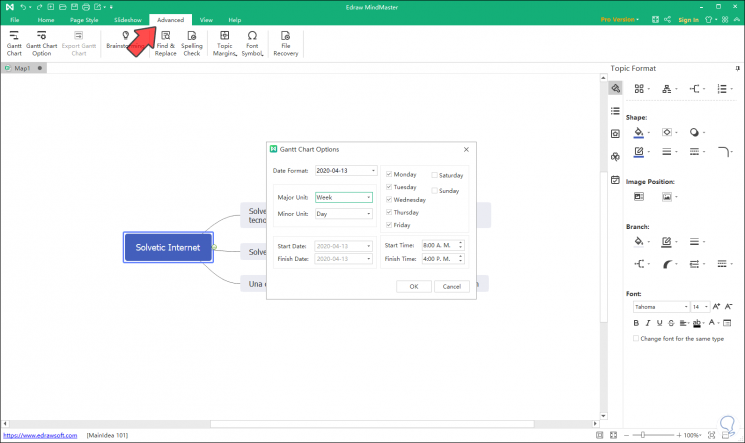
Advanced
From Advanced we have the opportunity to configure symbols, fonts, file recovery, integrate Grantt graphic, loud voice function and more
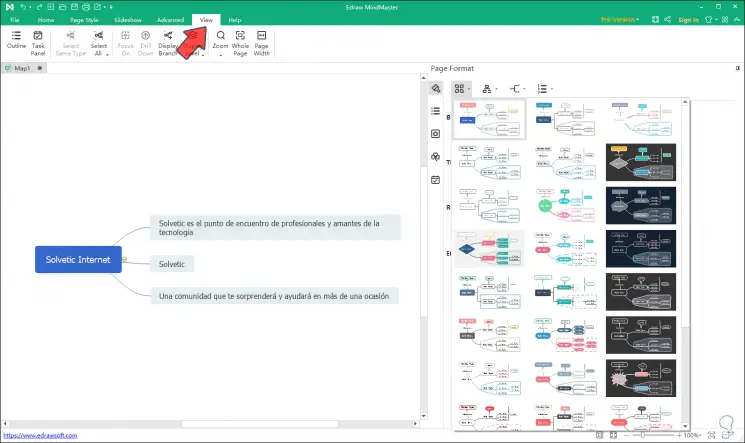
View
From View we can access functions such as zoom, page width, display level, etc.
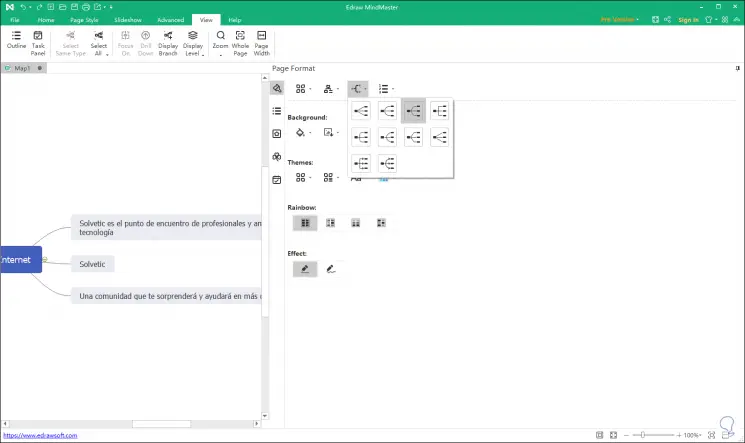
Step 9
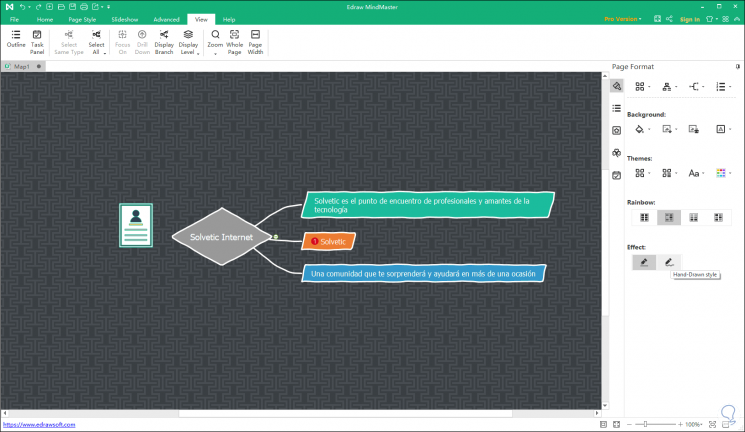
When creating a new mind map from the side, we have some options for editing, for example, from Format we can change the style of the theme. Or change the style of the connectors or layers:
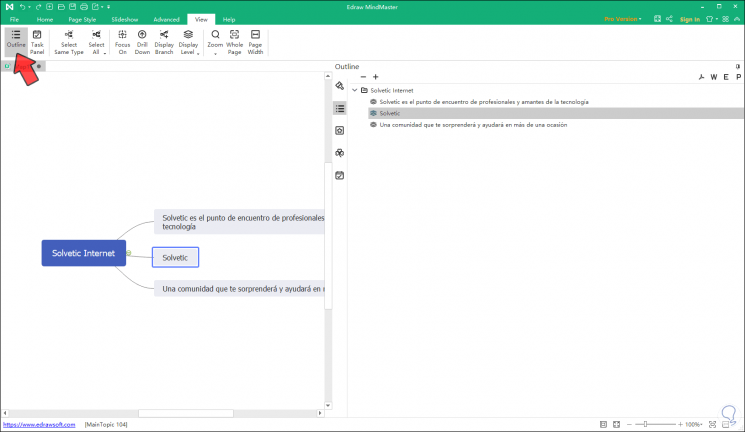
Step 10
From Outline we can work with each of the ideas that we have entered in the created map:
Step 11
In the Mark section we can add emojis or special marks to the displayed ideas:

Step 12
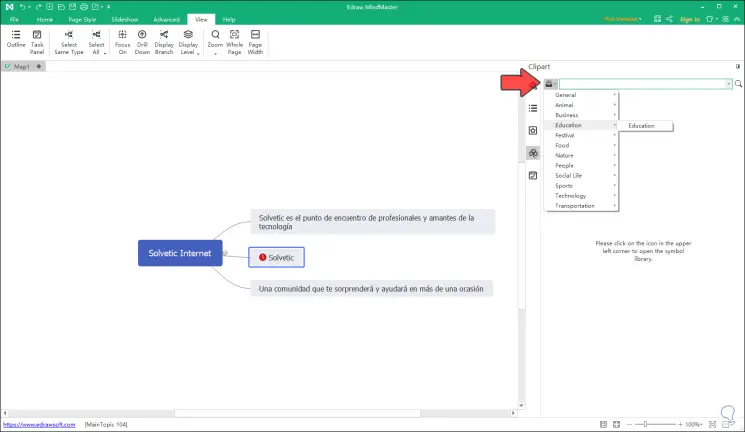
One of the advantages of MindMaster is the integration of cliparts which are divided by categories in the ClipArt section:
Step 13
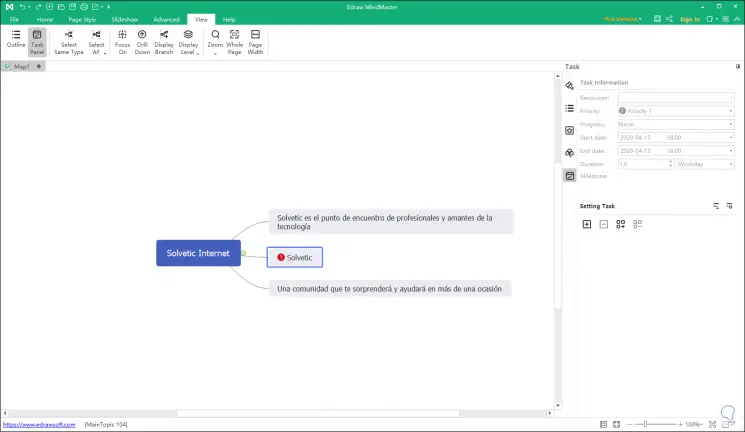
Finally, the worked mind map can be added as a task where it is possible to define resource, priority, status, date and time of duration, etc:
Step 14
With these tools, it will be possible to edit the mind map in the way we want and logically according to the audience towards which this topic is directed thanks to MindMaster.
Finally we will see how our mental map has been and we can save it.
Note
Remember that in addition to the free version, you have many other more complete paid ones. To find out the available plans go to the following link.
Mindmaster plans