The development group of Microsoft launches a series of applications designed with a focus for each type of user, that is why we find numerous tool options each with their own functions and features. One of the most versatile is SharePoint which has the purpose of creating a series of elements for online work and web access..
In turn, SharePoint integrates the use of other tools for a more extensive, adequate and secure operation. One of the most important is Microsoft Flow or Flow of Microsoft which, in combination with SharePoint 2019 or Online, gives users accessible tools for managing workflows and thus have all the accessibility and operation coverage.
When using Microsoft Flow to create or edit workflows, we are acquiring greater support for each task available in SharePoint, but focusing on managing these parameters in a simple but effective way.
TechnoWikis will explain what it is and how to use Microsoft Flow and in this way have a more global idea of ​​everything that this comprises and delivers..
What is Microsoft Flow
Microsoft Flow has been developed as a service thanks to which, due to its integrated functions, it will give us the opportunity to create automated workflows either between the applications or in the services implemented to perform tasks such as file synchronization, execute the collection of data or receive notifications already online or through the mobile device with each site created.
Microsoft Flow Features
Some of the features offered by Microsoft Flow are:
- Select a service within a wide range of options.
- Search in a practical and efficient way both services and templates.
- Access detailed information on each flow.
- It converts tasks that are normally repetitive into workflows with few steps.
- Create, manage and share automated approval workflows.
- Integrate conditions for better management and execution of workflows.
- Establish secure connectivity to local data and cloud-based services.
- Create integrated or customized data loss prevention policies to guarantee the security of information.
Microsoft Flow Services
Some of the most used services with Microsoft Flow are:
Now we will learn to create a basic workflow with Microsoft Flow as we will later analyze the types of available flows.
1. Create a basic flow with Microsoft Flow
Step 1
To start this process, we will access the following link:
Microsoft Flow
Step 2
When accessing with our credentials we will see the following:
Step 3
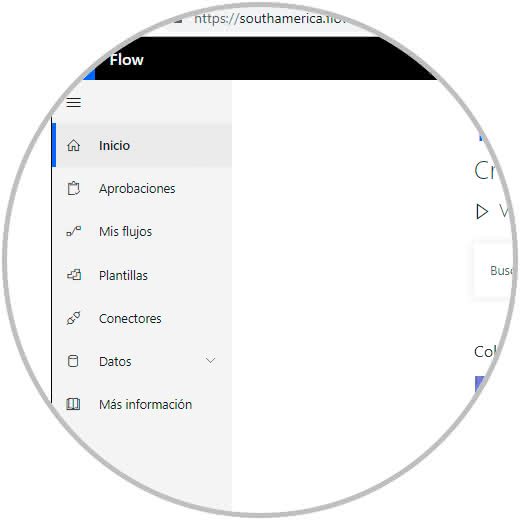
As we can see, on the left side we have a series of options to use in the flows, these are:
Microsoft Flow options
- Start: there is a brief summary of the actions we can take with Microsoft Flow.
- Approvals: in this section it will be possible to create and access approval type flows, these approvers can synchronize the requests from the defined email inbox, the Microsoft Flow approval center or the Microsoft Flow application for Android or iOS.
- My flows: there we can see and manage the flows that we have created.
- Templates: here we will have access to more than 30 templates of all types to automate the process of creating the workflow.
- Connectors: they are services, such as OneDrive, RSS, Outlook, etc., that we can integrate into the workflow.
- Data: in this section it will be possible to manage variables of aspects such as entities, connections, gateways and more.
- More information: There we access the Microsoft website to learn more about Microsoft Flow.
Step 4
To create a basic flow we can go to the section "Templates" and there select the one that best suits the needs of the flow to create:
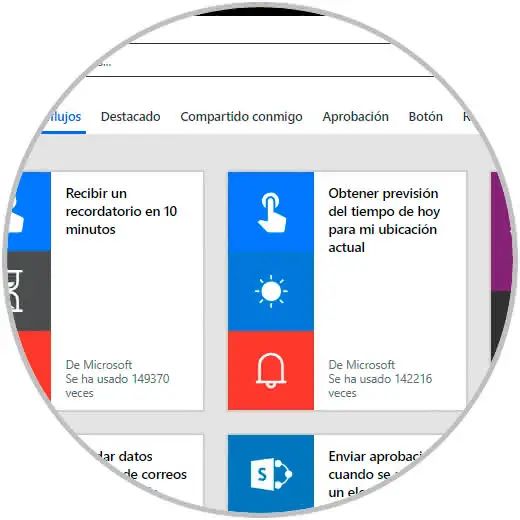
Step 5
For this example we will use the template "Get forecast of today's weather for my current location" and the following will be displayed:
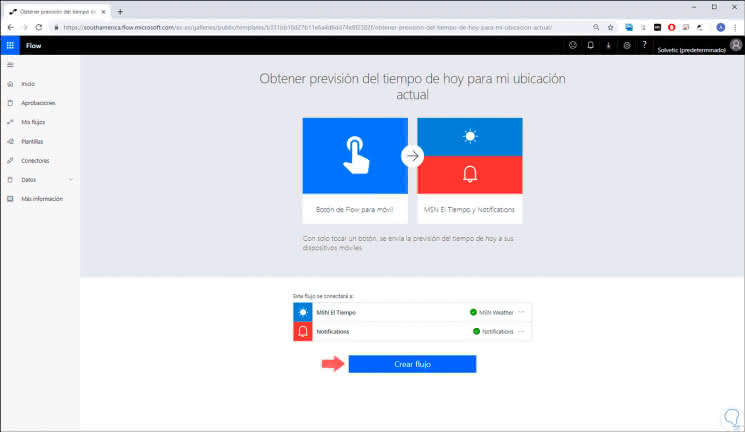
Step 6
There we click on the "Create flow" button and we will be redirected to the following window:

Step 7
There we find the following fields:
- Option to download the application for both iOS and Android
- Connections used in the flow
- History of activities performed in the flow
Step 8
The download of the Microsoft Flow application is available at the following links:
Microsoft Flow Android
Microsoft Flow iOS
Step 9
We can click on the "More" button to access a series of options on the flow to create, these are:
- Execute the flow to check its status and operation
- Share the flow with other users
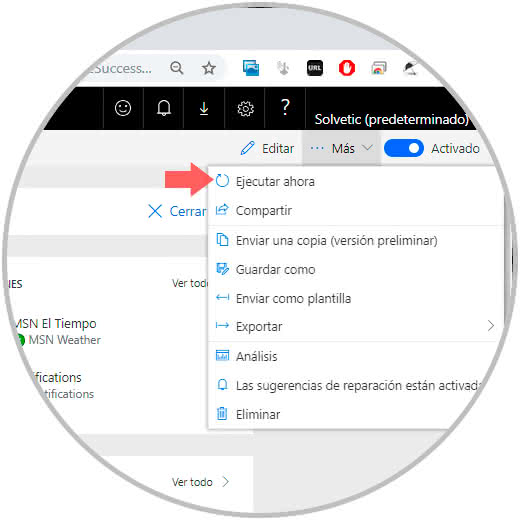
Step 10
We click on the line "Execute now" and the following pop-up window will be displayed:
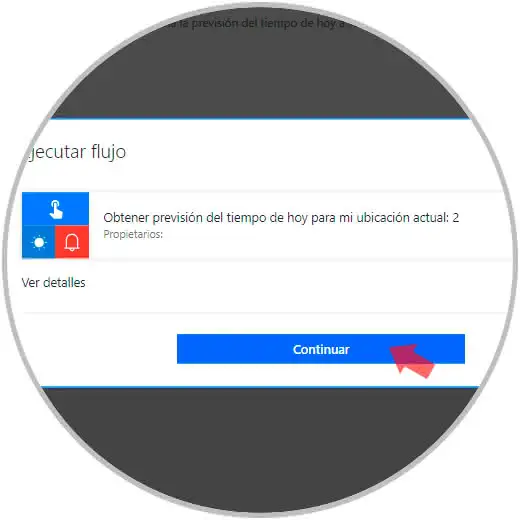
Step 11
There we find in the first place the action to be carried out, click on "Continue" and we will see if additional conditions are required:
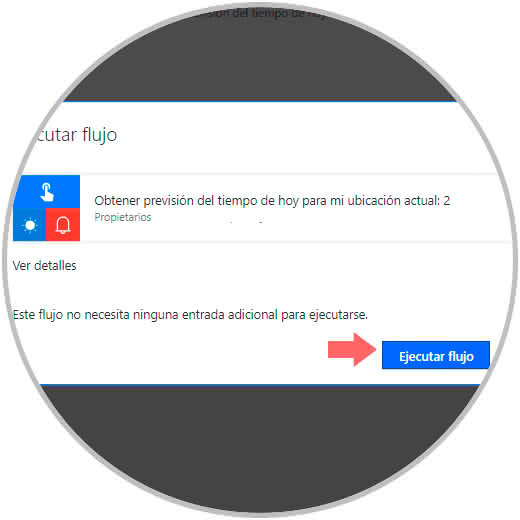
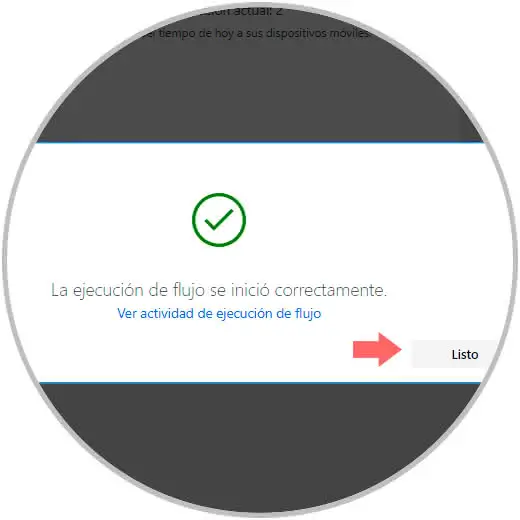
Step 12
If this is not the case, we click on the "Execute flow" button to carry out the validation of this and the result, if it goes well, will be the following:
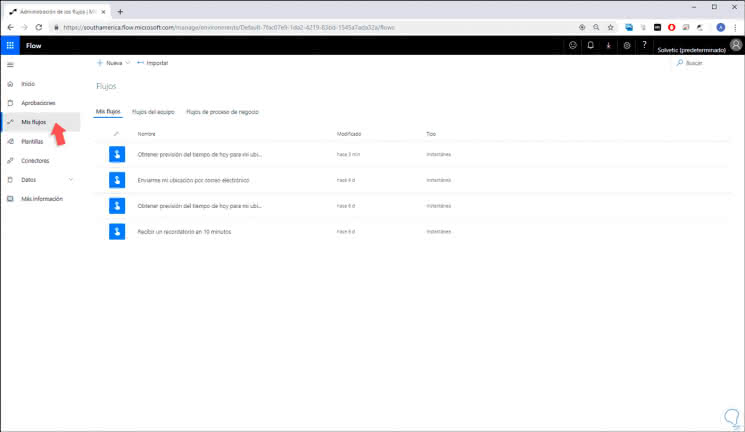
Step 13
Once executed, we can go to the "My flows" section where we can see and access each flow created with Microsoft Flow:
Step 14
Remember that each flow must be subject to the conditions necessary for that purpose in order to obtain the expected results. From the "My flows" section it will be possible to create an equipment flow which allows us to add other users of our company as owners of this flow, this gives all users advantages such as:
- Manage the properties of the flow created such as start or stop the flow, add owners, etc.
- See the flow history at the execution level
- Edit the definition of the flow
- Add and remove other owners
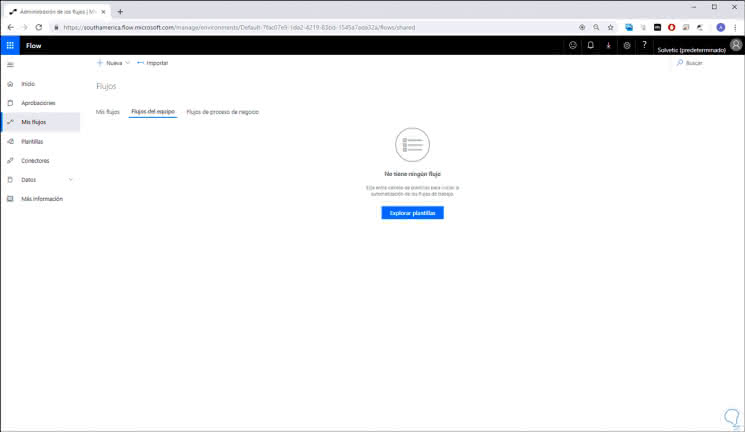
Step 15
For this we go to the tab "Flows of the team" where we will see the following. There we click on "Export templates" to proceed with the steps mentioned above regarding the creation of a workflow in Microsoft Flow.
Note
To create a team workflow we must have a Microsoft Flow payment plan.

Login Join up!