Windows 10 is a system that integrates different protocols that will make its use comprehensive with both internal and external processes and one of these protocols is the SMB protocol. SMB (Server Message Block) has been developed as a network file sharing protocol which is made up of a set of message packages which seek to define which version of the protocol to use, this allows file sharing to be possible , printers, and more on a local network..
SMB Advantages
SMB gives us the possibility of sharing between Windows and Linux operating systems, this gives us the possibility of:
- Extended handling of file attributes
- File, directory and shared access authentication
SMB is available in the SMB1 or SMB2 versions where each one has different characteristics, it should be noted that in the Windows 10 Home and Windows 10 Professional editions SMBv1 is already disabled and only SMB2 is offered.
SMB2 Advantages
This is because SMB2 has better functions such as:
- Improvements in the use of the network
- More complete reads and writes
- Oplock Client Lease Model
- Supports older versions of SMB and more
With this tutorial we are going to learn how to manage these two protocols through PowerShell as administrators and thus be able to activate or deactivate SMB1 and SMB2..
To stay up to date, remember to subscribe to our YouTube channel! SUBSCRIBE
1. Enable or disable SMB1 Windows 10 PowerShell
We are going to see different actions to use, these are:
Step 1
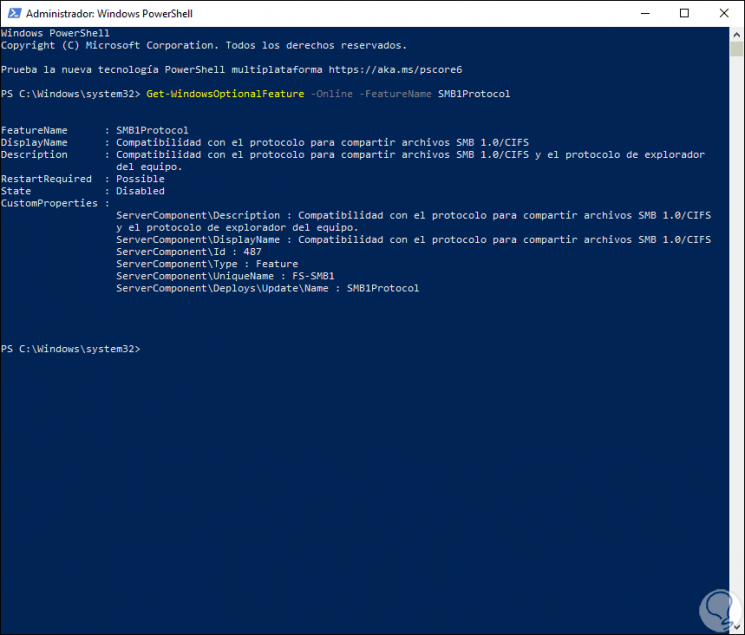
Check if SMB1 is active: for this we execute the following. In the State line we check the current state.
Get-WindowsOptionalFeature –Online –FeatureName SMB1Protocol
Step 2
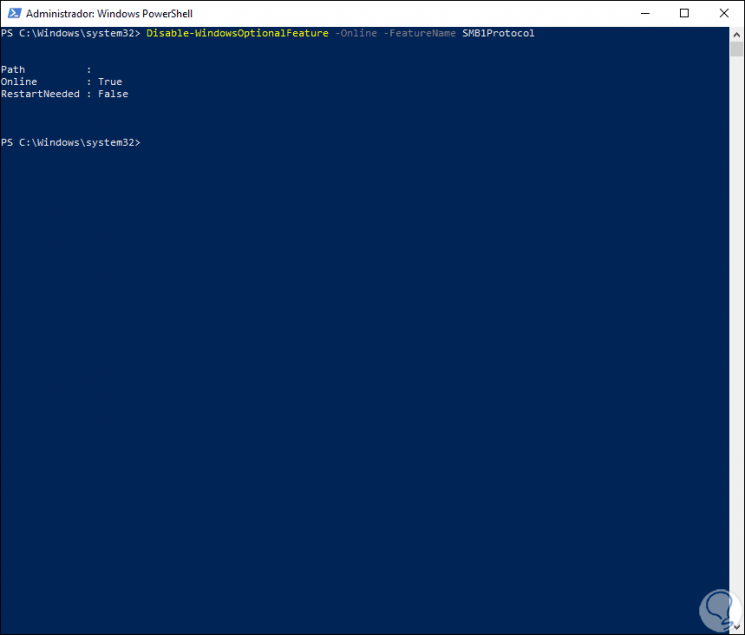
To disable SMB1 we execute:
Disable-WindowsOptionalFeature -Online -FeatureName SMB1Protocol
Step 3
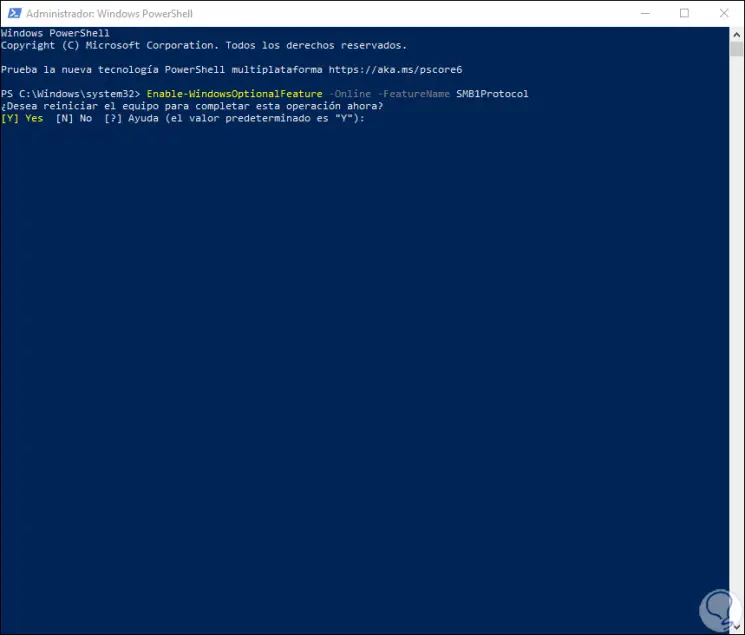
To enable it we run. We enter the letter Y to restart the system.
Enable-WindowsOptionalFeature -Online -FeatureName SMB1Protocol
2. Enable or disable SMB2 Windows 10 PowerShell
As with SMB1, we have some commands to manage this protocol from PowerShell, it is possible.
Step 1
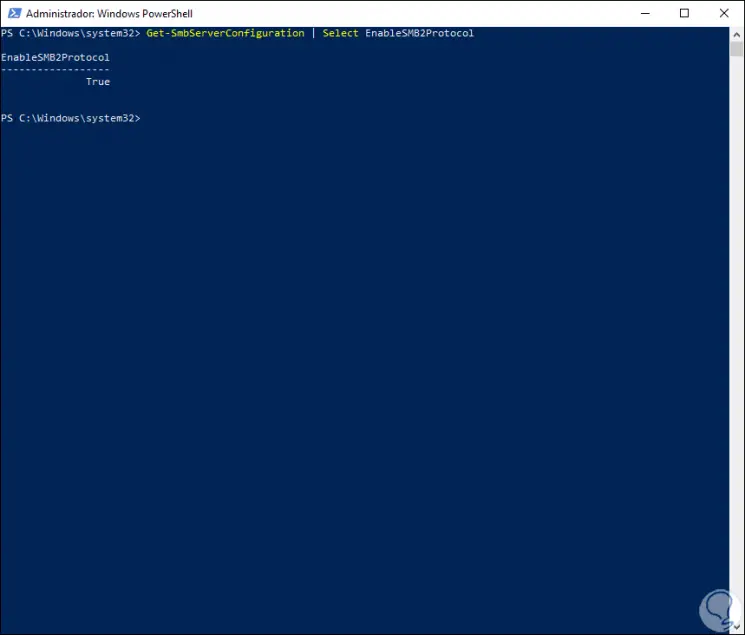
To check your current status:
Get-SmbServerConfiguration | SelectEnableSMB2Protocol
Step 2
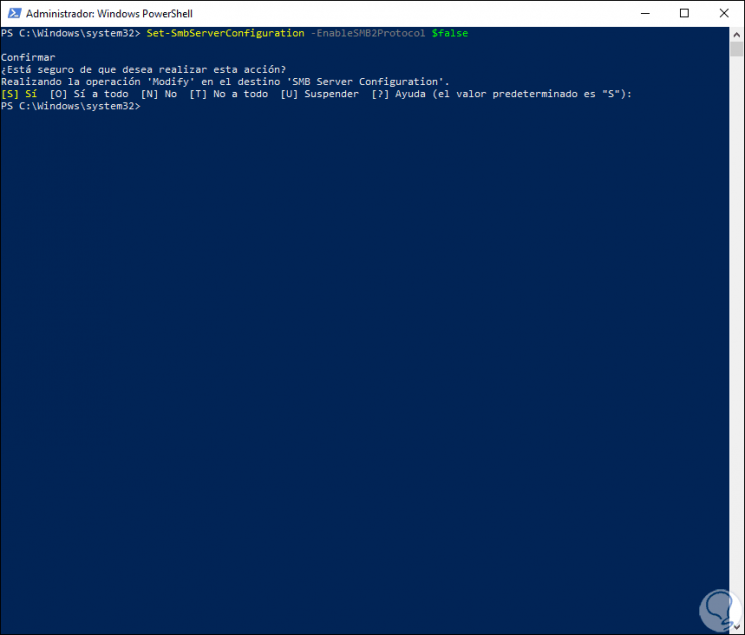
To disable SMB2 we execute:
Set-SmbServerConfiguration -EnableSMB2Protocol $ false
Step 3
We must confirm the action:

Step 4
To activate it we execute:
Set-SmbServerConfiguration EnableSMB2Protocol $ true
With these commands we have managed SMB1 or SMB 2 from Windows PowerShell in a functional way.