The use of Windows Server 2019 in a corporate environment is one of the most practical solutions if we want to have global and centralized control of roles, services and functions that allow managing both users and computers and everything they can execute in the company.
Windows Server 2019 allows us to install or add many more features than we normally use and this results in a comprehensive scalability with which it will be possible to take full advantage of the full potential of the server and if the approach of the organization or administrators It is the development or web hosting feature IIS (Internet Information Services) is the most suitable for this type of users.
What is IIS?
As we have mentioned, IIS (Internet Information Services), or also known as Windows Web Server is a feature that we can enable on our server with Windows Server 2019 to host web applications since when we install and configure IIS, our web server will manage applications with In order for them to process the messages that arrive using the default TCP ports, in this case for HTTP traffic it is port 80 and for HTTPS it will be port 443.
Throughout the world of web traffic, there are two process models for web servers to manage requests, these are:
- Management of requests in a single thread.
- Creation of new threads for each particular request.
IIS in Windows Server 2019 makes use of the creation of new threads for each request which in turn allows to capture a thread from an existing thread group for each request received.
IIS features
When using IIS we are talking about a feature that will be compatible with HTTP, HTTP / 2, HTTPS, FTP, FTPS, SMTP and NNTP protocols. In the new versions of IIS for Windows Server 2019 we find:
- Strict HTTP Transport Security (HSTS - HTTP Strict Transport Security) which allows a website to send a notification that it is a secure host and issue a report to browsers that should be contacted only through HTTPS (secure) connections .
- New IISAdministration cmdlets in PowerShell.
- Container improvements which help optimize executions in IIS work processes.
- Adding new server variables for the cryptographic protocol, the encryption algorithm, the key exchange algorithm and the message authentication algorithm, which seeks to increase the overall security of IIS.
- It allows to build and develop customized servers or with a special focus.
- Improves overall server performance.
- Reduce the web attack surface.
Now TechnoWikis will explain how to install IIS on Windows Server 2019 and thus get the maximum benefit from the web functions of this role.
To keep up, remember to subscribe to our YouTube channel! SUBSCRIBE
1. Install IIS with Windows Server 2019 Server Administrator
Step 1
The Server Manager in Windows Server 2019 has been developed as a central point of administration in which we can carry out various tasks of control, management and support of the operating system and its components. This Server Manager opens by default in the system or we can access it from the Start menu: 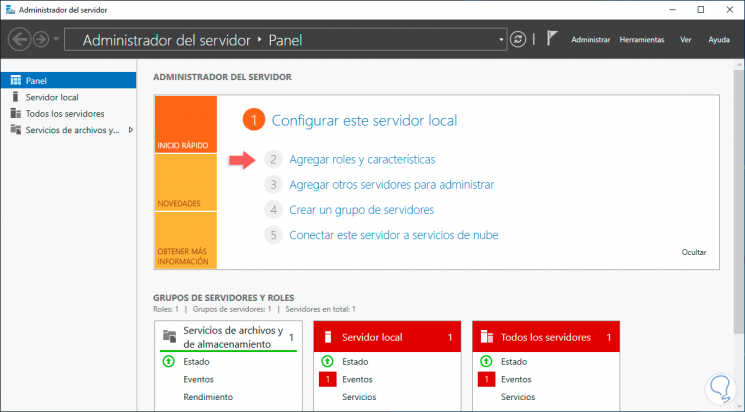
Step 2
There we click on the "Add roles and characteristics" line where we will see the following informative window: 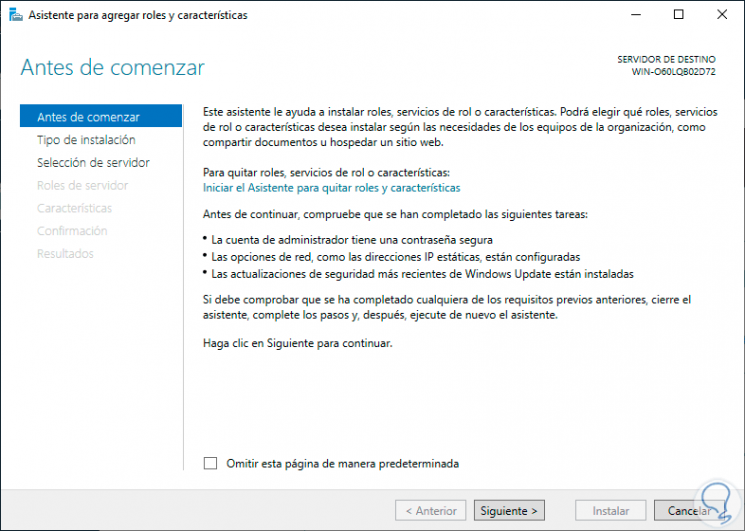
Step 3
Click Next and then check the box "Installation based on features and roles": 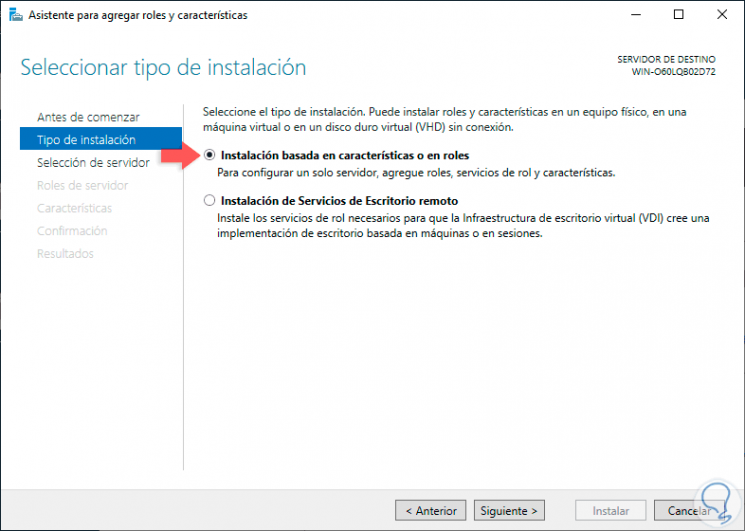
Step 4
In the next window we select the server where we will install IIS: 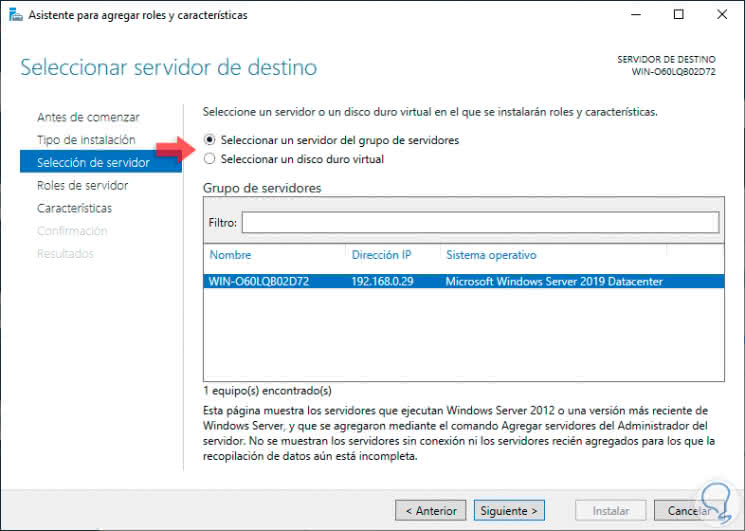
Step 5
We click on Next and then we will locate the role called "Web server (IIS)": 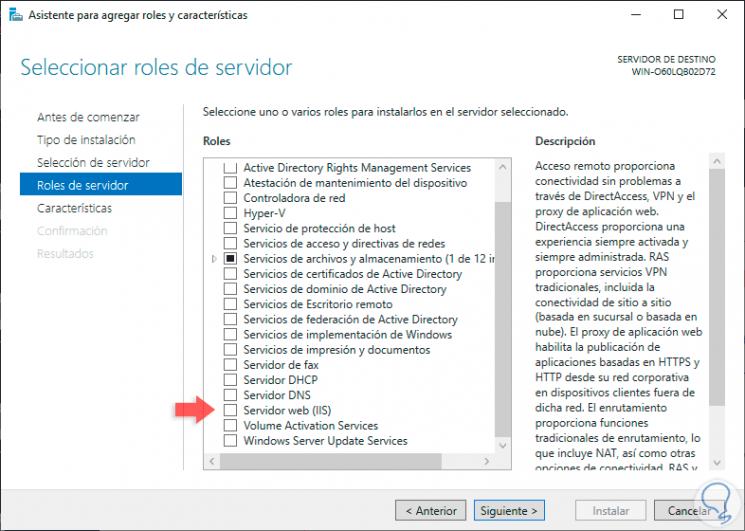
Step 6
We activate your box and the following window will be displayed where we click on the "Add features" button:

Step 7
We can see that IIS is selected: 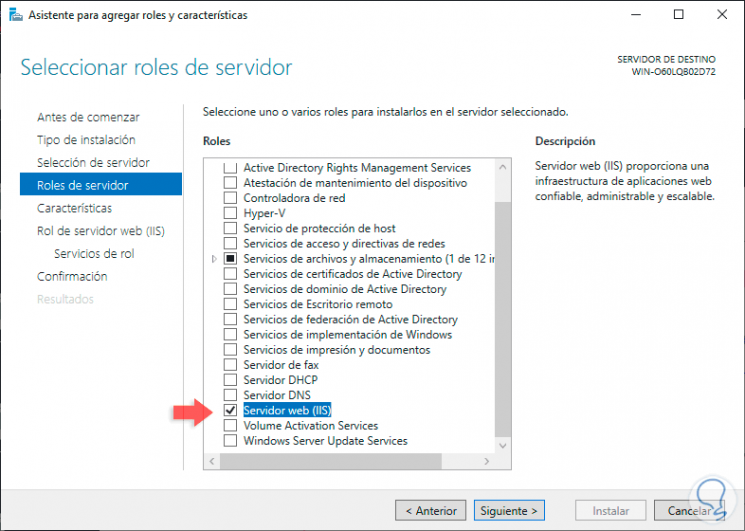
Step 8
We click on Next and in the next section "Features" we can omit it since nothing is required there: 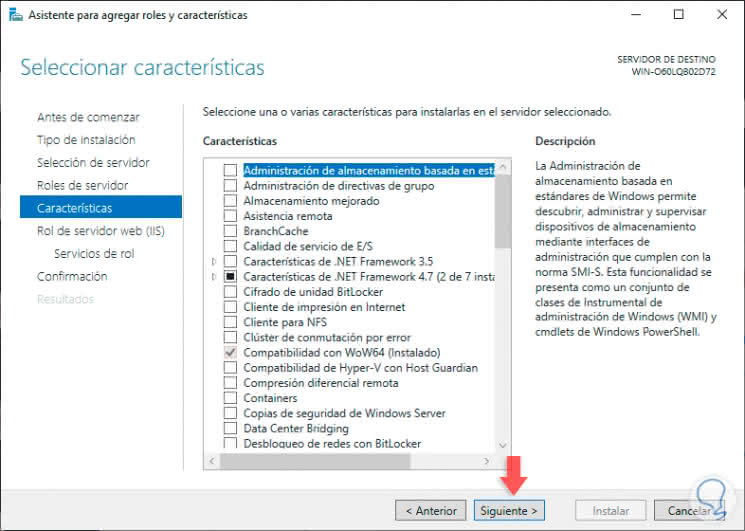
Step 9
In the next window we will find a brief summary about what IIS gives us in Windows Server 2019: 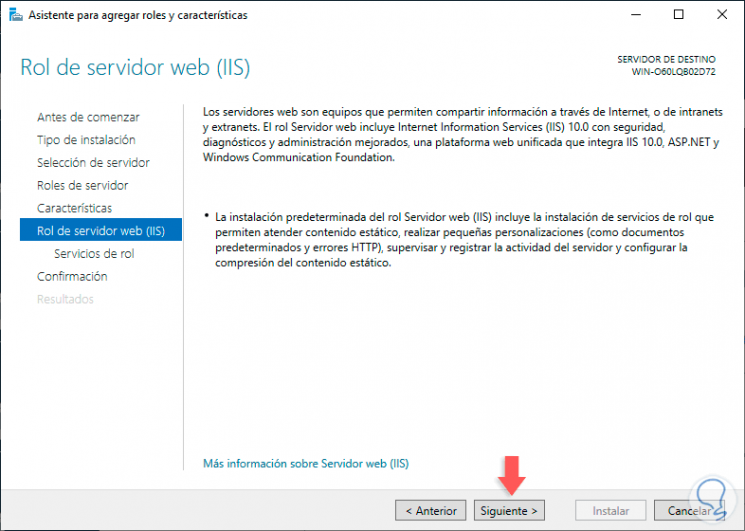
Step 10
In the following window it will be possible to manage the services of the role which are in categories such as:
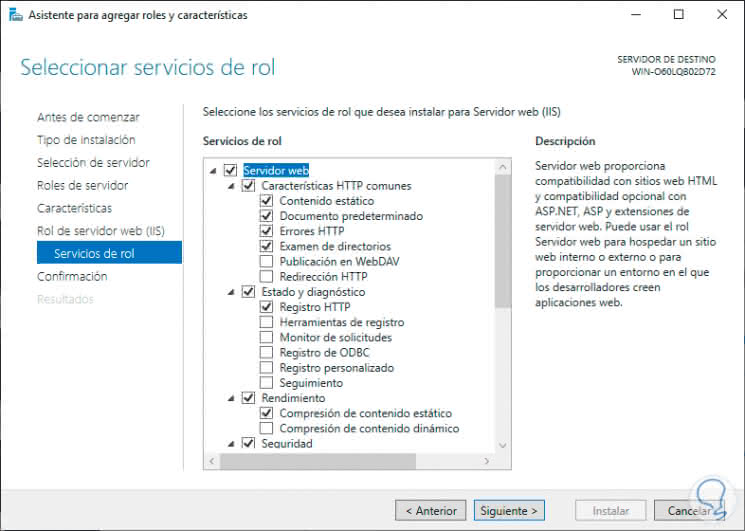
Step 11
We can leave the default values ​​or activate the boxes that we consider are necessary for our management tasks, after this we click on Next and we will see a summary of the task to be executed on the server: 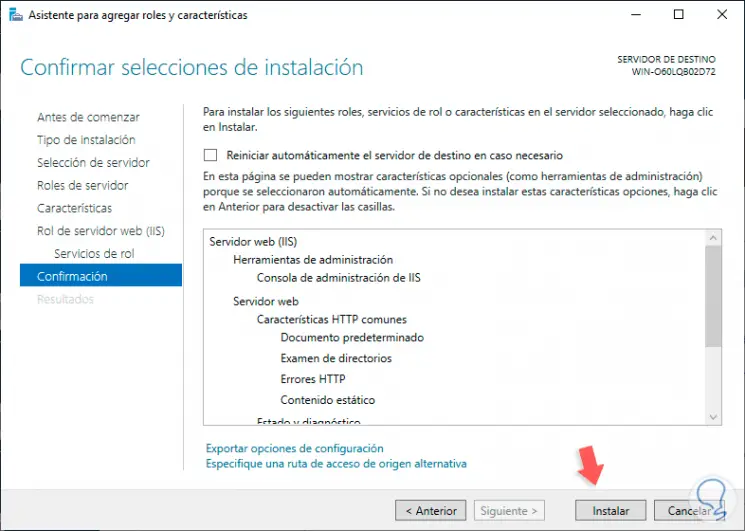
Step 12
Click on "Install" to start the process: 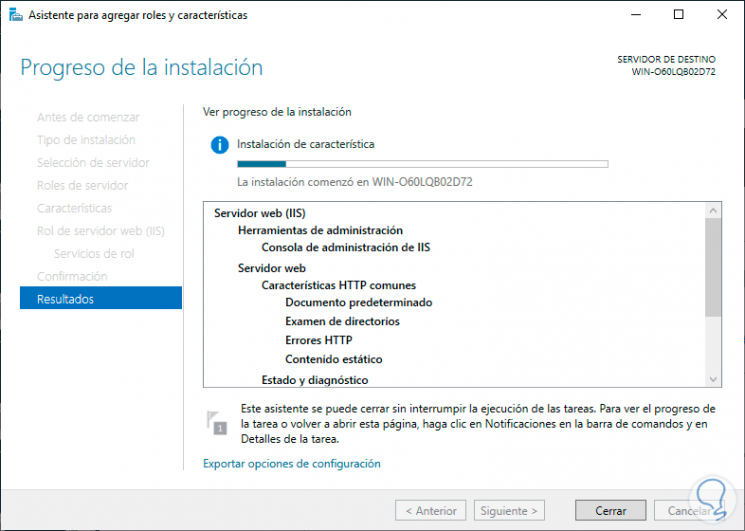
Step 13
Once this is finished we will see the following: 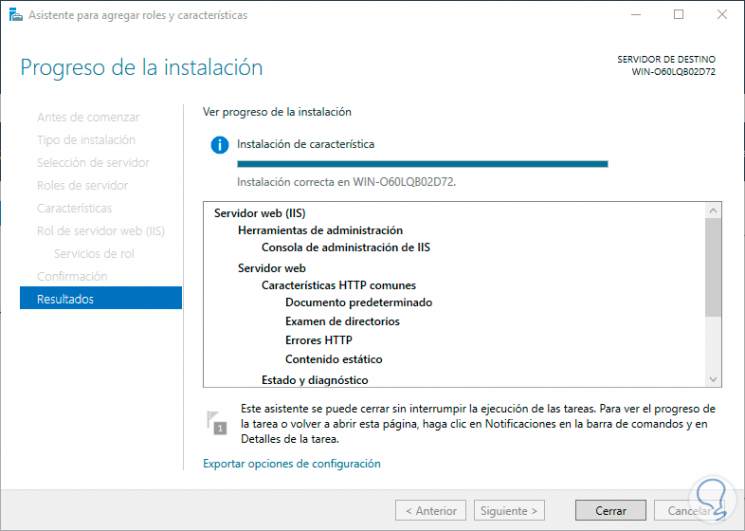
Step 14
IIS will automatically be available from Server Manager: 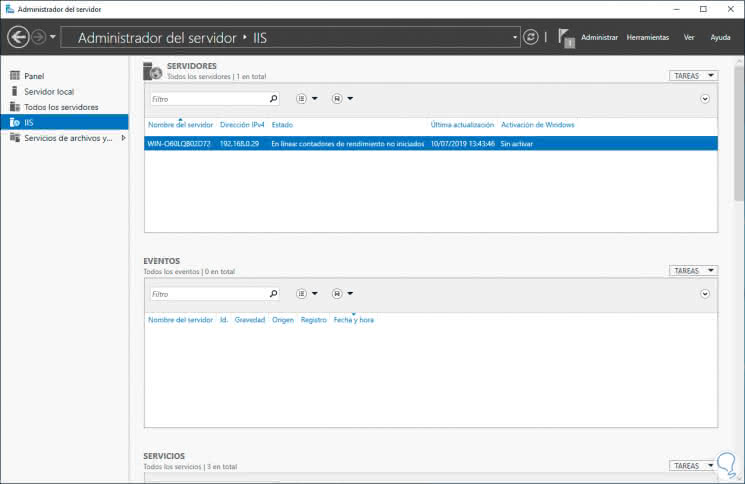
2. Install IIS with Windows PowerShell Windows Server 2019
Another option we have to install IIS on Windows Server 2019 is using PowerShell which is the integrated administration console with hundreds of cmdlets.
Step 1
For this, we access Windows Powershell as administrators and there we execute the following:
Install-WindowsFeature -name Web-Server -IncludeManagementTools
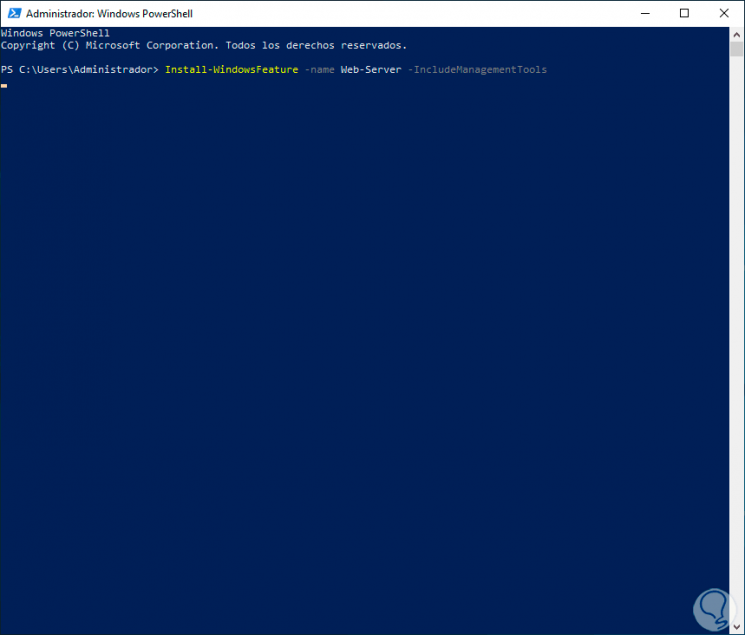
Step 2
Pressing Enter will start data collection: 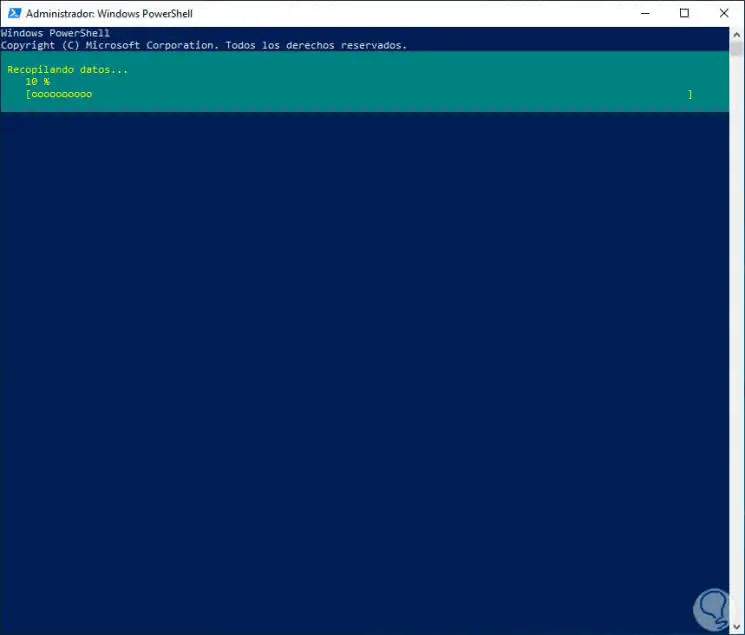
Step 3
When this is over we will see the following. As of this moment we are ready to use and configure IIS in Windows Server 2019. 
3. Open and configure IIS with Windows Server 2019 Server Administrator
Step 1
We can access IIS from the Server Administrator: 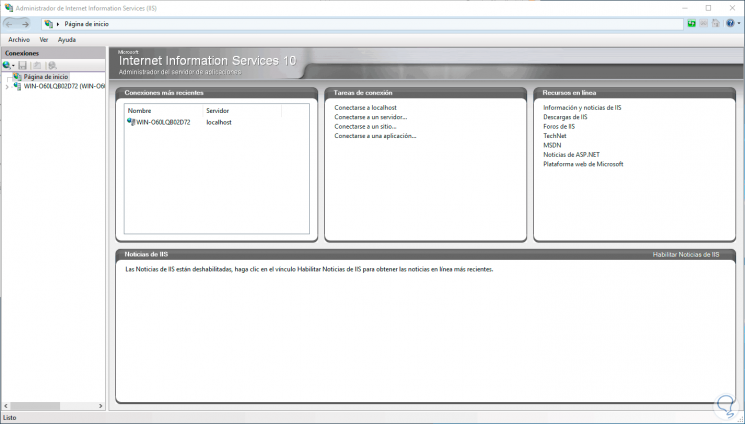
Step 2
From there we will see the various configuration options to use: 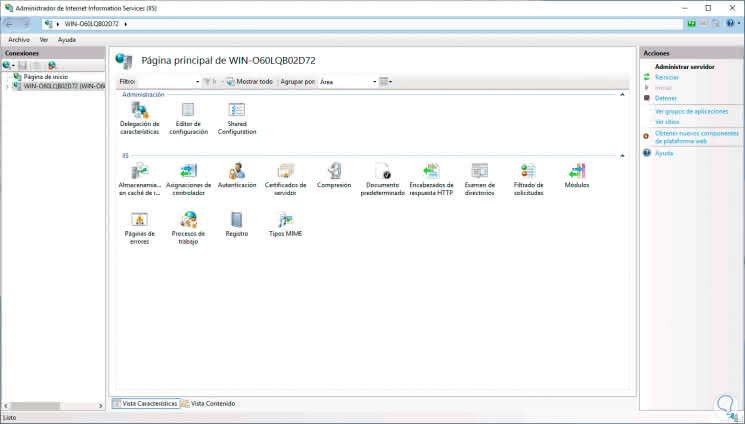
Step 3
Finally, we can go to a website and enter the following:
http: // localhost http: // IP_address
Step 4
Using any of these options we will see the following if everything has been correctly installed: 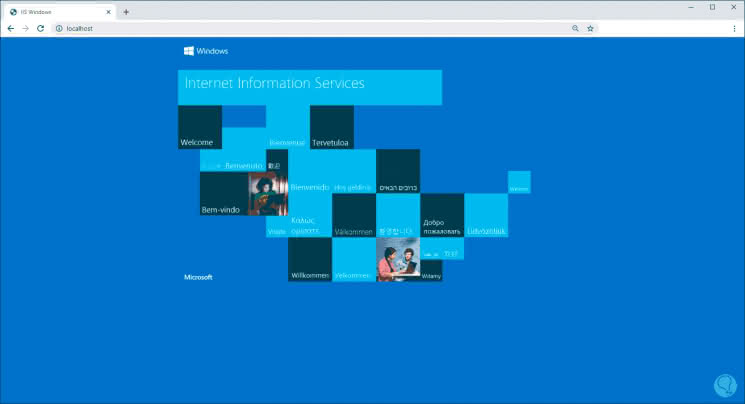
4. Uninstall IIS with Windows Server 2019 Server Administrator
Step 1
If at any time we do not have to configure and use IIS on the server, a good advice that TechnoWikis gives you is to uninstall it from the system, for this we go to the Server Administrator and from the Manage menu we select "Remove roles and functions" and the following will be displayed : 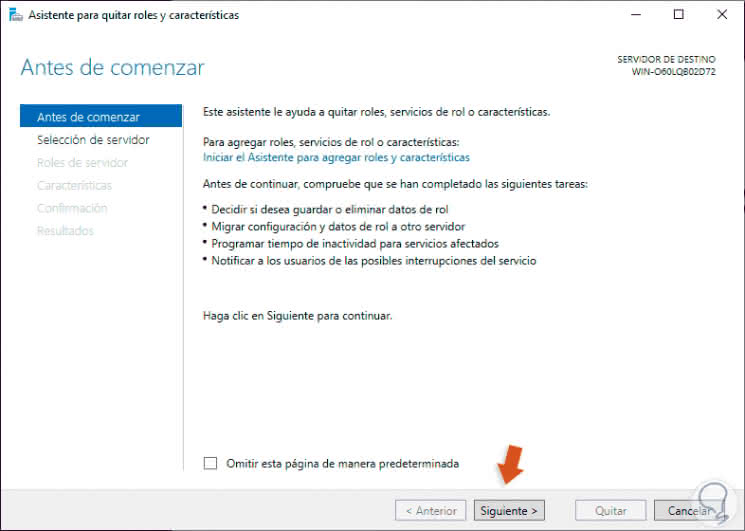
Step 2
Click Next and select the server: 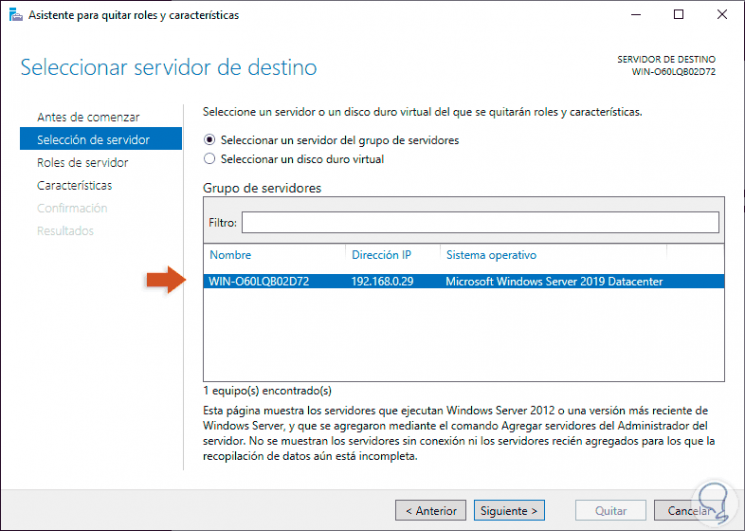
Step 3
In the following window we deactivate the Web Server (IIS) box: 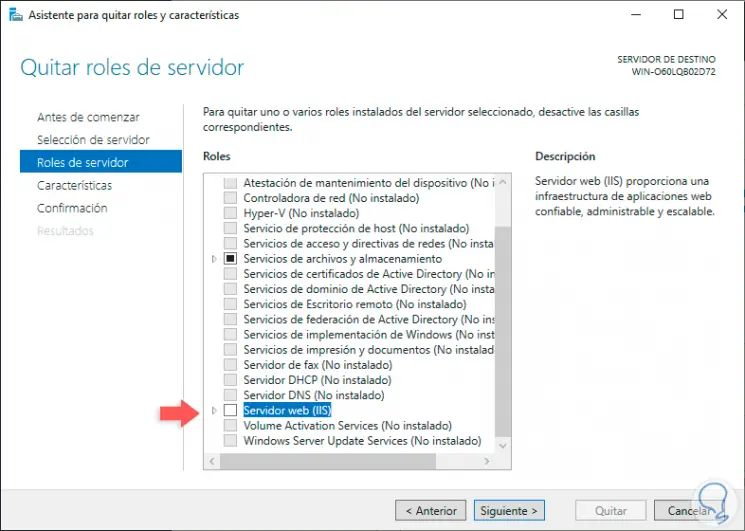
Step 4
Click Next and we can skip the Features section to go directly to the summary of the task to be performed: 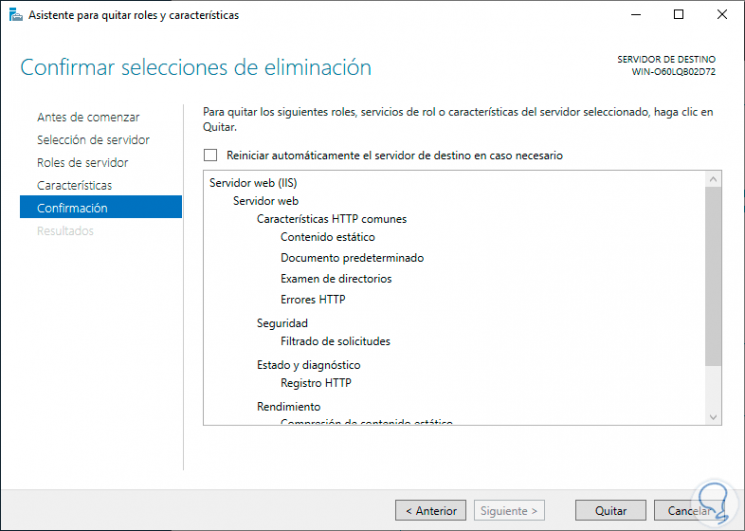
Step 5
We click on the "Remove" button to proceed with the uninstallation of IIS in Windows Server 2019: 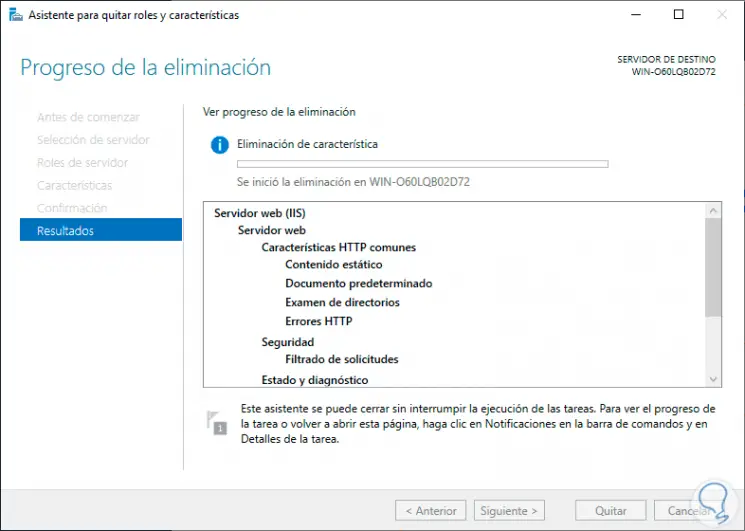
Step 6
When this is over we will see the following. As we can see, the restart of the operating system is required to complete the uninstall process. 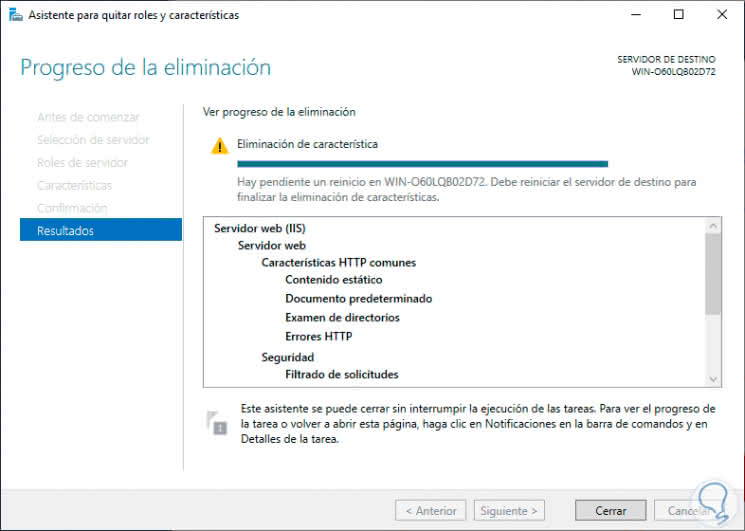
So you have learned to install and remove IIS from Windows Server in a practical way and you already know all the functions that this role gives us for website tasks.