Every time we update our Windows 10 operating system to a new available version, apart from the new features and improvements of the existing ones, a background process occurs that goes unnoticed for us but has a direct impact on the system performance. Each time this update is downloaded we are occupying about 6 GB of additional hard disk space dedicated for that new version of the system, so that if our hard disk is limited in storage issues the update of our equipment may be frustrated..
To avoid this, since the recent Windows 10 updates, a new function called “Reserved Storage†has been integrated which, as the name implies, separates a portion of the hard disk space exclusively for new operating system updates.
Hard disk space is a topic that will remain in the mouth of all of us since when the disk is about to reach its capacity limit , we will suffer a series of performance problems , no access to files, slow processes read and write and even not access to the system. Therefore, if we are not using the reserved space of Windows 10 for system update files, this space will automatically be used for applications, temporary files and system caches, but if we do not want this to be so we can disable that space (between 5 and 7 GB) for our files in Windows 10..
The objective of reserved storage is to allow the critical functions of the operating system to have access and availability to disk space and thus optimize its overall performance.
The reserved storage will be introduced automatically in the devices that have the version 1903 (May Update) by default or in that where the update process is carried out.
As soon as applications and system processes create temporary files , each of these files will be automatically redirected to reserved storage. The advantage of this is that these temporary files will not consume the user's free user space allowing a better administration of this since the reserved storage will automatically delete the unused temporary files ..
TechnoWikis will clarify some key points of this reserved storage, in the first place, this function can be disabled, but it cannot be removed from the operating system. In this case, it is best to reduce the amount of reserved space by eliminating some optional functions or languages ​​that we already know will not be used at some time by us.
There are two factors that affect the way reserved storage modifies the reserved size in Windows 10, these are:
Optional features
These can be preinstalled, managed by the operating system itself or installed manually, but when an optional feature is enabled, Windows 10 will automatically increase the amount of storage reserved in order to ensure there is space for that function to follow working normally when updates are installed.
Installed languages
Windows 10 offers us more than 30 available languages ​​and many times we install languages ​​that are not to be used, if we do this, Windows 10 will increase the amount of reserved storage to allow disk space to exist so that these languages ​​are active when installing available updates
We can see that there are several variables that play with the storage reserved in Windows 10.
To keep up, remember to subscribe to our YouTube channel! SUBSCRIBE
1. How to know if my PC has reserved storage in Windows 10
Step 1
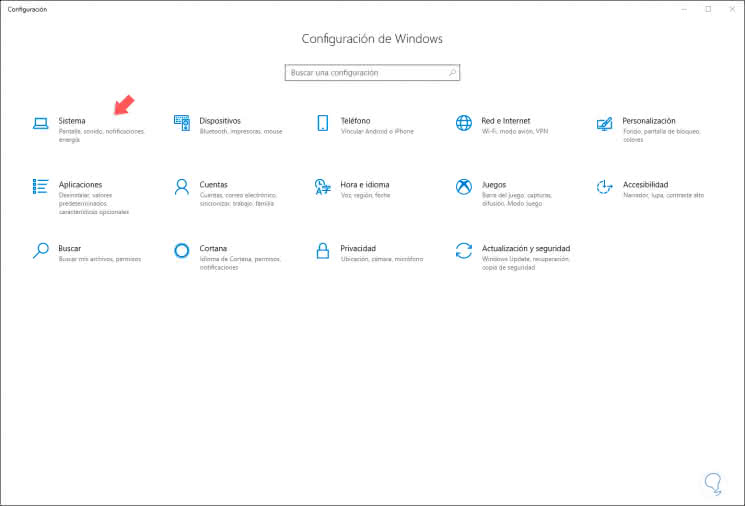
We have mentioned that this function is available in version 1903 of Windows 10, to check if the equipment has this function, we go to the Start / Settings menu:
Step 2
There we go to the "System" category and in the new window we go to "Storage":
Step 3
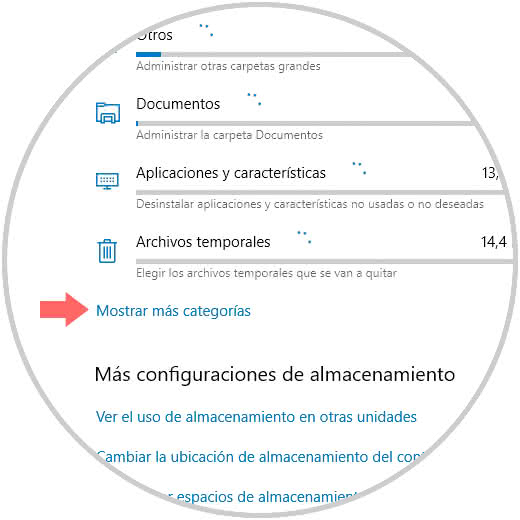
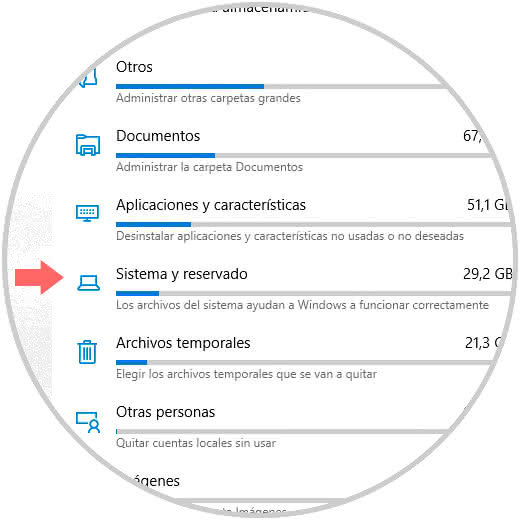
There we will click on the “Show more categories†line and observe the System and reserved section. We click on this option “System and reserved†and in the next window we will see the amount of space allocated to the reserved Storage of Windows 10.
2. How to disable Reserved Storage in Windows 10
This is a process that we must carry out through the registry editor, so we recommend creating a backup, in addition to this, it is a task that will have results when Windows 10 installs an update available for the system.
Step 1
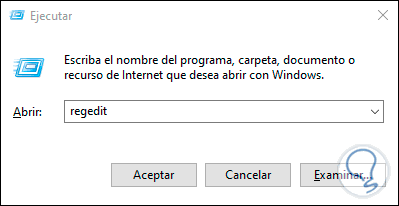
To perform the process of disabling Reserved Storage, we will use the following keys and execute the regedit command:
+ R
regedit
Step 2
In the editor we must go to the following route:
HKEY_LOCAL_MACHINE \ SOFTWARE \ Microsoft \ Windows \ CurrentVersion \ ReserveManager

Step 3
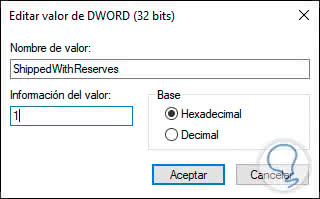
In the right panel we select the register called “ShippedWithReserves†and double click on it for editing and in the Value data field we will set the number 1. Click OK to save the changes and we can exit the editor, now it is simply a matter of Wait for a new update for Windows 10 to delete this Reserved Storage.
Step 4
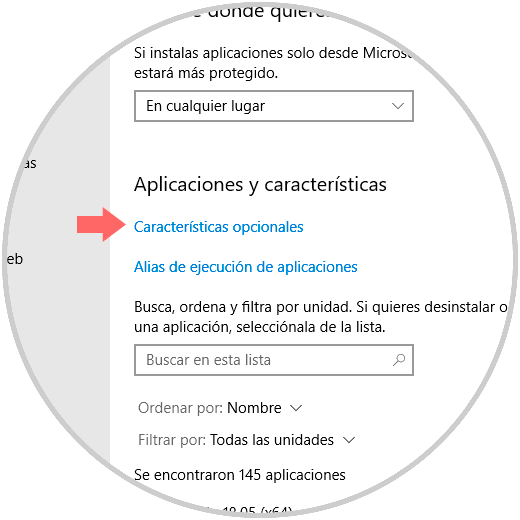
Remember what we said at the beginning of the tutorial, we can allow the reserved Storage to increase or not based on two factors that are. Optional features to which we access in the path Configuration / Applications / Applications and features:
Step 5
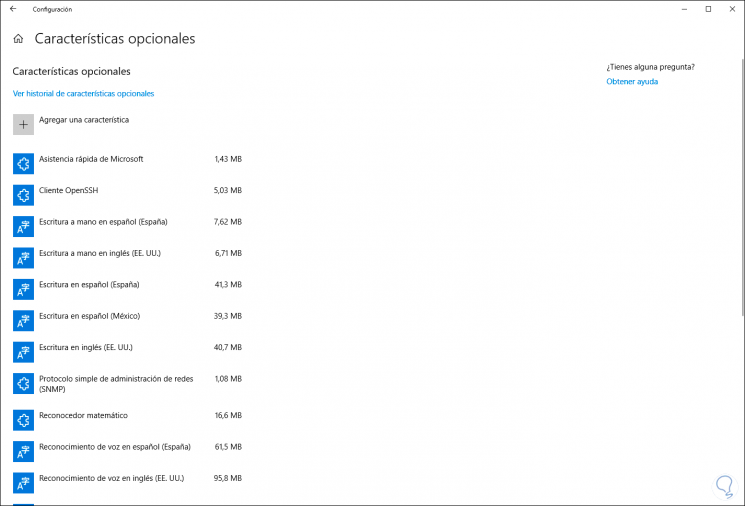
There we click on “Optional features†and we can add or features based on their use and importance:
Step 6
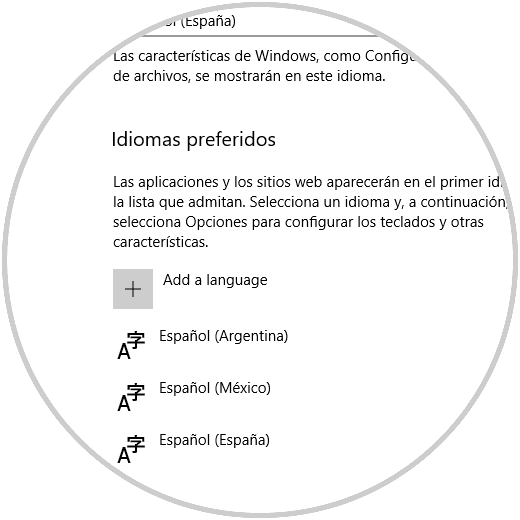
The other factor that influences is the languages, these can be configured in the route Configuration / Time and language / Language. There we can eliminate the languages ​​that are not to be used.
3. Delete previous installations of Windows 10
Finally, as an additional point of TechnoWikis, we will explain how to delete the previous installations of Windows 10, remember that when you download and install a new update, by default the previous version will be hosted to be able to return to it in case of errors with the new edition.
Step 1
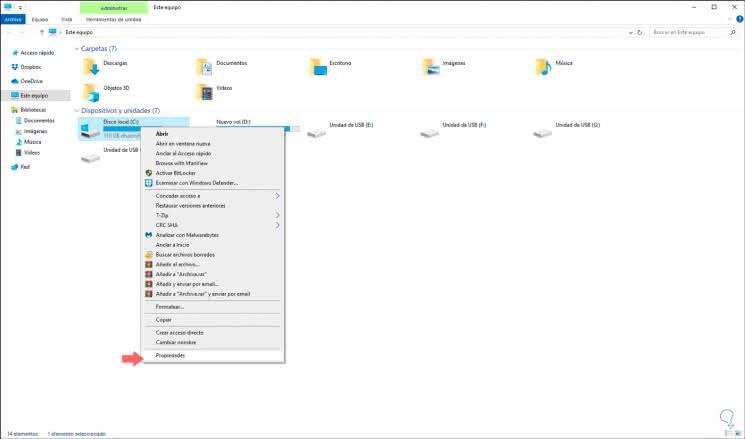
But this occupies quite a few gigabytes of your hard drive so if the new update is perfect you can free up space by deleting those previous versions, for this you must go to the File Explorer and right click on the C drive and select the Properties option:
Step 2
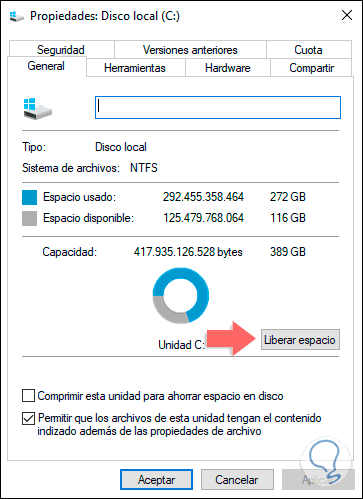
The following will be displayed:
Step 3
There we click on the “Free space†button and then we will see this:
Step 4
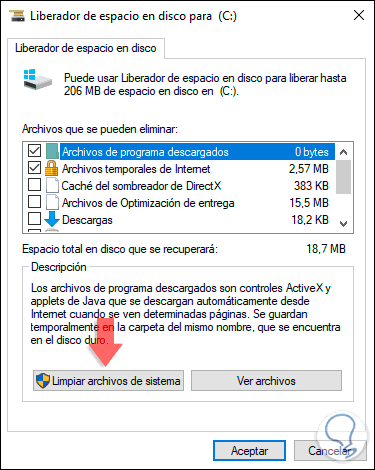
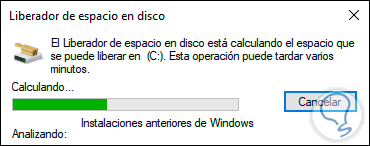
We click on the "Clean system files" button and a more detailed analysis of the files to be cleaned will be carried out:
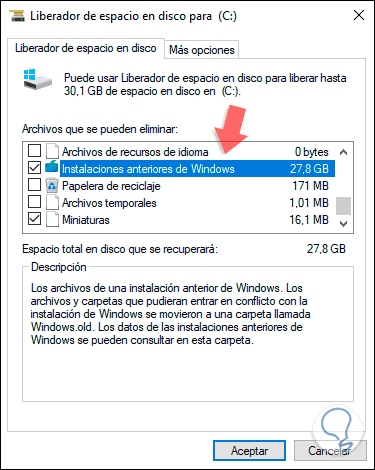
Step 5
Finally, we look for the "Previous Windows Installations" line. As we can see, in this case they weigh 27 GB, we must activate the box and click OK to proceed with the deletion and thus free this space on the hard disk.
TechnoWikis has explained to you how you can disable the Storage function reserved to enjoy more space on the hard disk and with it manage more efficiently this delicate aspect in any operating system and more if you get to have a solid state hard disk where its capacity It is smaller than that of an HDD disc.