Our USB devices have become a great solution not only to transport or transfer information, but it is possible to perform other types of administrative tasks. With them as the installation or repair of operating systems and applications, you can see how today there are numerous USB options in both designs, colors, sizes and capacity, but there will always be a task to perform on them and it is the format of this unit ..
The USB format is nothing more than to erase the information contained therein with a new file system and this is ideal when the USB device has been connected to external equipment or to public places where virus or malware threats are frequent.
The use of memories such as USB or Pendrive can sometimes cause problems as they are devices that easily connect and disconnect from our equipment and are also often used for different tasks. This causes a USB to become full of viruses or malicious content that encrypts the information or that directly leaves us unusable memory. There are even cases where a newly purchased USB flash drive gives problems and we must format it in a correct file system so that our device can understand it. This is the case of Mac computers that use a different file system. Normally, when we want to format our USB we go to File Explorer and from there we perform the process by right clicking on the drive and selecting “Formatâ€:
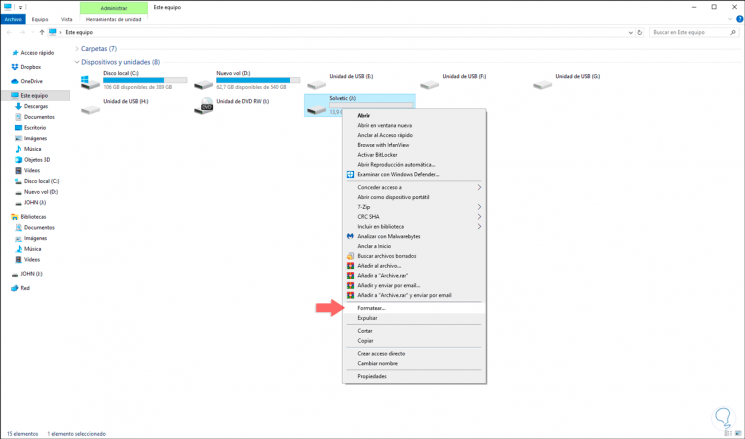
But there is another effective method to carry out this process and it is to perform the format of the USB drives from the command prompt console and today in TechnoWikis we will explain how to carry out this action..
To keep up, remember to subscribe to our YouTube channel! SUBSCRIBE
How to format a USB device from the Windows 10 CMD Command Prompt
Step 1
For this process we will open the command window in Windows 10 as administrators and in the deployed console we execute the diskpart command:
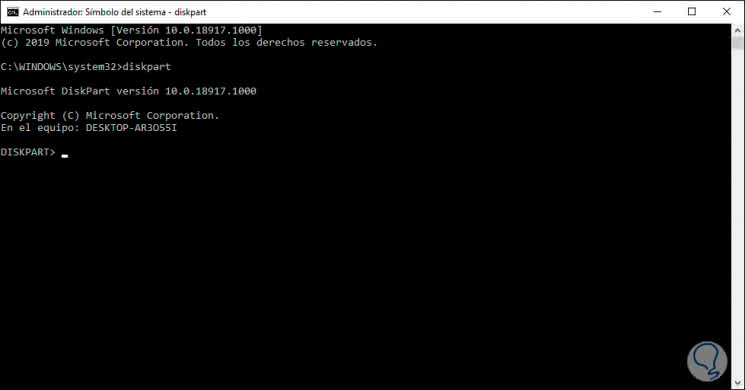
diskpart
Note
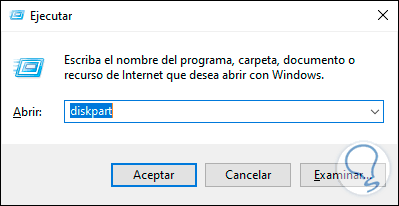
We can also access directly using the following keys and run diskpart there:
+ R
Step 2
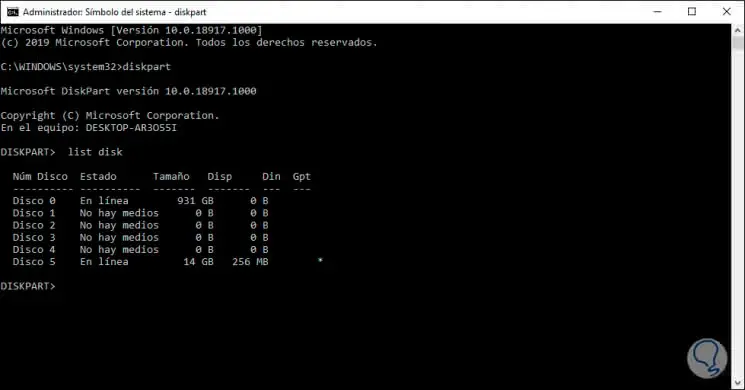
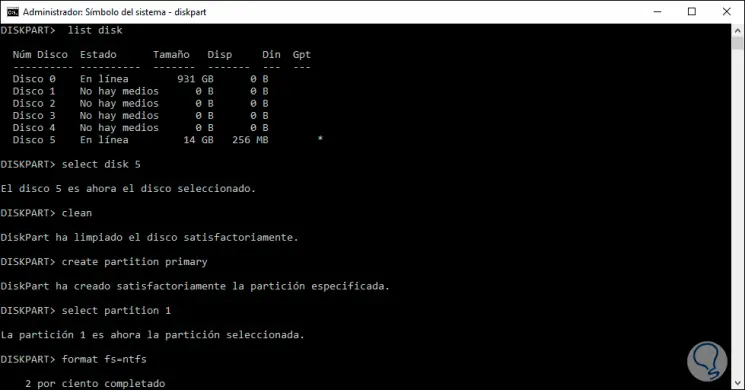
Once we access the diskpart utility which is designed by Microsoft to manage everything related to hard drives and partitions, we will see the available disks in the system by executing the following:
list disk
Step 3
There we can see that our USB device is Disk 5, so we will select it by executing the following line:
select disk 5
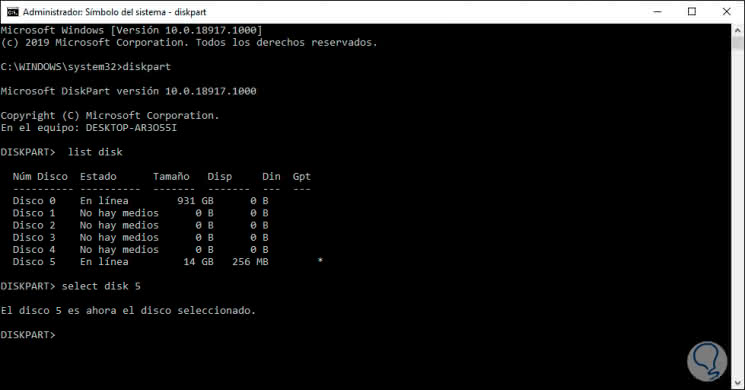
Step 4
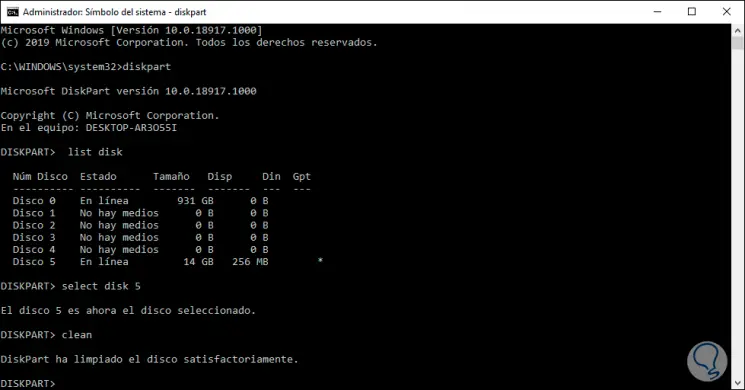
Once selected, we will proceed with the process of erasing the USB medium by executing the “clean†command:
Step 5
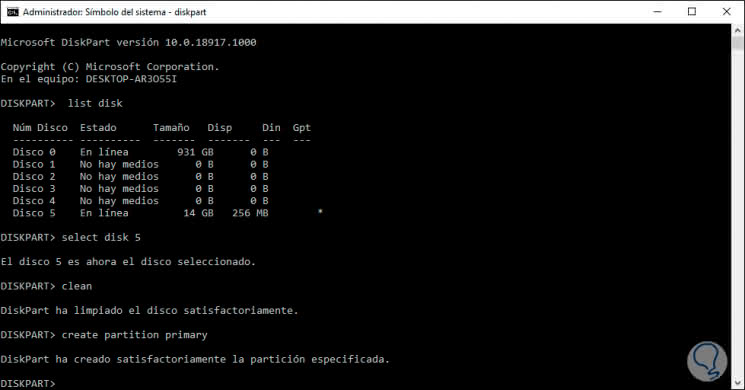
Once this is done, we will create the partition on the selected disk by running:
create partition primary
Step 6
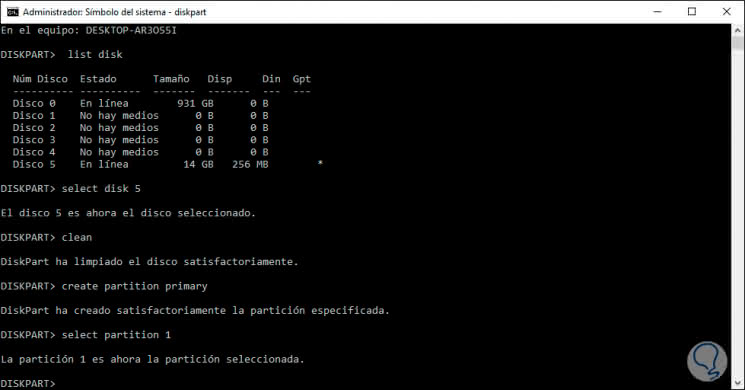
We will select the partition created with the command:
select partition 1
Step 7
With the partition selected, it is time to define the type of file system with which the USB will remain, there we can select one of the following options:
- format fs = ntfs: Applies to the standard Windows NTFS format
- format fs = fat32: We can use it so that the USB stays with the FAT32 file system
- format fs = exfat: It is ideal if we are going to use the USB media in other operating systems such as macOS.
Step 8
For this example we will use the NTFS file system:
format fs = ntfs
Step 9
There begins the process of formatting the selected unit, we can optimize the process with the quick format by adding the “quick†parameter:
format fs = ntfs quick
Step 10
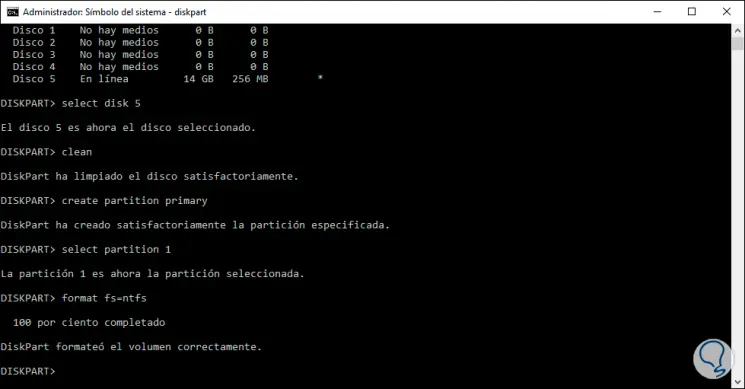
Once this process is finished we will see the following:
Step 11
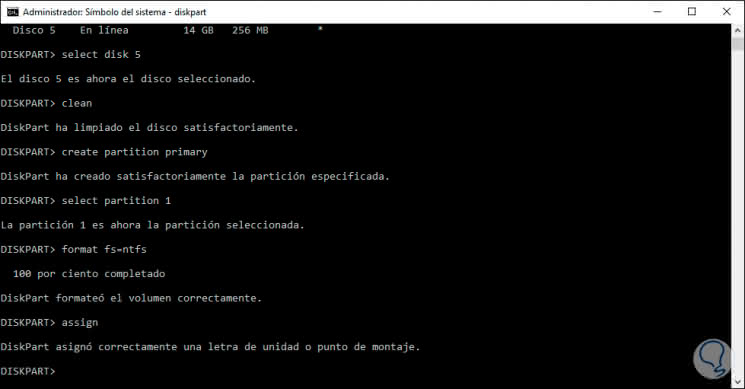
Finally, we will assign the properties to the USB device as a drive letter with the “assign†command:
With the Diskpart command it will be possible to set the desired format parameters for our USB media, obtaining a secure and complete erase. In this way we can solve errors with our USB or Pendrive and make them compatible with any operating system we are using.