Everyone looks forward to the introduction of a new operating system or application and what better way to do it than at the Worldwide Developer Conference (WWDC) where Apple developers launch their new works of art hoping to get the attention of their thousands or millions of users. On this occasion, the truth a little earlier than expected, they have announced their new operating system version which will be called macOS Catalina and will take version 10.15 by default..
We are still working and getting the most out of macOS Mojave but as we see now we are at the door, maybe a little more, of receiving this new version of the operating system and knowing that it has again or, unfortunately for some, that will be eliminated with this upgrade.
macOS Catalina will have some not very significant news but without a doubt that one of the most striking is that now we will not have iTunes as an integrated app. Do not worry, because in its replacement we will see some important developments..
News macOS Catalina
We will not go into deep details about the new features or improvements of macOS Catalina but we will make a brief summary of what you will see:
- Instead of iTunes we will now have applications such as Apple Music, Apple Podcasts and Apple TV each with a user-specific approach.
- Sidecar function which will give us the possibility of using our iPad as a second screen of the device or, if necessary, be used as a digitizing tablet for drawing applications that are compatible with this type of design.
- Integration of the Voice Control function thanks to which we can combine a series of commands plus Siri functions so that we interact with the system applications, we can feel in the future now.
- One of the most useful improvements for us is the Time on screen function with which we can control the time we are on the computer in applications or websites.
- The Photos app adds the Days, Months and Years tabs for better image management.
- With macOS Catalina it will now be possible to select text using the mouse with the Control key pressed.
- It will be possible to block our equipment remotely
- The Gatekeeper utility will check each downloaded application to determine and validate its integrity.
- It has various zoom levels for the monitor
As you can see in macOS Catalina implements many iOS functions so its use will be much more dynamic. Next we will see how to use this new Apple system launched recently.
1. Requirements for use for macOS Catalina
Compatible macOS computers
To use macOS Catalina correctly, we must have one of the following devices:
- MacBook from 2015 onwards
- MacBook Air from 2012 onwards
- iMac Pro from 2017 onwards
- MacBook Pro from 2012 onwards
- Mac Pro from 2013 onwards
- Mac mini from 2012 onwards
If you do not own any of these unfortunately you will not be able to know this new operating system. Here you have a macOS Catalina compatibility list that offers it as a solution.
Hardware aspects
Another point to consider is the hardware aspects to use, these are:
- Count on macOS X 10.8 or higher
- Have 15 GB of hard disk space for the upgrade
- Some of its functions require the use of Apple ID
- Some features must have Internet access
2. How to register as a developer at Apple
Although it sounds complex, it really isn't. We have to register as Apple developers because at the moment a developer beta for macOS Catalina is offered. In a few weeks the public beta will come out and later the official system itself.
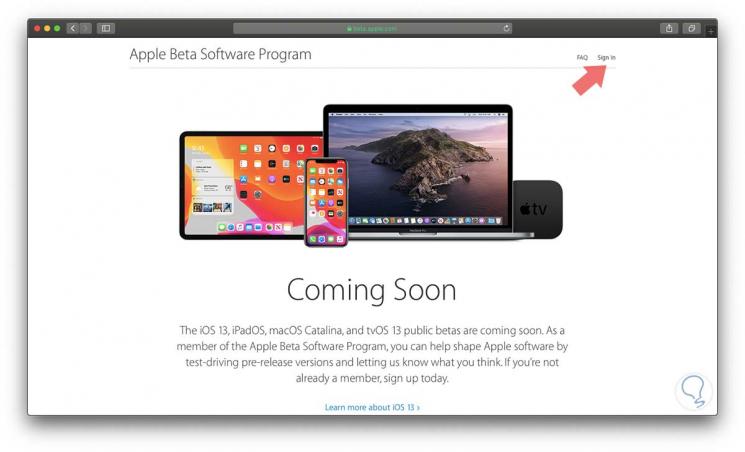
Step 1
To register you must go to the following link:
Apple developers
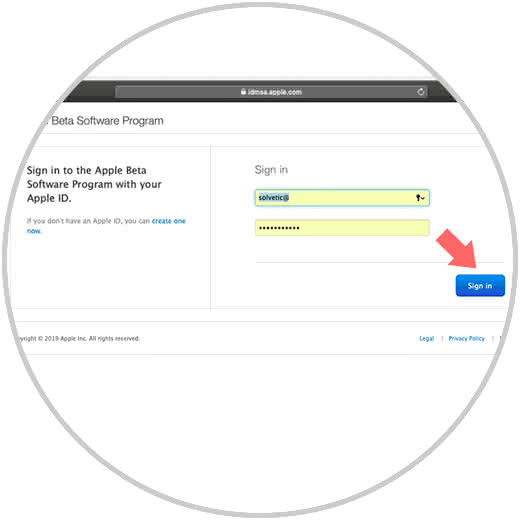
Step 2
There we click on the Sign In button to proceed with the entry of our access credentials or proceed with the registration:
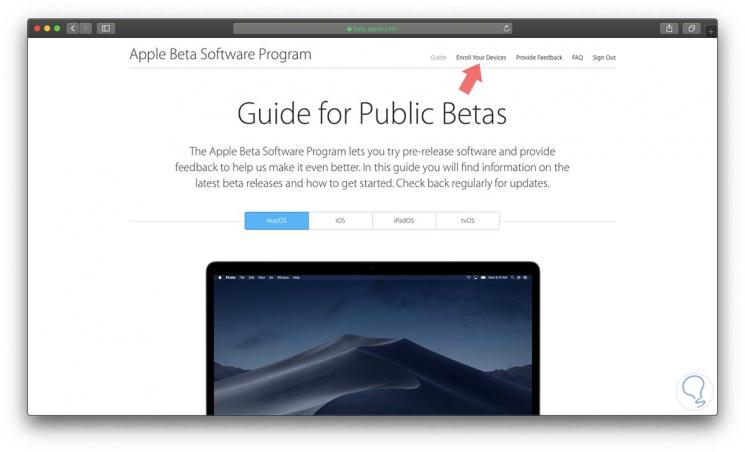
Step 3
Upon accessing we will be redirected to the following window. There we click on the Enroll Your Devices line located at the top
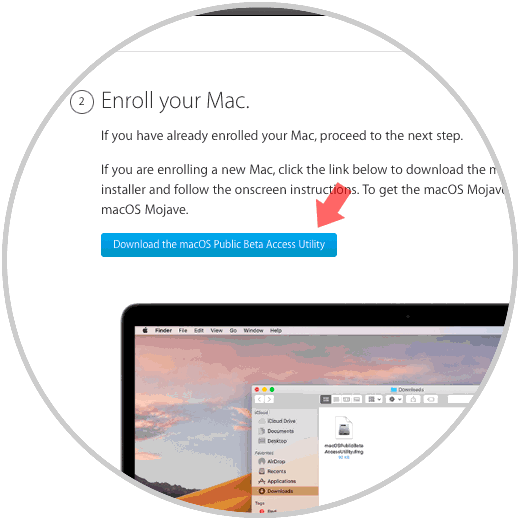
Step 4
In the lower part of the window we will see the following. There we must click on the “Download macOS Public Beta Access Utilitiy†button in order to assign our equipment to the Apple beta program and thus enjoy before the others of the developments developed.
3. How to run macOS Catalina Beta
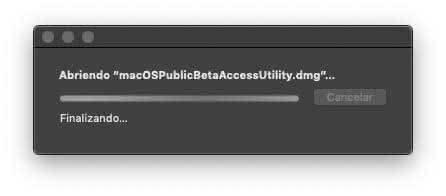
Step 1
Once downloaded we double click on it and we will see that the opening process begins:
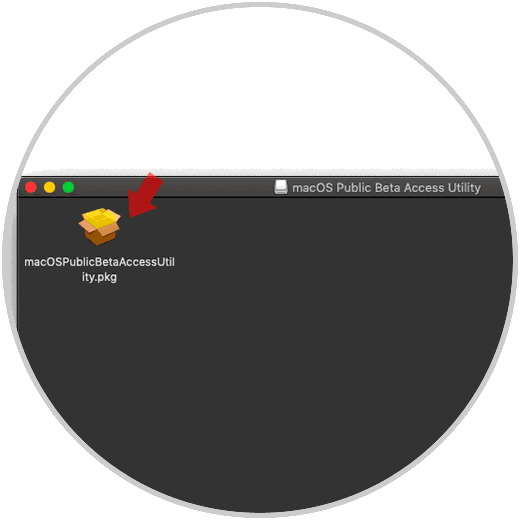
Step 2
Once validated we will see the following. We click on the .pkg file.
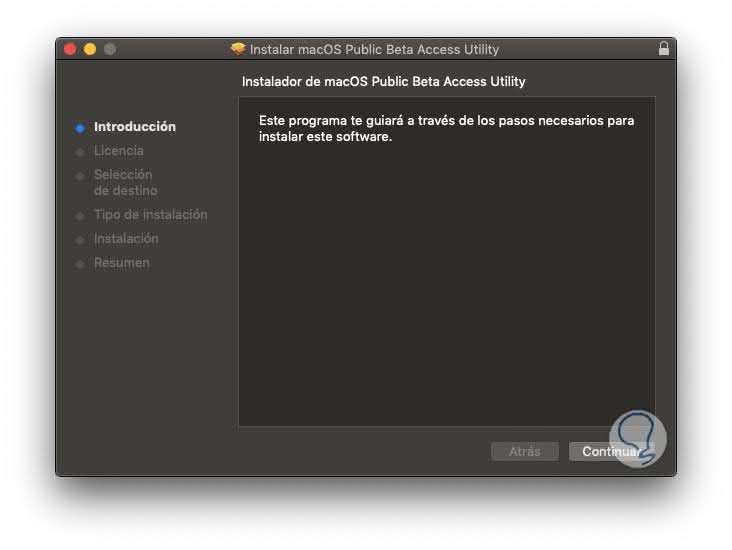
Step 3
The following wizard will be displayed. Click on Continue
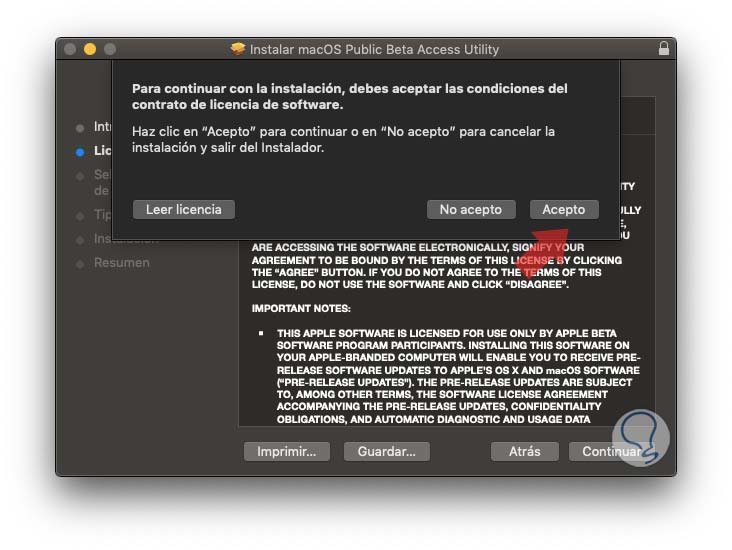
Step 4
We must accept the terms of the license of use:
Step 5
Once accepted, we will define where the Apple Beta utility is to be installed and then define the type of installation:
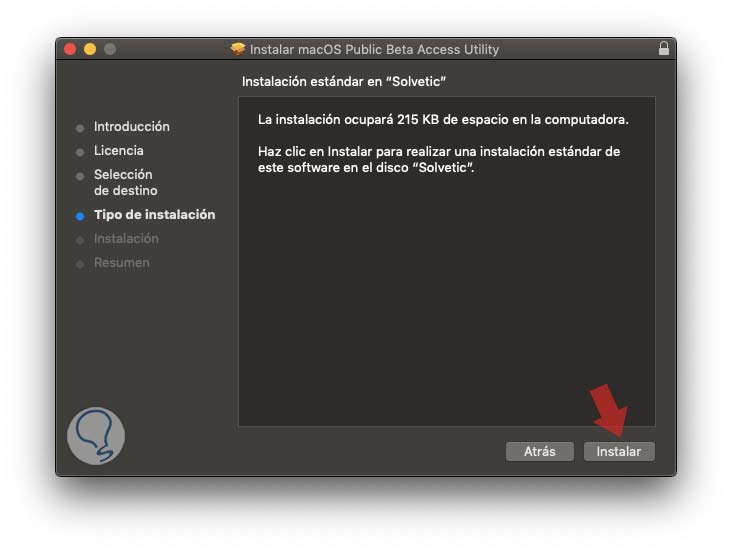
Step 6
Click on Install and we must enter the administrator password:
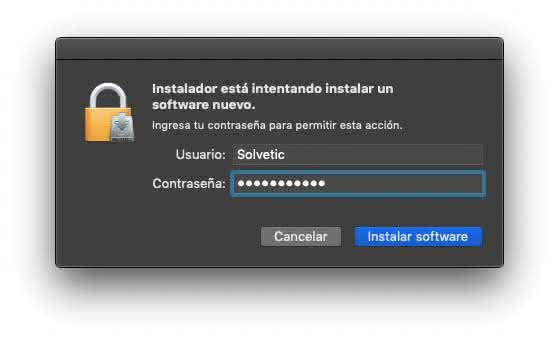
Step 7
We click on Install software to proceed with the installation process:
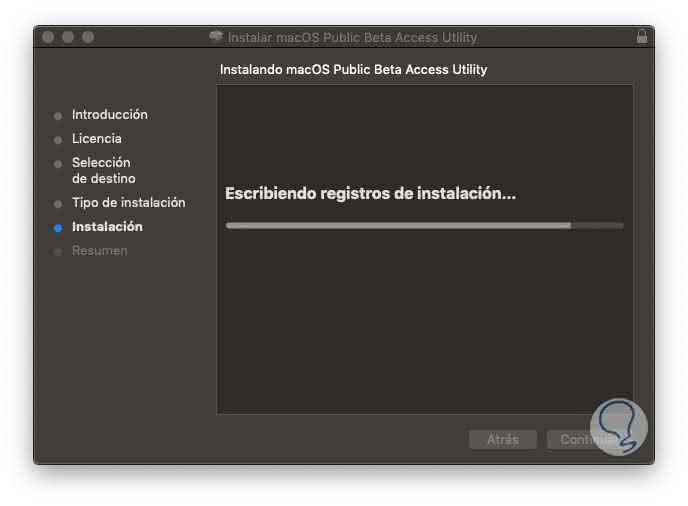
Step 8
Once concluded we will see the following:
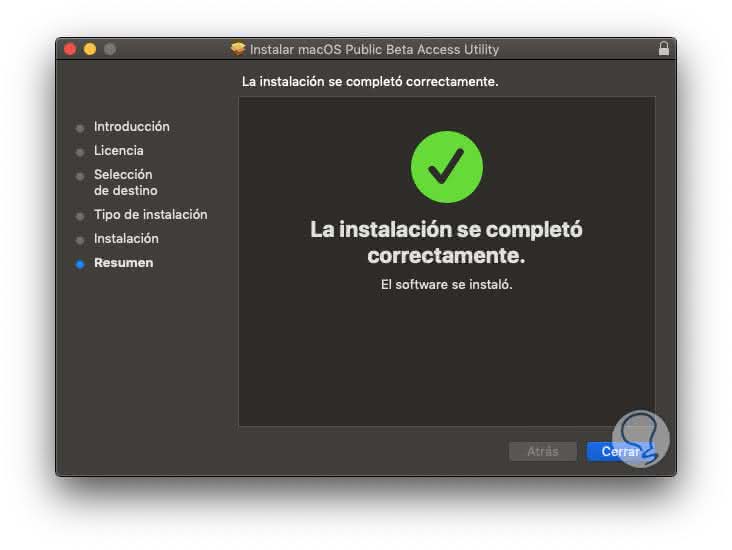
Step 9
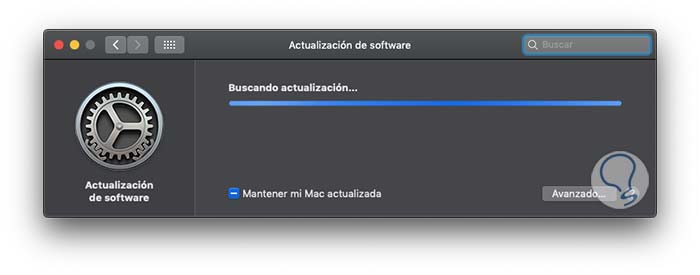
Click on Close to exit the wizard and the macOS betas search process will automatically start in the system:
4. How to install beta and upgrade to macOS Catalina
Step 1
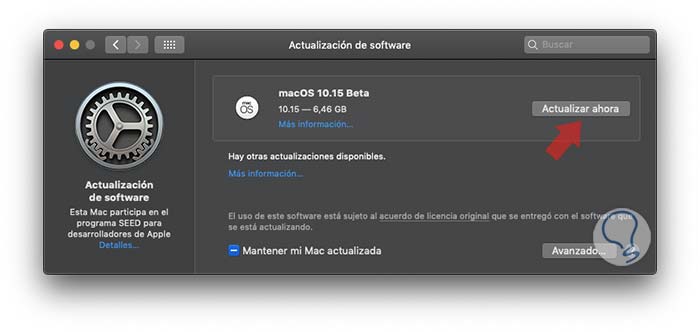
We can see that after a moment the macOS 10.15 beta associated with macOS Catalina is detected. We click on the “Update now†button
Step 2
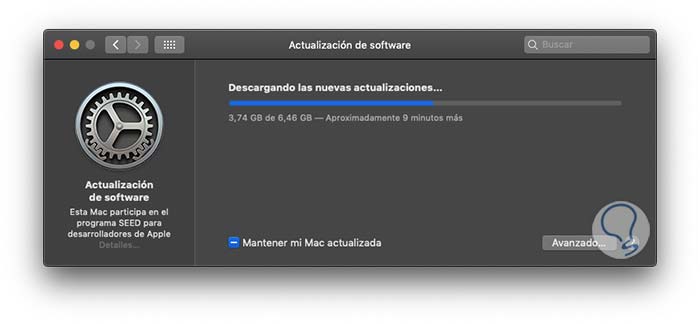
We can go to prepare a coffee since its size is 6.4 GB so if your connection is slow, the download process will take a long time:
Step 3
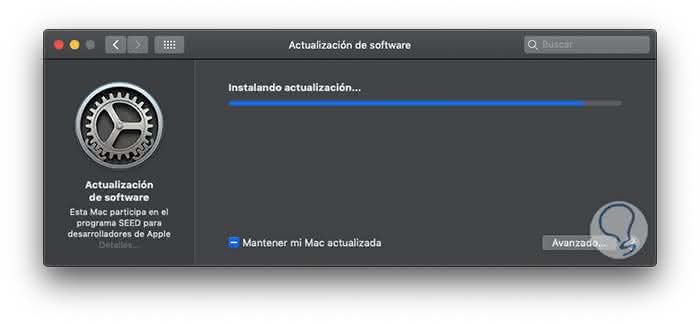
Once the download process is finished, proceed with its installation:
Step 4
When the installation is completed automatically, the macOS Catalina installation wizard will open:
Step 5
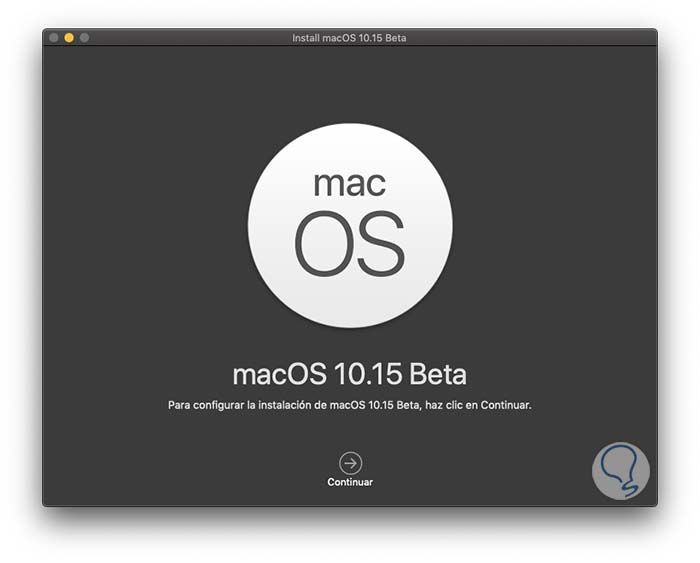
We click on Continue and we will see the following:
Step 6
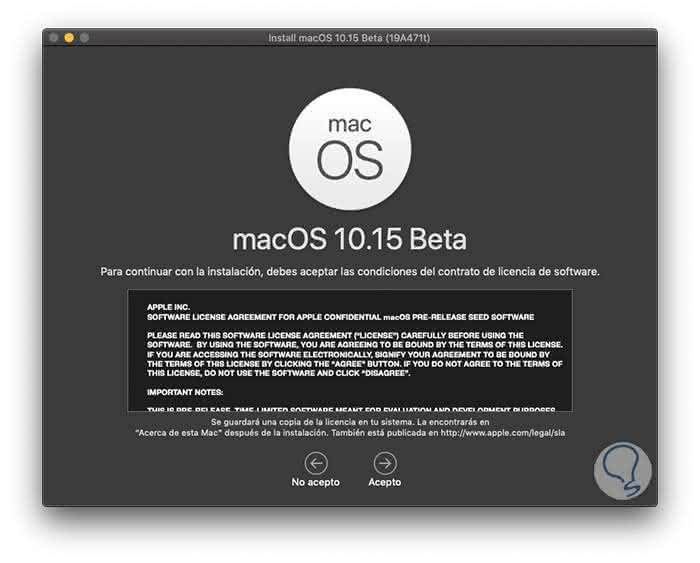
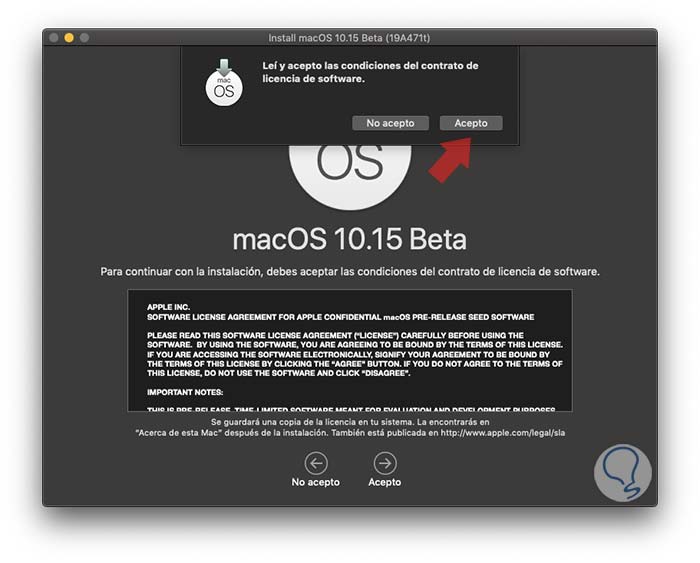
There we must accept the license by clicking I accept and again I accept (pop-up window):
Step 7
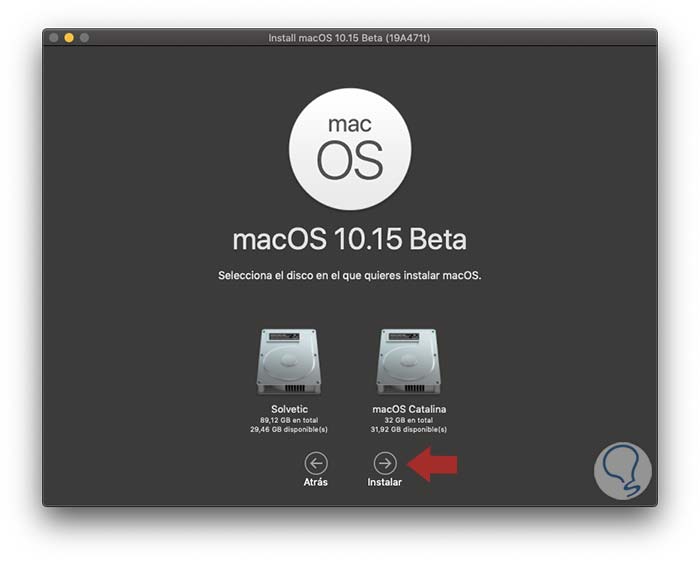
In the next window we will select the hard disk where macOS Catalina is to be installed. We select it and click on Next, as a recommendation it is ideal to install it in a partition since it is an error-prone beta version.
Step 8
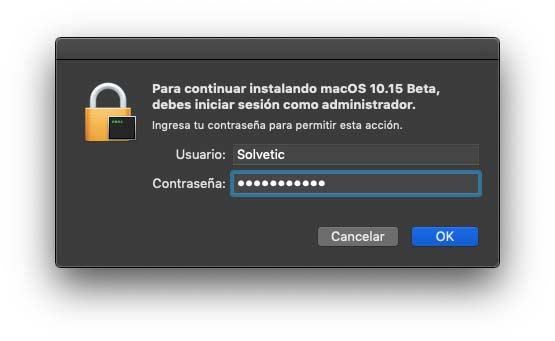
Once the disc is selected, click on Install and it will be necessary to enter our password to confirm the process:
Step 9
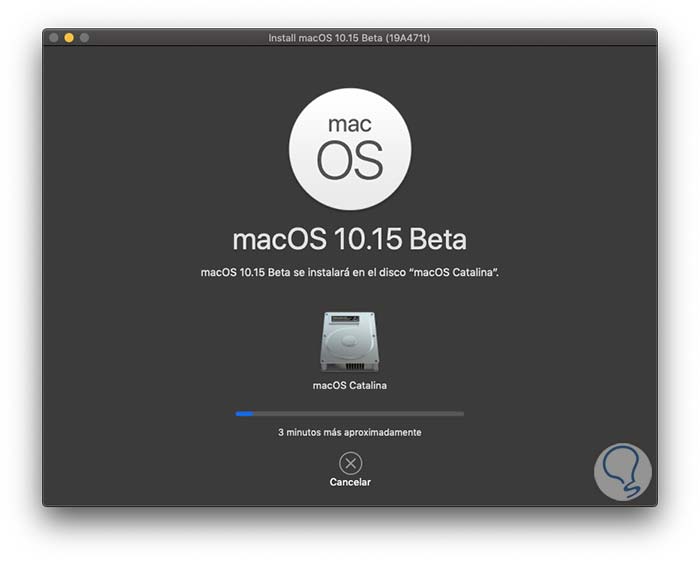
Click on Ok and the macOS Catalina installation process will take place on the selected disk:
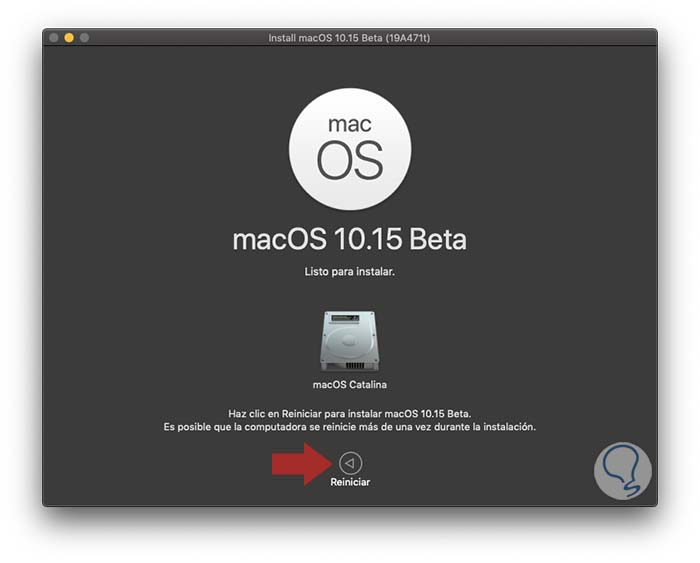
Step 10
When this process concludes we will see the following. There it is mandatory to restart the system for the changes to be applied
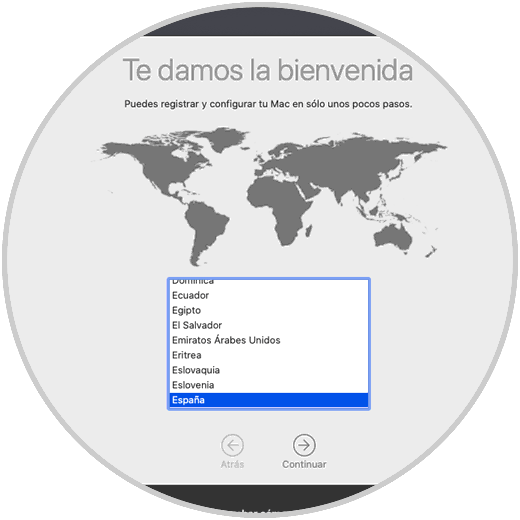
Step 11
The system will take around 7 minutes before entering the global macOS Catalina configuration where we first select our geographic location:
Step 12
Next we will select the Wi-Fi or Ethernet network to connect:
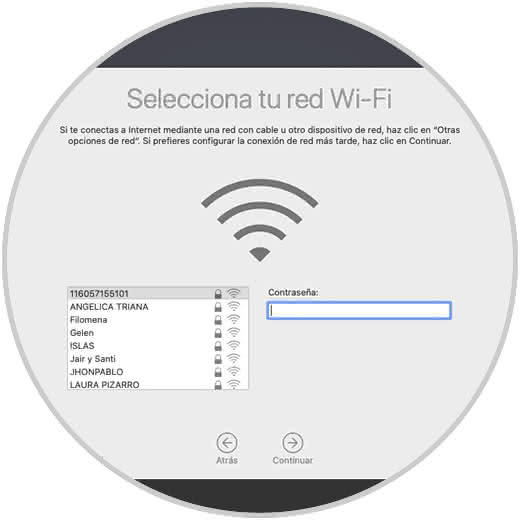
Step 13
In the following window we will see the conditions of use of the system:
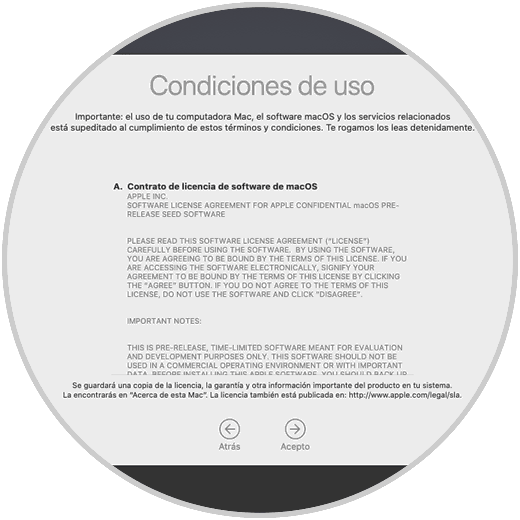
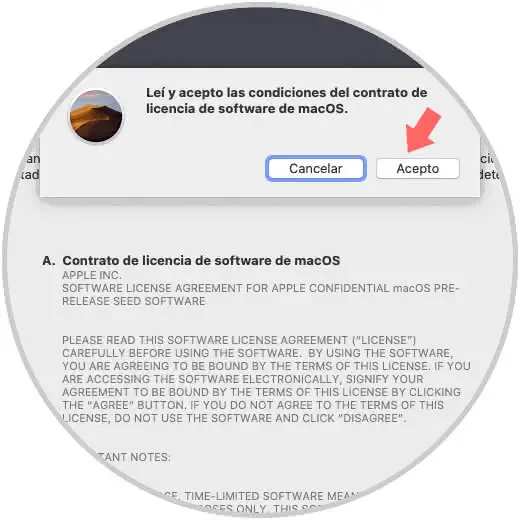
Step 14
We click Accept and we must confirm it:
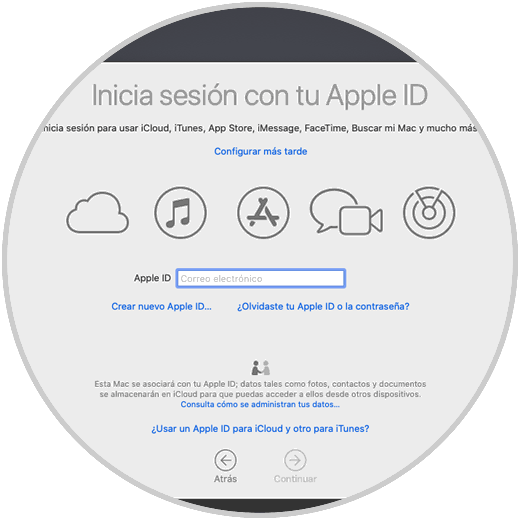
Step 15
It will then be possible to register our Apple ID or configure it later:
Step 16
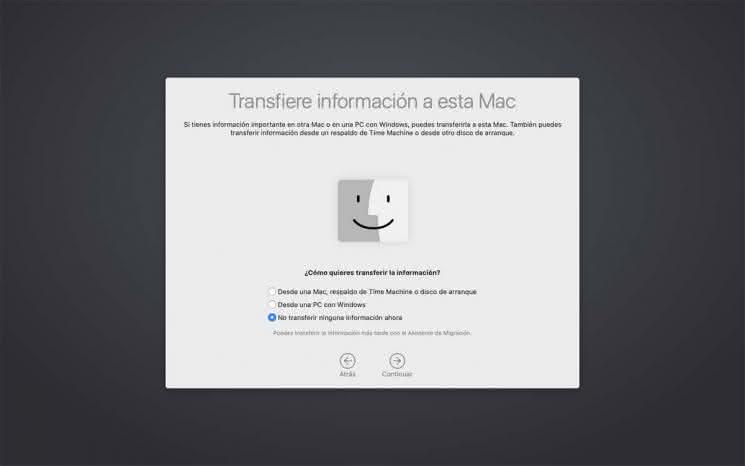
Then it will be possible to transfer backed up information to the new system if we wish:
Step 17
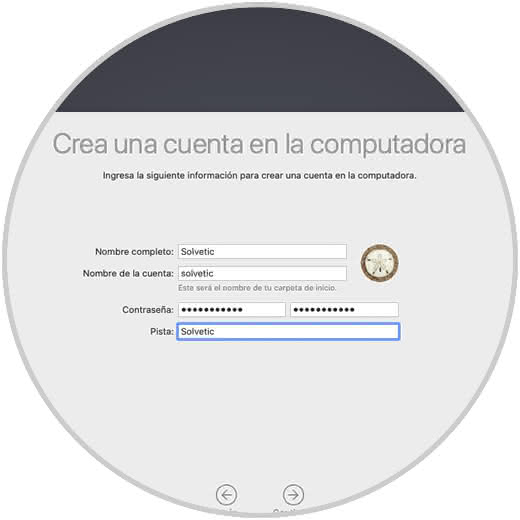
We proceed to create our username and password:
Step 18
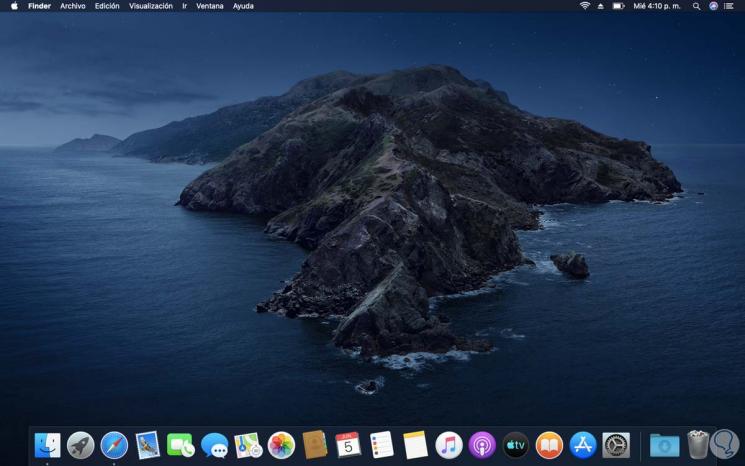
In the last steps we can configure the Time on screen utility and assign the theme to the operating system, after this we will access the new macOS Catalina environment:
Step 19
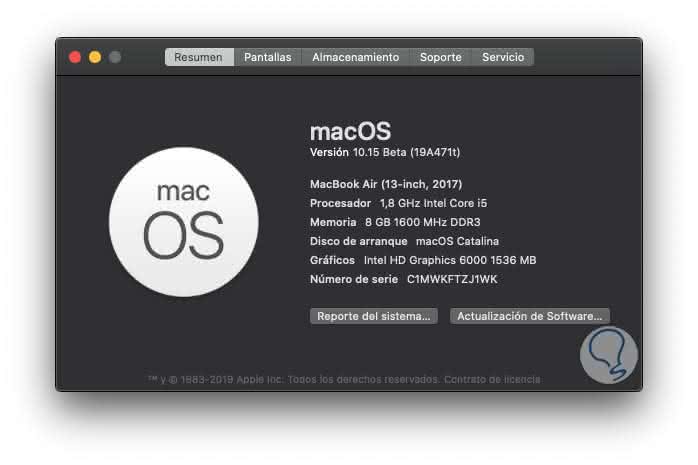
It will be possible to see the new apps in the Docker and start giving them the desired use, we validate that we use the Apple beta from the option About this Mac:
We have learned to install the new version of macOS called Catalina and little by little we will see their news in more detail to make the most of each of them, understanding that it is still a beta version where an error can arise at any time and make us lose settings and more..