Windows server from its editions 2012 to 2019 has been developed in order to give the administrator a wide portfolio of options thanks to the different roles and features that can be installed from there, for security and availability, Windows Server requires the use of an address Static IP and a LAN (Ethernet) connection..
But the situation may arise that for some reason it is necessary to connect our server to a Wi-Fi network , it is not ideal due to the security flaws of this type of connection and the factors that can interfere with the correct behavior of this, but If you need to connect the computer wirelessly, TechnoWikis will explain how to do it in Windows Server 2019 but the same process applies to the 2012 and 2016 editions.
We also leave you the video tutorial to enable WiFi in Windows Server 2019, 2016 or 2012..
To stay up to date, remember to subscribe to our YouTube channel! SUBSCRIBE
How to activate Wi-Fi network in Windows Server 2012, 2016, 2019
Step 1
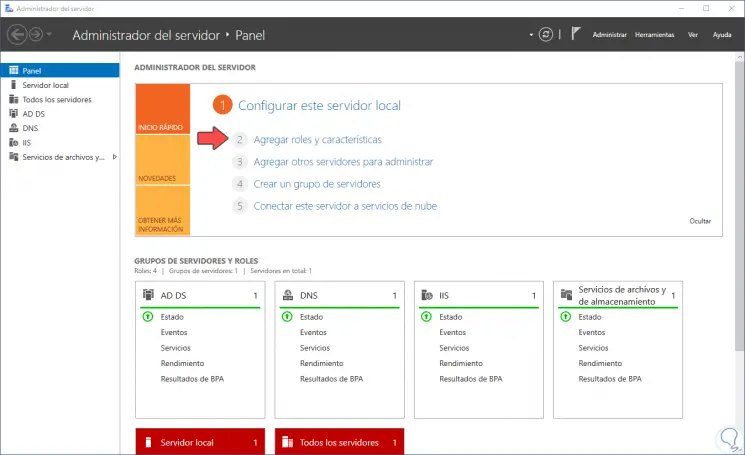
The first thing to do is go to the Server Administrator and click on the “Add roles and features” line there:
Step 2
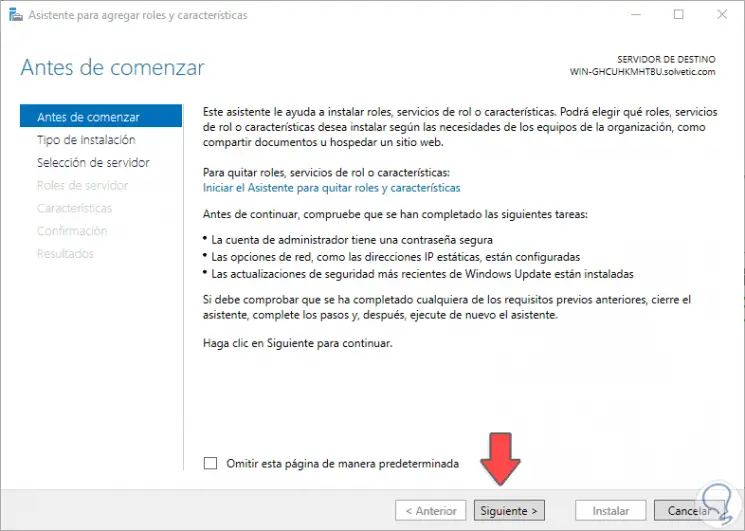
The following wizard will be displayed:
Step 3
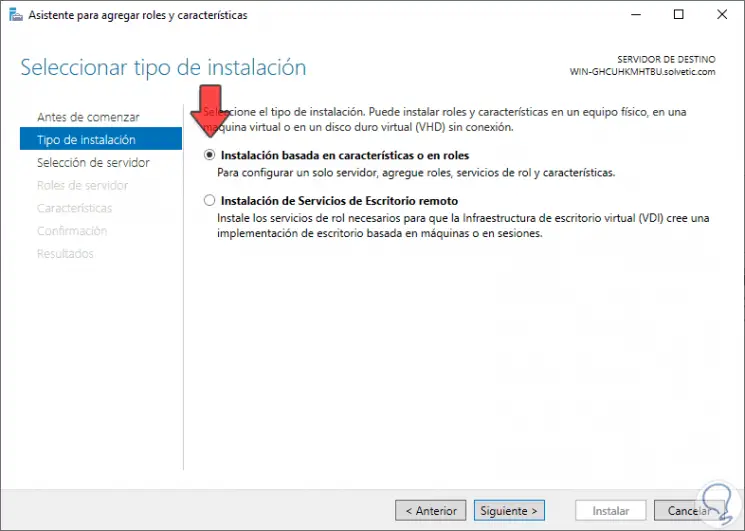
We click on Next and in the next window we activate the box “Installation based on characteristics or roles”:
Step 4
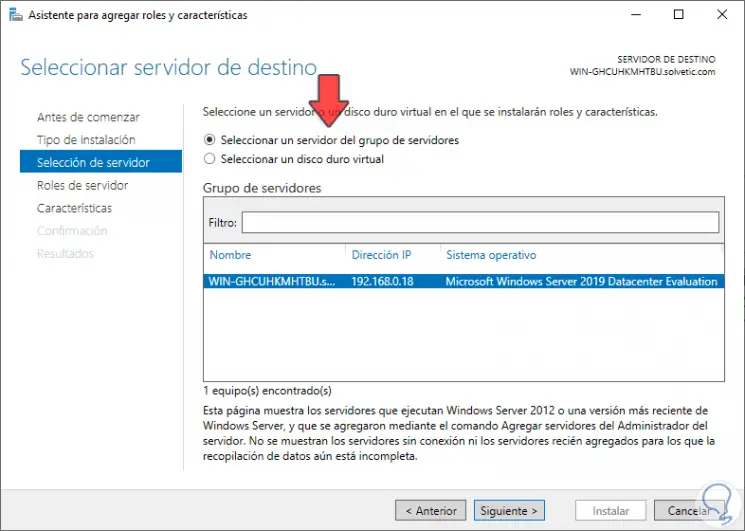
In the next window we select the server where Wi-Fi will be activated:
Step 5
We click Next to view the available server roles:
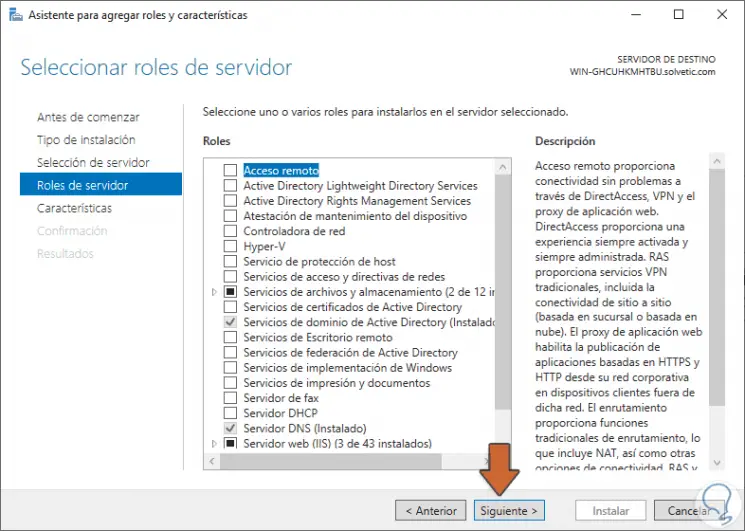
Step 6
In this case we will not activate any box, we click Next to go to the server characteristics and there we will locate the line "WLAN Service":
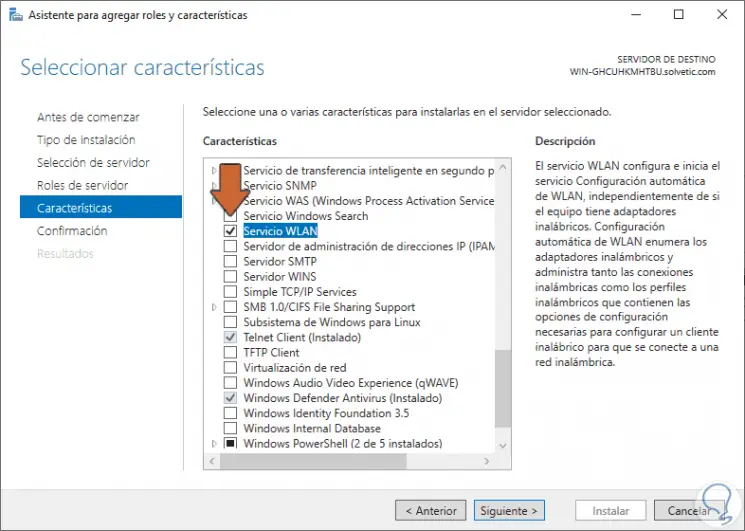
Step 7
We click Next to see the last step of the configuration:
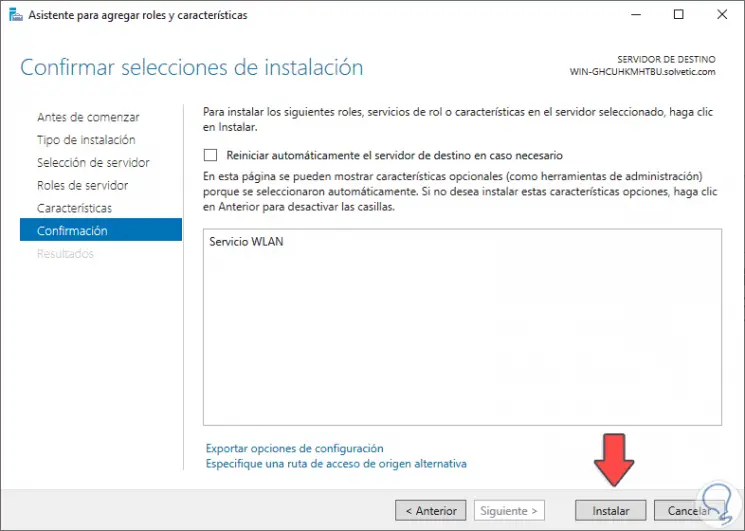
Step 8
There we click on the “Install” button to start the installation of this feature in Windows Server 2019:
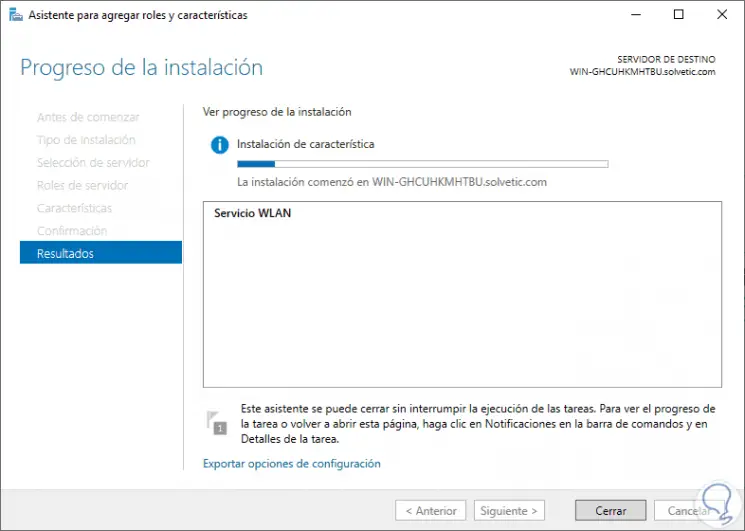
Step 9
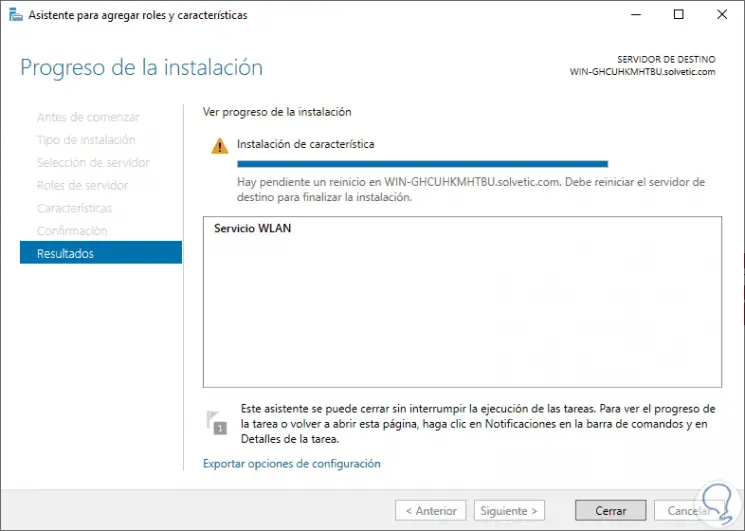
Once the Wi-Fi feature has been installed correctly on the server, we will see that it is necessary to restart it to apply the changes:
Step 10
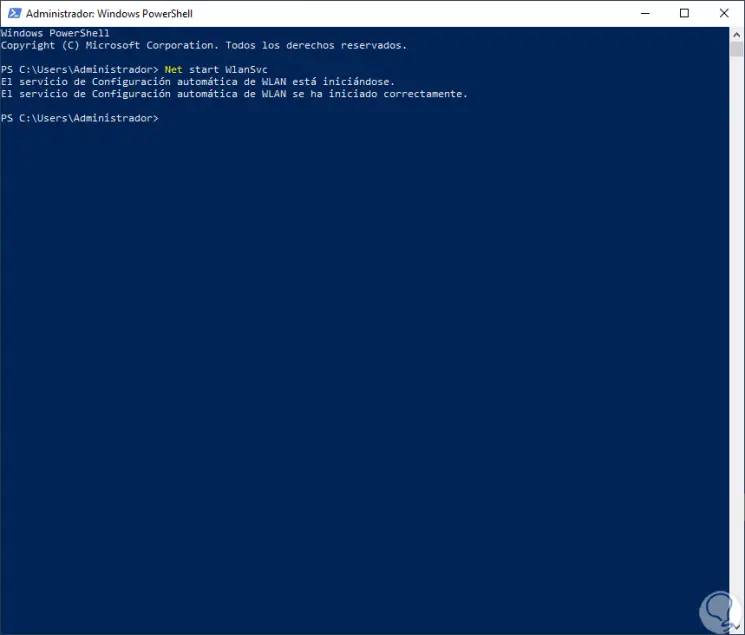
Once the server is restarted, we access Windows PowerShell and there we will start the WLAN service by executing the following command:
net start WlanSvc
Step 11
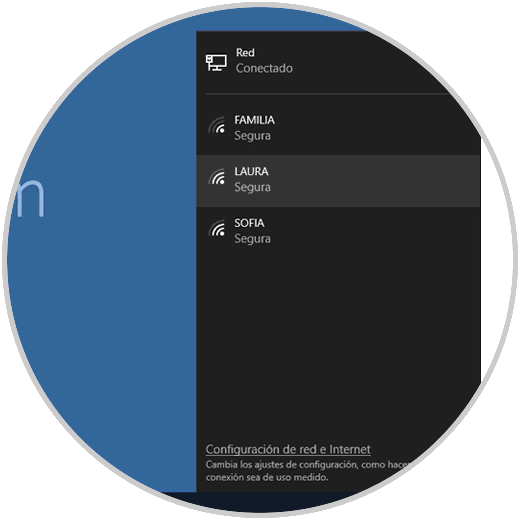
When the service has started we can search for the available Wi-Fi networks in the coverage area to connect to one of them:
With this simple method we can enable WiFi in Windows Server 2019, 2016, 2012 to have more connectivity alternatives.