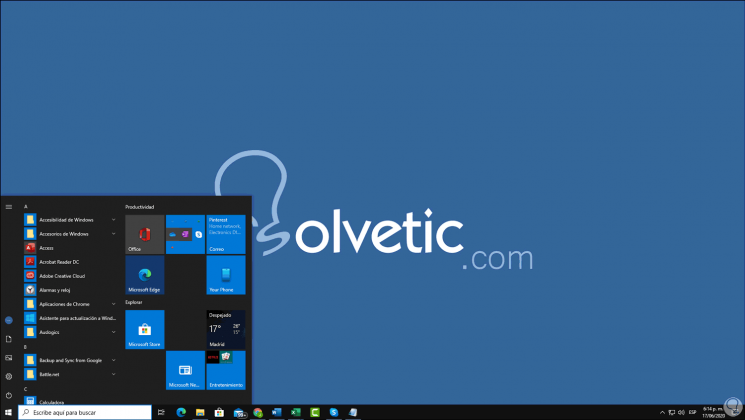
The menu in Windows 10 is the most essential part of the system because from there we go to different system options such as programs, applications, utilities and other tools that allow us to better manage the Windows 10 environment. The classic menu was present until the editions. Windows 2000, Windows 2003, Windows XP and Vista, but since Windows 7 it underwent a radical change in design and in the Windows 10 Start Menu we noticed it even more:

This new menu offers a modern look and the integrated search functions maximize the user experience, but if you are one of the users who wants to use the classic menu of Windows 10, TechnoWikis will explain how to activate the classic Windows 10 start menu , without it being necessary to use some extra program..
We also leave you the video tutorial to know how to return to the classic Start menu in Windows 10.
To stay up to date, remember to subscribe to our YouTube channel! SUBSCRIBE
How to put Classic Start Menu in Windows 10
For this we access the Start menu and on the right side we find the Productivity section where a series of tiles (called tiles) are displayed.
Step 1
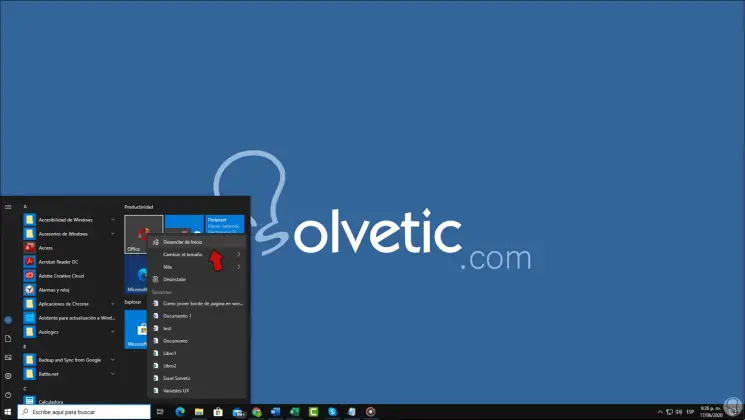
To establish the classic menu we must click on one of them and select "Unpin from Start":

Step 2
This process must be repeated with each application hosted there:
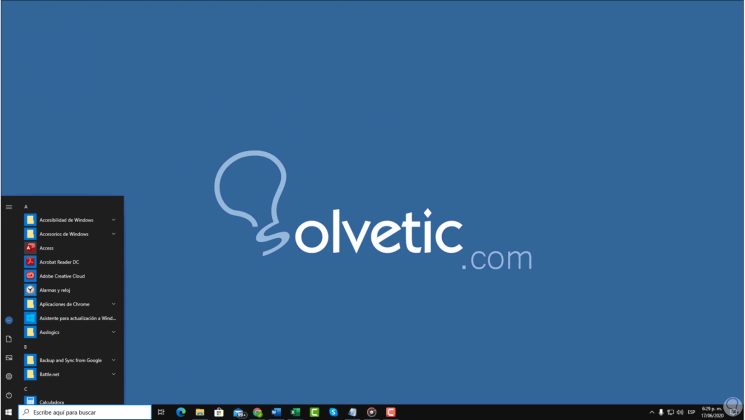
After this we are going to place the mouse cursor on the edge of the Start menu and when we see the double-pointed arrow we click and press it we will move to the left to start the Menu with a different design (this only if we see the menu a little bigger than normal)

Thus we have been able to activate the Classic Start menu Windows 10 with the classic style used until previous versions..