Our computer has become an essential work and personal element for many of us, given that the options and functions it offers without ever increasing. That is why having it updated and optimized is the best way to achieve adequate performance , and be up to date with all the news that updates offer..
The macOS 11 Big Sur operating system, which becomes one of the most important updates to the operating system available for laptops and desktops and especially for the ID it uses, is not 10.16 but macOS 11.
Compatibility
One of the details that most worries users is if their computer is compatible with macOS 11 Big Sur, since Apple has confirmed that not all computers that are compatible with macOS Catalina will be compatible with Big Sur, at the equipment level, the following:
- MacBook from year 2015 or later
- MacBook Air from 2013 onwards
- MacBook Pro late 2013 and later
- Mac Mini from 2014 onwards
News
Globally, some of what we find in this new macOS will be:
- Clearer window appearance
- Sheets app has been redesigned
- New clicking options like Dark Mode, Night Shift and AirPlay.
- Now we can drag icons directly to the bar.
- Updated notification center.
- Interactive notifications.
- Widgets customization option.
- Preview in Safari and much more.
1. How to upgrade to macOS 11 Big Sur
If you are a macOS Catalina user and want to upgrade to macOS 11 Big Sur, you should know that there is still a short time to release it, but it is possible to prove it by belonging to the Apple Developer program, which you can register at the following link:
Developer Apple
Step 1
When downloading the utility we will see the following:
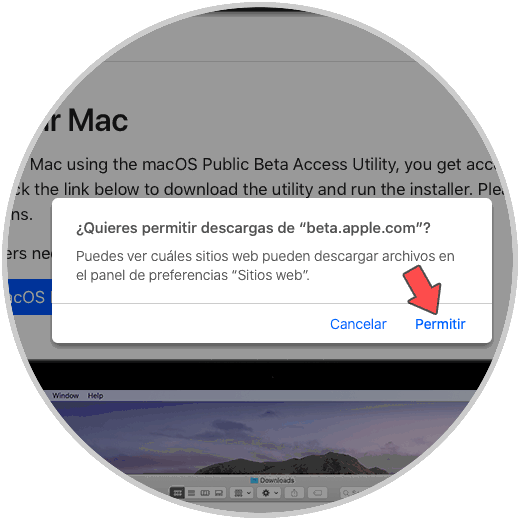
Step 2
There we click "Allow" and once downloaded run it and macOS will validate it:
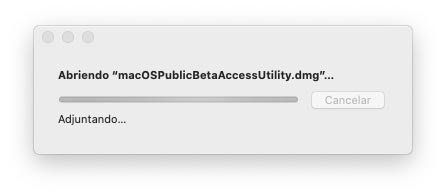
Step 3
After that we will see the following:
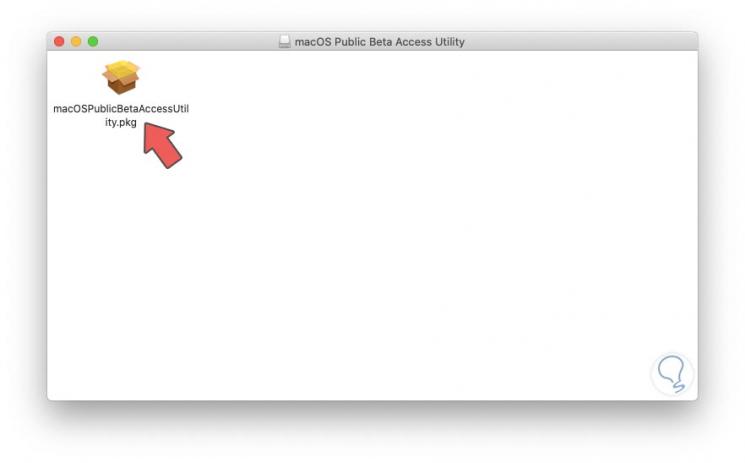
Step 4
We click there and the respective assistant will launch:
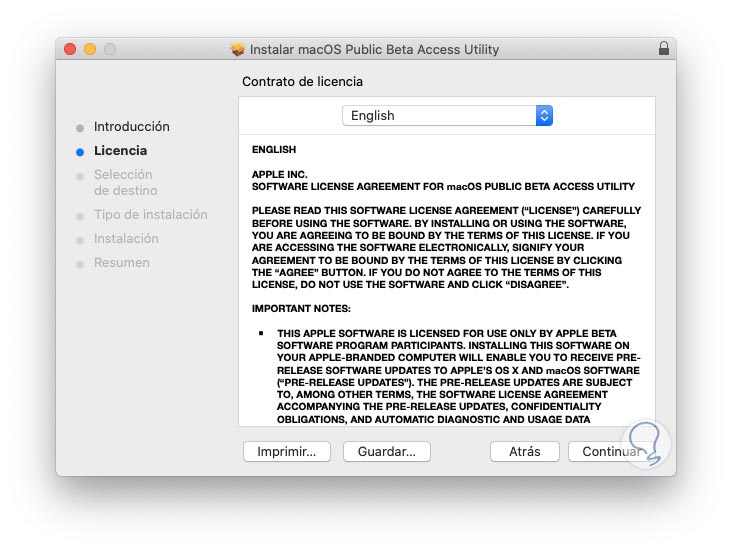
Step 5
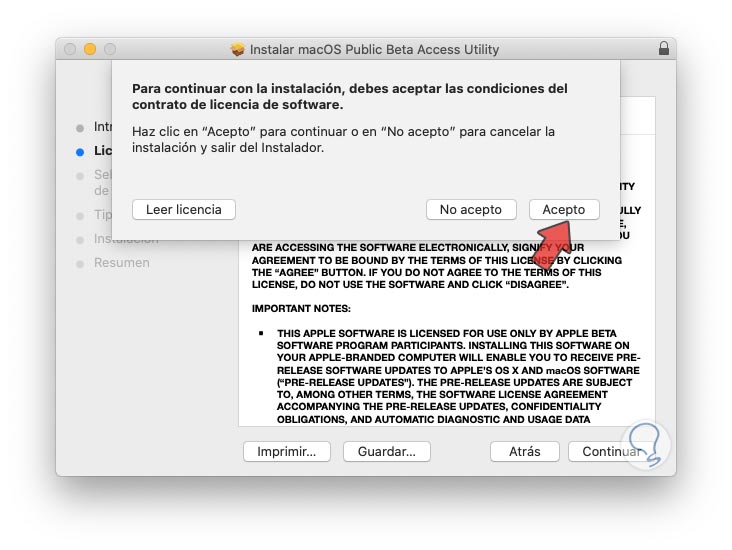
We click "Continue" and accept the license terms:
Step 6
In the next window we will see the following:
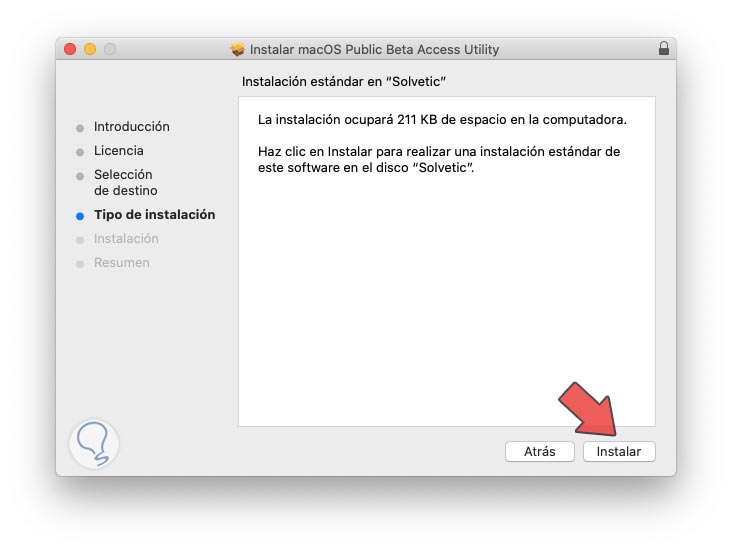
Step 7
We click "Install" and enter the administrator password:
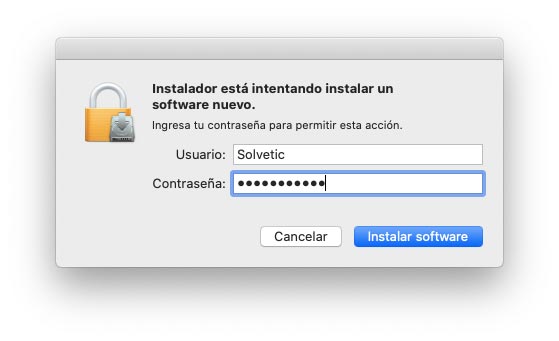
Step 8
We click "Install software" to start the utility installation process:
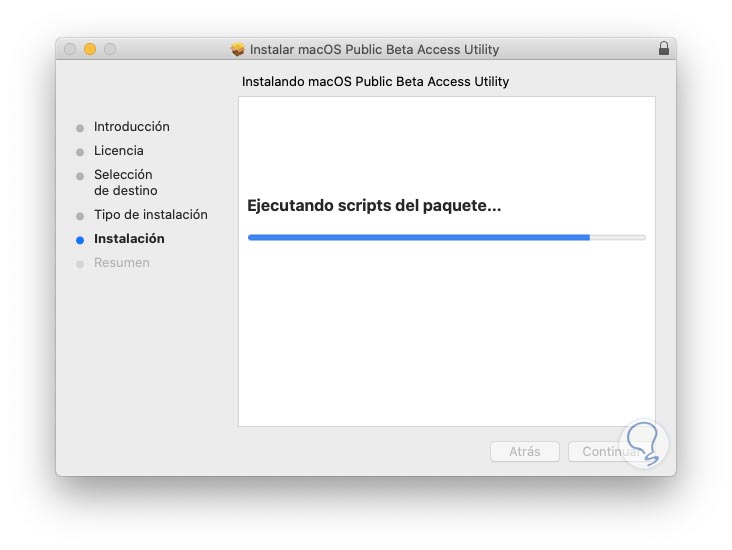
Step 9
At the end we will see the following:
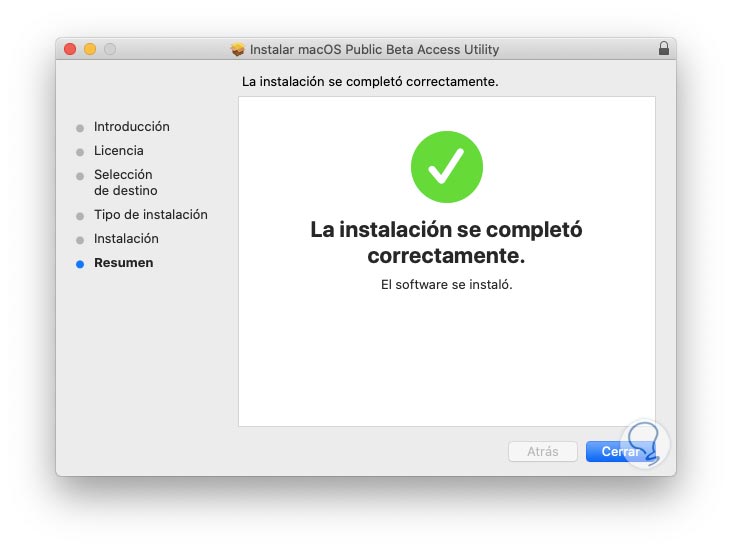
Step 10
Once this is done, the team will be in developer mode and available to receive beta updates, to check this we can use one of the following ways:
- Clicking on the Apple menu - About this Mac - Software updates
- From System Preferences - Software Updates
When accessing there we find the macOS 11 Big Sur edition available:
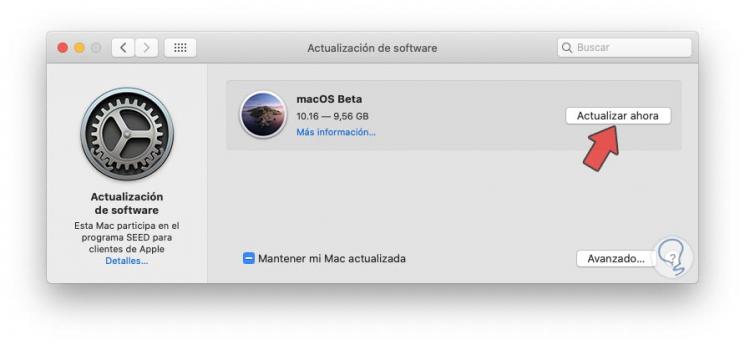
Note
10.06 refers to the next edition of Catalina which is Big Sur, macOS 11 will be officially the day it is available to the general public.
Step 10
There we click “Update now” and the 9.56 GB download will start from this:

Step 11
Once the download finishes automatically, the macOS Big Sur update or installation wizard will be launched, which is still in beta mode:
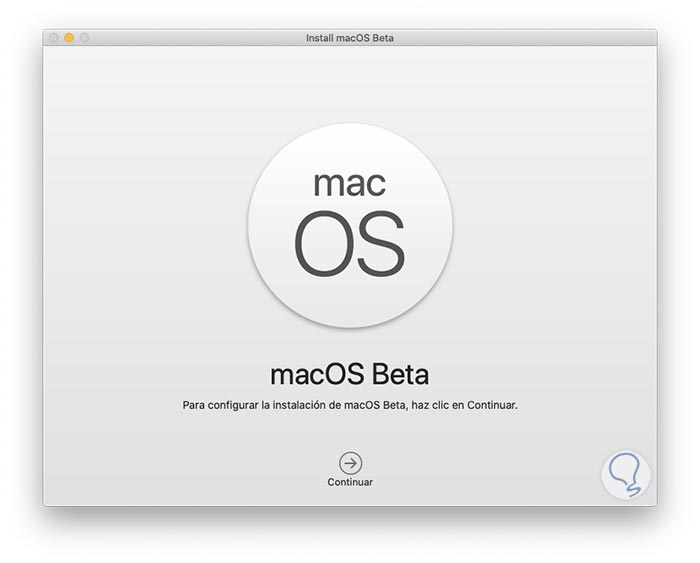
Step 12
We click "Continue" and we must accept the system use license:
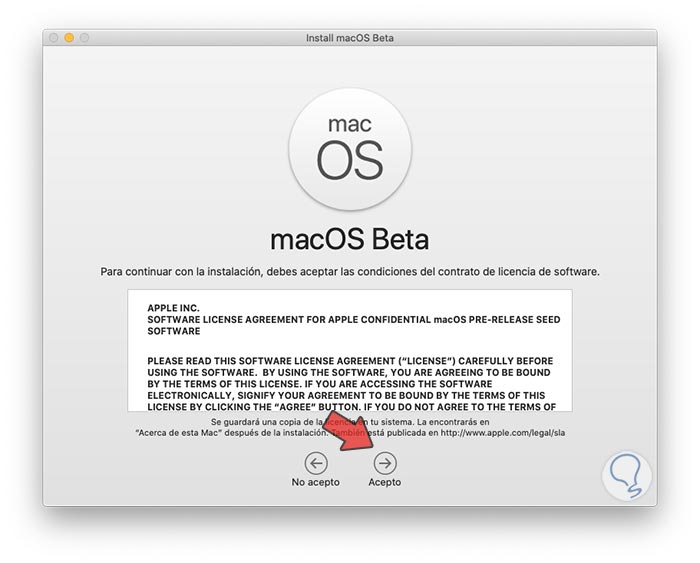
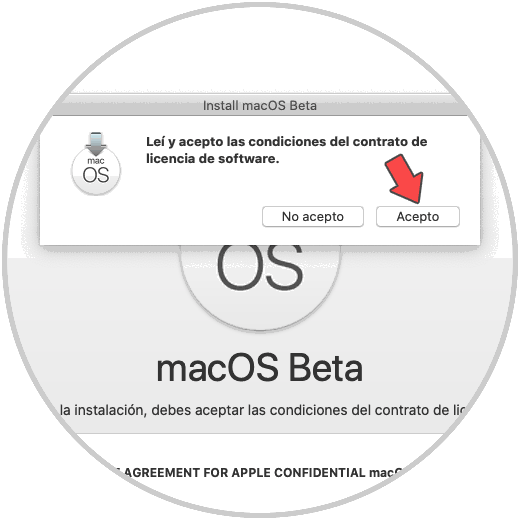
Step 13
We click "I accept" and the following window will be displayed where we confirm the license:
Step 14
After clicking "I accept" we select the disk where macOS Big Sur has to be installed:

Step 15
We click “Install”, we enter the administrator password:

Step 16
We click on “Add auxiliary tool” and the environment configuration process will start:

Step 17
When this ends we will see the following:
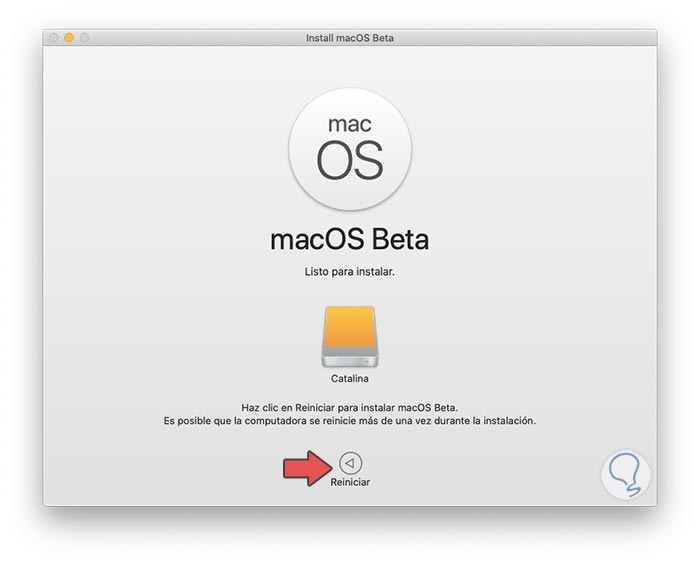
There we must connect the equipment to the current and click "Restart" to start the restart process and
2. How to install macOS Big Sur
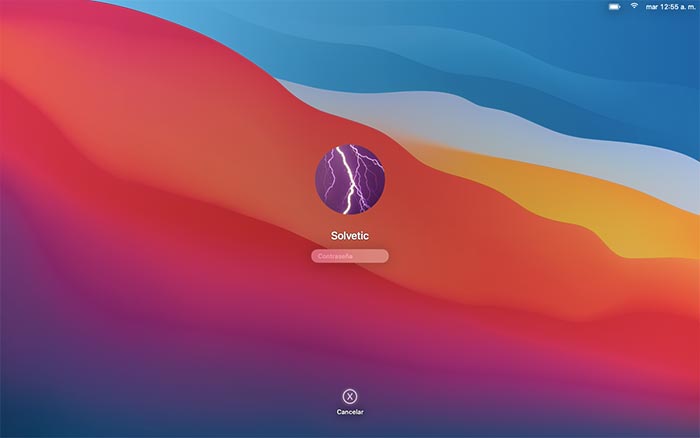
Step 1
This process takes around 25 to 30 minutes before the natural macOS installation process takes place and after that we will go to the login where we will enter our credentials:
Step 2
Upon accessing Big Sur we will notice a radical change in its appearance:
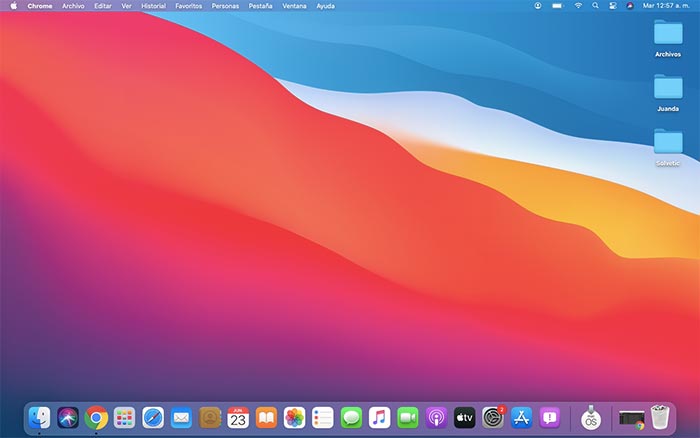
Step 3
Finally we check that our team has been updated to macOS Big Sur:
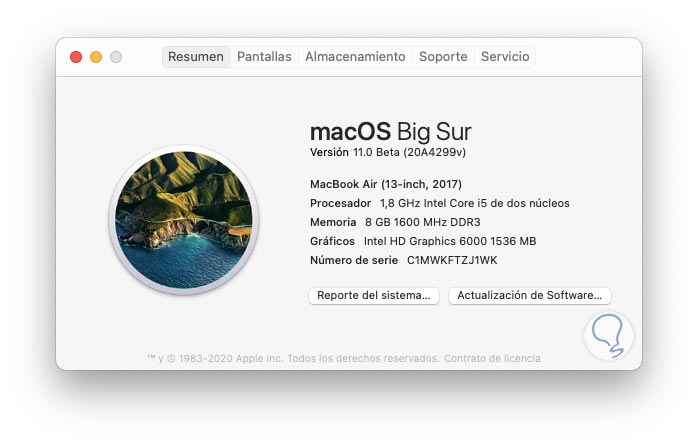
Thus we have learned to update our equipment to this new and renewed Apple system..