Nowadays the internet connection has become an essential requirement for most users, since many of the functions performed by the computer require this connection for its correct operation. However, it is possible that when we have tried to connect, we have not been able to do so for different reasons, and this prevents us from being able to access the network..
The Wi-Fi networks usually have some problems when trying to connect to them and this can be taken for situations such as:
Possible WiFi problems
- Objects that affect the coverage radius of the network such as doors, windows, electrical appliances, etc.
- Hardware failure in the router or modem
- Network saturation when too many devices are connected
Apple has just announced macOS Big Sur which uses only Wi-Fi connectivity and it is likely that at some point we will run into connection failures, but there is no need to worry since TechnoWikis will show you different ways to correct Wi-Fi errors. on macOS Big Sur.
1. How to run a macOS Big Sur Wi-Fi network diagnostic
This is functionality built into macOS Big Sur and runs a detailed scan of all wireless network parameters for possible errors.
Step 1
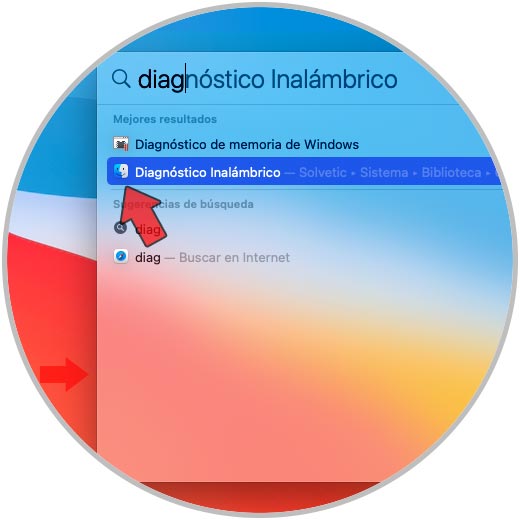
To access this utility we look for “diagnosis” in SpotLight and there we select “Wireless diagnosis”:
Step 2
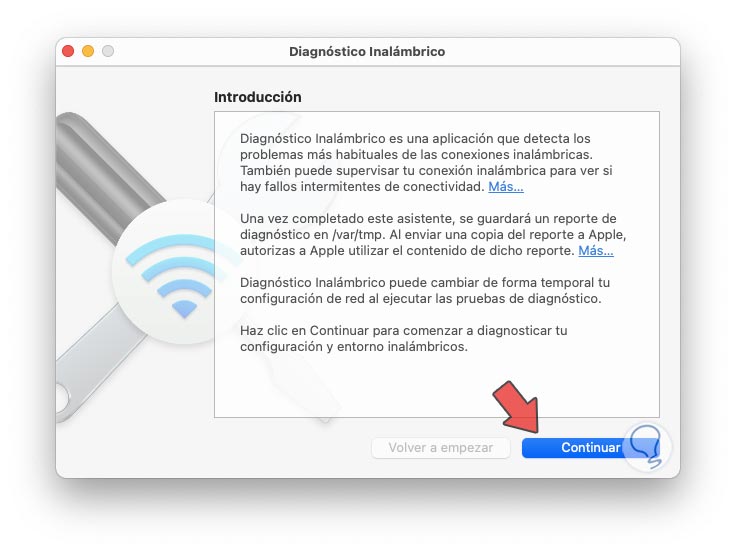
The following wizard will be displayed:
Step 3
We click "Continue" and then the analysis process will begin:

Step 4
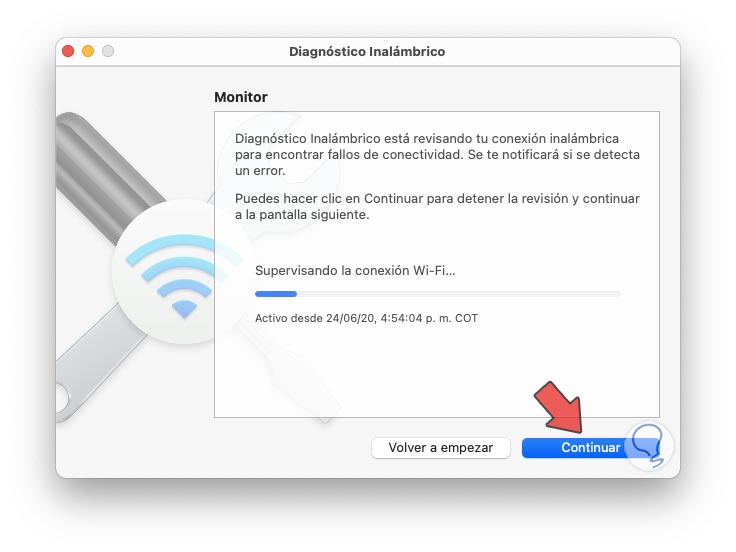
After this we find two options that are:
- Monitor the connection in detail
- Access the general analysis summary

Step 5
In this case we select the analysis and click "Continue", this will lead to deep analysis of the network:
Step 6
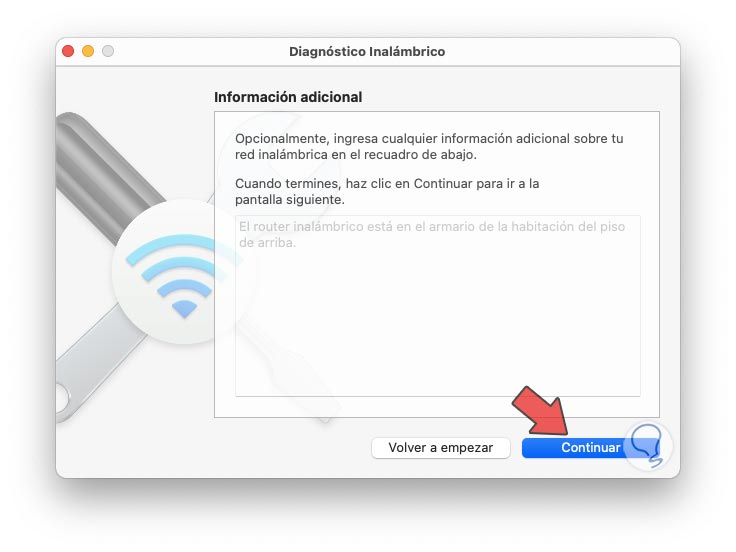
We click "Continue" and we have the possibility to add details of the Wi-Fi network device:
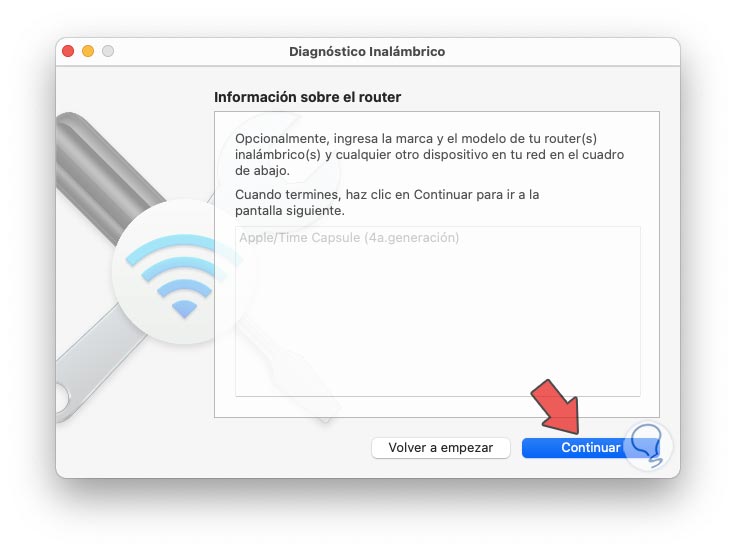
Step 7
In the following window it is possible to add make and model (if we wish) of the modem:
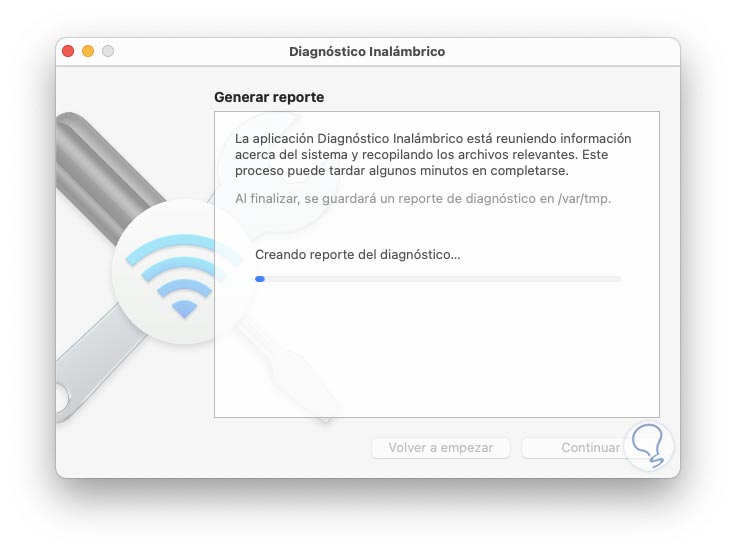
Step 8
We click "Continue" and the creation of the detailed report will begin:
Step 9
As a result of this we will see the following:
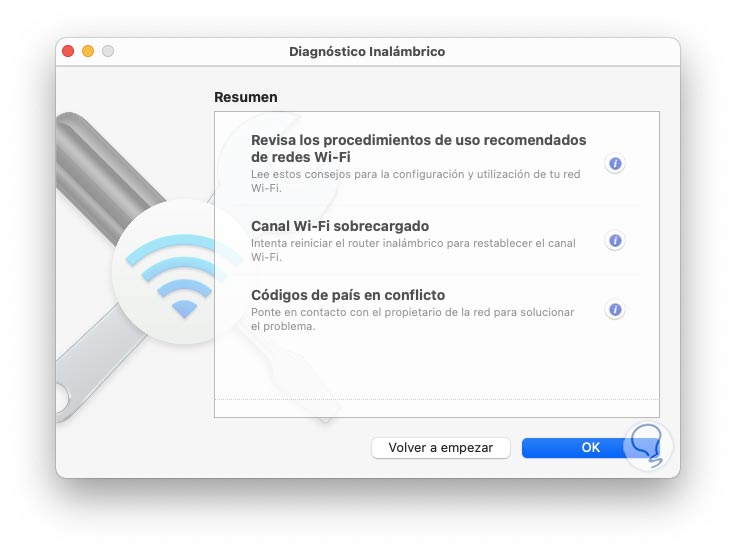
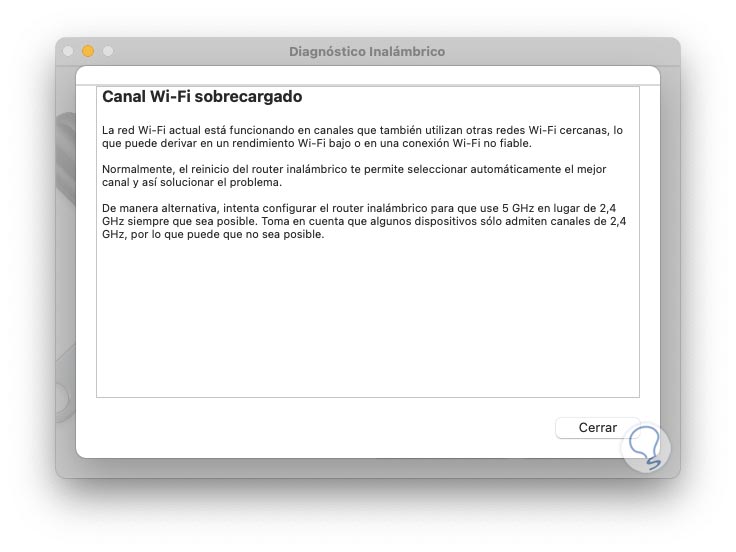
Step 10
There we can click on each information button to access a more complete detail:
Step 11
We click Close and when exiting the diagnostic wizard the window where the diagnosis is created in tar.gz format will open:
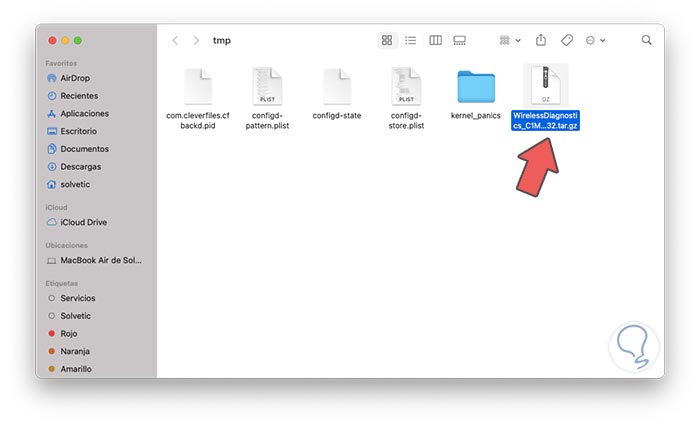
With this diagnosis it will be possible to carry out a complete analysis of the state of the Wi-Fi network in macOS Big Sur..
2. Create a new macOS Big Sur Wi-Fi network configuration
When we connect to the Wi-Fi network, a series of files are created that are linked to the connection and properties of the Wi-Fi network. If any of these files becomes faulty, it is normal for the Wi-Fi network to show errors.
Step 1
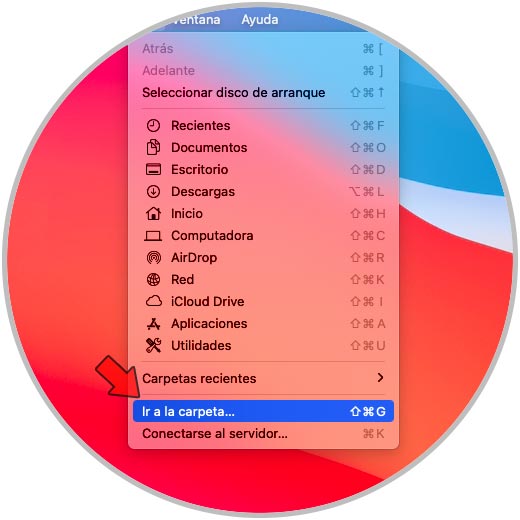
In this case we must create a new configuration, if this is the case we go to the Go menu and select the option "Go to new folder" or it is possible to use the Shift + Command + G keys:
Step 2
In the pop-up window we enter the following:
/ Library / Preferences / SystemConfiguration /

Step 3
We click "Go" and we will see the following:
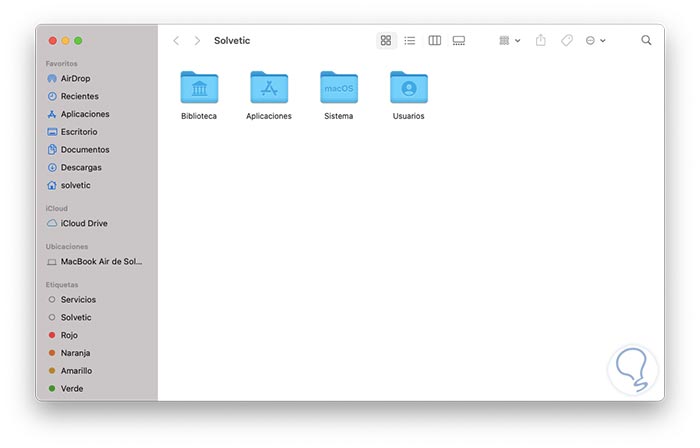
Step 4
There we go to the search engine in the upper right corner and search with the extension "plist", then we must detect the following files:
- com.apple.wifi.message-tracer.plist
- com.apple.airport.preferences.plist

We copy these files to a new folder and after this we restart macOS Big Sur so that a new configuration is created.
3. Apply updates to macOS Big Sur
Without a doubt, many of the connection errors can be solved by some updates that the developers release.
Step 1
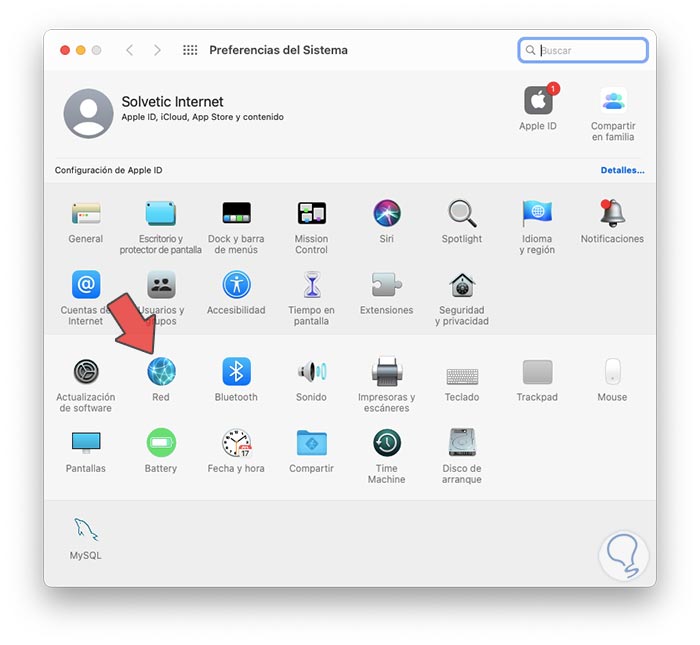
To check for updates in macOS Big Sur we access System Preferences using one of the following methods:
We will see the following:
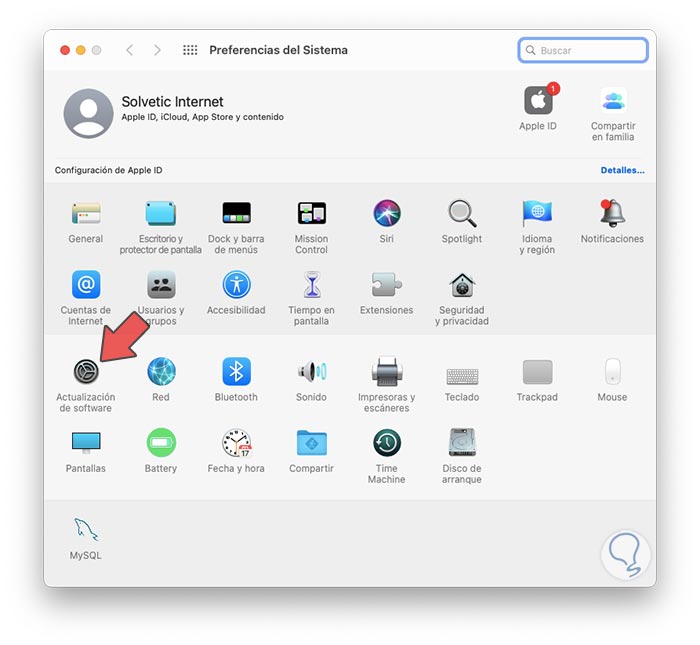
Step 2
We click on the category “Software update” to start the search analysis:
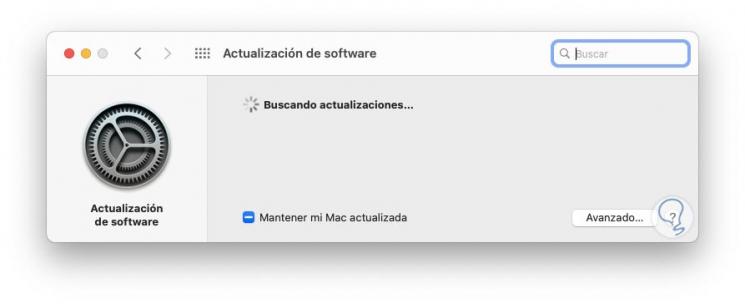
Step 3
Based on this we will detect whether or not there are new updates for macOS Big Sur:

3. Create and configure a new Wi-Fi network location in macOS Big Sur
If the above methods fail, it is possible to create a new Wi-Fi network location and adjust the variables of your configuration.
Step 1
For this we go to Network Preferences where we see the following:
Step 2
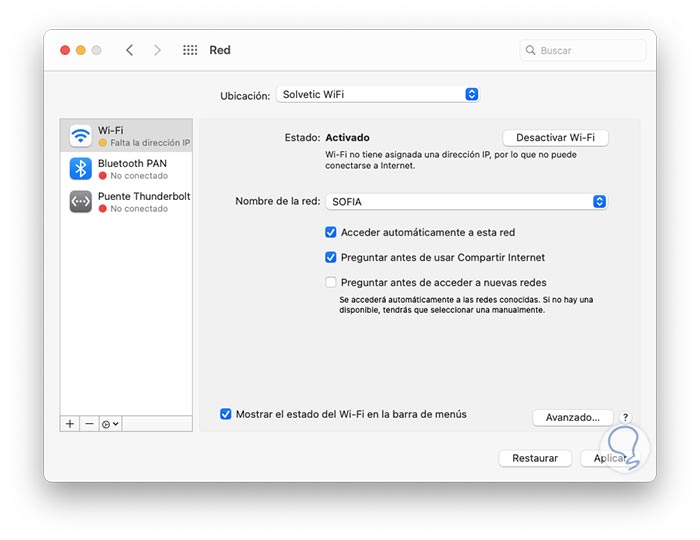
We select "Network" and this will be your environment:
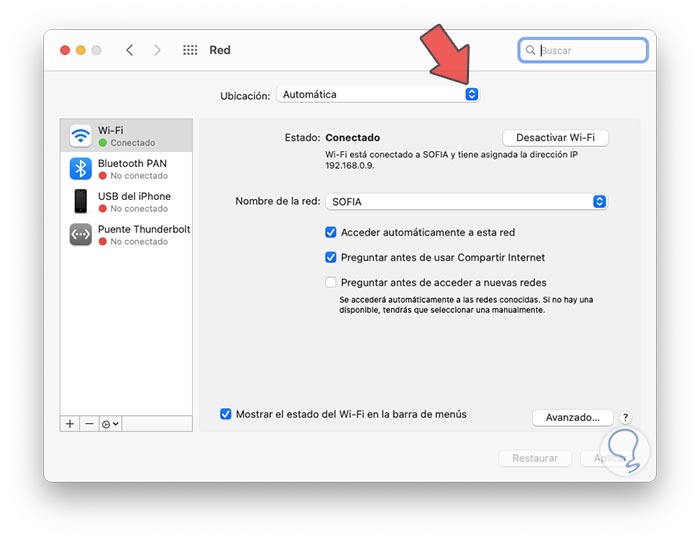
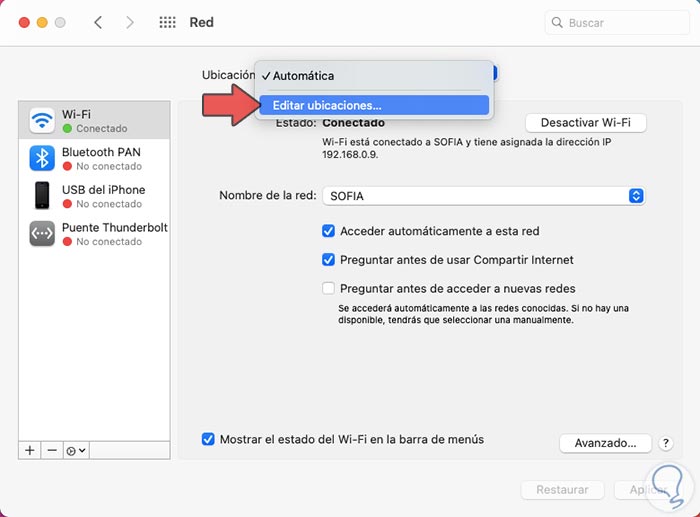
Step 3
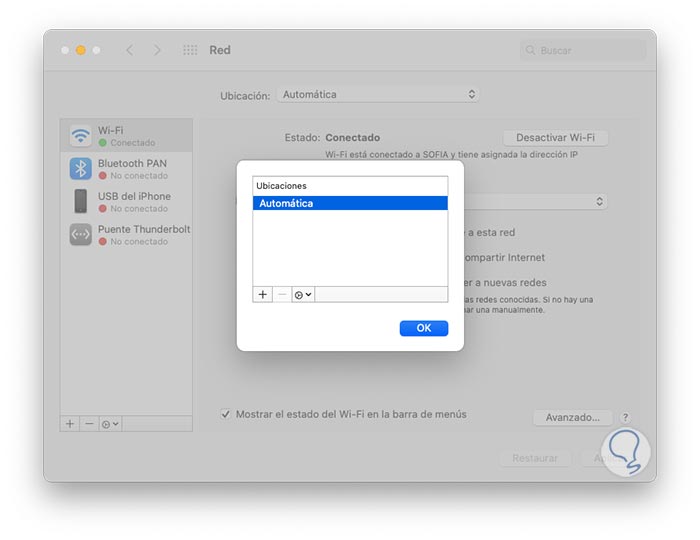
There we click on the "Location" field and select "Edit locations":
Step 4
In the following window we select "Automatic":
Step 5
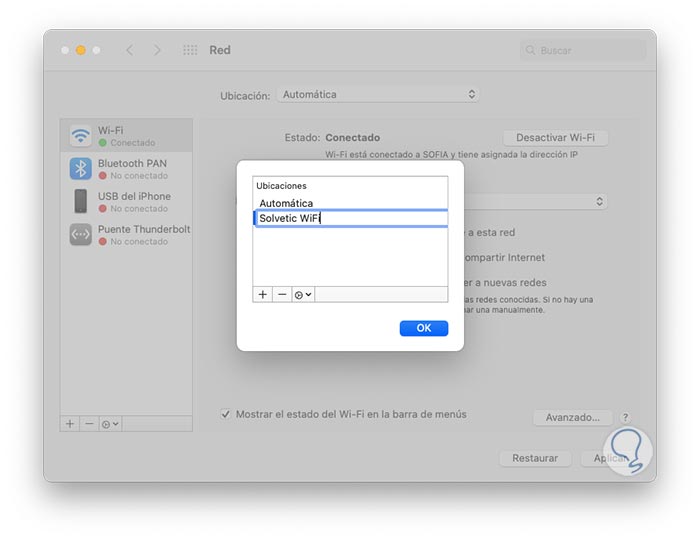
Click on the "+" sign to create the new location:
Step 6
We click OK and we will see that this location is created:
Step 7
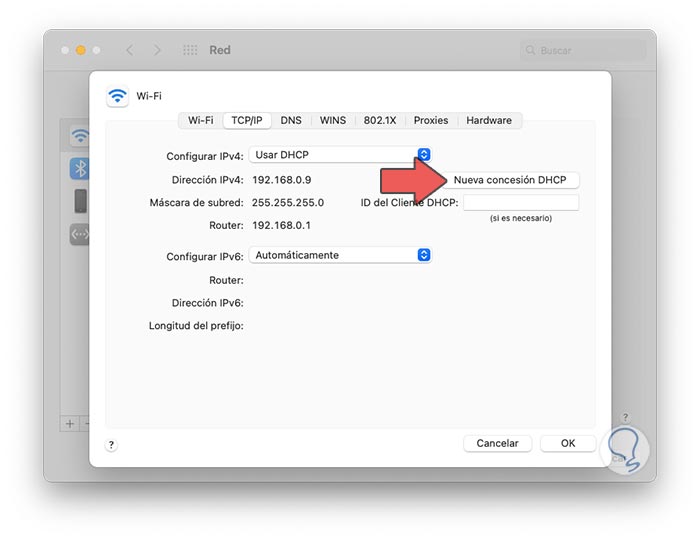
The next step will be to go to the TCP / IP tab and we will see this:
Step 8
We click the "New DHCP lease" button in order to renew the macOS Big Sur IP address.
Next we go to the DNS tab where we will see the following:
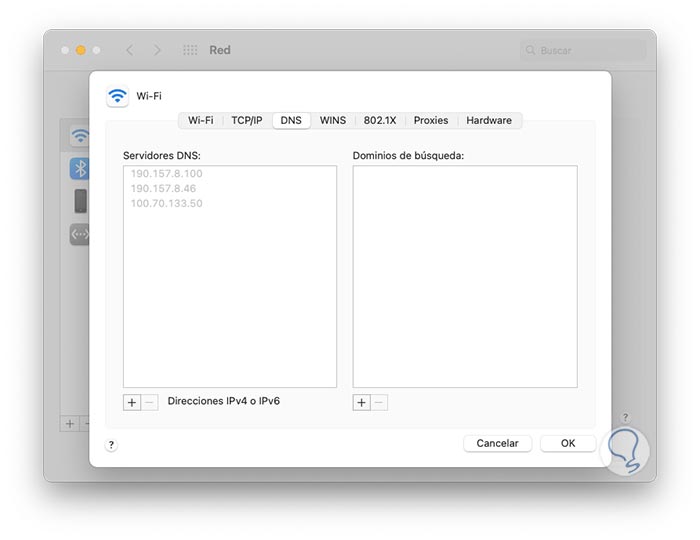
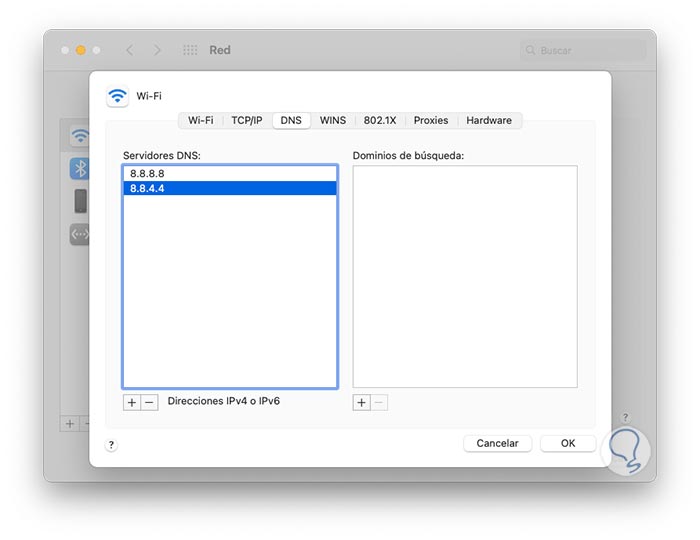
Step 9
We click on the + sign in order to manually enter the IP addresses of the DNS servers, there we can use public DNS like Google's:
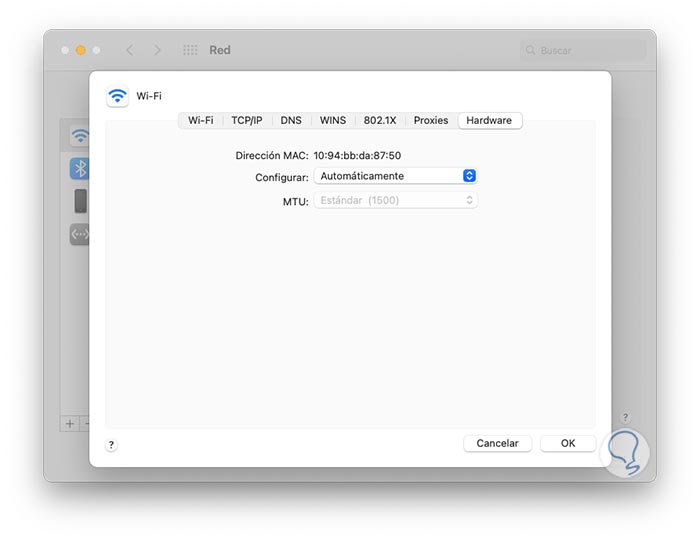
Step 10
Then we go to the "Hardware" tab where we will see the following:
Step 11
There we configure the following:
- In the "Configure" field we select the "Manually" option.
- In the "MTU" field we assign "Custom".
- In the MTU field we must enter the value "1453"
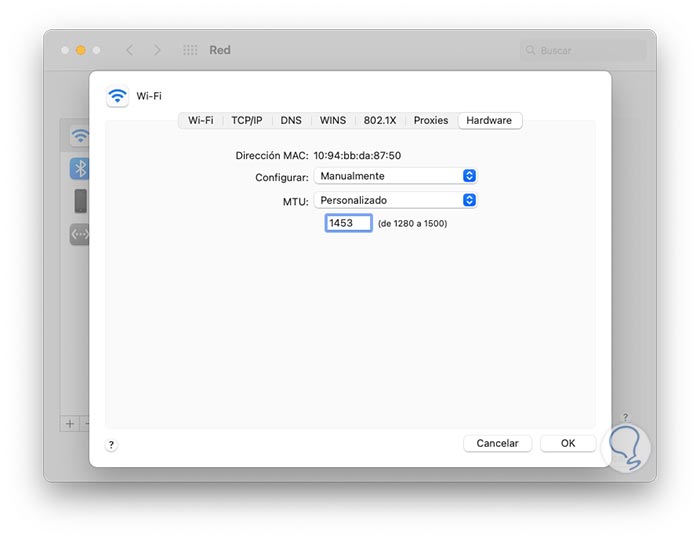
We click OK to save the changes and validate network connectivity..
Other Tips for Troubleshooting WiFi Mac
As a final point, some tips that TechnoWikis gives you to have the best connection is:
- Validate modem status (cables and device)
- Make use of a Wi-Fi adapter in case the modem fails
- Reinstall the operating system if it is a failure of this
- Request technical support from ISP or internet provider
With these steps you will undoubtedly enjoy the best Wi-Fi connectivity in Big Sur.