In an emergency, the iPhone can display various information that may be of interest to rescue teams, such as your blood group and your medical history. Obviously to be able to benefit from this functionality, you must first create a medical file. Here's how..
Configure a medical file on iOS
In the event of an accident or discomfort, everything is played during the first minutes. Thousands of lives could be saved each year if the emergency services had medical information from the victims (medical treatment, surgical operations undergone, allergies, state of health, etc.).
The authorities also recommend that all residents keep a medical file with them. With the spread of digital tools such as the smartphone, it is now possible to create a digital emergency medical file..
Thanks to the Health application installed by default on the iPhone, this operation is simple and quick. In a few clicks you will be able to enter different personal information and make it accessible directly on the screen of your smartphone even if it is locked.
Emergency services, firefighters or the SAMU will be able to know your age, your blood group, your possible chronic diseases, your allergies, your medical history as well as your wishes on organ donation. They will thus be able to intervene more effectively in the event of an accident or discomfort..
Create your emergency file
If you have not yet set up your medical form, it may be time to start. The process will not take you more than a few minutes. You will find more details below.
- Open the Health app from your iPhone desktop
- Click on the Medical File tab located in the lower right corner of your phone
- Press the edit button at the top right
- Enter your last name, first name and date of birth
- You can also add a photo
- Enter the different medical information requested (weight, height, blood group, allergies, medical treatment, etc.)
Do not hesitate to use the note field to add general medical information. Important detail, all health data entered in the medical file will not be shared with any other application.
- Then click on the green button add an emergency contact
- Select the person (s) to contact in the event of an accident in your telephone directory
- Then enter your family relationship with this person (father, mother, brother, sister, spouse, doctor)
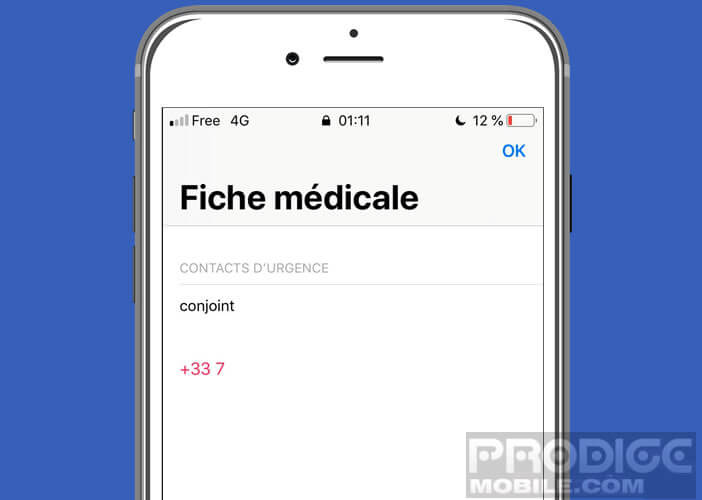
- Note that it is possible to add several emergency contacts
- When you click the emergency button on the lock screen of your iPhone, your contacts will receive a message notifying you that you have called emergency services
- Go back to the top of the screen
- Press the Display button in locked mode
This option is optional but it is strongly recommended to activate it. This will allow the emergency services to access your medical file directly from the lock screen of your iPhone. When you have finished entering your medical data, simply press the finish button to save your medical file.
How to consult a medical file on an iPhone
Your health information and emergency contacts are now set up in your iPhone memory. You are certainly wondering how the emergency services will be able to access it in an emergency without your lock code or your fingerprint?
If you have activated the option display in locked mode, anyone can display your medical file by following the following steps.
- Press the iPhone home button to bring up the lock screen
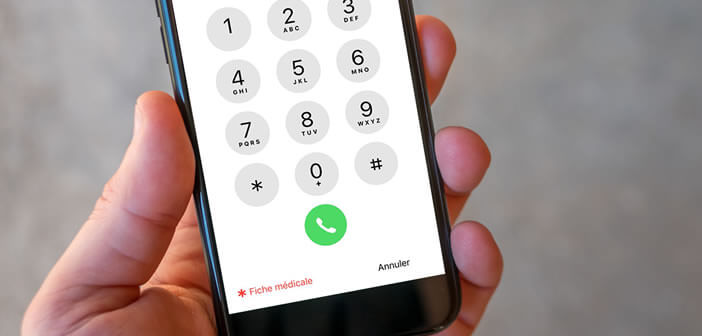
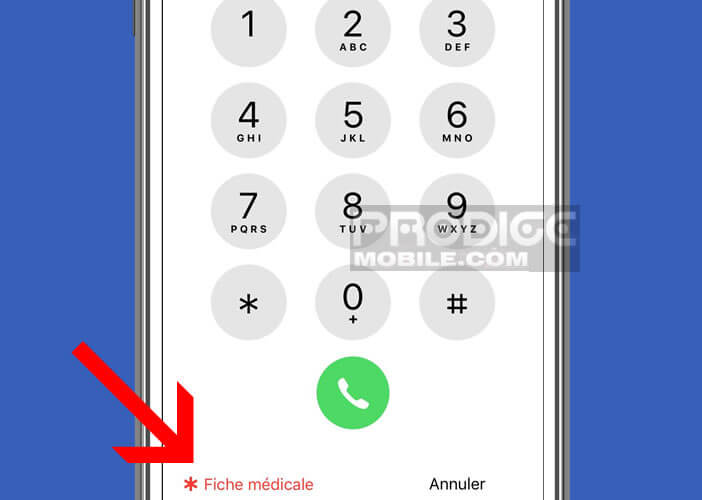
- Click on the Emergency button in the lower left corner of the screen
- Press the medical card button
On iPhone X and higher versions without home button, you will need to hold down the Power side button and one of the volume buttons to bring up the restart screen. Then drag the Medical Card slider to display the medical information of the owner of the phone.
Attention, this operation will temporarily deactivate the unlocking system by facial recognition. You just have to enter your security code to reactivate the Face ID function of your iPhone.