Enjoy the best Wi-Fi network Automatically connect to the most powerful hotspot

The range of the Wi-Fi signal has a huge influence on the speed of your internet connection. To benefit from the best speed, it is essential to connect to a powerful wireless access point. In this tutorial, we explain how to force your Android smartphone or tablet to connect to the most powerful Wi-Fi access point..
Enjoy the best Wi-Fi network
Jerky videos, web pages that take a long time to load, it might be time to optimize your Wi-Fi connection . We all know that distance plays an important role in download speed. The closer you are to your box or wireless router, the better your speed.
Problem, once connected to a wireless access, Android finds it very difficult to switch to a more efficient access point. It is only when completely disconnected from a network that Google's mobile operating system decides to look for a stronger signal ..
Obviously, nothing prevents you from manually switching to another network. This procedure will take you just over a minute.
- Open your Android device settings
- Click on the Wi-Fi icon placed in the Wireless and networks section
- Locate in the list, the Wi-Fi access benefiting from a maximum of bars (attention you must obligatorily know its password)
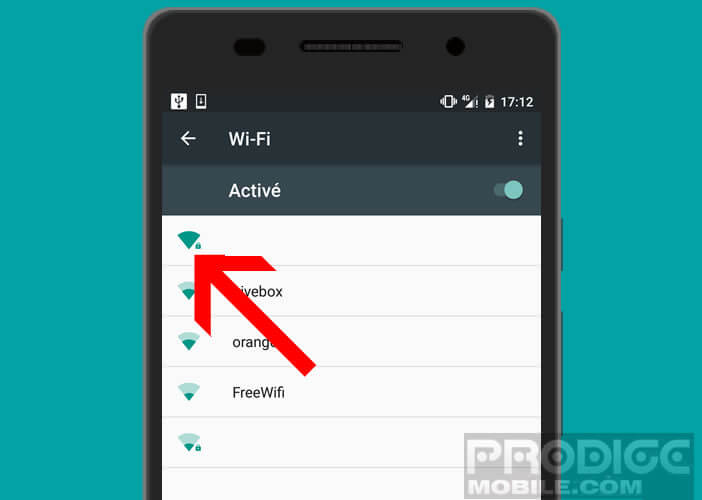
- Click on his name
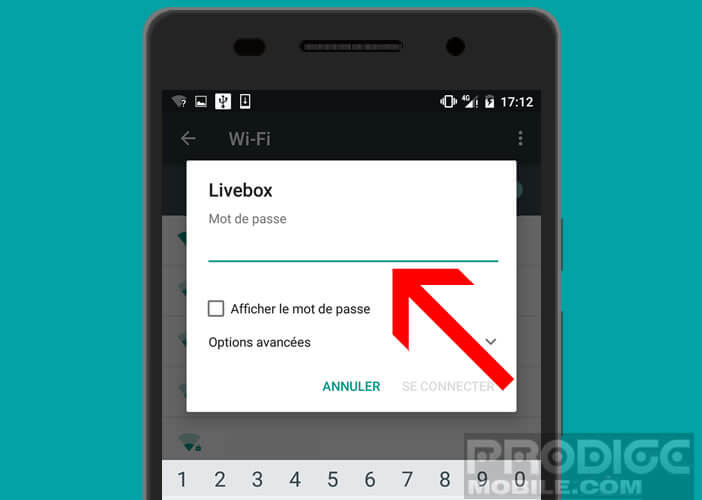
- Enter the Wi-Fi encryption key and confirm by clicking on the connect button
Automatically connect to the most powerful hotspot
Nobody likes to waste time changing Wi-Fi networks in their mobile settings. To always benefit from the best speed without having to do anything, you will need to install the Wi-Fi Switcher application on your device. Once configured, it will automatically select the access with the strongest signal..
- Open the Google Play Store
- In the search form type WiFi Switcher then click on the install button
- Launch the wireless network management application you just downloaded
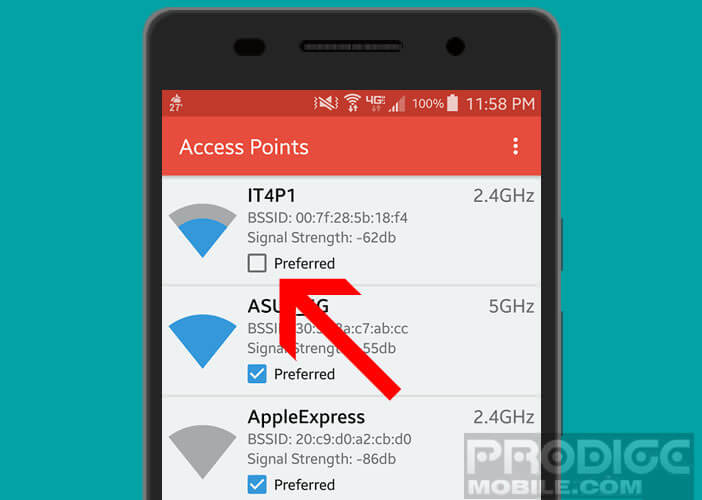
- A window will appear with the list of active Wi-Fi accesses near you
- Check the Prefered box to define the networks to which you want to connect (you must obviously have the encryption key for each of them)
- Press the Menu button (3 overlapping dots) at the top right of the window
- Click on the Switch Range option and vary the cursor to define the signal strength from which you want to switch to another network
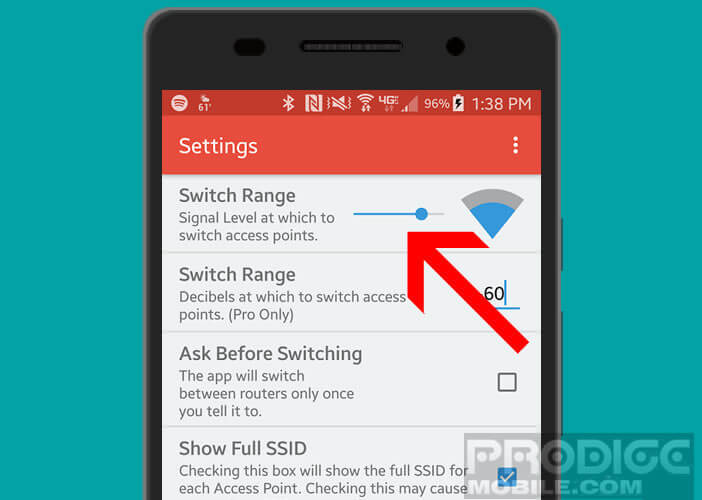
- Check the Ask before Switching box if you wish to be informed before the access point is changed
Note that the WiFi Switch application must remain open during your internet surfing session to function. In order to avoid any accidental closing, it is recommended to open the Settings, to check the Run in Foreground box in order to leave the service active.
Finally, last important point. It sometimes happens that on certain phones, Wifi Switcher does not display any network. To avoid this kind of annoyance, make sure you have activated the location function on your device and have authorized the app to access the Wi-Fi function of Android. Here you will find more information on how to manage permissions on the most recent versions of Android.