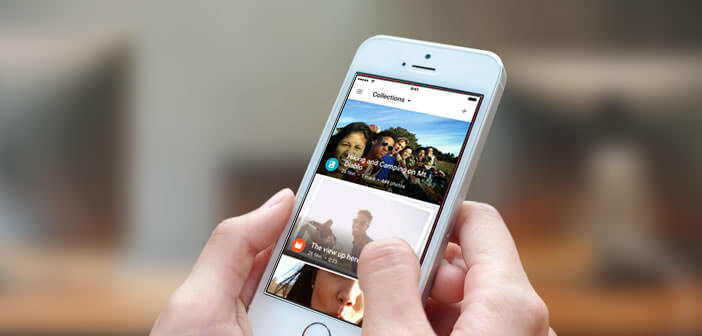
If you regularly take photos with your smartphone, you have certainly realized that the free memory available on the iPhone was not always enough. To remedy this inconvenience, the Google Photo application offers to store all your videos and photos for free in a safe place..
Storage capacity for Apple mobiles
With the appearance of photo sensors capable of filming in 4K or taking photos in high resolution, most iPhone have far too little storage capacity. A few shots are often enough to saturate the internal memory of smartphones, especially on entry-level devices.
When this happens you have few solutions left. Either transfer your photos to your computer or use an online storage service ..
Save your photos in the cloud
The cloud has experienced unprecedented success for several months, in particular thanks to the generalization of 4G. Smartphone users are more and more numerous to use this type of service. Among the best known players in this market is the Google Photo application .
This service not only allows you to store all your photos, but also to edit them, make alterations or share them with all your friends. The application also has a clever tool capable of automatically organizing all your photos according to many criteria (places, object or people present on the photo etc.). And then in case of breakdown or hardware problems on your smartphone, you always keep a copy of your precious pictures..
Save photos with Google Photo
The Google Photo app is one of the best solutions to the problem of photo storage . And as you will be able to see this service benefits from real advantages compared to the competition and in particular iCloud.
Storage is for example free and unlimited for all photos whose resolution does not exceed 16 megapixels. As a reminder, iCloud only offers 5GB of free space. If you exceed this limit, you will have to opt for one of the paid plans.
Set up Google Photos on an iPhone
We will now see how to save your photo library with Google Photos
- Launch the App Store and install Google Photos

- Once the installation is complete, launch the application
- At startup, it asks you for permission to access your photos
- Press the OK button
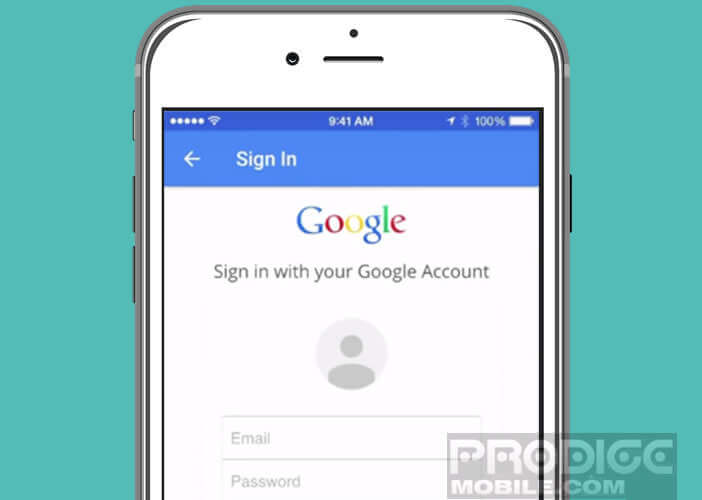
- The application will connect you to your Google account (if you don't have one you will have to create one. Rest assured it's free)

- Then activate the Save option by moving the small switch
- Also remember to deactivate the Use the data network (3G / 4G) option to synchronize your data. You risk exploding your plan. Backup will only be done when your iPhone is connected via Wi-Fi
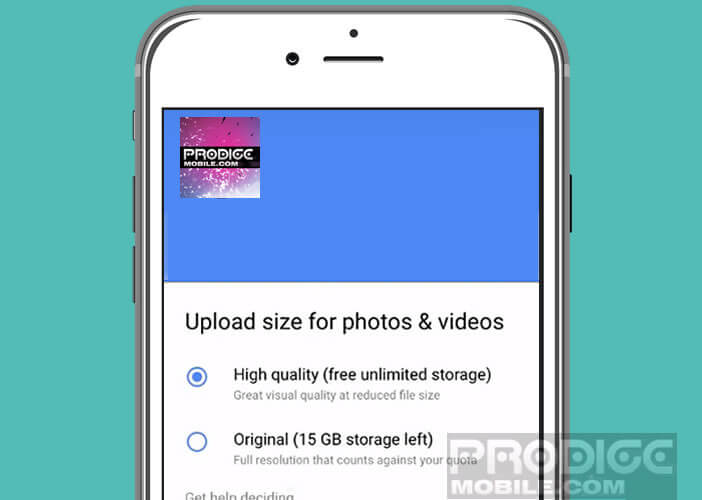
- Then select the quality of the photos to save

- In high quality , it is not the original photos that will be stored but compressed versions of your photos. According to Google, compression is done without loss of quality. Note that this option is reserved for photos up to 16 megapixels. Storage for this type of content is unlimited
- Original photos . By selecting this option your free storage space will be limited to 15 GB
Now that we’ve successfully set up Google Photos, it’ll take a few minutes for the app to back up your entire library. Then return to the Google Photos home screen and click on the assistant tab to verify that all of your photos have been saved. Once this verification is complete, you can start to purge the storage space of your iPhone.