We use the computer for many things, since the functions it offers are immense. For most of us it has become a main work tool, since thanks to these devices we have the possibility of managing our files and documents , through different means such as the cloud or email..
Among its many functions, we find the possibility of making screenshots or making screen recordings. Screen recording is one of the forms integrated into macOS, in all its editions, to allow us as users to have a backup of the tasks that we are carrying out, as well as being able to create dynamic presentations where the step is explained step of a process.
macOS Big Sur integrates its screen capture and recording manager where we will be able to configure certain parameters as the case may be, with TechnoWikis you will learn how to record your screen in macOS Big Sur..
To stay up to date, remember to subscribe to our YouTube channel! SUBSCRIBE
How to record screen in macOS Big Sur
Step 1
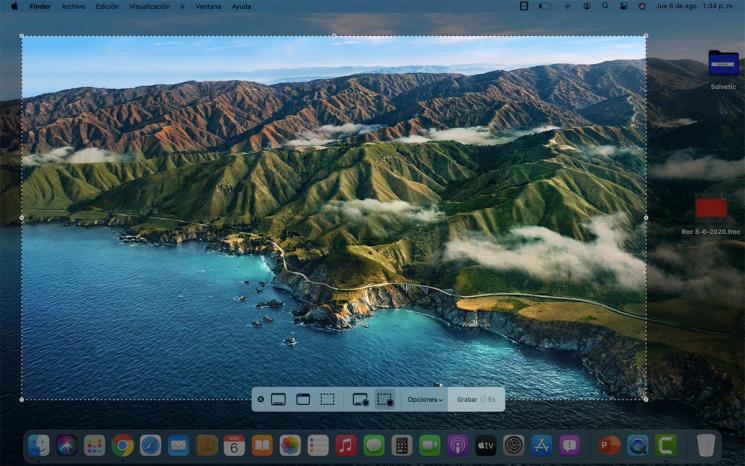
To access the screen capture and recording manager in macOS we must combine the keys Command + Shift + 5 and the following will be displayed:
⌘ + ⇧ + 5
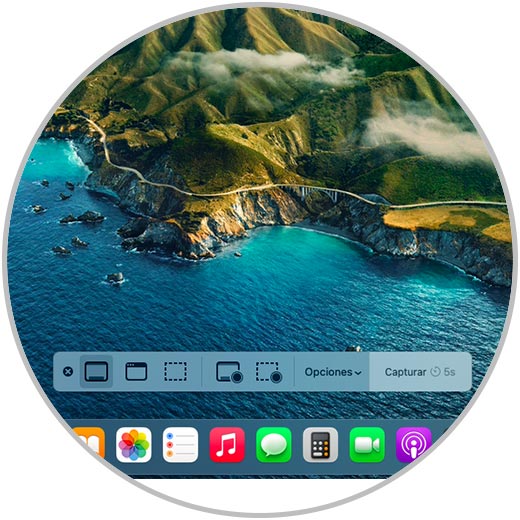
At the bottom we find two options to record the macOS screen, these are:
- Record only a section of the screen
Step 2
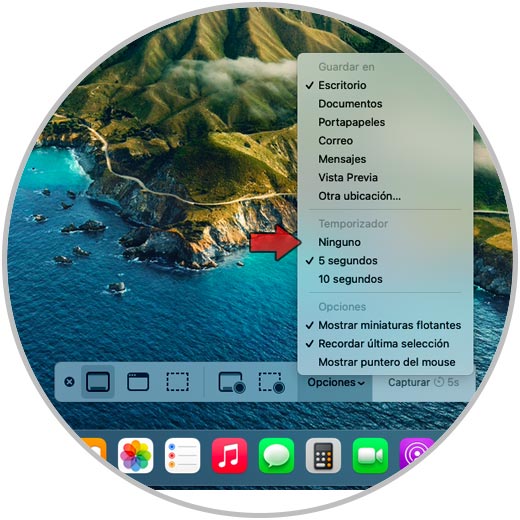
This goes according to the need that as users we have, we have a series of options to record our screen in macOS Big Sur, for this we click on "Options" and it will be possible:
- Define where the created recording will be saved
Step 3
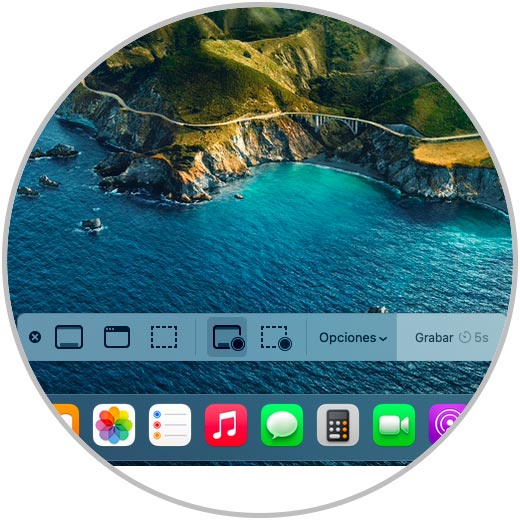
If we use the timer when clicking on the type of screen recording to use, we will see at the bottom the time remaining to start recording:
Step 4
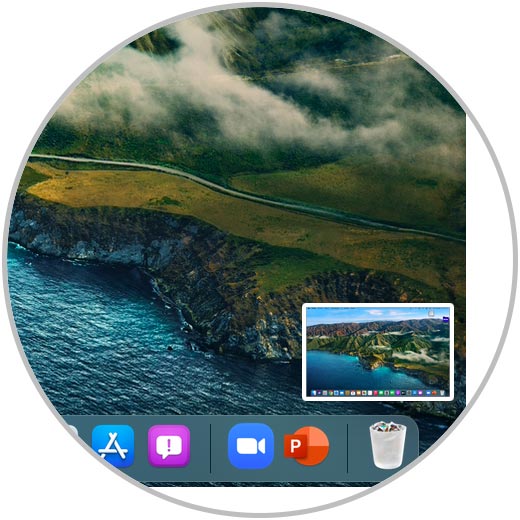
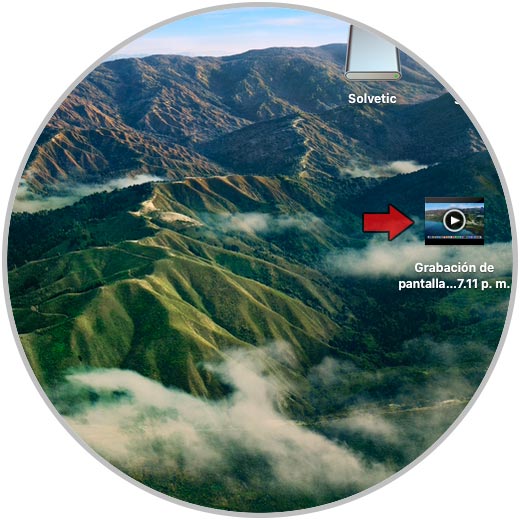
When this has been started, we click on the "Stop recording" button which will be located in the title bar, this will create the recording that we have created, note the lower right corner of the screen:
Step 5
After this we will see that the recording is available, in this case on the desktop, for viewing and management if necessary:
Note
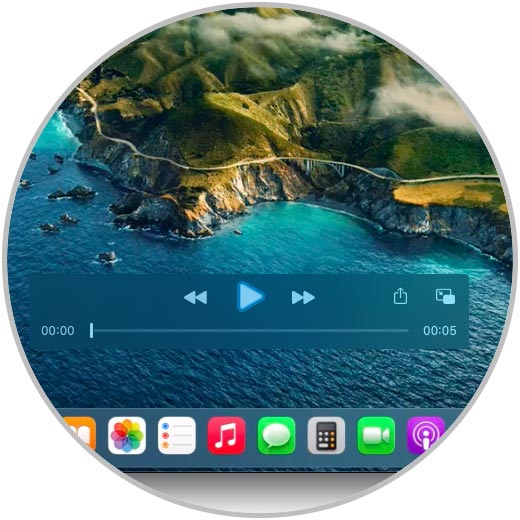
Screen recordings in macOS Big Sur will be saved by default in QuickPlayer format.
Step 6
In case of having selected the option to record only the selected area, we must indicate which part of the screen we will record by moving the corners of the selection:
Step 7
Finally, we can open the video file to see that it has been recorded and as we mentioned it will open with QuickPlayer:
It is a simple method to record the screen in macOS Big Sur and thus have better options when creating jobs or media.