Windows 10 thinks about the security of each one of its users when integrating by default an antivirus that little by little has been evolving in its characteristics, functionalities and even appearance.
Thus, we have seen the evolution of Windows Defender to the Windows Defender Security Center with protection for many aspects such as the cloud, executable files, folders , malware scans and more. This for us as users of Windows 10 is a relief since the Windows Defender tasks are executed in real time and the updates are automatic.
Windows Defender gives us a comprehensive antivirus protection associated with the security of Windows 10 which is based on pillars such as:
Analysis of security in the cloud
With this analysis, taking its foundation in big data, Windows Defender will be able to detect any threat, however small it may be, to avoid being attacked through cloud services.
Endpoint behavior sensors
These are sensors already integrated in Windows 10, which have the task of collecting and processing signals based on the behavior of the operating system. After this analysis, the results are sent to the private and isolated cloud instances of Windows Defender for processing.
Threat Intelligence
Developed by Microsoft security teams, these are processes that can identify tools, techniques and any procedure that an attacker implements in order to be one step ahead in their plans.
Windows Defender handles various zones or parameters within Windows 10 such as:
Reduction of the attack surface
When creating shields in the first line of defense, that is, making the configurations in an appropriate way.
Managing threats and vulnerability
With which the vulnerabilities and wrong configurations are analyzed with the respective corrections.
Automated research
Which offers defenses against sudden attacks.
Next generation protection
Which analyzes and detects all kinds of vulnerabilities and threats.
Integration of a new threat search service
Which is managed by Windows Defender ATP.
When we access the console of the Windows Defender Security Center we will see the following:
There we can manage and execute tasks like
- Protection of associated accounts in Windows 10.
- Access and configure family options.
- Manage security in the network.
- Run scans looking for viruses or malware.
- See the performance of the team and more.
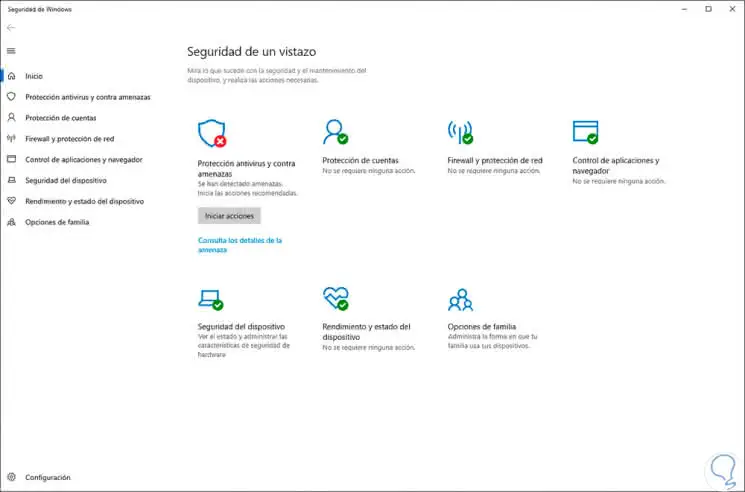
1. Commands to run Windows Defender Windows 10
Although the Windows Defender graphical interface is ideal for many, TechnoWikis has a surprise (especially if you like the system console) as we will explain how to carry out some Windows Defender tasks from the command prompt.
Step 1
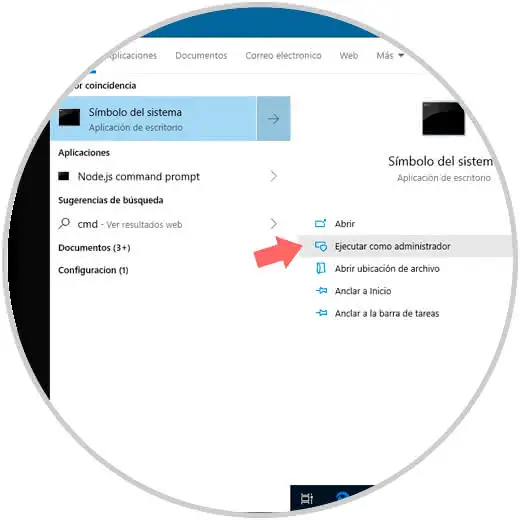
To achieve our goal we must access the system symbol as administrators, for this we enter "cmd" in the search box of Windows 10 and in the option displayed we click on the line "Run as administrator". We accept the UAC message and we will access the console as administrators.
Step 2
Windows Defender offers three types of scanning that are:
Quick scan
It is a light scan in which elements such as registry keys and home folders are analyzed, obviously its execution time is brief, its syntax in the command prompt is with the parameter -ScanType 1
Full scan
This is a more advanced level since it analyzes each object of the system in search of threats, its parameter in the command prompt is -ScanType 2.
Custom scanning
This applies when we want Windows Defender to analyze only some elements (like files or folders) of the system, its parameter to use is -ScanType 3.
Now, Windows Defender has its executable in the following path:
C:\Program Files\Windows Defender
Its executable is MpCmdRun.exe, now, this path must join the parameter for the execution of the scan, if we want to run a quick scan we will execute the following:
"%ProgramFiles%\Windows Defender\MpCmdRun.exe" -Scan -ScanType 1
In the same way, if we want a complete analysis we will execute:
"%ProgramFiles%\Windows Defender\MpCmdRun.exe" -Scan -ScanType 2
First we will see that the scanning process starts: 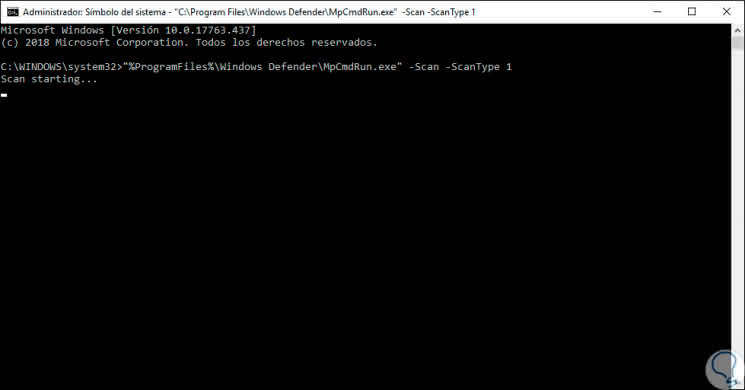
Step 4
When the process concludes we will see the following: 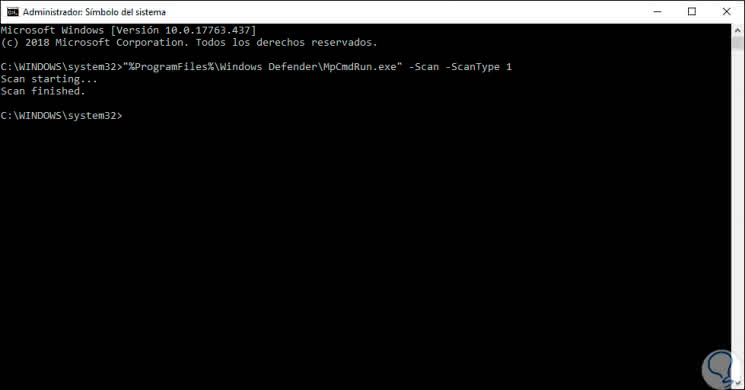
It is normal that we want to perform a scan on a particular file or directory, this is achieved using the custom scan, for this we will execute the following syntax:
"% ProgramFiles% \ Windows Defender \ MpCmdRun.exe" -Scan -ScanType 3 -File "File"
Step 5
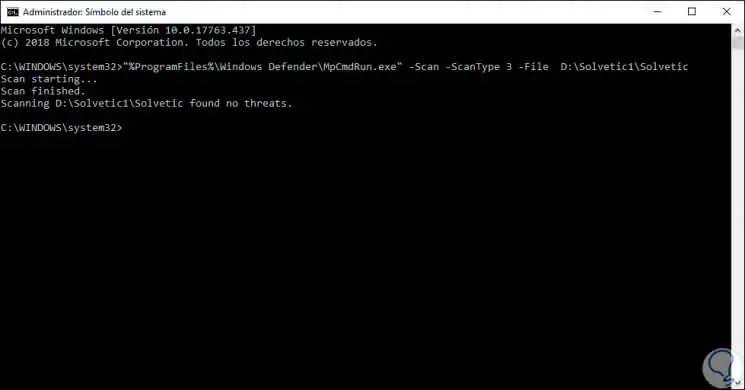
For example, in this case we will analyze the following:
"%ProgramFiles%\Windows Defender\MpCmdRun.exe" -Scan -ScanType 3 -File D:\ TechnoWikis1\TechnoWikis
Step 6
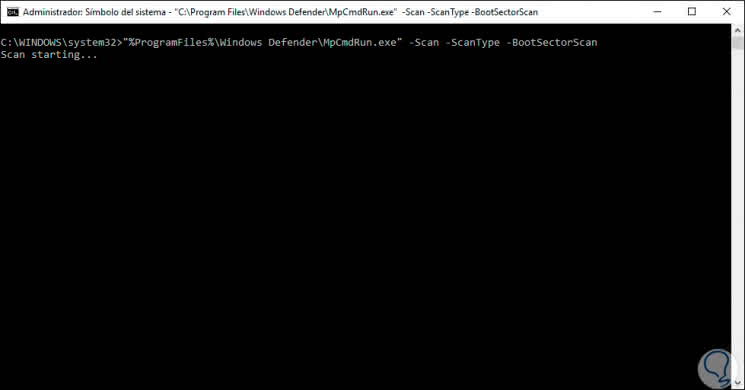
Another of the great advantages of using Windows Defender through the command line is the possibility of activating an analysis for the boot sector of the system in order to detect any vulnerability, if something is detected there would be a really critical problem. that we are talking about the fundamental sector of the hard disk, to activate the scan in the boot sector of the hard disk we will execute the following command at the command prompt.
"%ProgramFiles%\Windows Defender\MpCmdRun.exe" -Scan -ScanType -BootSectorScan
Step 7
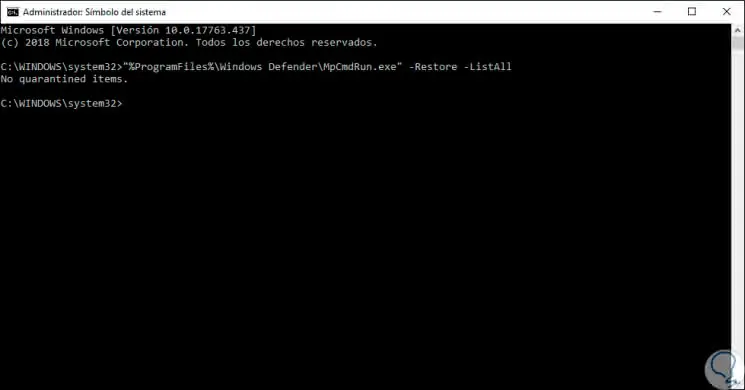
The moment Windows Defender detects a threat, it will move it to quarantine so that it does not infect the operating system. But it is possible that at some point a file is detected as a threat when it is not in fact, so it will be necessary to recover that element so that it is not affected, for this we must list all the quarantined files with the following command:
"%ProgramFiles%\Windows Defender\MpCmdRun.exe" -Restore -ListAll
Step 8
In this case we do not have any quarantined files, if there is a quarantined file we must execute the following syntax:
"%ProgramFiles%\Windows Defender\MpCmdRun.exe" -Restore -Name "Name"
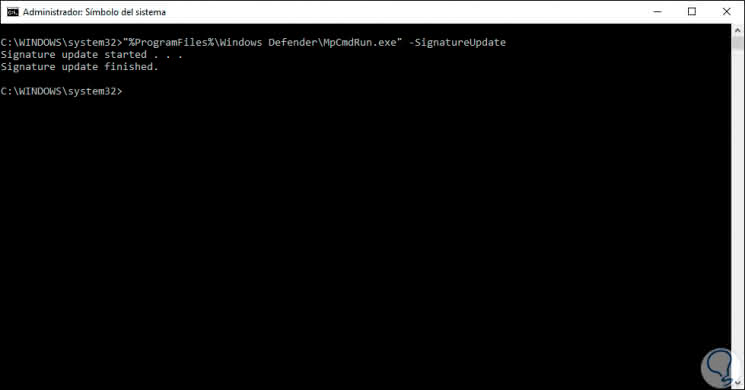
As we mentioned earlier, Windows Defender is updated automatically, we can verify if it is updated by running the following:
"%ProgramFiles%\Windows Defender\MpCmdRun.exe" -SignatureUpdate
2. How to use the MpCmdRun.exe command in Windows 10
As mentioned at the beginning of this tutorial, Windows Defender uses the MpCmdRun.exe command in order to carry out various tasks on it, the general syntax is as follows:
MpCmdRun.exe [command] [-options]
To make use of this option we must access the path C: \ Program Files \ Windows Defender from the command prompt like this:
cd C:\Program Files\Windows Defender
There are a series of parameters to use with this command, these are:
This option displays the help of the utility
? o -h
This option performs a scan for malware
Scan [-ScanType #] [-File] [-DisableRemediation] [-BootSectorScan]] [-Timeout] [-Cancel]
This option executes a routing diagnostic
Trace [-Grouping #] [-Level #]
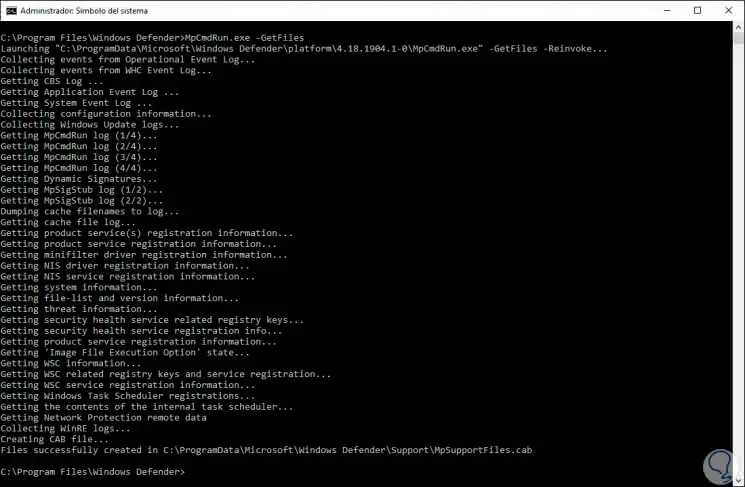
This option collects support information.
GetFiles
This option redirects the results to the DiagTrack folder temporarily
GetFilesDiagTrack
With this option the function d is restored
RemoveDefinitions [-All]
With these commands that we have shown you will be able to run Windows Server in Windows 10 in a fast and simple way.