Windows Server has been developed by Microsoft in order to provide users with various tools to better manage their tasks and it is key to know that from Windows Sever 2019 we can manage parameters of client computers and one of these options is to set the wallpaper of Windows 10 computers belonging to the domain, TechnoWikis will explain how to achieve this..
The customization in which equipment we usually use makes it easier for us to interact with them. We know that when it comes to customizing we can find different options and among them will be to be able to configure a personal background image on the Windows 10 wallpaper with Windows Server.
We also leave you the video tutorial to change the Windows 10 wallpaper from Windows Server..
To stay up to date, remember to subscribe to our YouTube channel! SUBSCRIBE
How to change wallpaper in Windows 10 from Windows Server
Step 1
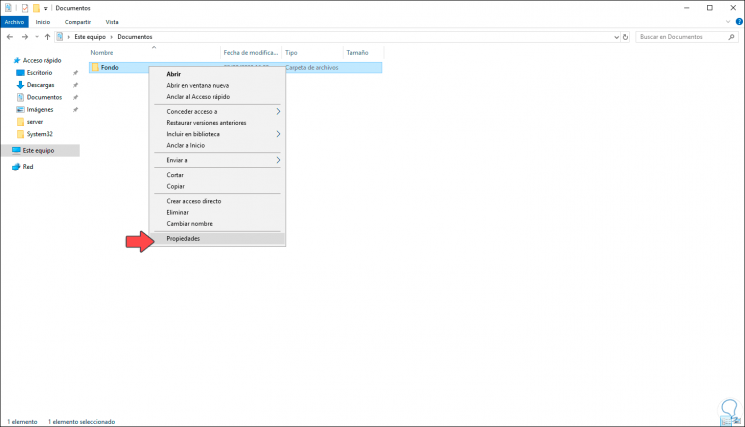
We access the Windows Server 2019 server and we will create a folder where we host the image that will be set as the desktop background, right-click on that folder and select "Properties":
Step 2
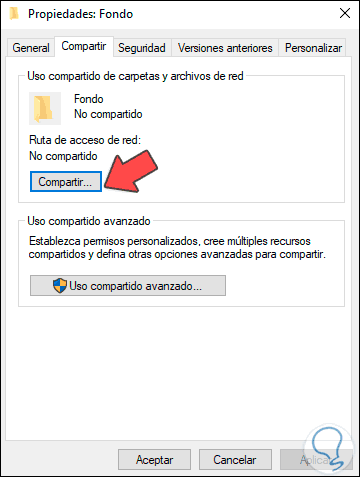
In the pop-up window we go to the "Share" tab where we see the following:
Step 2
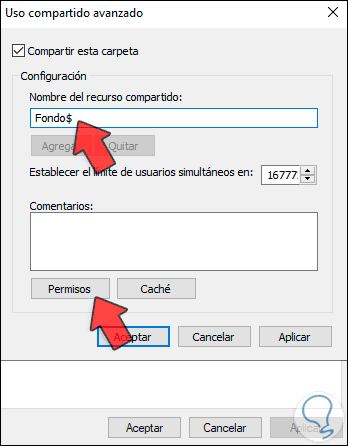
We click on "Advanced sharing" and in the next window we activate the "Share folder" box and add the $ sign in the respective field:
Step 3
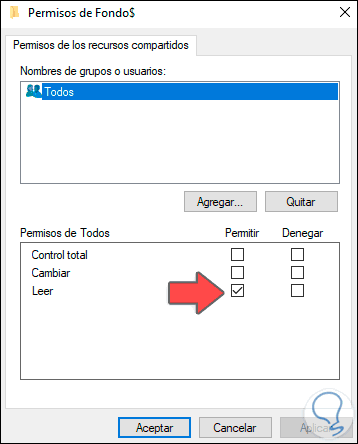
We click on "Permissions" to check that "All" are registered and leave the value read-only:
Step 4
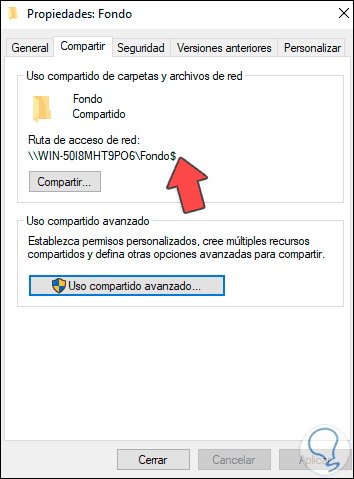
We click on Apply and OK to complete the process, we will see the path that has been shared:
Step 5
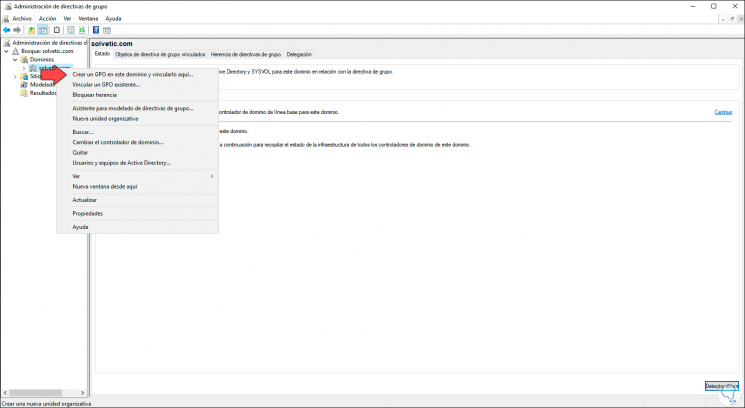
We must keep in mind the route that has been assigned, now we access the Group Policy Editor and there we right click on the domain and in the options displayed we select "Create a GPO in this domain and link it here":
Step 6
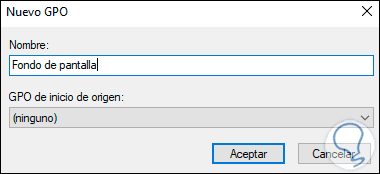
In the pop-up window we assign a name to the GPO:
Step 7
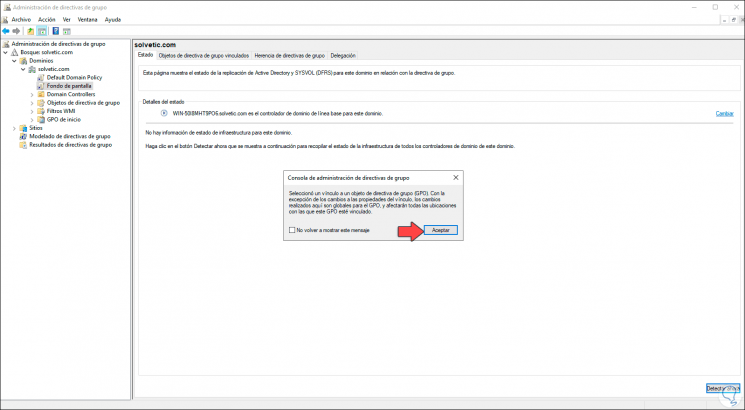
We click OK and we will see the GPO created in the domain:
Step 8
We right click on this policy and select "Edit":
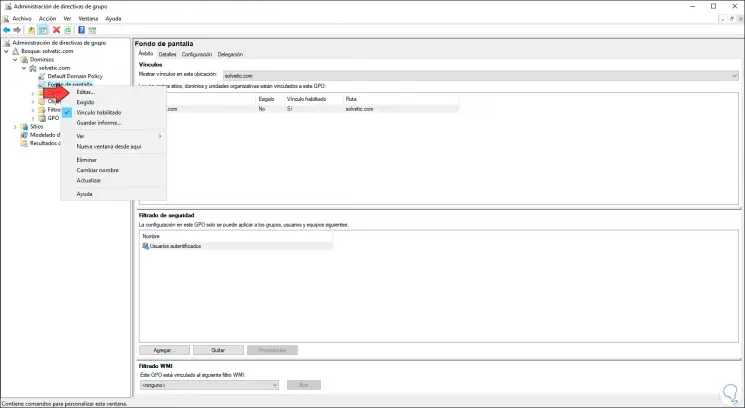
Step 9
Now we will go to the following route:
Step 10
On the side side we find the policy called "Desktop Tapestry":
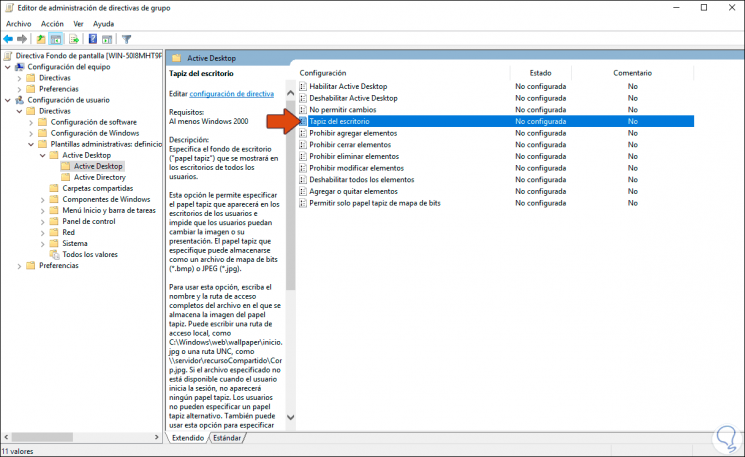
Step 11
We double click on this policy and activate the "Enabled" box, then in the "Wallpaper name" field we enter the path of the folder that we have initially shared followed by the name of the image and its extension:
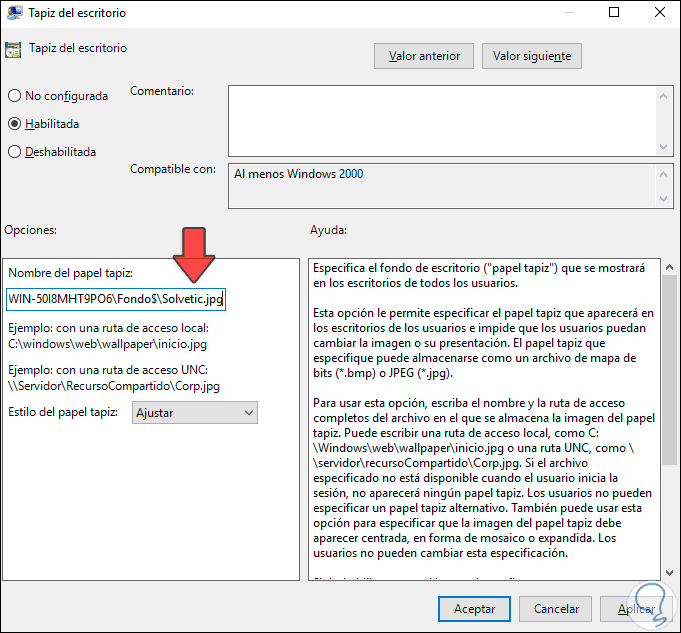
Step 12
In the "Wallpaper style" section we can adjust, center, expand or show the image in tiles, apply the changes and click OK to exit the wizard, we will see the policy enabled:
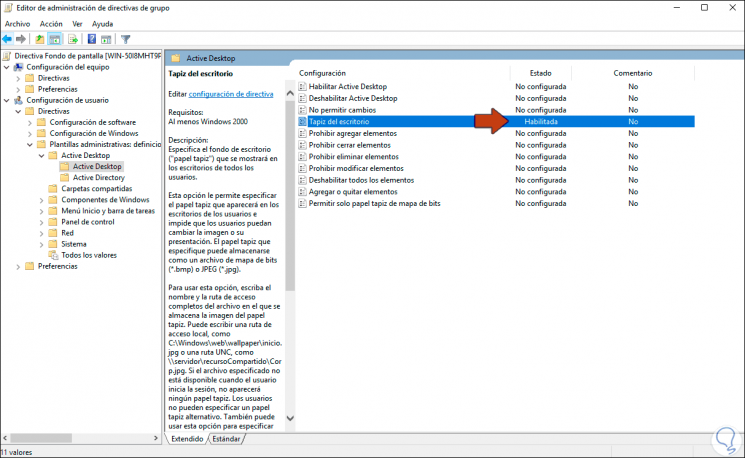
Step 13
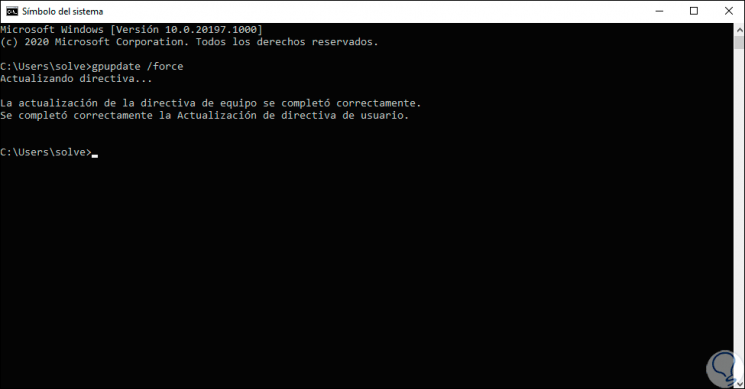
After this we will go to the client computer, Windows 10, and access the CMD console and there we execute:
gpupdate / force
Step 14
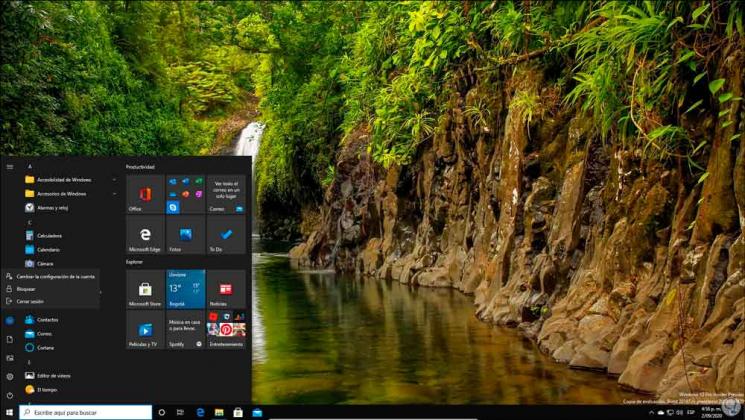
We close the session to complete the process:
Step 15
We can see that the new wallpaper has been updated:

Step 16
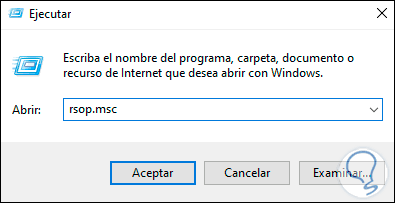
Once we log in, we access the Run command and enter:
rsop.msc
Step 17
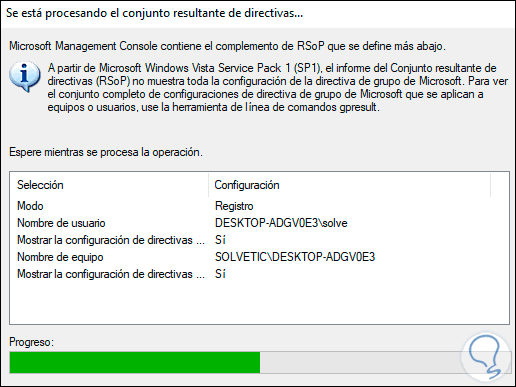
This will load some extra configuration:
Step 18
After this we right click on User Configuration to see the status of the GPO:
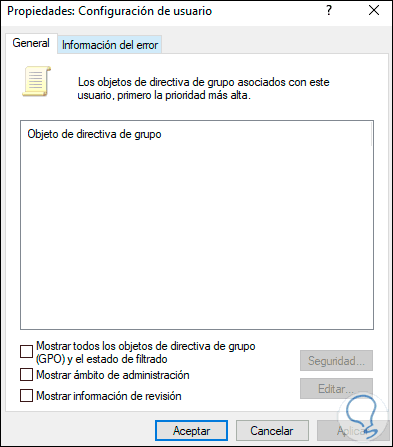
So we have created a policy so that the wallpapers on Windows client computers in a domain are modified as necessary.