Managing Linux databases is a task that requires having the best utilities that combine performance, security, scalability and compatibility with other apps or add-ons. For this reason, if we work on databases, we will always look for this platform where we enter and manage the data to offer us this and more, that is why Apache Cassandra has been developed and in TechnoWikis we will explain what it is, what its main advantages are and how we can install it in Ubuntu 20.04..
What is Apache Cassandra
Apache Cassandra has been developed as a database manager that gives us key aspects such as scalability and high availability, but with adequate performance regardless of the size of the databases to work with.
Apache Cassandra has data replication in various data centers offering not only availability but much lower latency.
It has a distributed architecture, that is, it allows managing large volumes of data with dynamic replication, which is why the replicas are stored in several nodes of a cluster adding better fault tolerance..
Apache Cassandra functions
Apache Cassandra has been built as an open source NoSQL database, it gives us a consistent storage model, that is why Apache Cassandra is ideal for environments where aspects such as:
- Queries targeting partitioned keys
- Full multi-master database replication
- Global availability with low latency
- Increased linear performance of each processor
Apache Cassandra Components
Apache Cassandra integrates Cassandra Query Language (CQL), this is a language identical to SQL with which we can create and update the database schema and access data, this is composed of aspects such as:
- Keyspace: these define the way a data set is replicated.
- Partition: This option indicates where the Apache Cassandra rows will be in the primary key.
- Table: this is in charge of defining the schema written for a collection of partitions.
- Row: these host a collection of columns that are identified by a primary key.
- Column: refers to a single data with a type associated with a row.
Apache Cassandra configuration parameters are configured directly in the cassandra.yaml file.
Apache Cassandra Features
Some of the new features of Apache Cassandra are:
- Using Nodetool to enable the audit trail
- Improved internal messaging
- Transient replication supports EACH_QUORUM and more
Apache Cassandra Systems
Apacha Cassandra can be installed on the following systems:
- Ubuntu 16.04 through 20.04
- CentOS & RedHat Enterprise Linux (RHEL) including 6.6, 7.7 and 8
- Amazon Linux AMIs 2016.09 through Linux 2
Let's see how to install Apache Cassandra on Ubuntu 20.04.
1. Install Apache Cassandra on Ubuntu 20.04
Step 1
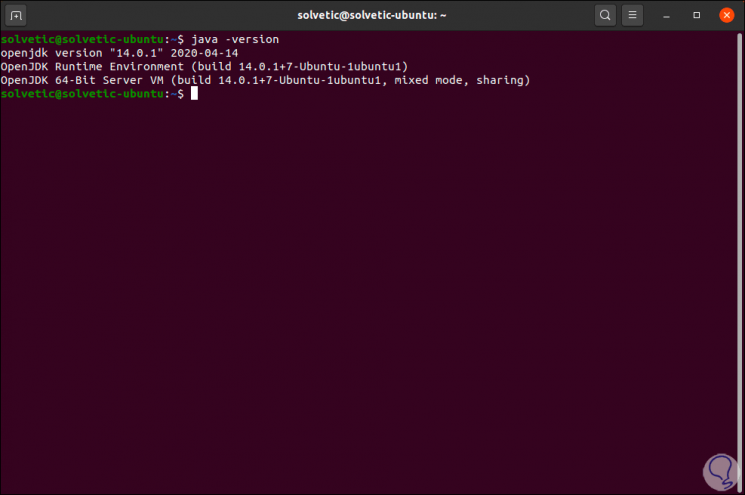
First of all, we must validate the Java version since OpenJDK allows Apache Cassandra to work without problems, to validate this we execute:
java -version
Step 2
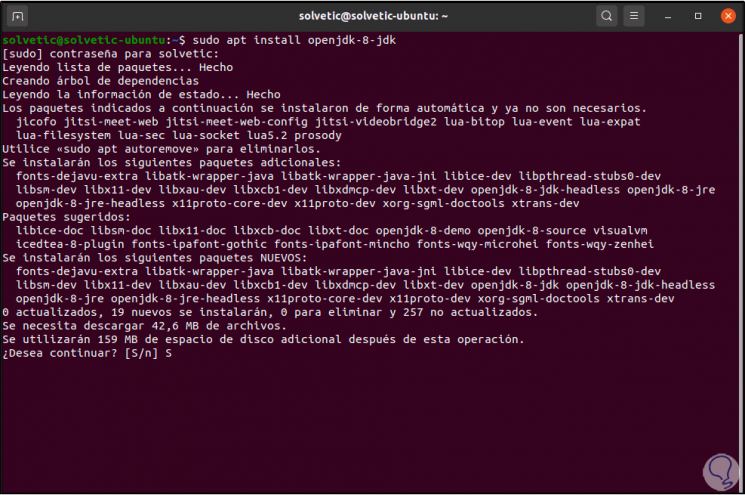
We install OpenJDK 8 with the following command:
sudo apt install openjdk-8-jdk
Step 3
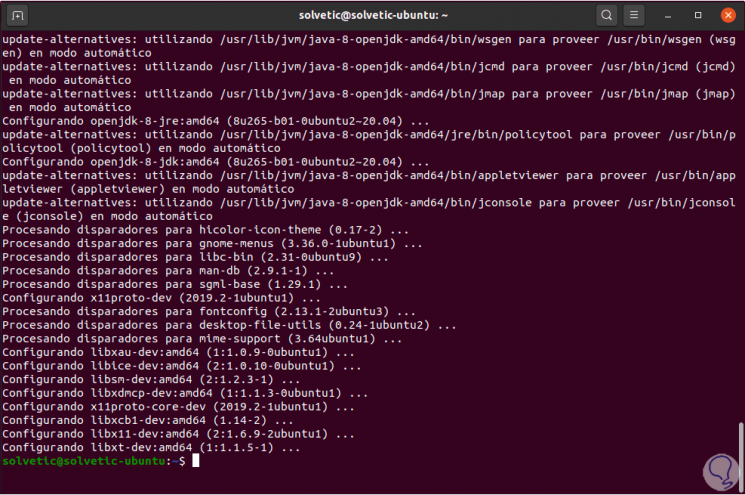
We enter the letter S to confirm the download and installation. Then we can run "java -version" again to check the used version of Java.
:
Step 4
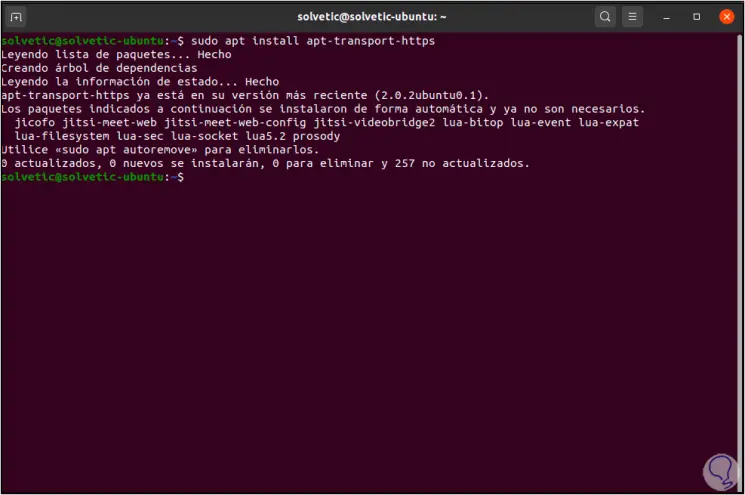
With OpenJDK installed in Ubuntu 20.04 we can install Apache Cassandra, first we will install the package "apt-transport-https" with the following command, this allows access to repositories through the HTTP protocol:
sudo apt install apt-transport-https
Step 5
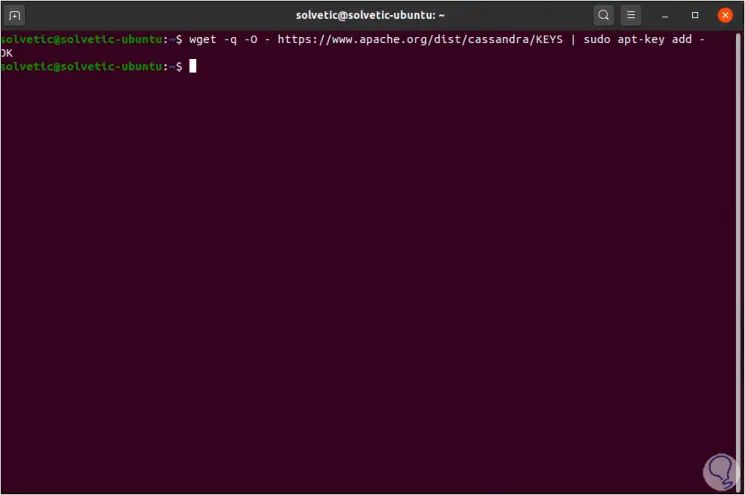
Now we are going to import the GPG key with the following command:
wget -q -O - https://www.apache.org/dist/cassandra/KEYS | sudo apt-key add -
Step 6
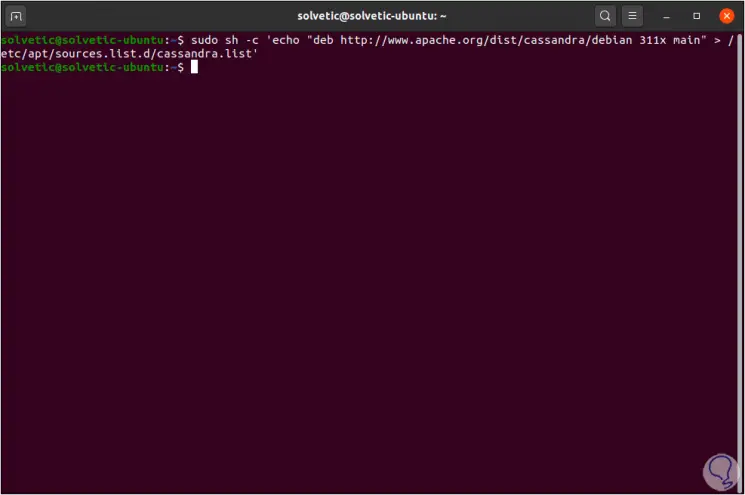
Add the Apache Cassandra repository to the system file:
sudo sh -c 'echo "deb http: //www.apache.or...assandra/debian 311x main">
/etc/apt/sources.list.d/cassandra.list '
Step 7
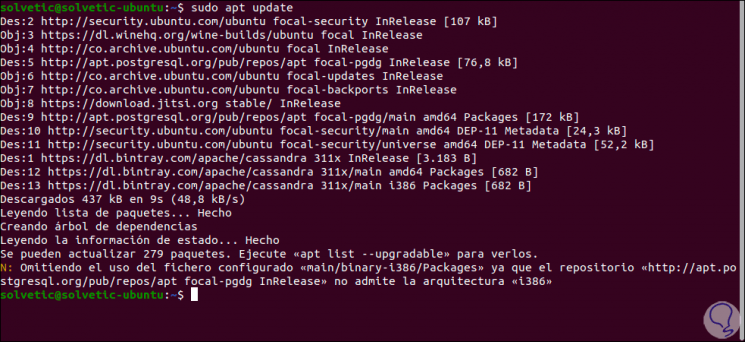
We update the system so that the repositories are updated in case of any news:
sudo apt update
Step 8
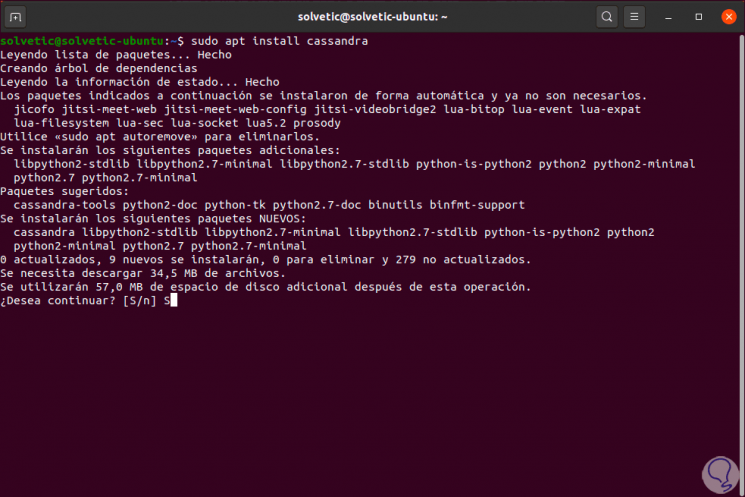
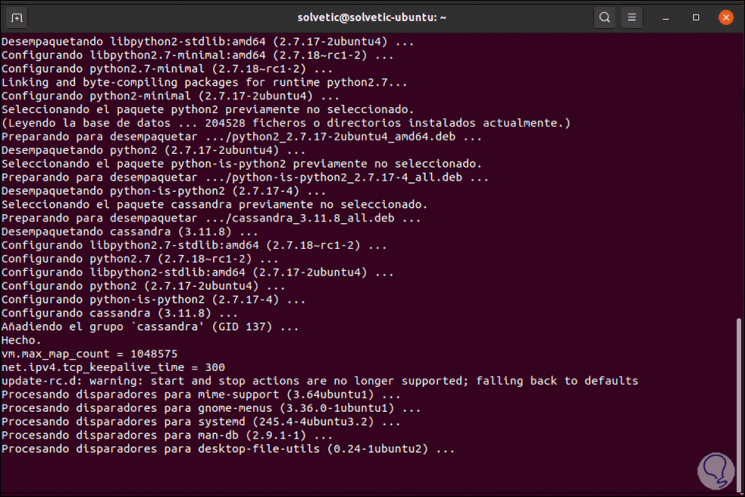
after this we install the Cassandra database:
sudo apt install cassandra
Step 9
We enter the letter S to complete the process:
Step 10
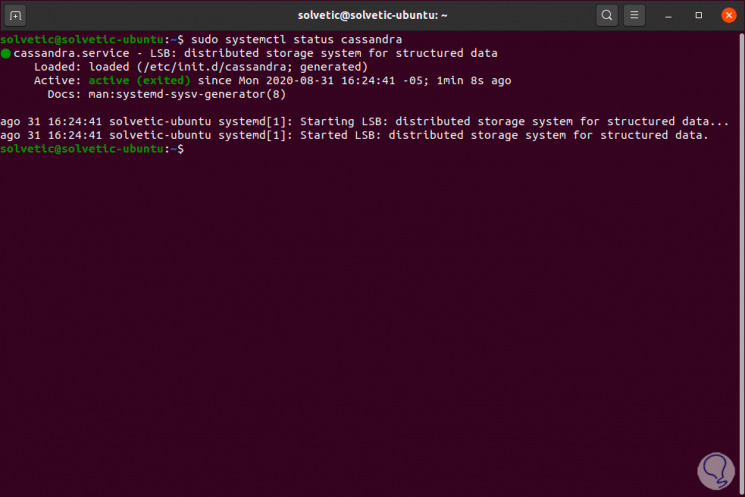
Apache Cassandra will start automatically and we can validate its status with the following command:
sudo systemctl status cassandra
Step 11
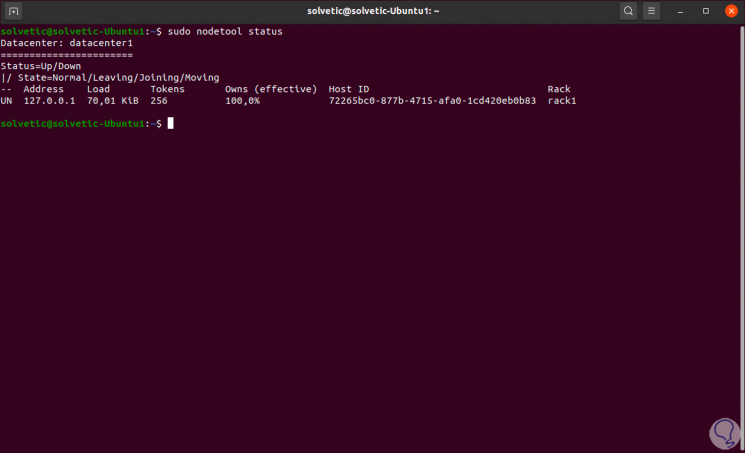
Now we can validate the state of the node with the following command. This allows us to see the status of Cassandra's node.
sudo nodetool status
Step 12
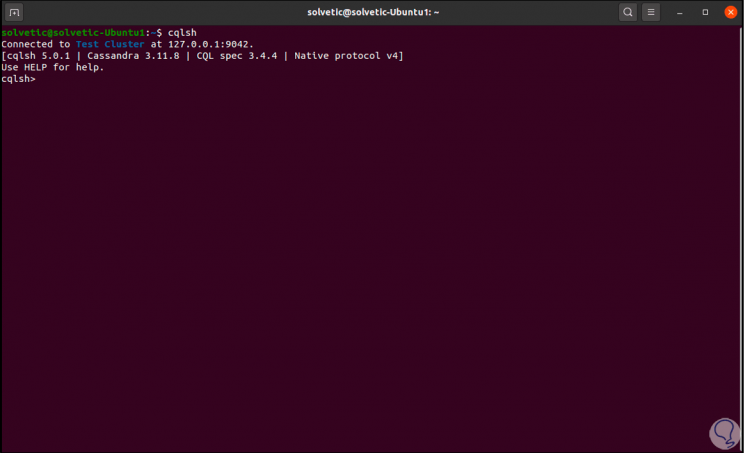
We log into Apache Cassandra with the following command:
cqlsh
2. Configure Apache Cassandra on Ubuntu 20.04
In Cassandra, the configuration files are found in the / etc / cassandra directory and the data is stored in the / var / lib / cassandra directory, all startup options are available to be modified in the / etc / default / cassandra file ..
Step 1
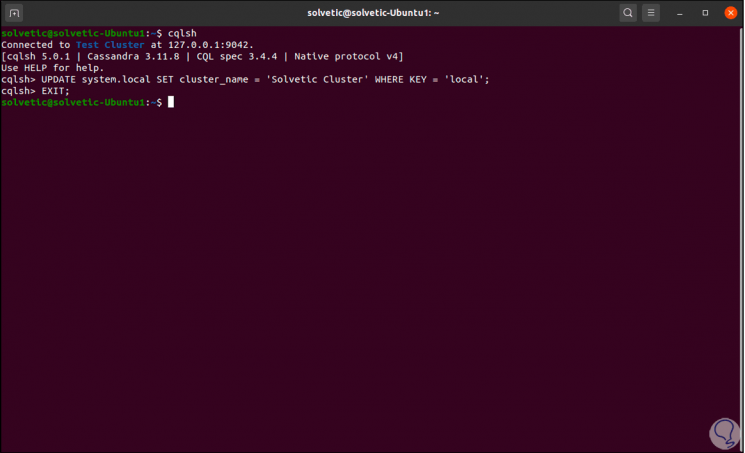
When logging in we can see that the default name of the cluster is' Test Cluster ', to edit it we log in to Apache Cassandra with "cqlsh" and then enter the following:
UPDATE system.local SET cluster_name =' TechnoWikis Cluster 'WHERE KEY =' local';
Step 2
Then we went out with
EXIT;
Step 3
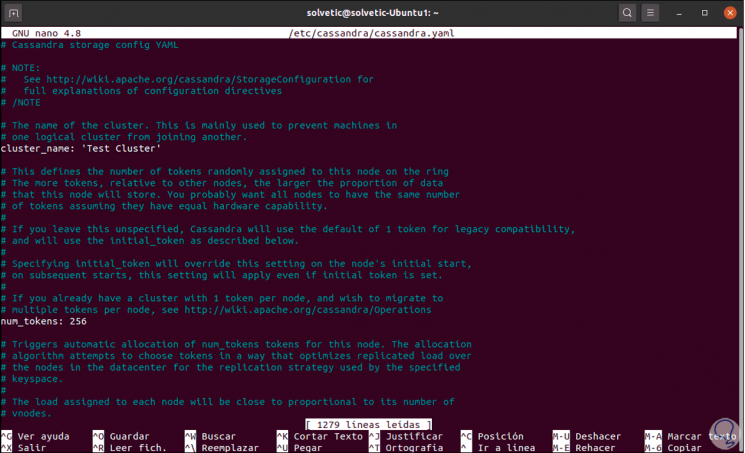
We access the configuration file using the desired editor:
sudo nano /etc/cassandra/cassandra.yaml
Step 4
We will see the following:
Step 5
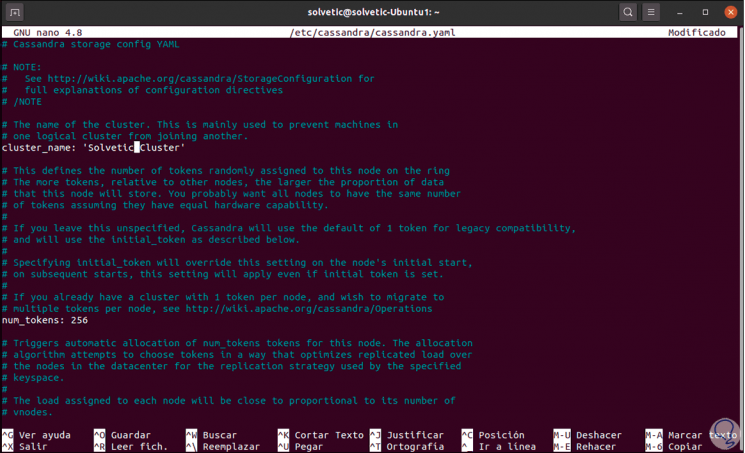
There we go to the line "cluster_name" and we enter the name that we assigned previously:
Step 6
We save the changes using the following key combination:
Ctrl + O
We leave the editor using:
Ctrl + X
Step 7
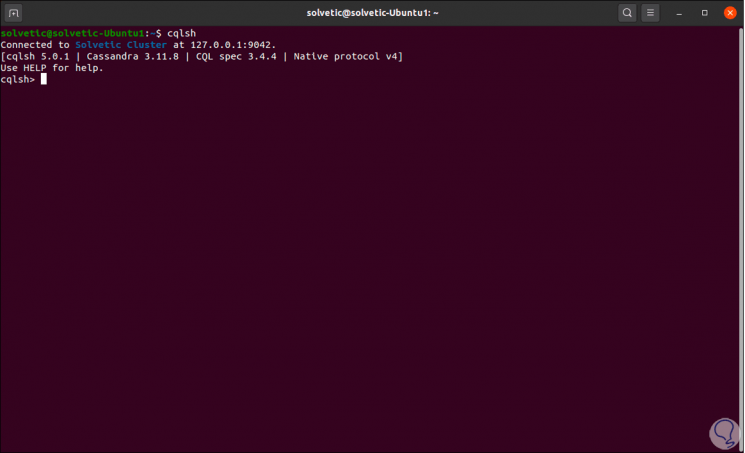
When logging back into Apache Cassandra we will see the new cluster name:
With TechnoWikis you have learned how to install and configure Apache Cassandra to manage the data much more comprehensively.