The websites are visited every second by millions of users worldwide and we can see from professional sites to very basic sites. There is no doubt that the design of the site is something that impacts at first sight when we open it and therefore if we are developers or we like to create web pages we must resort to the best solutions for it.
One of these is the platform where more than 35% of the pages have been created and it is the well-known WordPress.
What is WordPress
WordPress has been developed as a platform in which we can create, edit and manage websites where online content will be hosted and in which we will have multiple features and functionalities.
WordPress functions and features
Within the functions and characteristics of WordPress we find:
- Integrate plugins and custom themes (more than 200 options to choose from)
- Add statistics and Google Analytics for a control of visits to the site
- We can use the advertising program WordAds with which we seek to monetize the page created
- FTP options and server access
- Ease of integrating buttons to share our site on social networks
- In WordPress, dates are in UTC format, so all elements related to time will be based on GMT time.
- It has advanced user administration
- It has gzip compression focused on saving bandwidth
- Integrates SEO and Google Sitemaps functions
- Allows backup and protection
WordPress is an open source application (although it offers payment plans) so we will see how to install it in Ubuntu 20.04 together with Apache.
1. How to download WordPress Linux file
Step 1
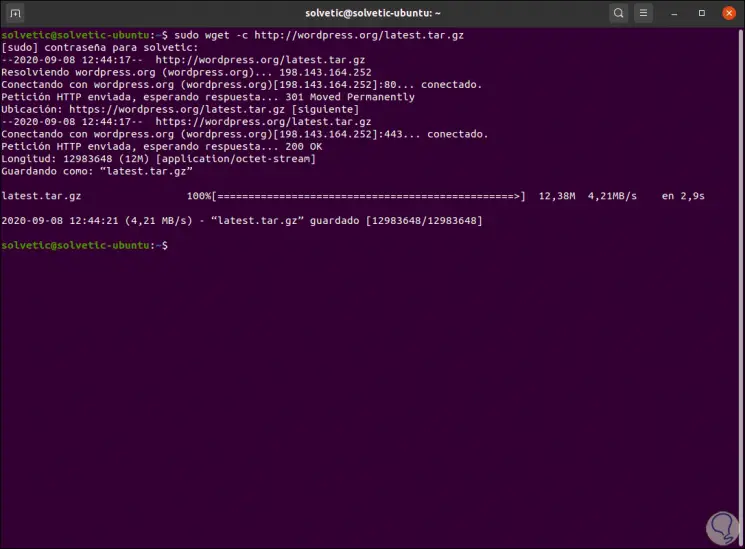
First, we are going to download the latest version of WordPress with the following command:
sudo wget -c http: //wordpress.org/latest.tar.gz
Step 2
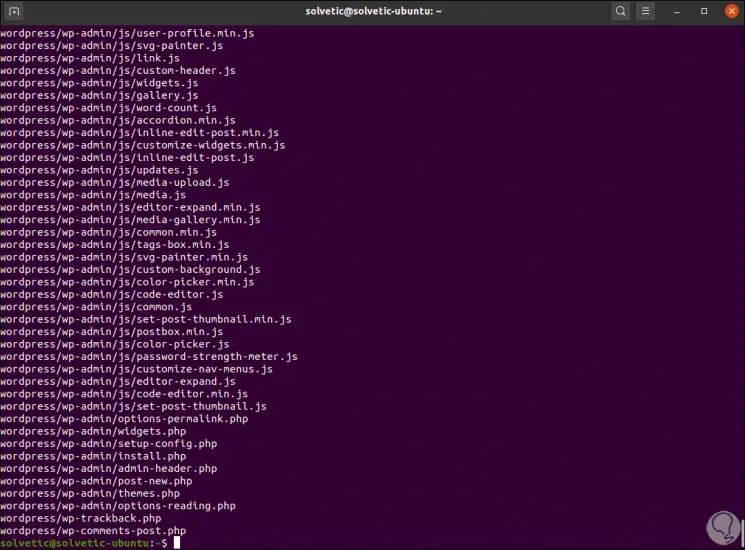
Once downloaded, we will extract its content with the following command:
sudo tar -xzvf latest .tar .gz
Step 3
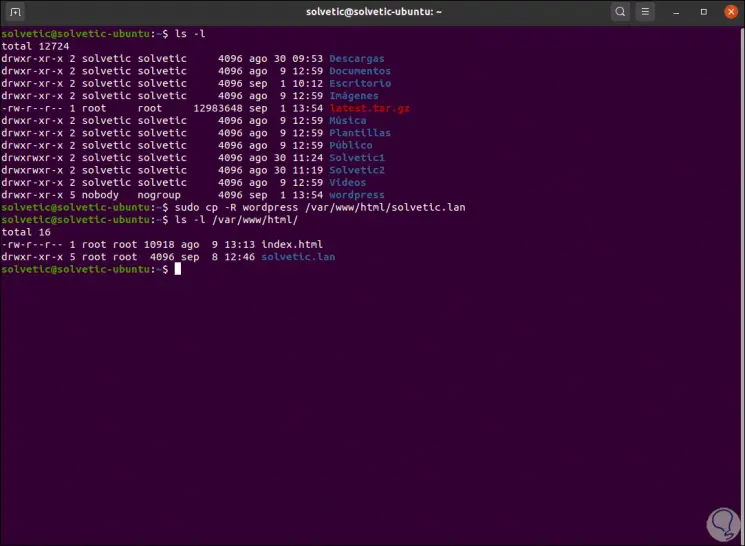
The next step will be to move the WordPress directory that we have extracted to the root of the web document, which is in the path / var / www / html /, there we will execute the following:
ls -l (we list the content)
sudo cp -R wordpress / var /www/html/technowikis.lan (we copy the content to our site)
ls -l / var / www / html / (we check the content )
Step 4
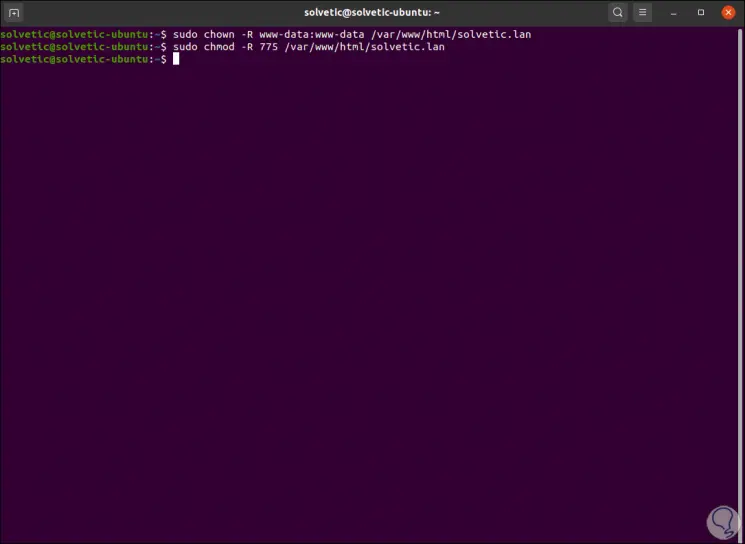
Now we are going to configure the permissions in the website directory which is /var/www/html/technowikis.lan, these permissions imply that it must be owned by the Apache2 user and group www-data:
sudo chown -R www-data: www-data / var /www/html/technowikis.lan sudo chmod -R 775 / var /www/html/technowikis.lan
2. How to install LAMP on Ubuntu 20.04
Step 1
LAMP (Linux, Apache, MariaDB and PHP) is a set of ideal applications for web work and data management, first of all, we install Apache if we don't have it with the following command:
sudo apt install apache2
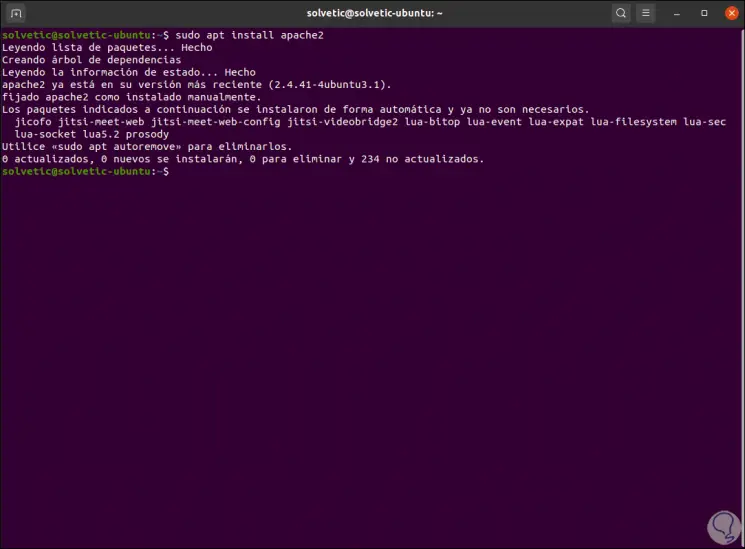
All Apache2 configuration files are in the / etc / apache2 directory and the main configuration file is /etc//etc/apache2/apache2.conf.
Step 2
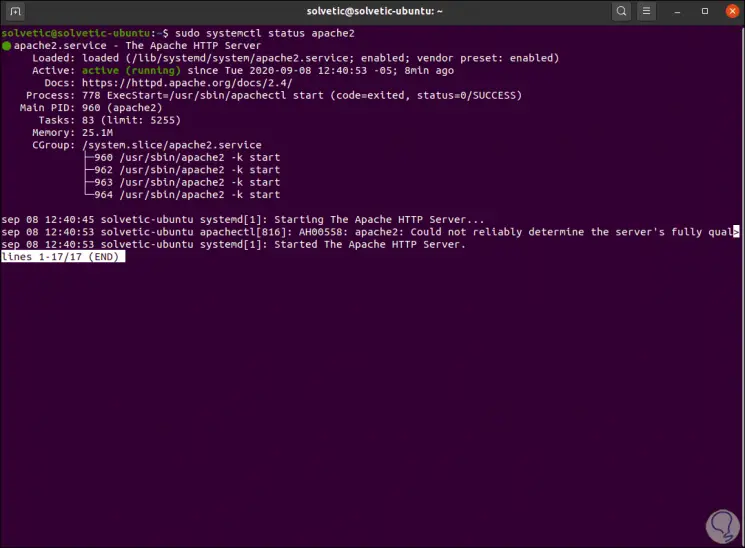
We see the state of Apache with the following command:
sudo systemctl status apache2
Step 3
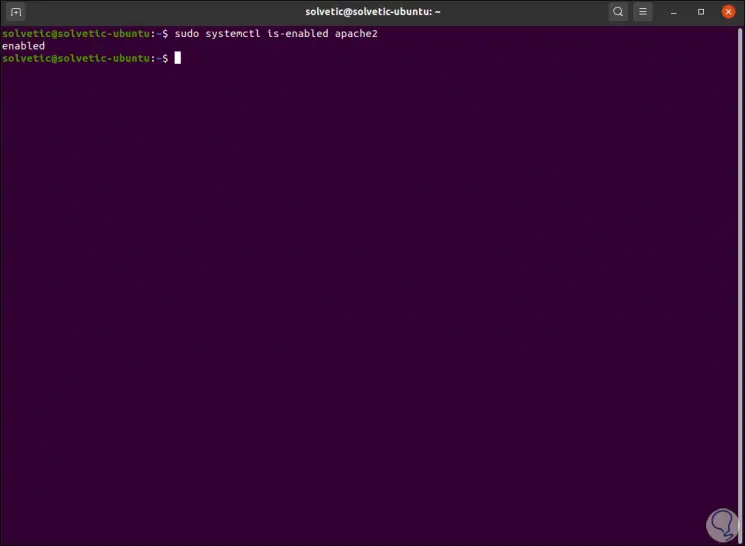
We enable Apache at Ubuntu boot:
sudo systemctl is -enabled apache2
Step 4
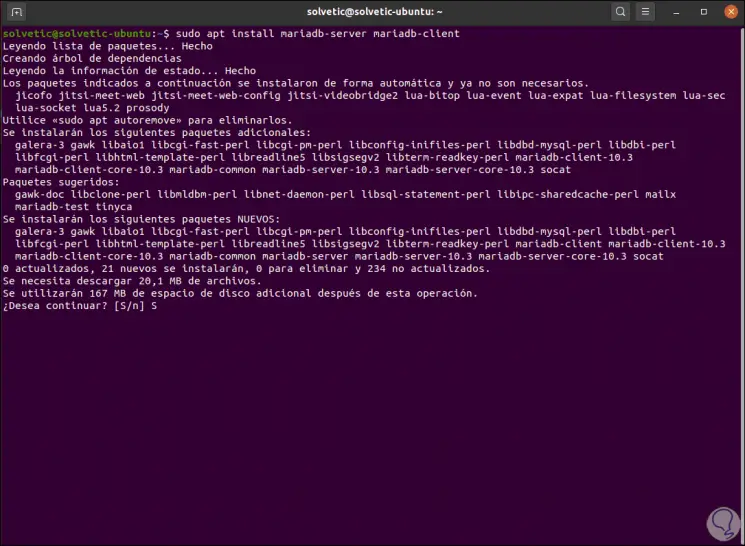
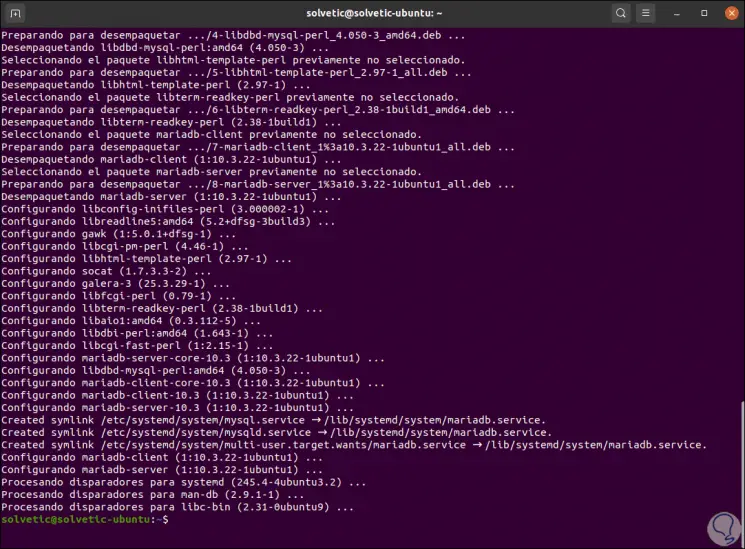
Now we will install the database manager which will be MariaDB, for this we execute the following:
sudo apt install mariadb- server mariadb- client
Step 5
We enter the letter S to validate the download and installation of the database manager:
Step 6
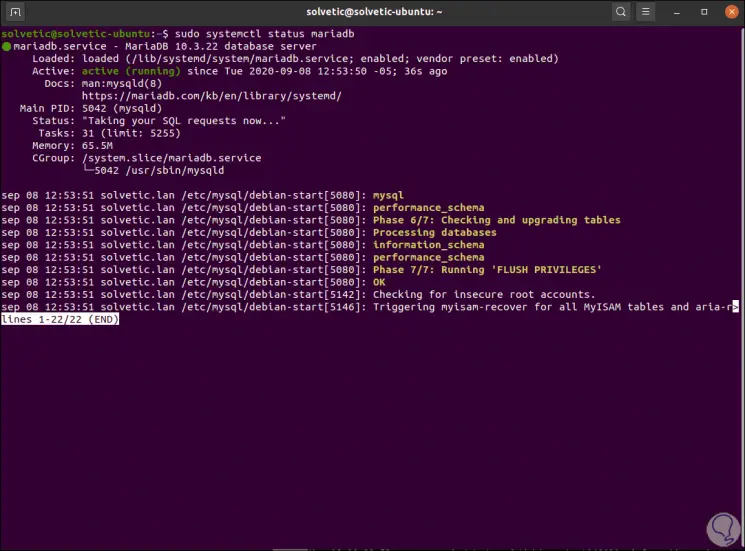
We check the status of MariaDB:
sudo systemctl status mariadb
Step 7
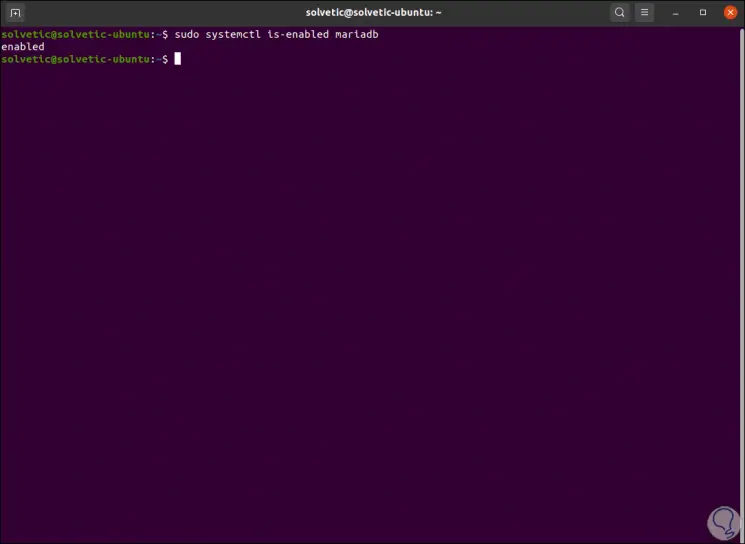
We enable its start from boot:
sudo systemctl is -enabled mariadb
Step 8
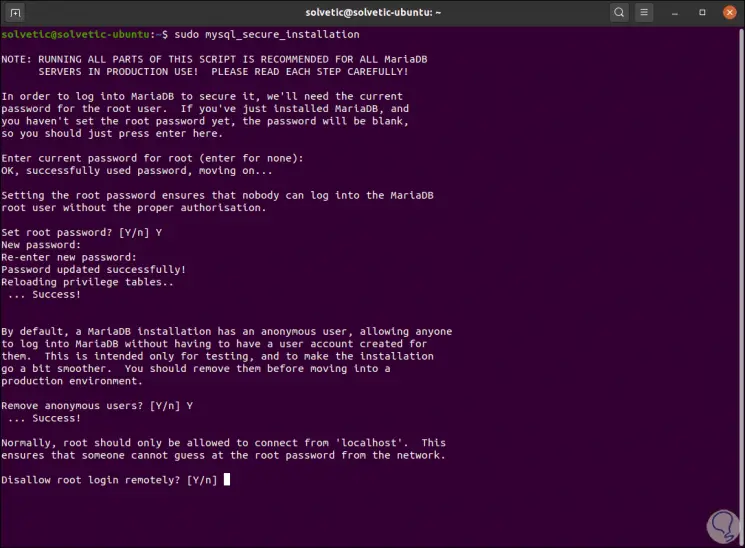
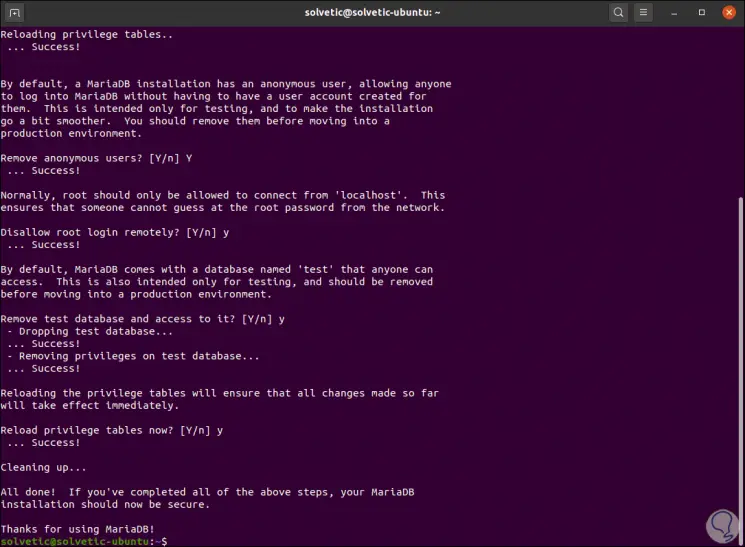
The next step will be to ensure the MariaDB installation with the following command:
sudo mysql_secure_installation
We enter the desired password for the root user and then we answer the following:
- Set a root password? [Y / n] and
- Remove anonymous users? [Y / n] and
- Disallow root login remotely? [Y / n] and
- Remove test database and access to it? [Y / n] and
- Reload privilege tables now? [Y / n] and
Step 9
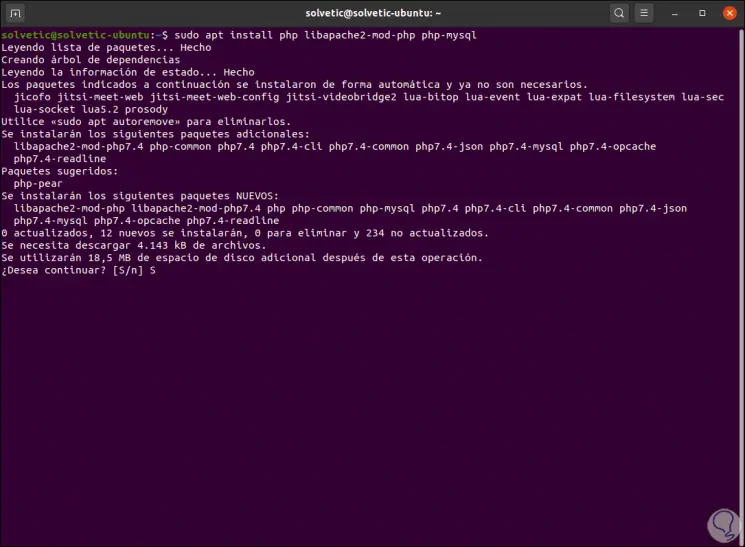
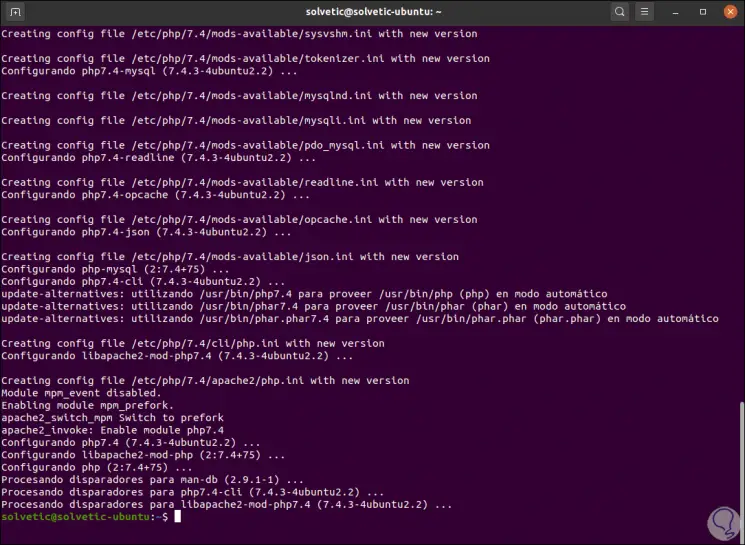
Finally we install PHP and its plugins with the following command:
sudo apt install php libapache2- mod -php php-mysql
Step 10
We enter the letter S to confirm:
PHP is an ideal programming language for working on web projects.
3. How to create a database for WordPress Ubuntu
Step 1
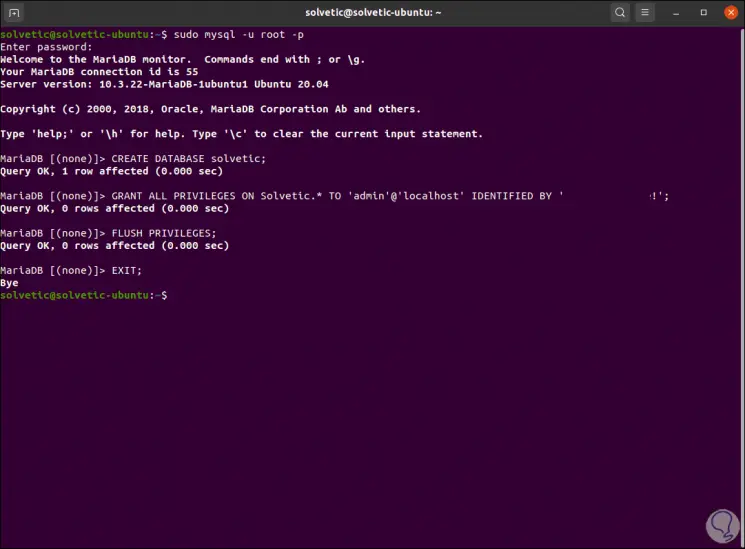
We log in to MariaDB with the following command and we must enter the password that we have previously defined:
sudo mysql -u root -p
Step 2
Then we create the database, the username and the password to use in the WordPress login:
- GRANT ALL PRIVILEGES ON base. * TO 'user' @ 'localhost' IDENTIFIED BY 'password';
Step 3
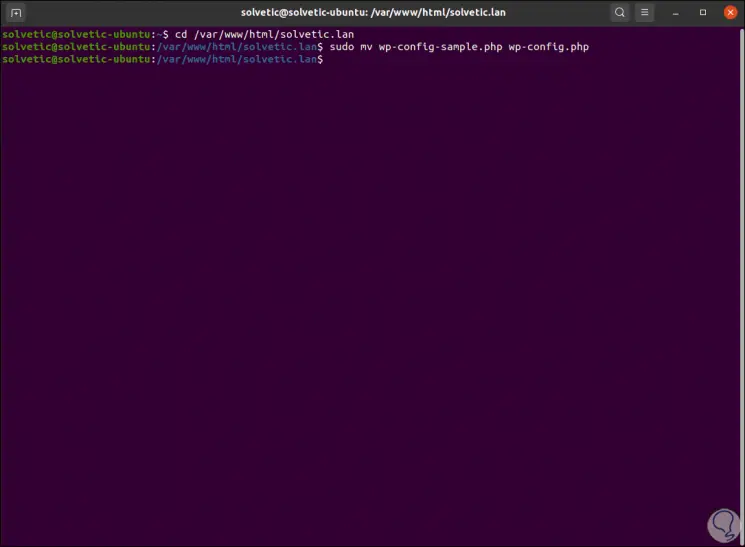
We go to the document root of the website and there we are going to create a wp-config.php file taking the configuration file as the source as follows:
cd /var/www/html/technowikis.lan sudo mv wp-config-sample.php wp-config.php
Step 4
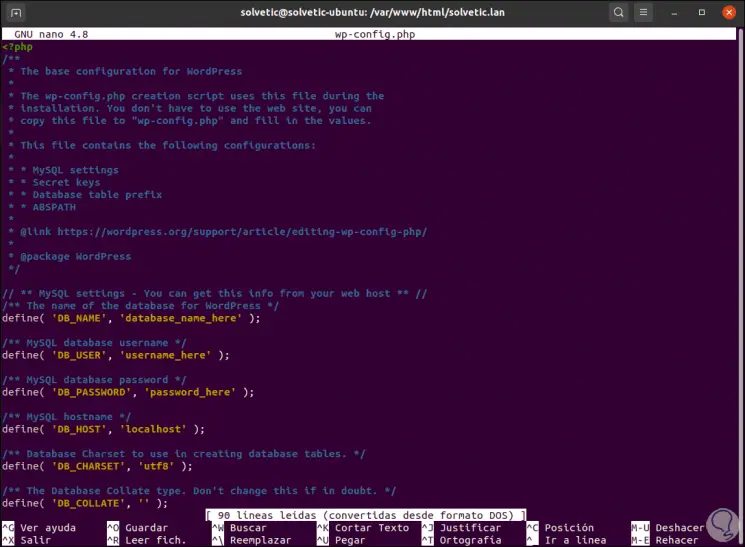
We open the configuration file with the desired editor:
sudo nano wp-config .php
There we will see the following:
Step 5
We must go to the following lines:
We establish the name and password created in the database:
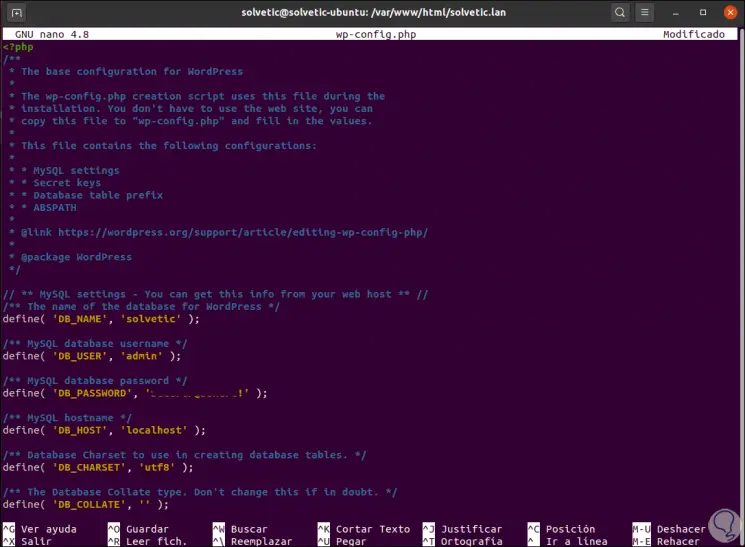
We save the changes with the Ctrl + O keys and exit the editor with the Ctrl + X keys.
4. How to create Apache virtual host for WordPress website
It is required to configure the Apache web server to host the WordPress site with the domain name.
Step 1
To do this we must create a virtual host and establish the Apache configuration, we execute the following:
sudo nano /etc/apache2/sites-available/technowikis.lan.conf
Step 2
In the file we will enter the following:
< VirtualHost * : 80 > ServerName technowikis.lan ServerAdmin webmaster @ localhost DocumentRoot /var/www/html/technowikis.lan ErrorLog $ {APACHE_LOG_DIR} /error.log CustomLog $ {APACHE_LOG_DIR} /access.log combined </ VirtualHost >
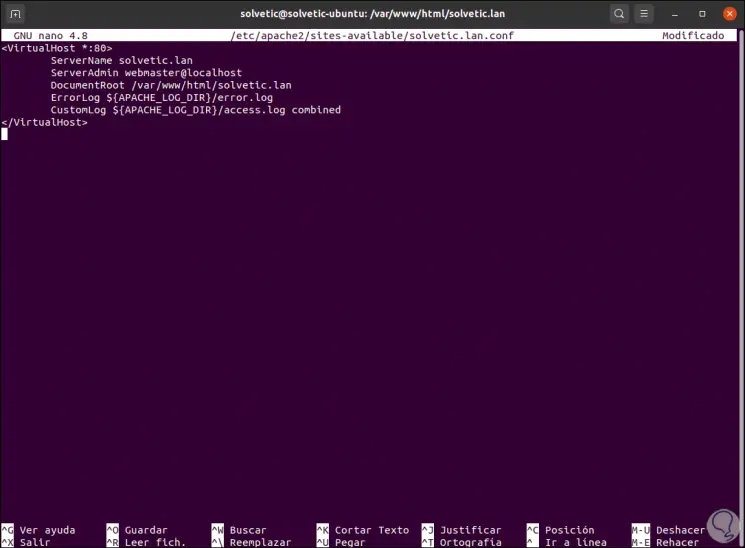
We save the changes with the Ctrl + O keys and exit the editor with the Ctrl + X keys.
Step 3
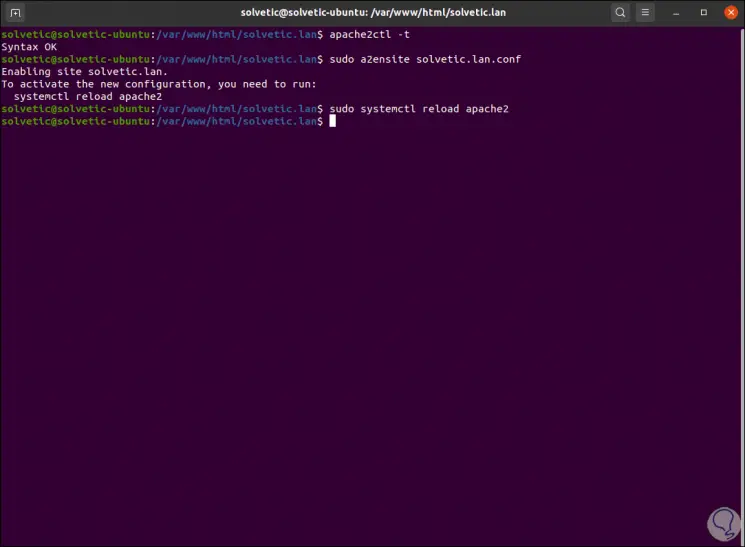
We are going to verify that the Apache configuration and its syntax are correct, if so, we are going to enable the new site and load the apache2 service to apply the new changes we have made:
apache2ctl -t sudo a2ensite technowikis .lan .conf sudo systemctl reload apache2
Step 4
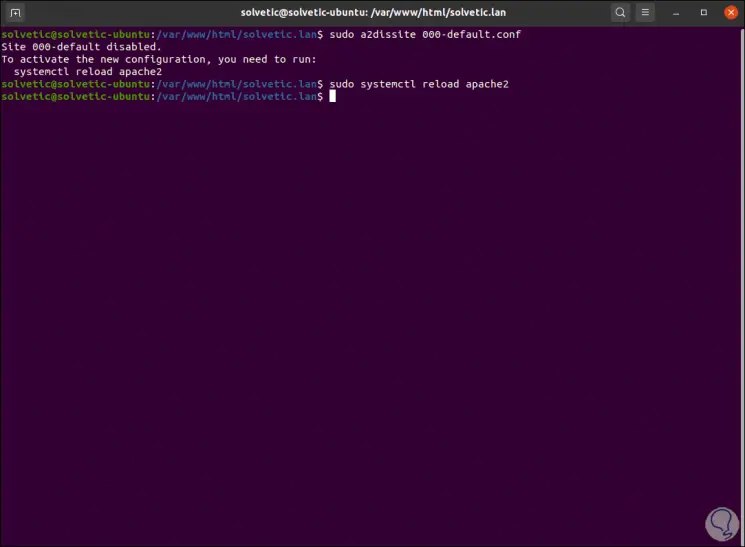
After this we are going to deactivate the virtual host by default in order to allow a new site to be loaded correctly from the web browser, we enter the following in the terminal:
sudo a2dissite 000 - default .conf sudo systemctl reload apache2
5. How to access WordPress and finish configuration
Step 1
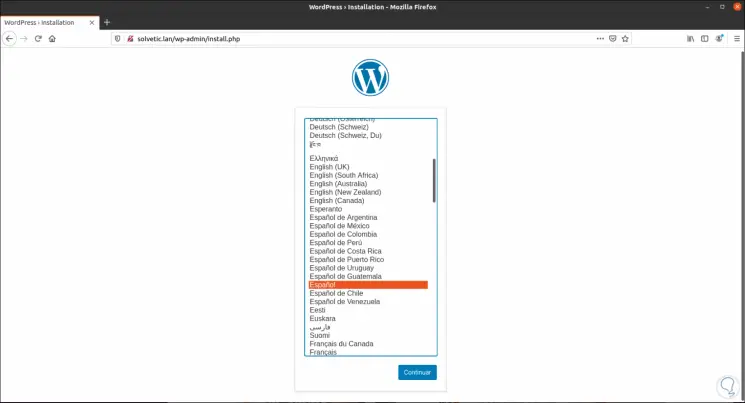
Finally from a browser we enter the following syntax:
http: //technowikis.lan
In the initial window we select the language to use:
Step 2
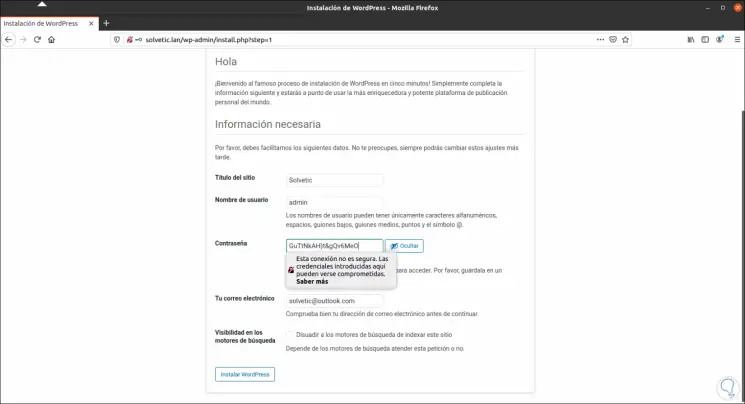
We click on Continue and then we enter the name of the site, the user and we can leave the password assigned by WordPress, if so we must copy it due to its complexity:
Step 3
We complete the requested information and click on "Install WordPress" to complete the process:
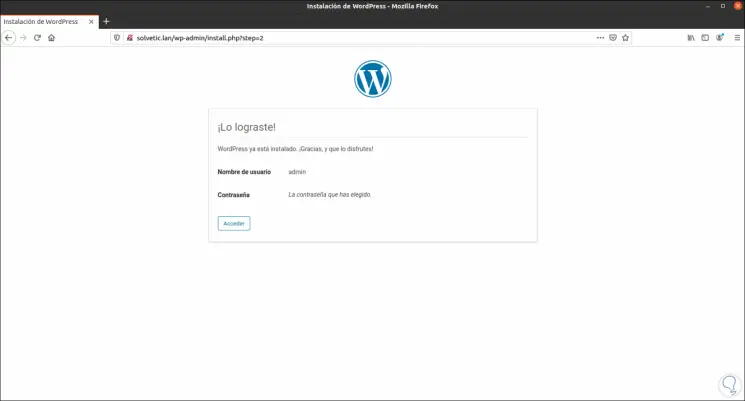
Step 4
We click OK and we will be redirected to the WordPress login page:
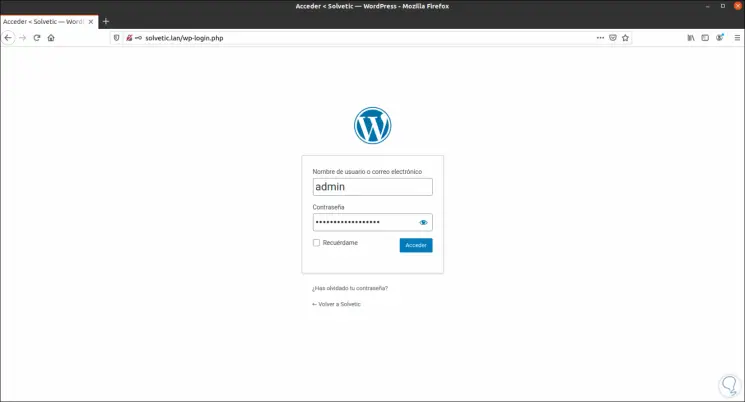
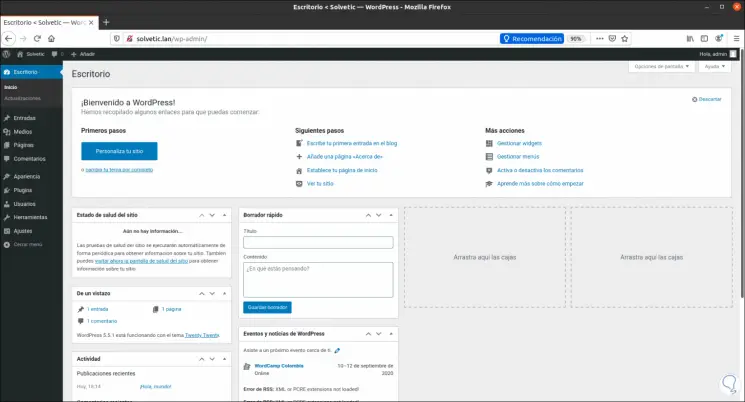
Step 5
Click on "Access" and this will be the WordPress environment in Ubuntu 20.04:
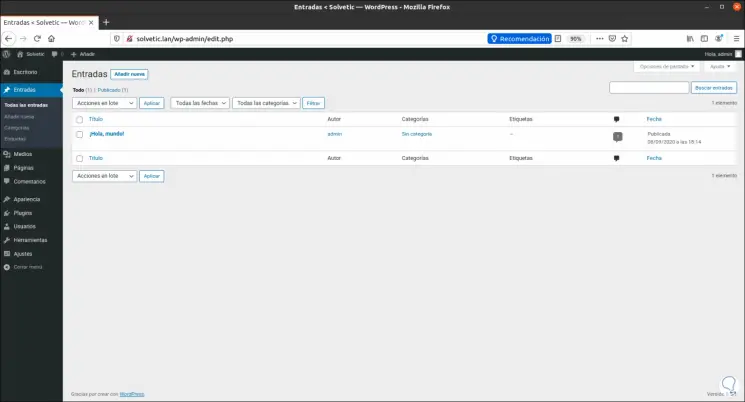
Step 6
There we can navigate in the different options for the creation of the websites:
Step 7
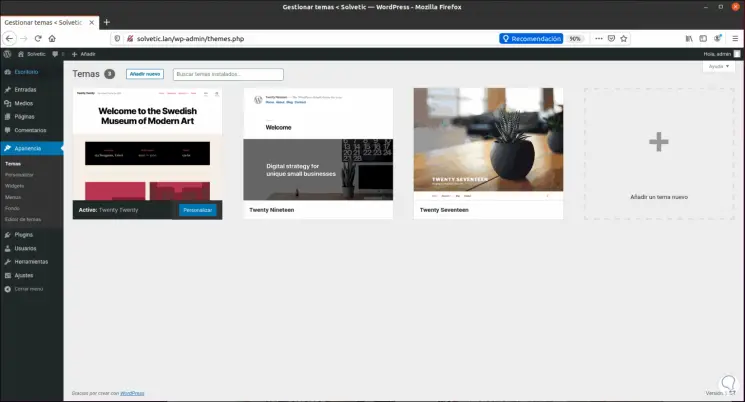
We can go to the appearance section to choose the best way to integrate:
TechnoWikis has explained to you how to install WordPress together with Apache in Ubuntu 20.04 and thus enjoy one of the best solutions for creating and editing websites.