Virtualization is the most functional way to test various systems and applications without affecting the real or production environment. In addition to this, the impact it has on both physical (hardware) and economic resources by not having to invest in new equipment is something really potential.
That is why in the market we find different virtualization solutions, each one with its respective characteristics focused on the type of scenarios where they have to be implemented. One of them is oVirt, which we will talk about in detail through this tutorial and you will see how to implement it in CentOS 8 completely.
What is oVirt
oVirt has been developed as a comprehensive virtualization solution which is distributed in open source and with which we will have full control of the infrastructure that needs to be managed regardless of its size.
oVirt makes use of the KVM hypervisor and its design is inspired by other well-known applications such as libvirt, Gluster, PatternFly and Ansible.
As oVirt is an application based on Red Hat Enterprise Virtualization, it will give us total control to carry out actions such as managing virtual machines, equipment, storage and network resources all directly from a web interface.
Features
When installing oVirt we will be with functions such as:
- Integrated management of hosts, storage and general network configuration.
- Web-based user interfaces for control access.
- High availability of virtual machines in case of failure of the main host, which ensures the integrity of the managed computers.
- Supports live migration of both virtual machines and disks between hosts and storage.
- Monitoring of general system resources to look for problems that affect the behavior of computers such as extreme load on one of the hosts, insufficient memory or disk space, and more.
- Management of custom object properties using tags.
- Generation of reports for auditing issues.
OVirt is run as a virtual machine on self-hosted engine nodes which are used on the same computer or managed environment.
Requirements
- An oVirt Engine virtual machine which is hosted on the self-hosted engine nodes
- Minimum of two self-hosted engine nodes in order to provide high virtual machine availability
- A storage service either local or remote
At the level of requirements to install oVirt on CentOS 8 we need:
- One dual-core CPU recommended one quad-core
- 4 GB of RAM in case the datastore is not installed, but 16 GB is recommended
- 25 GB disk space preferably 50 GB
Let's see how to install oVirt on CentOS 8.
1. How to name oVirt server in CentOS 8
Step 1
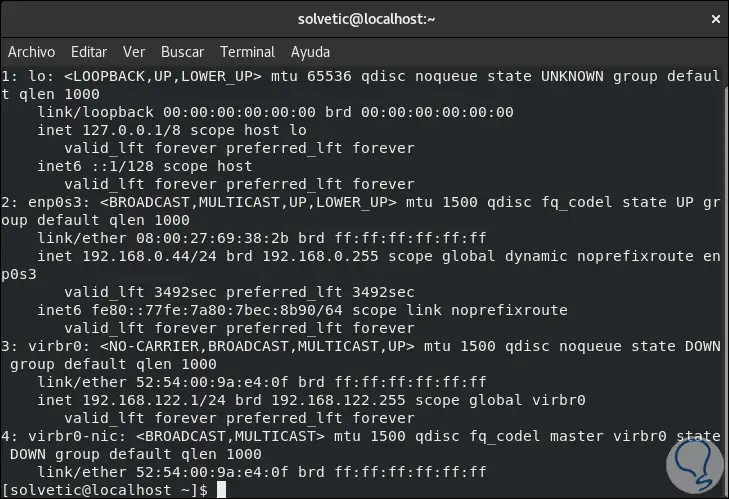
We proceed to execute the command "ip add" to know the IP address of the CentOS 8 server:
Step 2
If we wish we can establish the name of the computer with a domain for external access, in this case we go to the terminal and execute:
hostnamectl set-hostname centos.technowikis.lan
Then we access the hosts file with some editor:
sudo nano / etc / hosts
Step 3
There we enter the following line at the end:
Server_IP centos.technowikis.lan
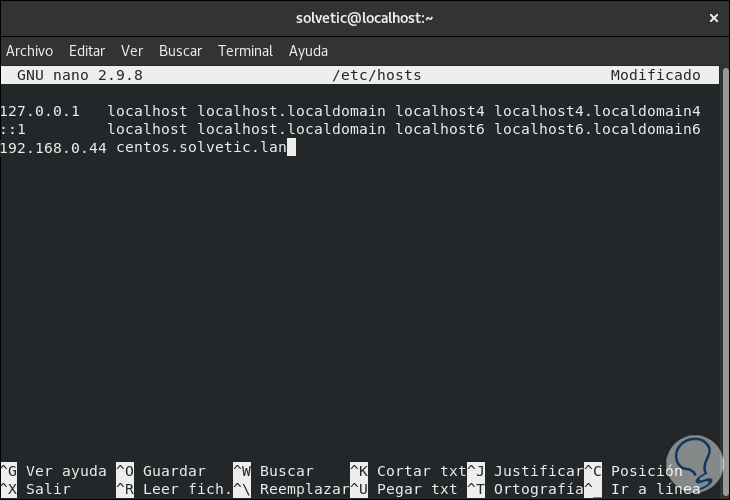
We save the changes with the Ctrl + O keys and exit the editor with the Ctrl + X keys.
Note
It is possible to use oVirt locally with the default value localhost.
2 . How to install oVirt repositories
Step 1
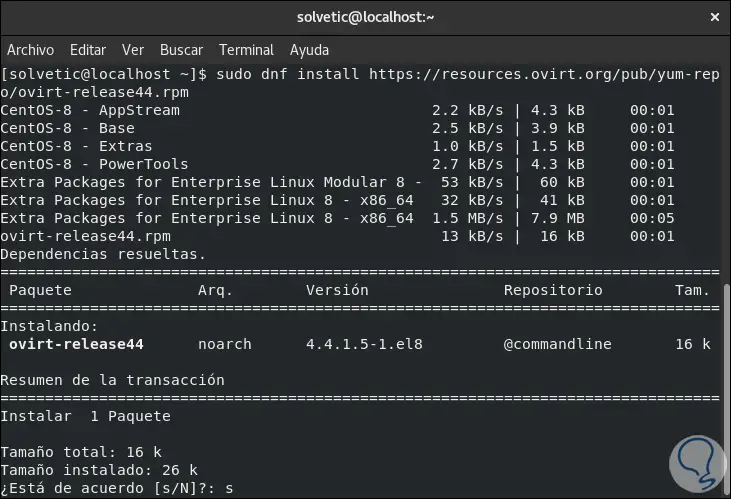
We will install the official oVirt repository on CentOS 8 with the following command:
dnf install https://resources.ovirt.org/pub/yum-repo/ovirt-release44.rpm
Step 2
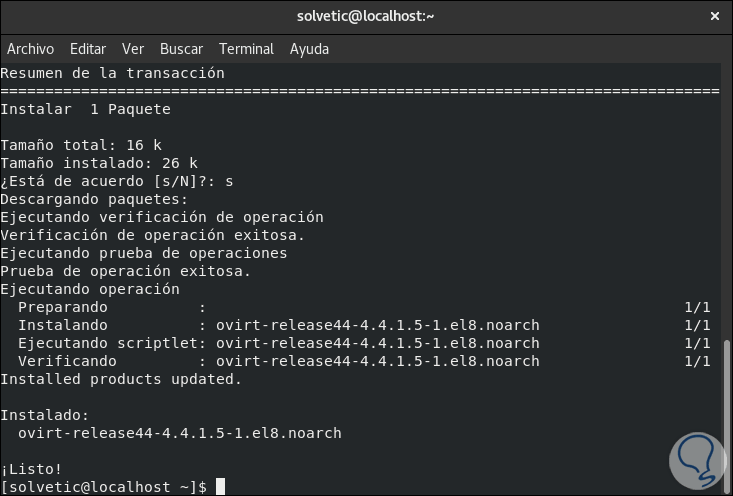
We enter the letter "s" to validate the download and installation:
Step 3
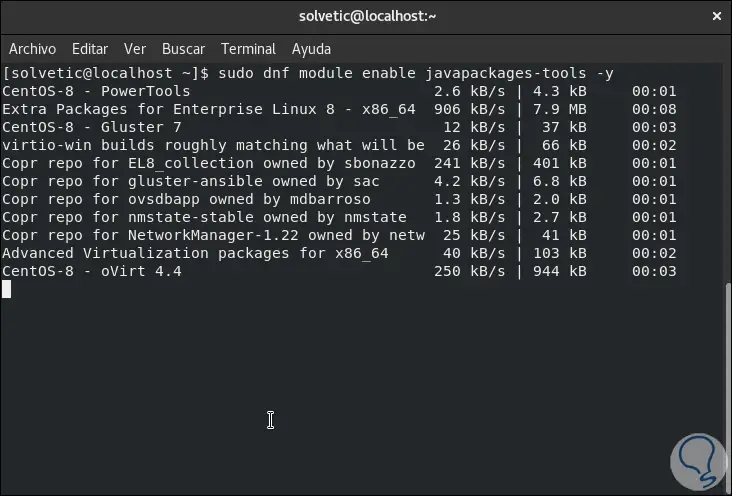
Now we are going to enable Java packages with the following command:
sudo dnf module enable javapackages-tools -y
Step 4
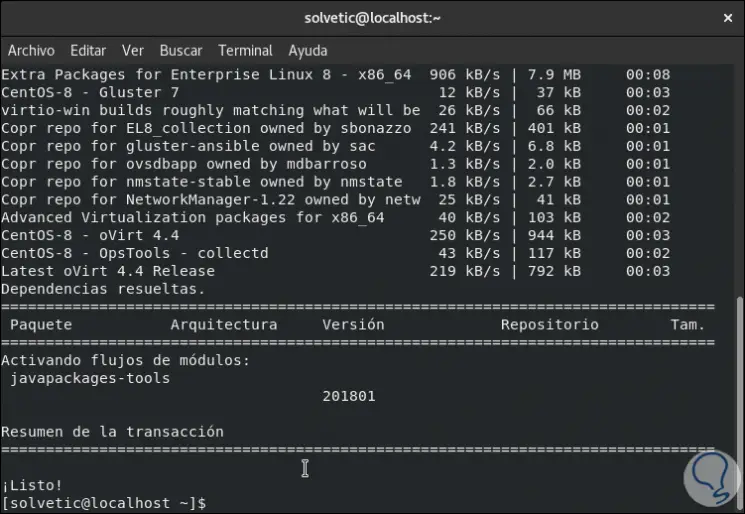
When this ends we will see the following:
Step 5
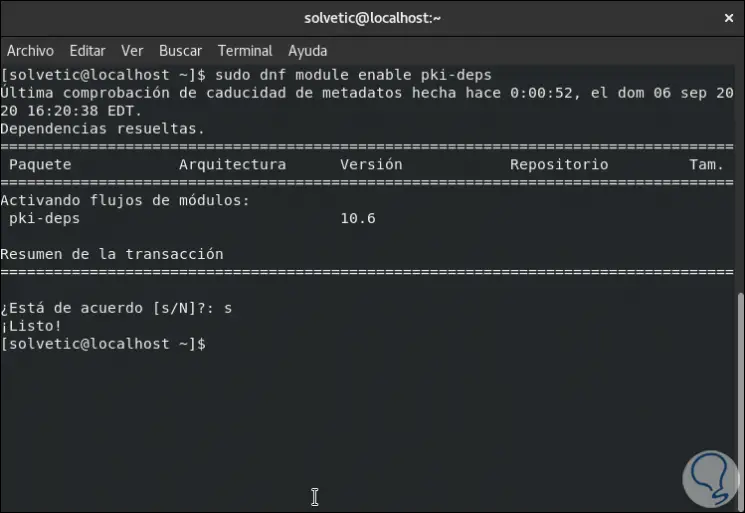
We enable the pki-deps packages:
sudo dnf module enable pki-deps
Step 6
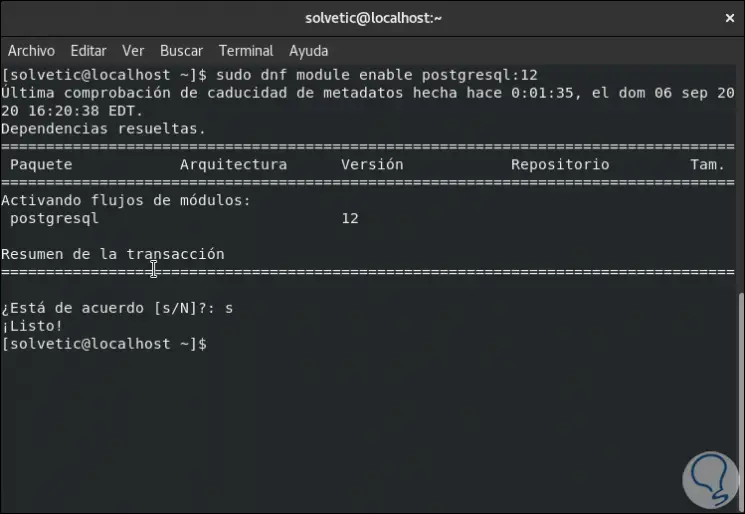
Finally, we enable the PostgreSQL module:
sudo dnf module enable postgresql: 12
3. How to install and configure the oVirt motor
Step 1
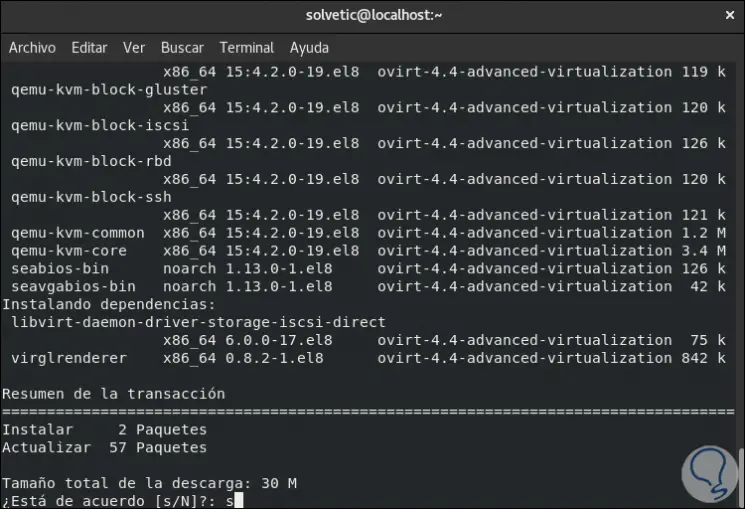
The first step to take will be to update the repositories that we have installed:
sudo dnf update
Step 2
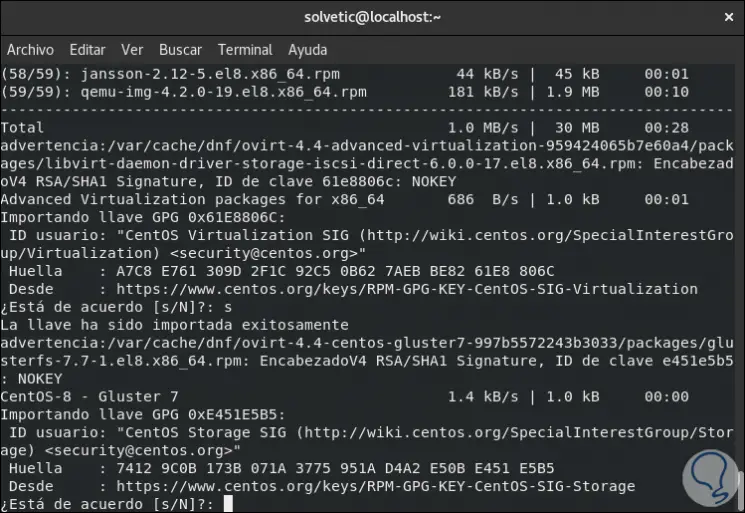
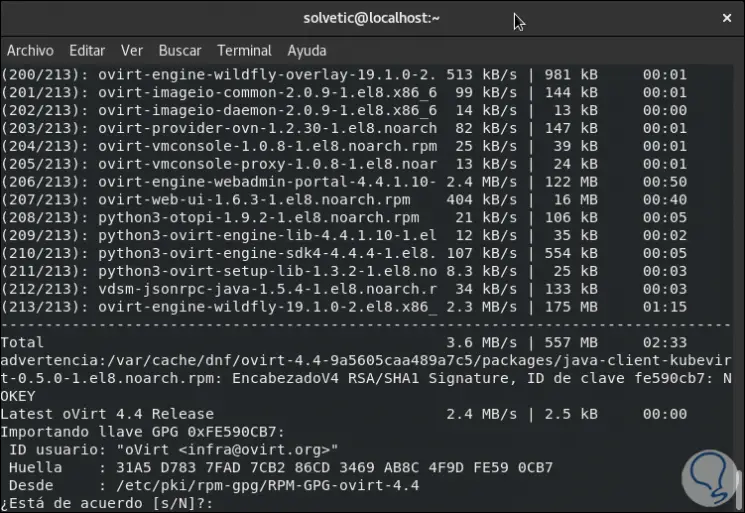
We enter the letter "s" to confirm and then we must continue validating the installation of the associated GPGs:
Step 3
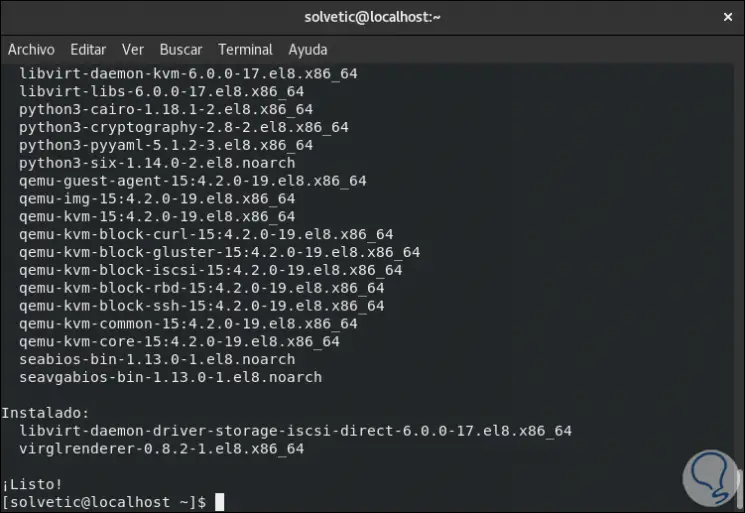
When this ends we will see the following:
Step 4
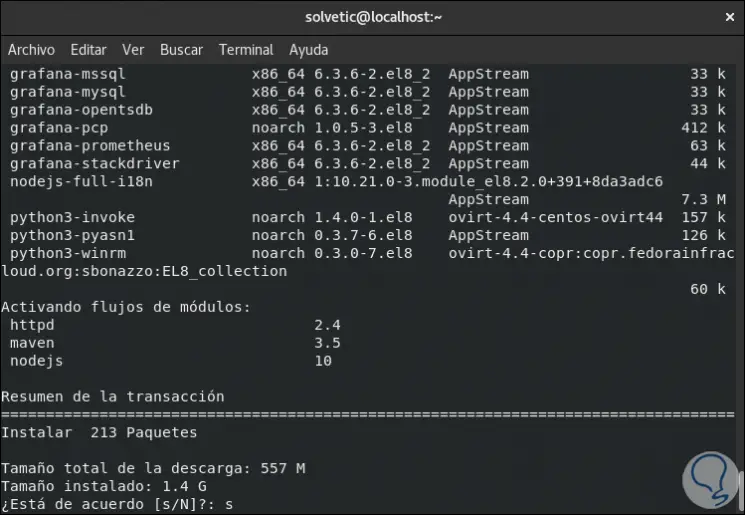
The next step will be to install the oVirt engine, for this we execute the following:
sudo dnf install ovirt-engine -y
Step 5
Again we enter the letter s to confirm the download and installation:
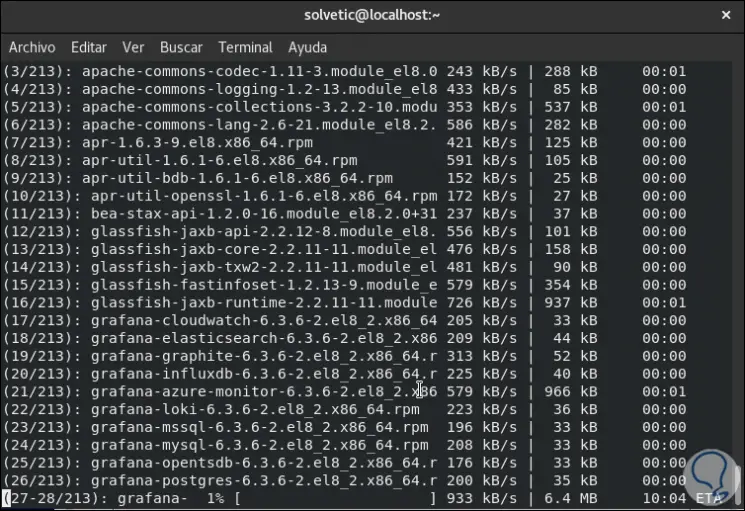
Step 6
It will be necessary to be aware of the installation since it is required to confirm the download of the GPG keys:
Step 7
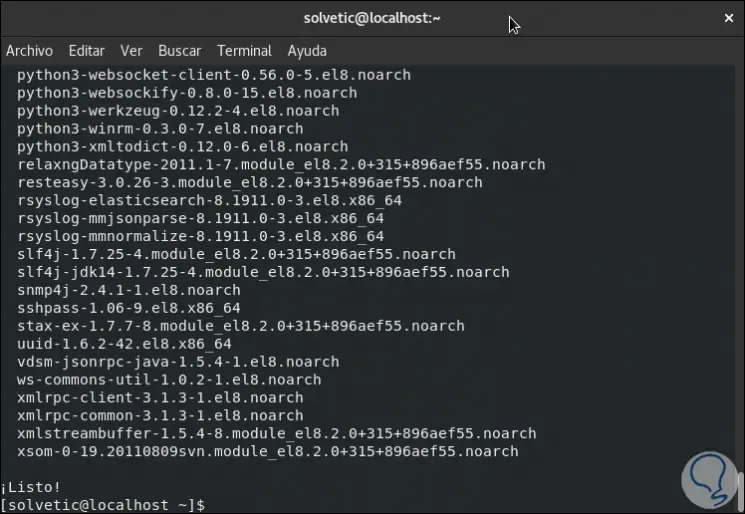
When the oVirt engine is installed we will see the following:
Step 8
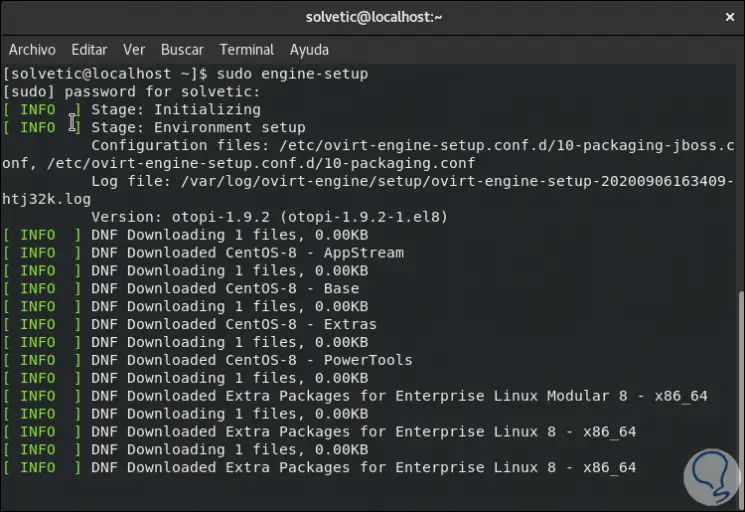
We are ready to configure oVirt, for this we execute the following in CentOS 8:
sudo engine-setup
Step 9
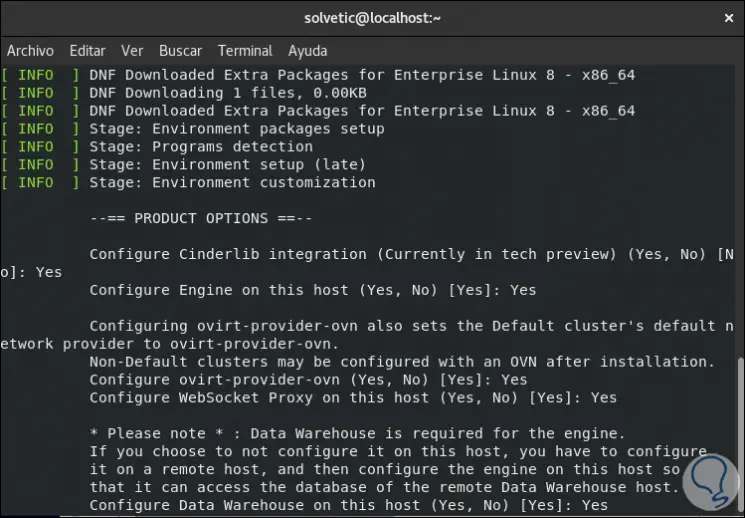
This will do an initial analysis of the variables and then we will see a series of questions that we can answer as appropriate, if we want to leave the default value we simply press Enter:
Step 10
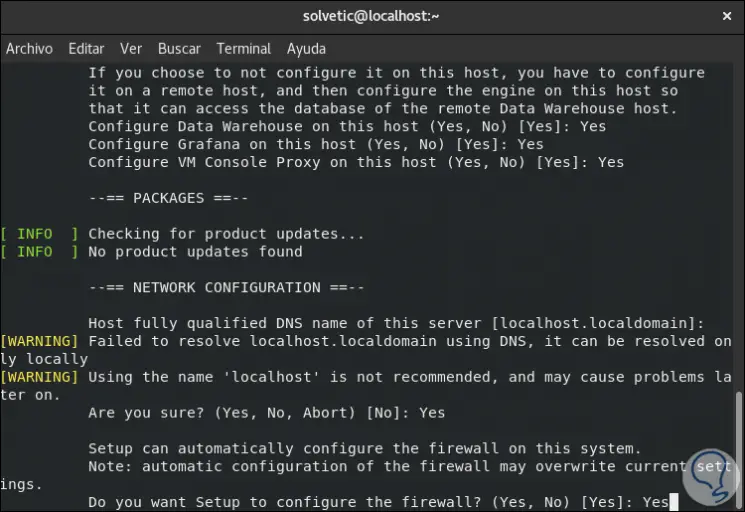
Then we access the network configuration:
Step 11
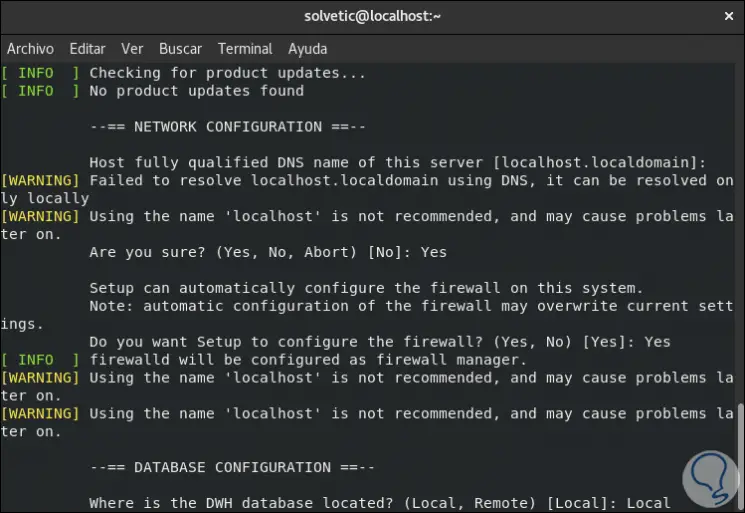
There we confirm the FQDN of the server, after this we proceed to the configuration of the database which we mention can be local or remote:
Step 12
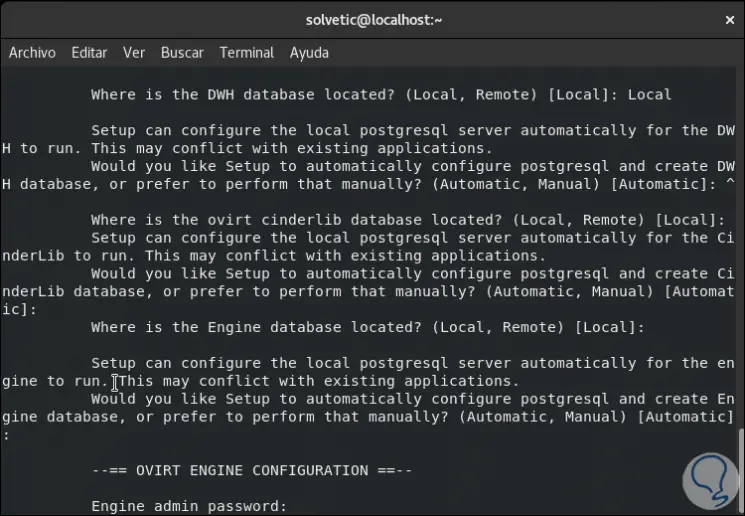
After this we enter and validate the password that we will use for the administrator user:
Step 13
The next steps will be to configure the general variables to which it is ideal to leave the default values.
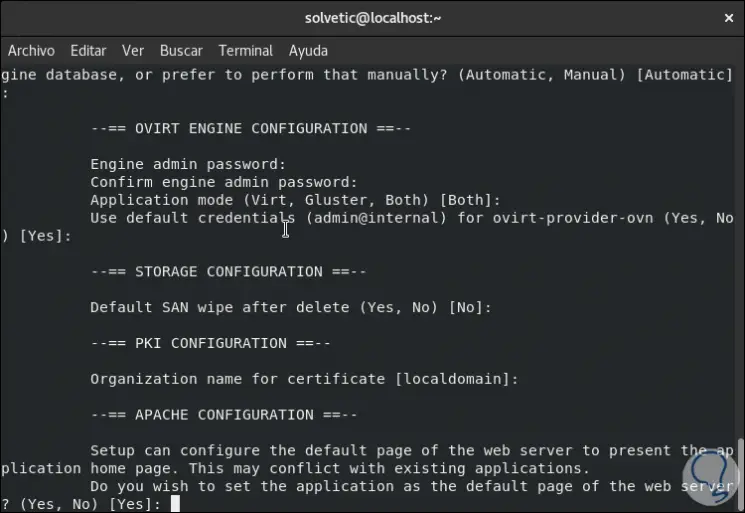
Step 14
After this we will see a summary of the selected configuration:
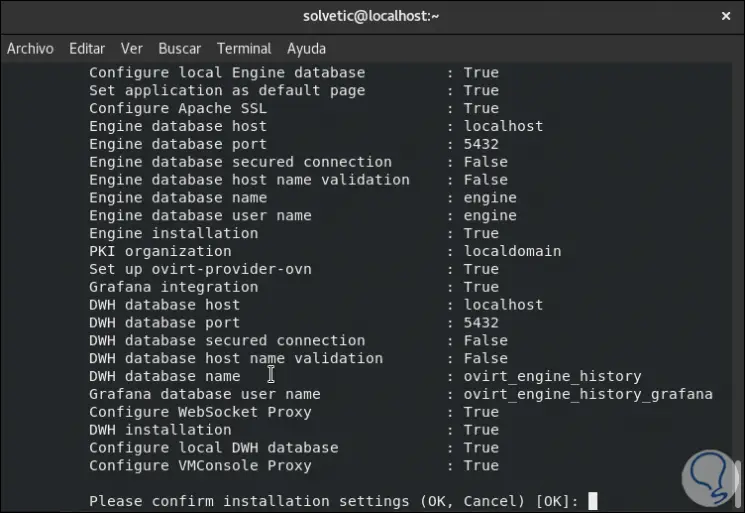
Step 15
If we agree, press Enter to proceed with the configuration of oVirt in CentOS 8:
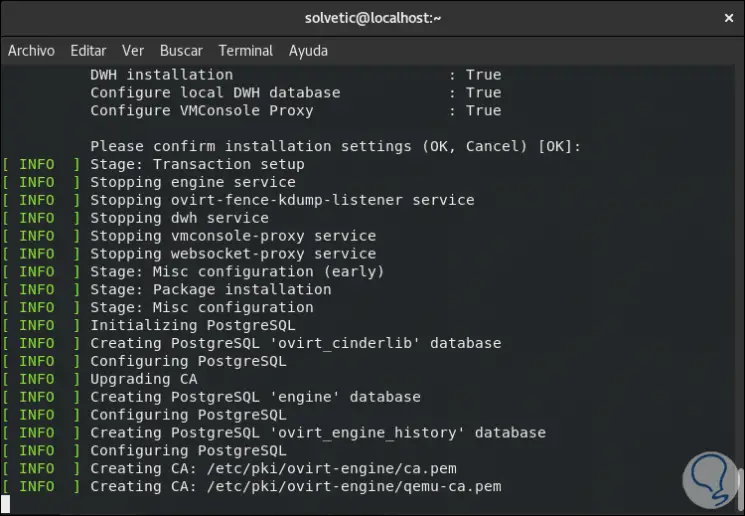
Step 16
When this process comes to an end we will see the following:
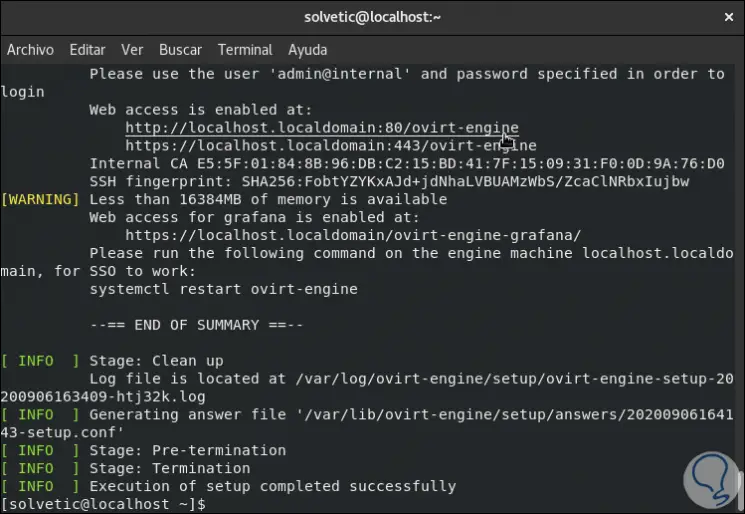
There we find the access through the HTTP and HTTPS protocols.
4. How to configure SELinux and Firewall for oVirt
Step 1
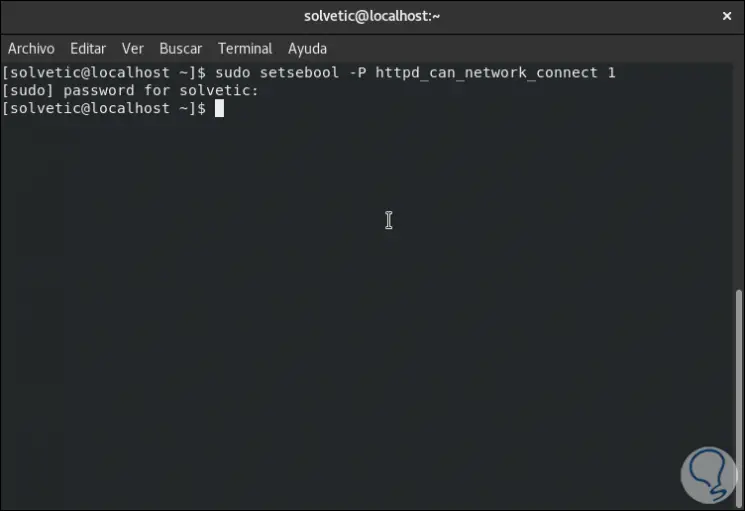
To access these URLs we must grant the correct permissions, by default, SELinux is enabled in CentOS 8, this implies that we must configure SELinux for oVirt, we will do this with the command:
sudo setsebool -P httpd_can_network_connect 1
Step 2
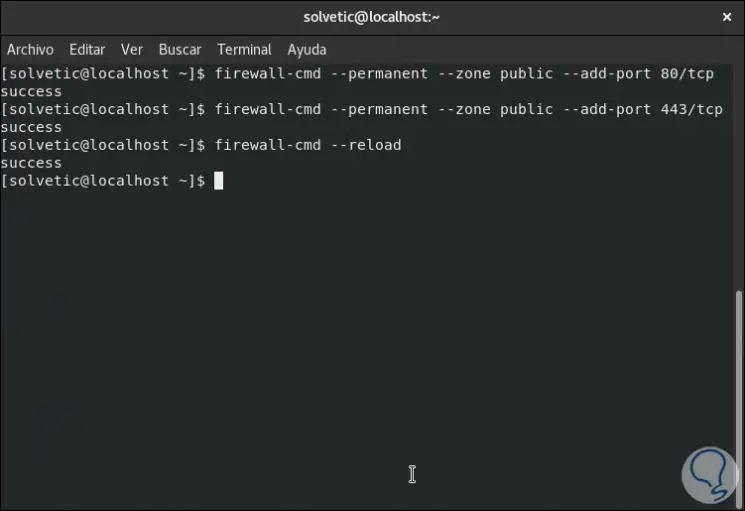
Then we enable the ports in the Firewall and apply the changes:
firewall-cmd --permanent --zone public --add-port 80 / tcp firewall-cmd --permanent --zone public --add-port 443 / tcp firewall-cmd --reload
5. How to access oVirt
Step 1
We are ready to use oVirt, for this we go to a browser, local or external, and enter the following syntax:
https: //team.domain: 80 / ovirt-engine / We will see the following warning:

Step 2
We click on "Advanced" and then the following will be displayed:
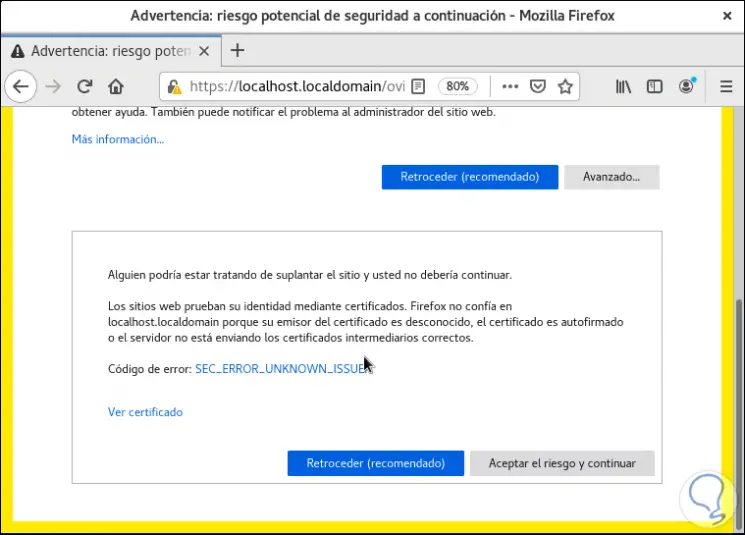
Step 3
We click on "Accept the risk and continue" and access the oVirt environment:
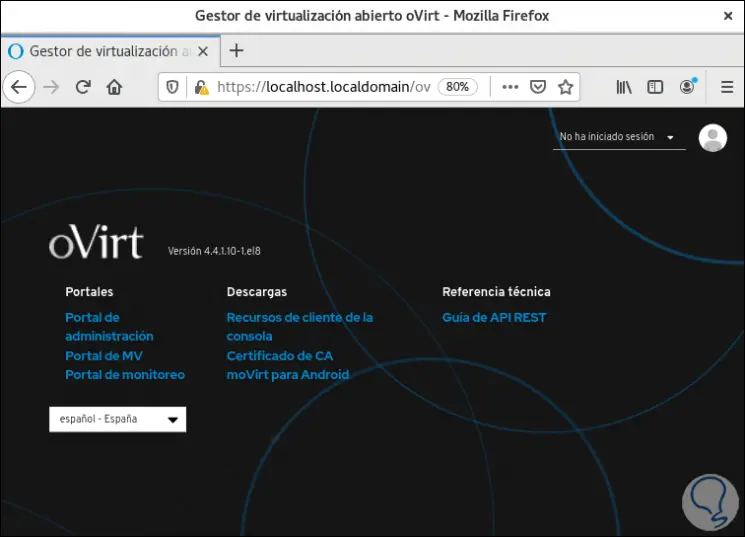
Step 4
We click on "You have not logged in" and proceed to enter the credentials created in the previous configuration process:
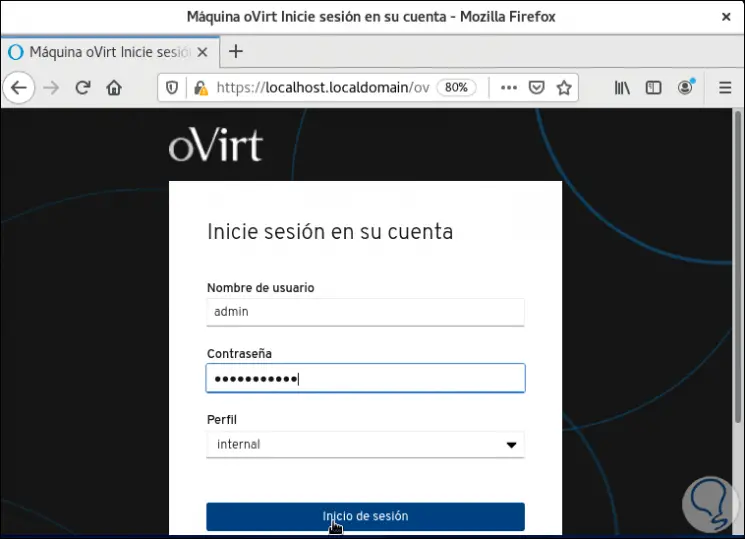
Step 5
We click on "Login" and we will be redirected to oVirt in CentOS 8:
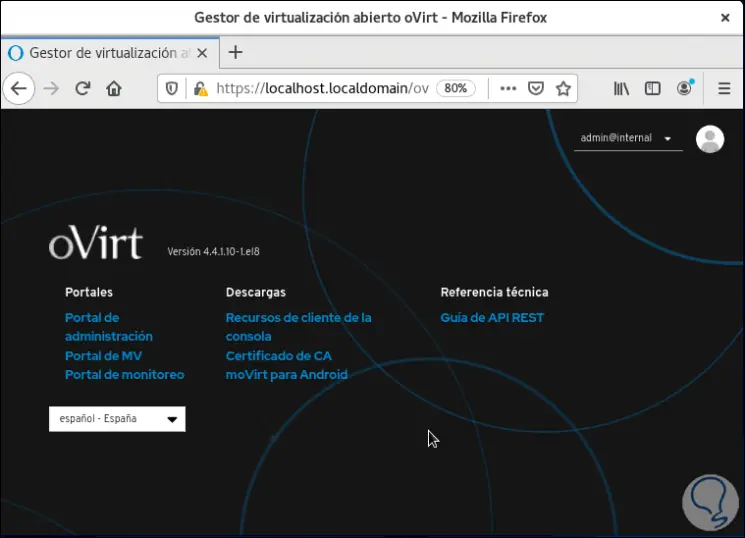
Step 6
We click on "Administration Portal" and we will see the control environment:
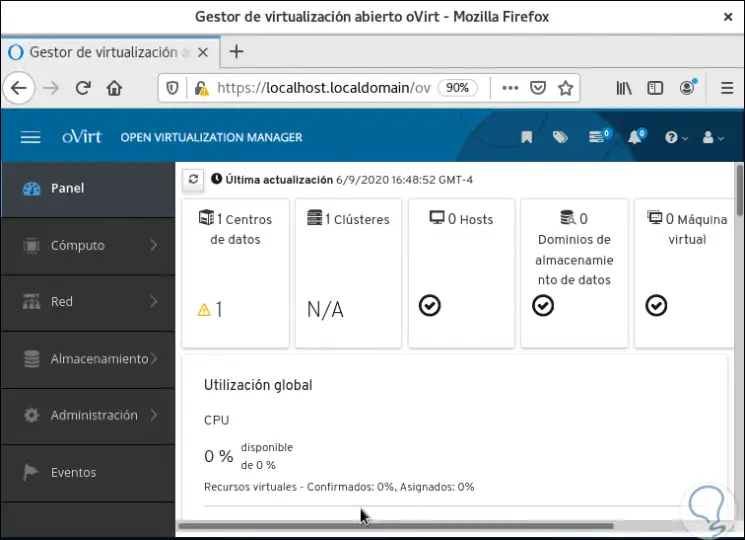
Step 7
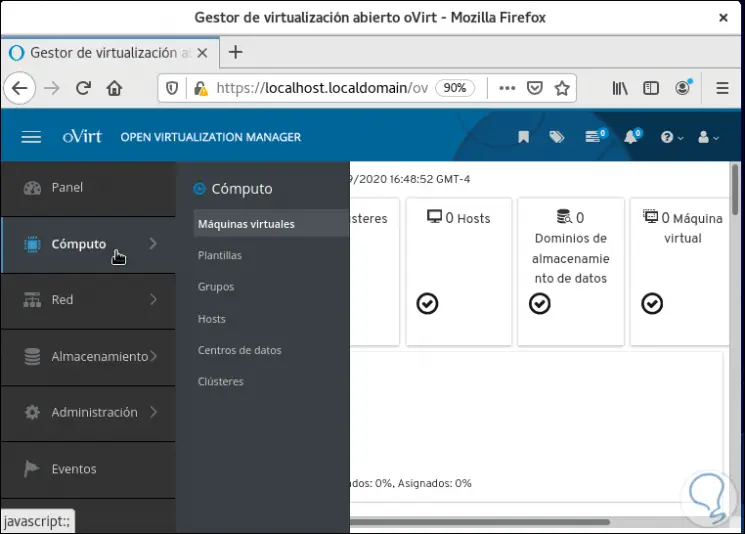
On the side we have options such as:
Calculation
Here it will be possible to create and manage:
Step 8
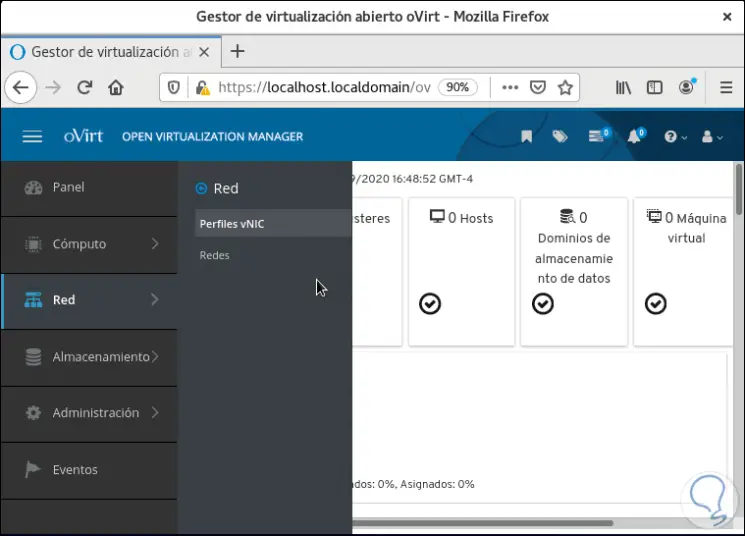
Net
In this action we can manage:
Step 9
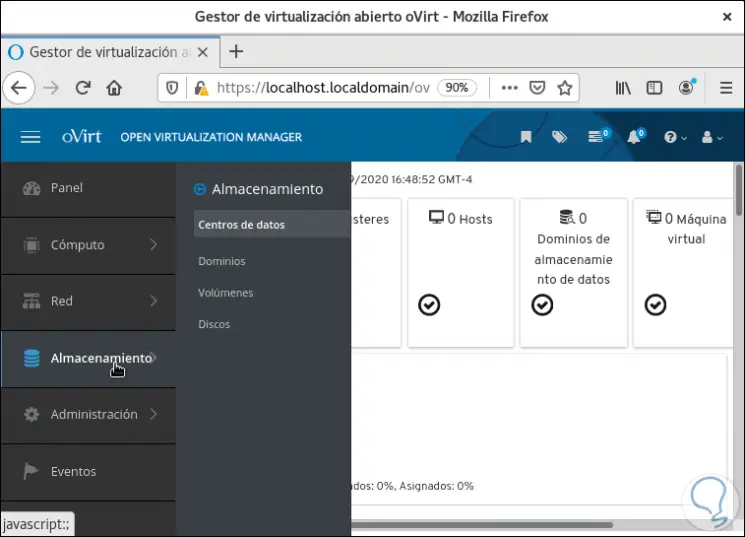
Storage
Associated with the issue of space in virtual environments, here it is possible to manage:
Step 10
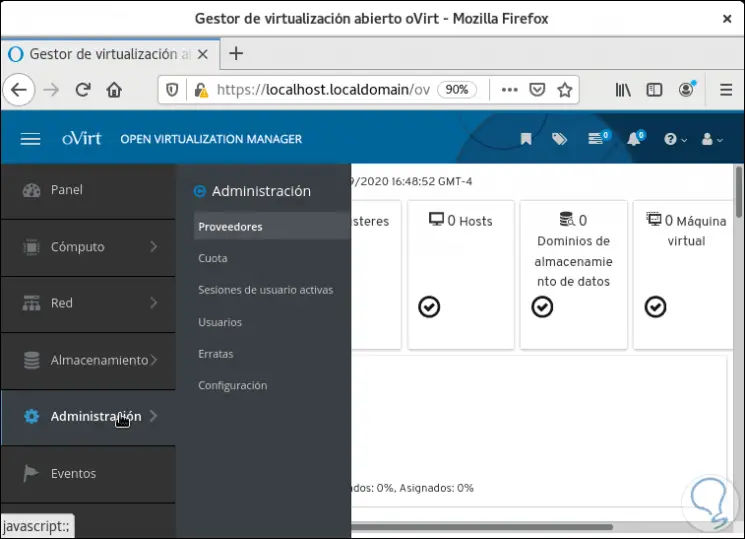
Administration
In this section we manage:
Step 11
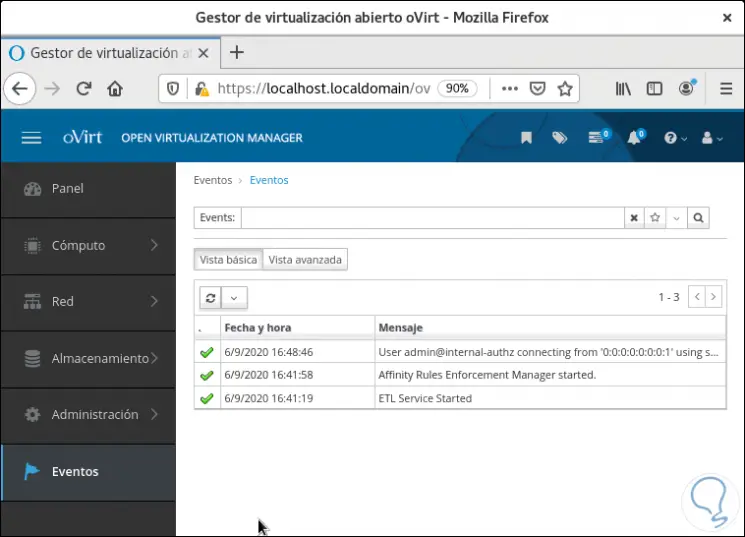
In Events we access each event that occurs in oVirt:
Step 12
From Computo we can work on everything related to virtual machines with different options available:
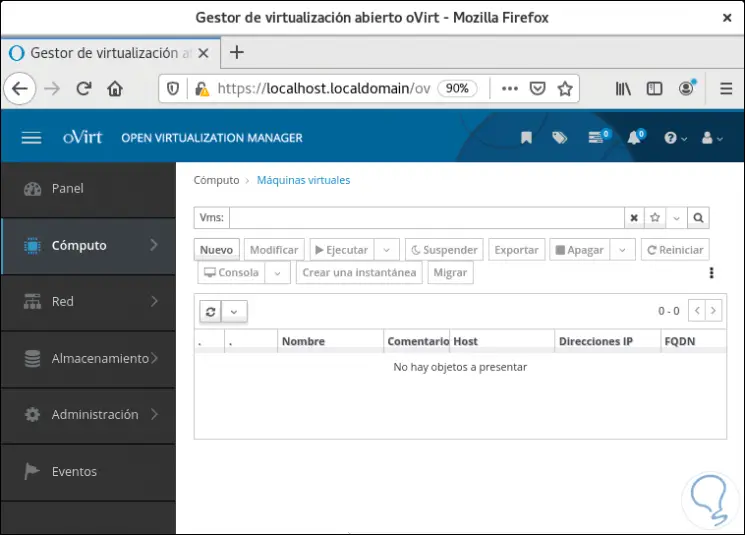
If you are looking for a reliable, dynamic and complete platform to work and manage virtual environments, oVirt is one of the best options.