Virtualization is one of the topics that most helps IT administrators and users to carry out all kinds of actions such as testing new operating systems or applications, knowing the impact of an implementation or simply knowing about the new features launched. All this without jeopardizing the productivity and configuration of a real machine and running in real time. Thanks to virtualization, it is not only practical to test new systems , but also to save resources since several virtual operating systems can be implemented on a single computer..
One of the most used platforms for this virtualization issue is VirtualBox, which is a platform for x86 (32 bit) and AMD64 / Intel64 (64 bit) architectures for both businesses and home use. By using VirtualBox, we have a platform with great functionalities with which it is possible to create, manage and work hundreds of virtual machines . Thanks to virtualization, system configuration tasks can be done from a trial-error process that does not compromise the integrity of our real system thanks to a virtual use of different software with which we want to work.
VirtualBox is available for free as an open source software based on the terms of the GNU General Public License (GPL) version 2. VirtualBox can be run on computers with Windows, Linux, Macintosh and Solaris systems supporting a large number of systems guest operations such as Windows (NT 4.0, 2000, XP, Server 2003, Vista, Windows 7, Windows 8, Windows 10)), DOS / Windows 3.x, Linux (2.4, 2.6, 3.x and 4.x), Solaris and OpenSolaris, OS / 2 and OpenBSD..
VirtualBox news
Currently VirtualBox has launched version 6.0 which is a radical change, from its interface, and that offers improvements and new features such as:
- At the user interface level, support for HiDPI and scaling has been improved, including better detection and configuration by virtual machine.
- Support implemented to export a virtual machine to Oracle Cloud Infrastructure.
- A new file manager has been integrated which allows the user to control the guest's file system and copy files between the host and the guest.
- At the graphics level, an update of 3D graphics support for Windows guests, and VMSVGA 3D graphics device emulation on Linux and Solaris guests has been made.
- Support was added for surround speaker speaker configurations as implemented in Windows 10 Build 1809.
- The vboximg-mount utility has been added on Apple hosts in order to access the content of guest disks on the host.
- Support has been integrated to use Hyper-V as the alternate execution kernel on the Windows host. This will prevent the inability to run virtual machines with reduced performance.
- Video and audio recording can now be enabled separately.
- Improvements and corrections of audio and video have been created.
- An alternative solution has been added for older guests who do not enable bus mastering for the virtio PCI device.
- It is now allowed to change the attachment of the serial port while a machine is running.
- It is now possible to resize disc images transparently during merging.
- VBoxManage now has support for DHCP options.
- New interfaces and features in Guest Control.
- Performance improvements in shared folders.
- Windows Guest Additions now corrects incorrect handling of tablet coordinates with recent versions of Windows 10.
- VMSVGA is supported on Linux and X11 additions.
- Initial support for MacOS Guest Additions.
- It is now possible to configure up to four custom ACPI tables for a virtual machine.
Next, we will see how to install VirtualBox 6.0 on CentOS 7 and thus get the most out of virtualization.
1. Remove previous versions of VirtualBox in CentOS 7
Step 1
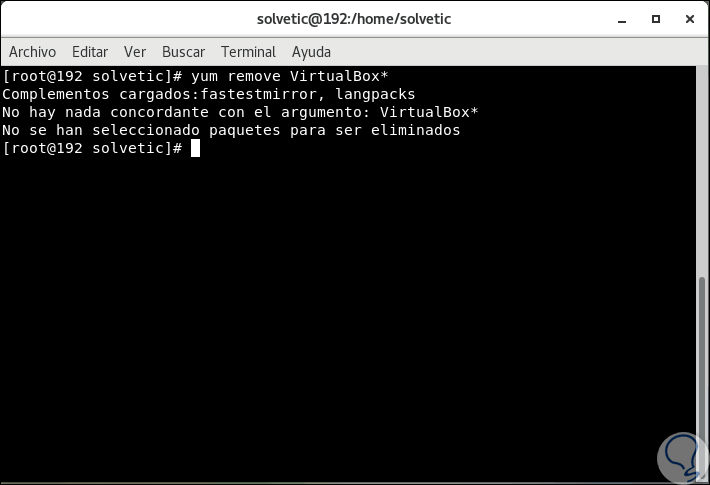
The first step to take will be to eliminate the previous versions of VirtualBox, if they exist, in CentOS 7, for this we will execute the following:
yum remove VirtualBox *
Step 2
In case there is no installed version we will see the following:
2. Add the VirtualBox repositories in CentOS 7
Step 1
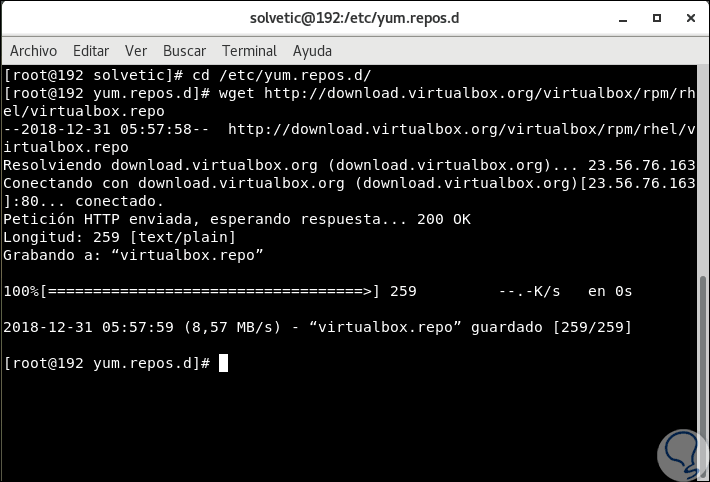
The next step is to add the VirtualBox repositories in order to carry out the installation later, for this we execute the following:
cd /etc/yum.repos.d/ wget http://download.virtualbox.org/virtualbox/rpm/rhel/virtualbox.repo
3. Install dependency packages for VirtualBox
Step 2
VirtualBox makes use of the vboxdrv kernel module in order to control and allocate physical memory for the execution of guest operating systems, in case of not having this module, it will be possible to use VirtualBox to create and configure virtual machines, but they will not work itself .
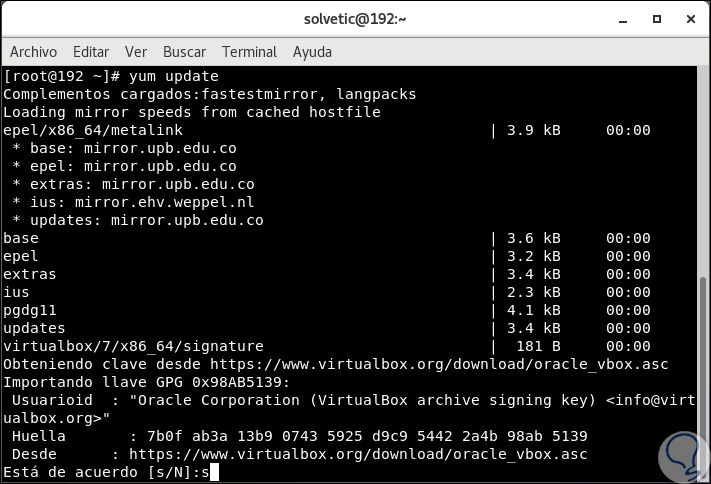
In order to make VirtualBox fully functional, we will update CentOS 7 and then we will install some additional modules such as DKMS, kernel-headers and kernel-devel and some dependency packages, for this we will execute the following line:
yum update (update the system)
Step 3
There we enter the letter “s†to confirm the download and installation of the system updates where the VirtualBox key update is integrated. Then we execute the following:
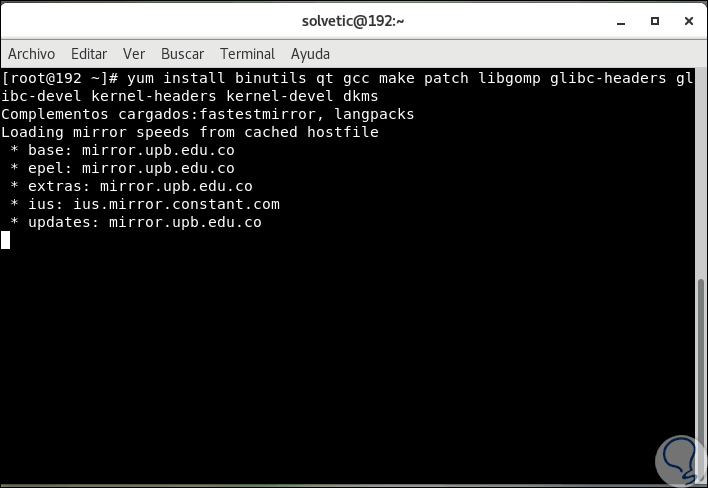
yum install binutils qt gcc make patch libgomp glibc-headers glibc-devel kernel-headers kernel-devel dkms (install dependencies)
Step 4
The process will begin and later we will see the following:
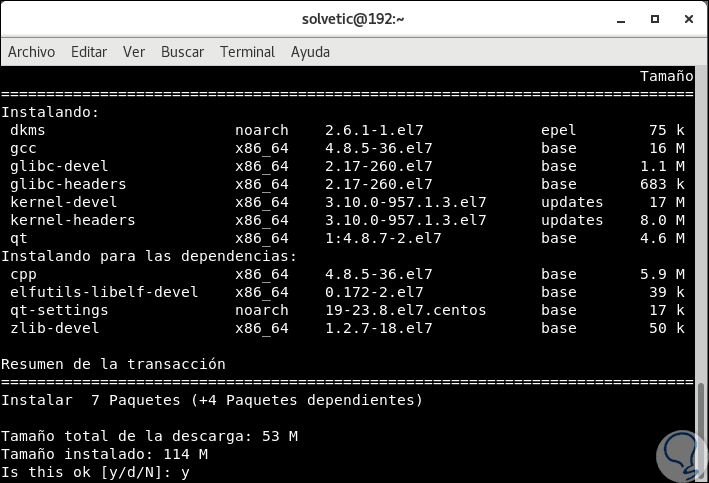
Step 5
There we enter the letter
and to validate the download and installation which, upon completion, will display the following:
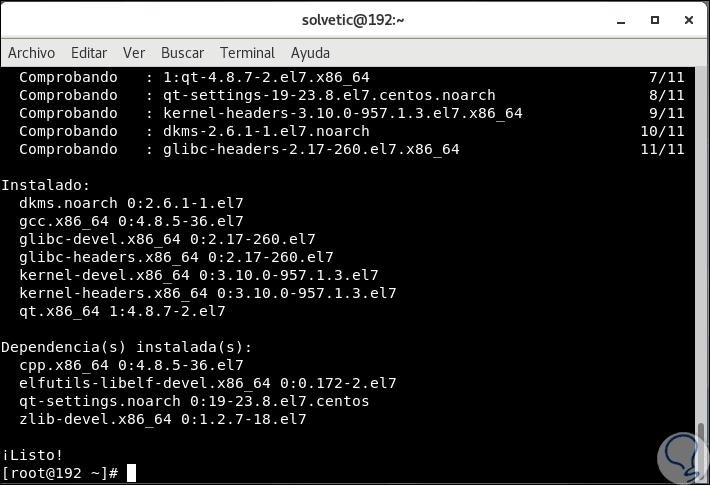
4. Install VirtualBox on CentOS 7
Step 1
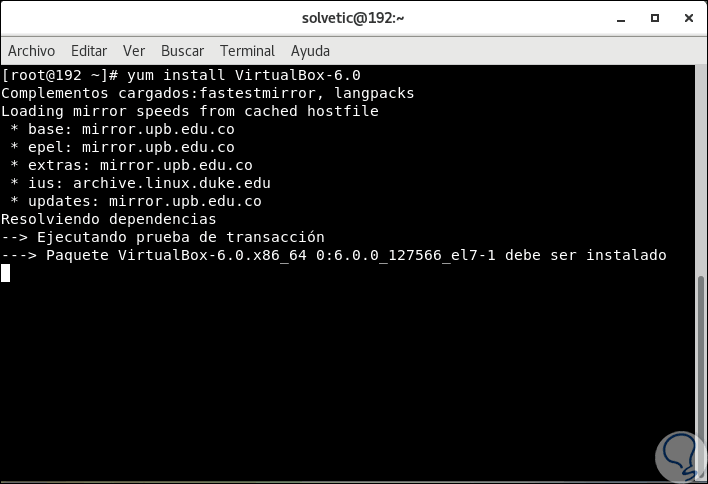
After completing the previous steps, we proceed to install VirtualBox 6.0 with the following command:
yum install VirtualBox-6.0
Step 2
There we see that the dependency execution process begins and then we will see the following:
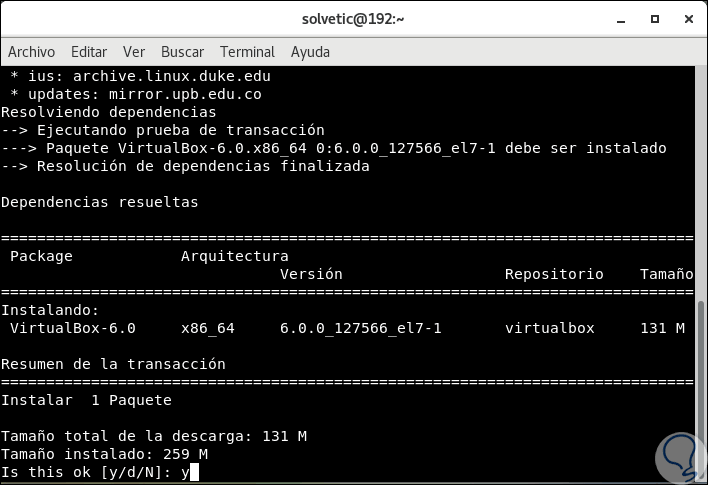
Step 3
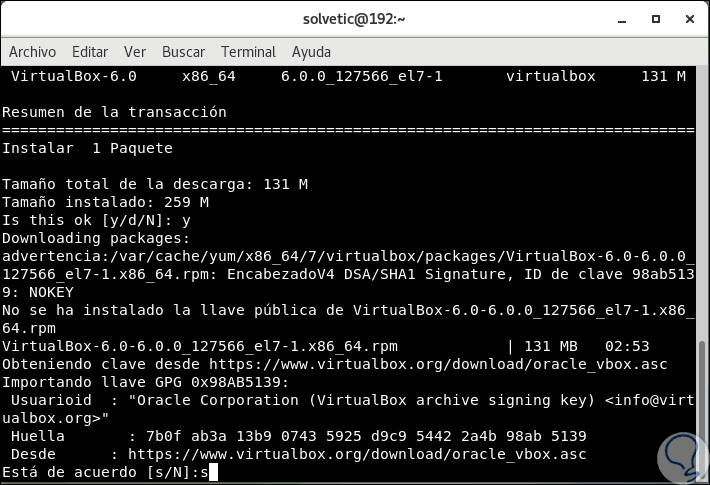
We accept the process by entering and where later we will see the following:
Step 4
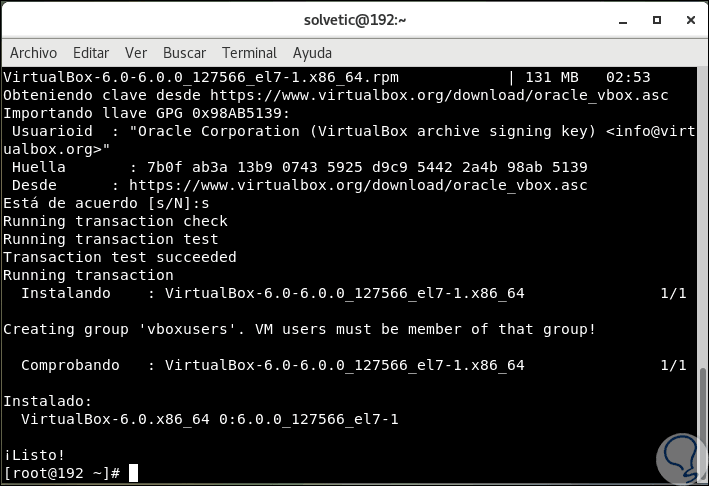
There we enter the letter s to accept the VirtualBox key and then, at the end of the installation process, we will see the following. At this point we have already installed VirtualBox 6.0 on CentOS 7.
5. Rebuild the kernel modules for VirtualBox in CentOS 7
Step 1
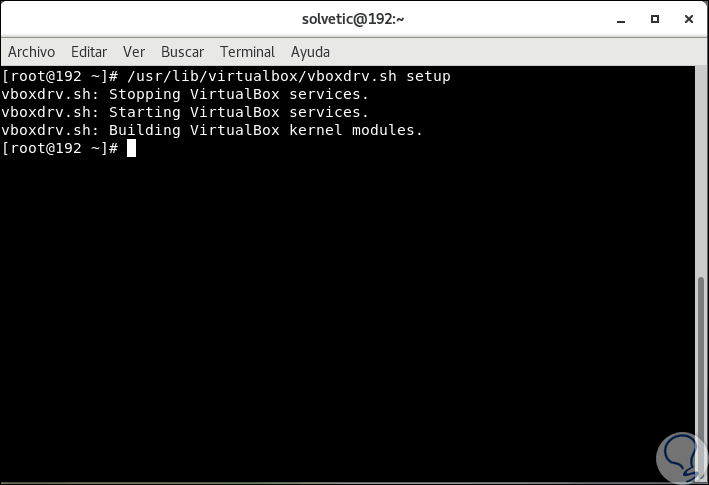
With the following command a group and user of vboxusers will be created automatically and the required kernel modules will also be searched and rebuilt automatically:
/usr/lib/virtualbox/vboxdrv.sh setup
Step 2
For CentOS 5, if we use it, we must execute the following:
/etc/init.d/vboxdrv setup
Note
In case an error is generated when executing the previous command, we will use the following lines:
join me -r
yum install kernel-devel-CURRENT_KERNEL
Note
There we replace "CURRENT_KERNEL" with the result generated in uname -ry and then execute the line again:
/usr/lib/virtualbox/vboxdrv.sh setup
Step 3
If you see an error message such as KERN_DIR or if your kernel source directory is not automatically detected by the compilation process, it will be possible to configure it with the following command taking into account changing the kernel version according to the system used:
KERN_DIR = / usr / src / kernels / 4.19.0-1.el7.elrepo.x86_64 export KERN_DIR
6. Access VirtualBox in CentOS 7
Step 1
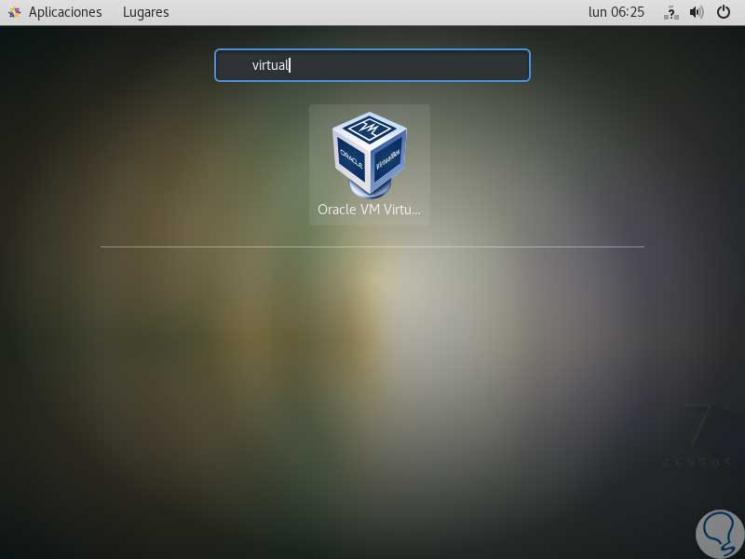
This way it will be possible to access VirtualBox in CentOS 7:
Step 2
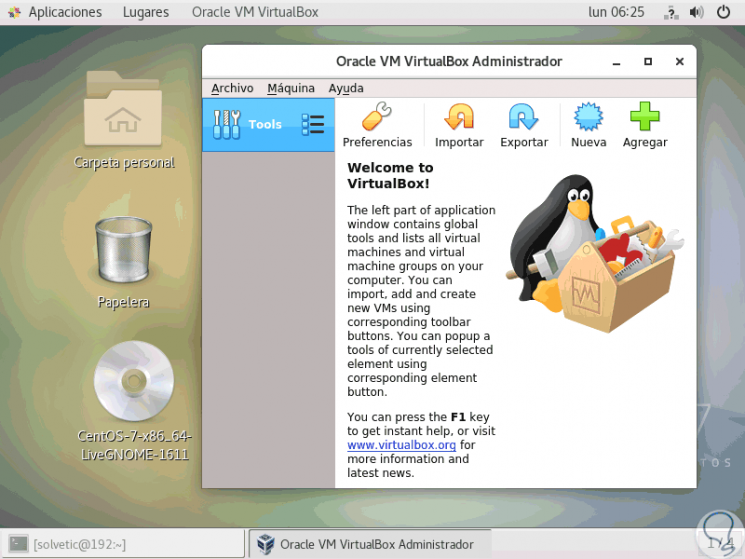
When accessing VirtualBox this will be the new interface offered:
Step 3
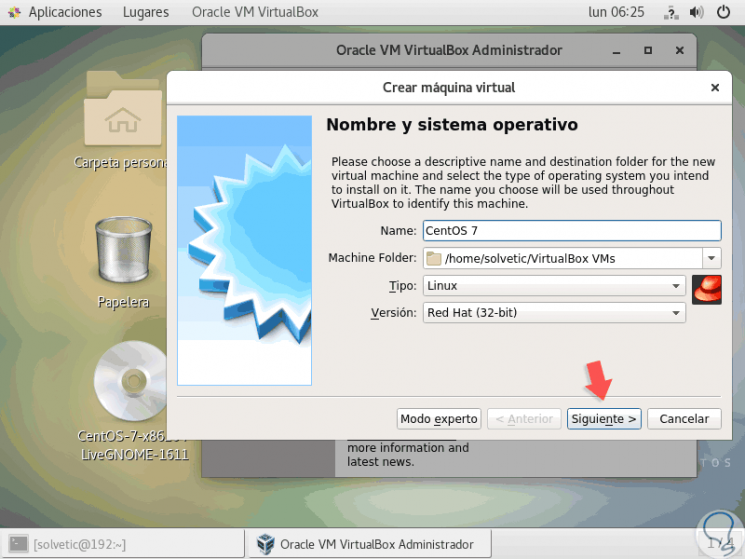
As we can see, it is a drastic change that has suffered VirtualBox, there we can create our virtual machine following the normal steps:
Step 4
We can observe these parts:
Type of hard disk to create
Hard disk location and size
Step 5
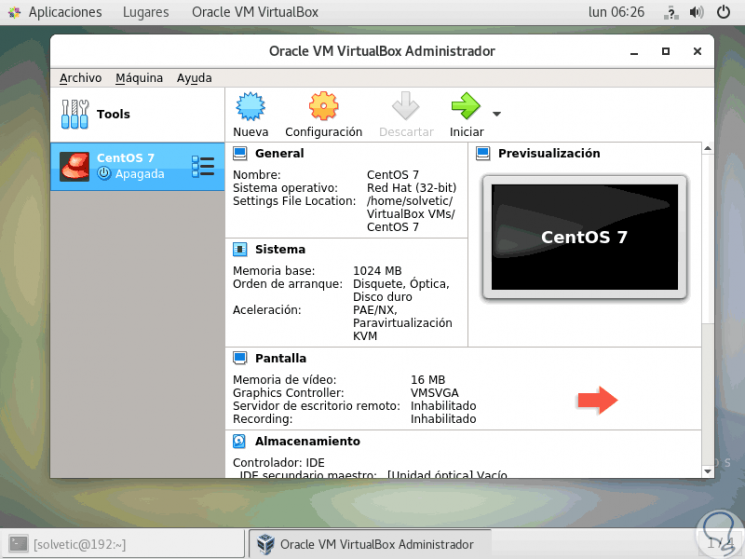
With this, when a new virtual machine is configured in VirtualBox, this will look like this:
Step 6
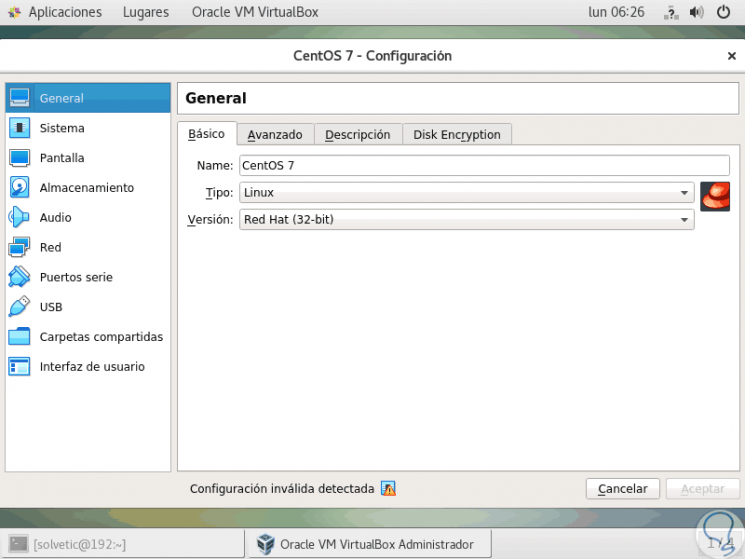
When accessing the virtual machine configuration we will also see some notable changes:
Step 7
Thus, we have learned to install VirtualBox on CentOS 7 and enjoy everything virtualization offers us.
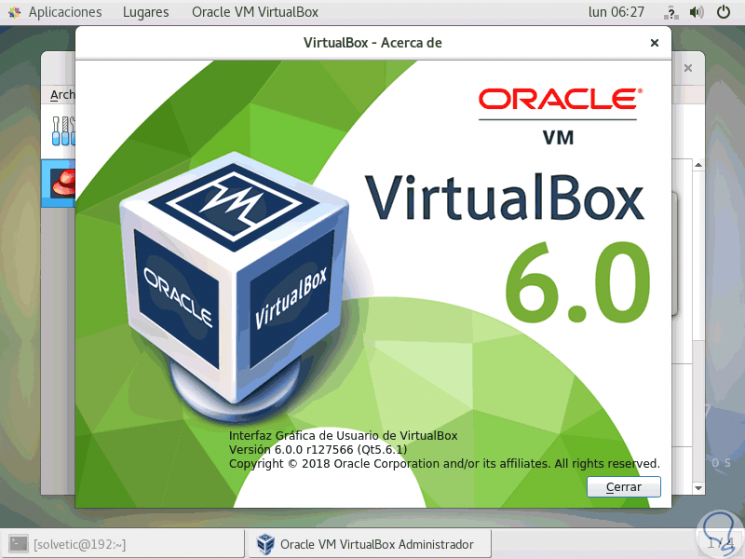
In this way we will have VirtualBox installed in our CentOS 7 system..