Virtualization today is one of the most functional mechanisms to test and configure both operating systems and applications in a safe environment where neither hardware nor physical software is affected, which can have critical consequences for the user, virtualization helps To minimize this type of events without requiring extra costs, one of the most popular applications to virtualize is VirtualBox..
VirtualBox is offered free of charge for Intel or AMD platforms and which can have operating systems such as Windows, macOS, Linux and more, realizing the versatility of VirtualBox, VirtualBox helps correct one of the classic errors such as the incompatibility of file systems since by using virtualization it is possible to run Linux or macOS on Windows and vice versa. We have VirtualBox 7 Beta as the next version of this valuable utility with improvements that thousands of users expected, being the compatibility to install Windows 11 one of the most striking, with VirtualBox 7 Beta it will be possible to create and manage virtual machines such as:
VirtualBox Compatibility
- Ubuntu 18.04 LTS, 20.04 LTS and 22.04
- Debian GNU/Linux 10 (“Buster”) and 11 (“Bullseye”)
- CentOS/Red Hat Enterprise Linux 7, 8 and 9
VirtualBox 7 Features
Some of the features that we will find in VirtualBox 7 Beta are:
- Guest multiprocessing (SMP) of up to 32 virtual CPUs for each virtual machine
- Better hardware compatibility
- PXE Network boot for network boot
- Added "default" host driver type to make it possible to move virtual machines between different platforms without deleting the original audio driver
- For audio recording, Vorbis will be used as the default audio format for WebM containers.
- Initial support implemented for automatic updating of Guest Additions for Linux machines
- Implemented ability to wait and/or restart guest when upgrading VBox Guest Additions
- Improvements and news in the VBoxManage command
VirtualBox 7 Beta can be downloaded at the following link:
VirtualBox 7 Beta
Let's see how to install this beta on Windows 11.
To stay up to date, remember to subscribe to our YouTube channel!
SUBSCRIBE ON YOUTUBE
How to install VirtualBox 7 Beta on Windows 11
Step 1
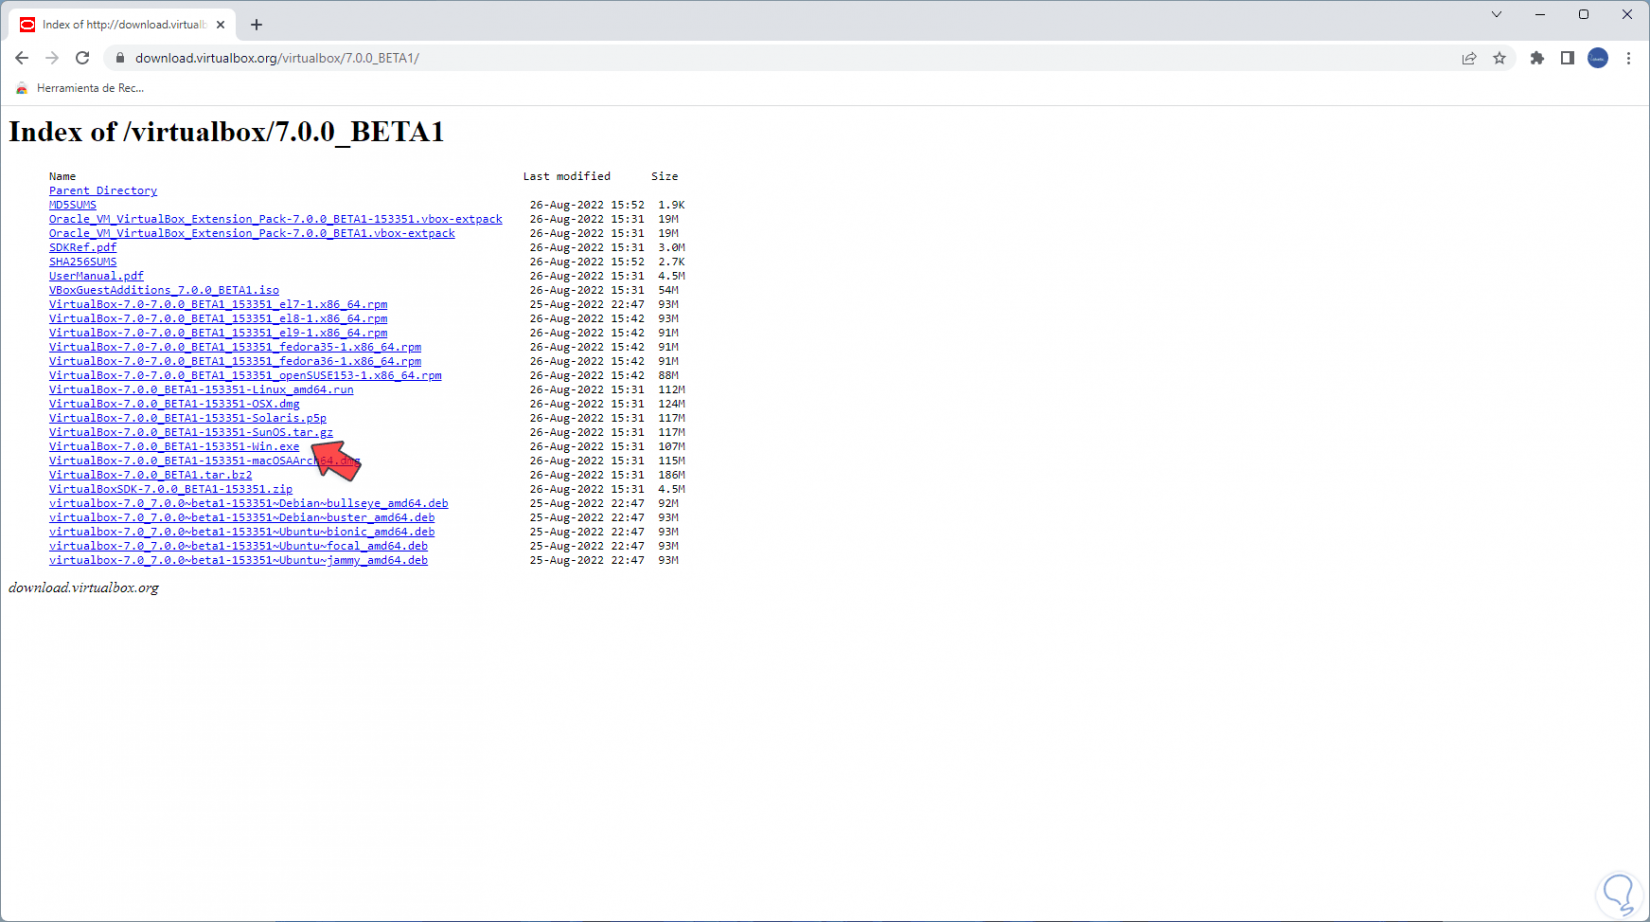
We go to the VirtualBox URL to see the following:
Step 2
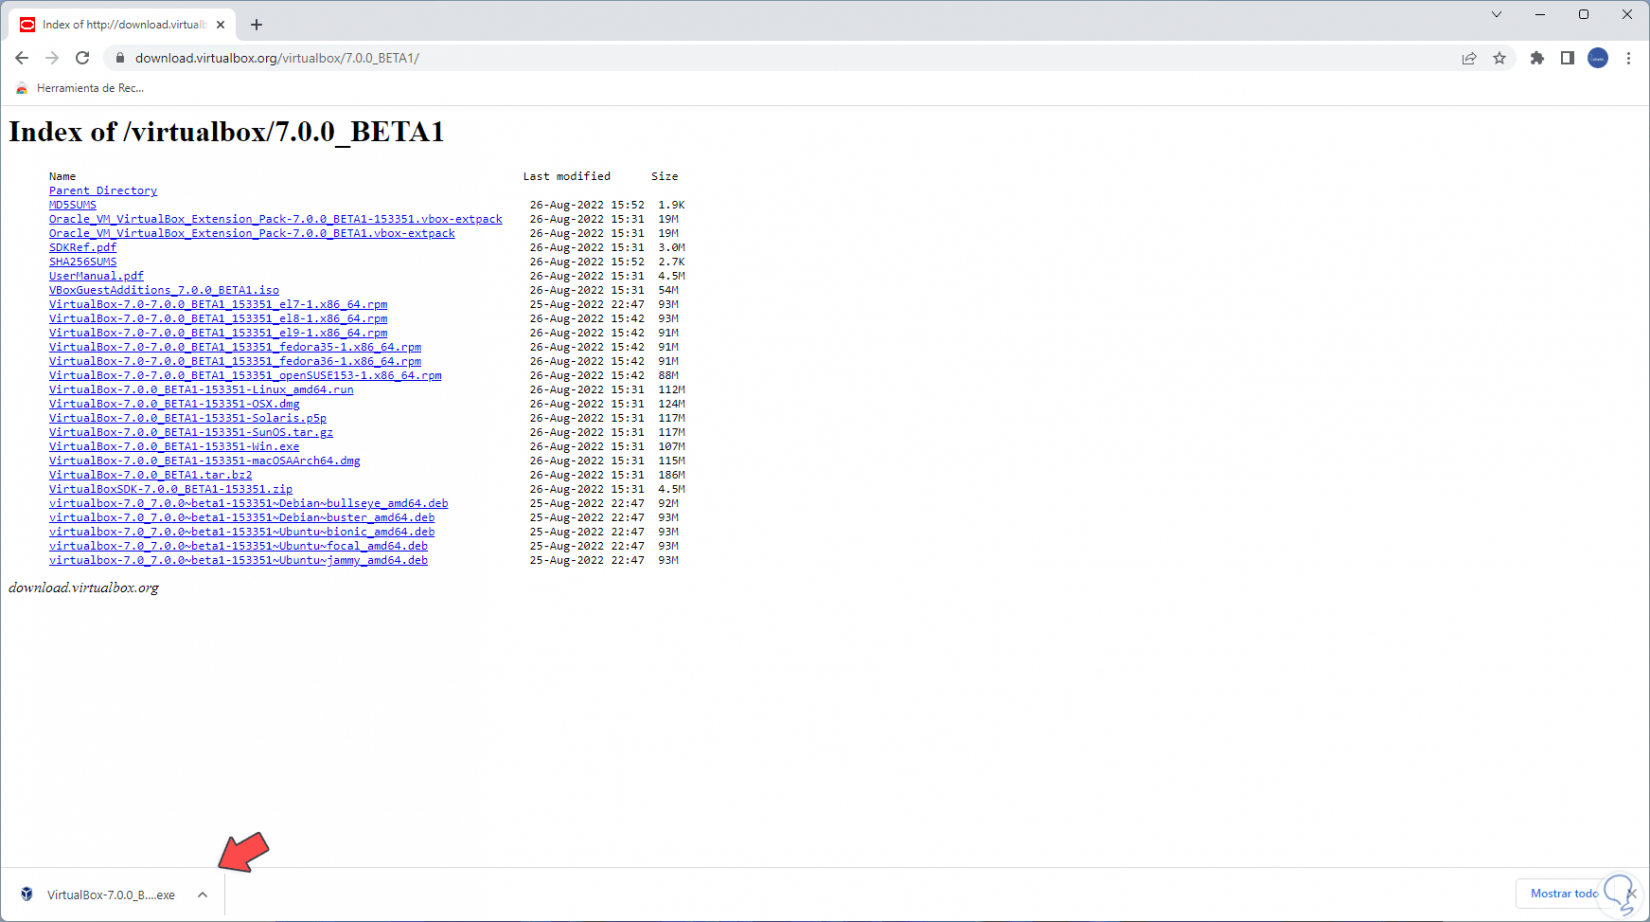
Download the VirtualBox 7 Beta .exe file (Windows):
Step 3
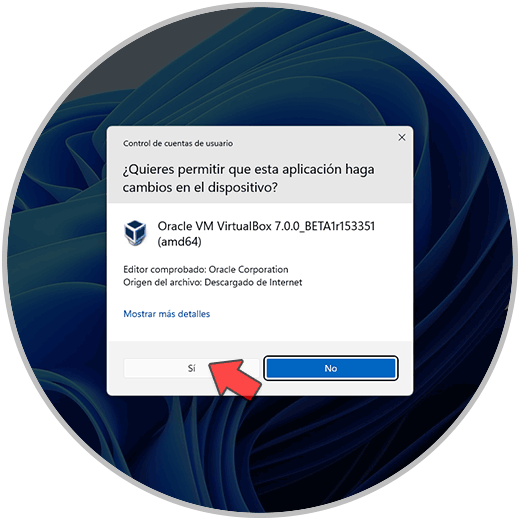
We execute the downloaded file and we must confirm UAC:
Step 4
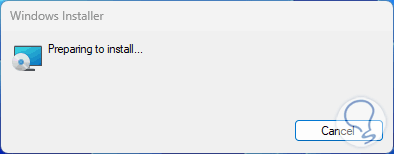
The initial loading process will take place:
step 5
The installation wizard will open:
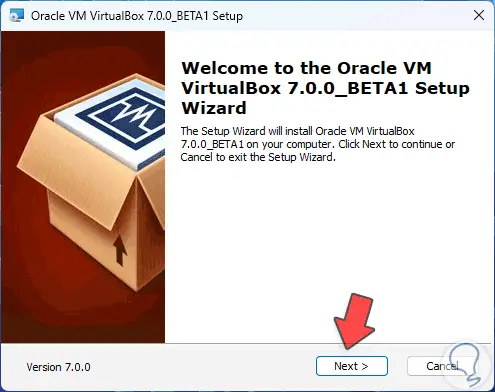
Step 6
We click Next to select the features to be installed:
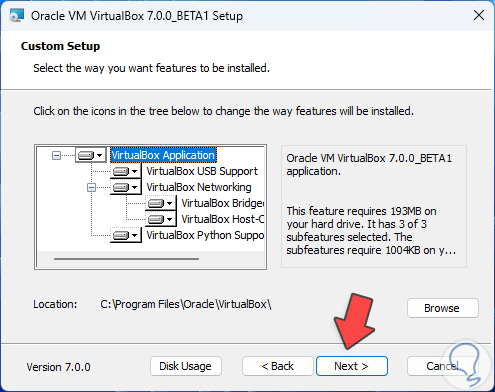
Step 7
In the next window we will receive a warning about the use of network interfaces during the process, this will cause the network to be disconnected at times which can affect our work:
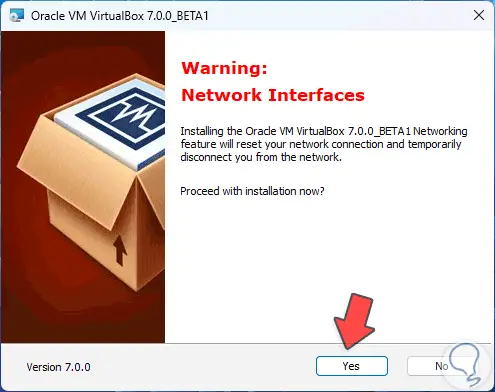
step 8
We click Yes and now we will see the following:
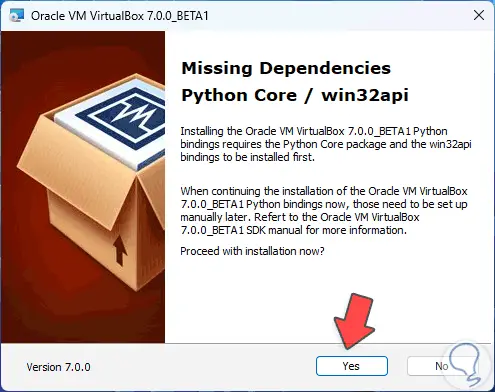
step 9
There we see that some dependencies are not available, in this case we can continue since these dependencies will be automatically installed, now we see this:
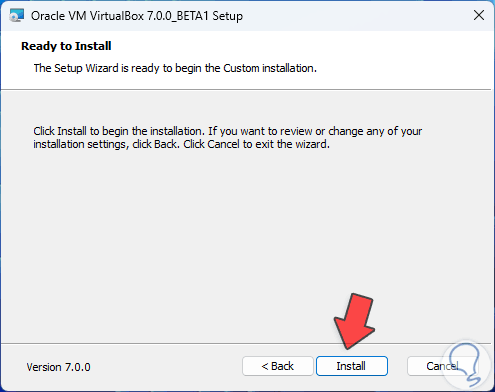
step 10
We click on "Install" and the installation process will take place:
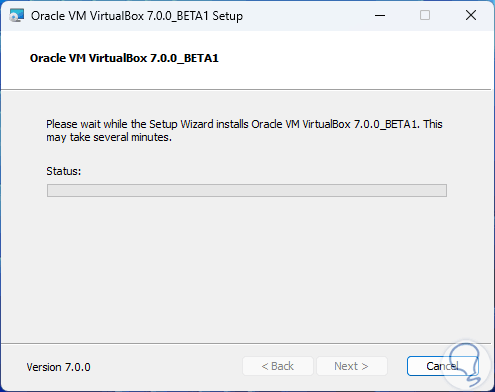
step 11
At the end we will see the following:
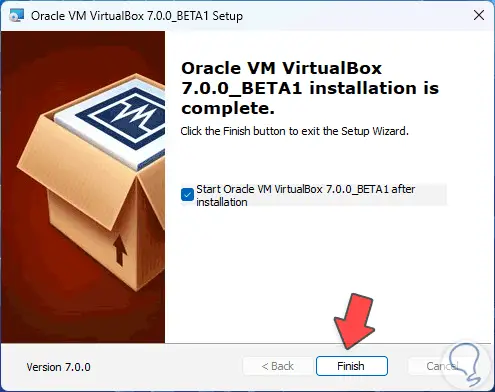
step 12
Close the wizard to open VirtualBox 7 Beta:
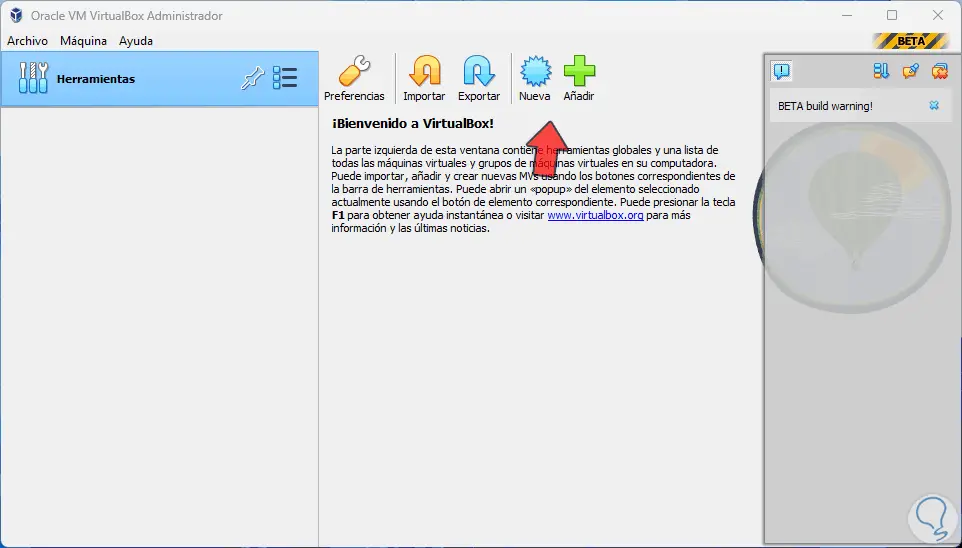
step 13
Note that we will have a message warning that it is a beta, this is due to issues that the use can be unstable in cases such as:
- Sudden shutdowns of virtual machines
step 14
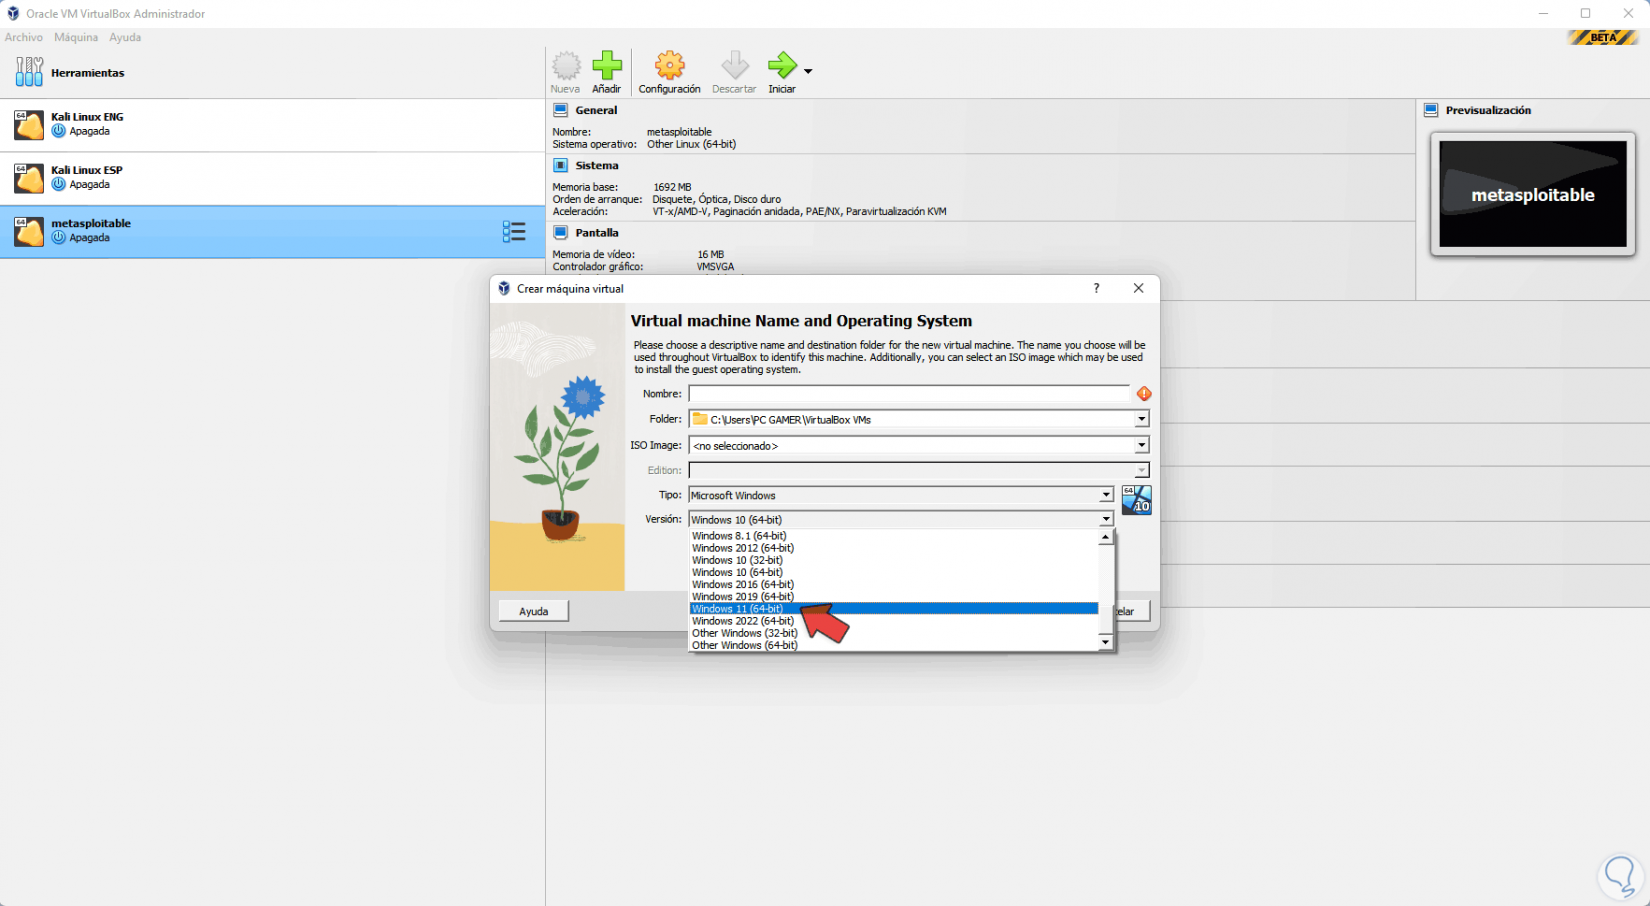
The user interface has been updated as we can see with a much more modern design, we created a new VirtualBox machine and now there is support for Windows 11 and Windows Server 2022:
step 15
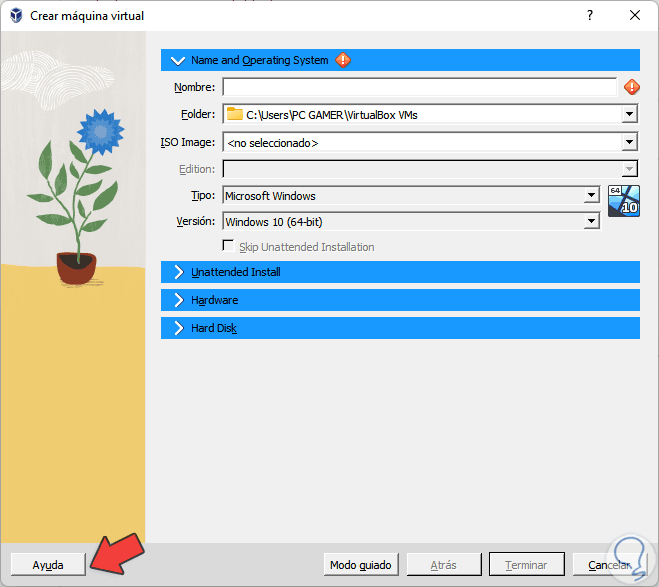
In the Expert Mode we find a much more dynamic and intuitive use structure:
step 16
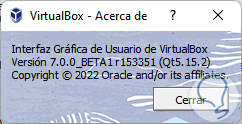
Let's go to "Help - About VirtualBox" to verify that it is version 7:
This is how to test this VirtualBox beta and be able to implement systems that were a bit complex there..