Ubuntu is one of the most popular Linux distributions due to its design, dynamism, compatibility and simplicity but at the same time scalability of use, Ubuntu developers release new versions with some frequency and although we currently have Ubuntu 22.10 it is already available, in its development design, Ubuntu 23.04. Ubuntu 23.04 with the name Lunar Lobster will be available to all users in April 2023 and is established as a system with a renewed interface from the moment of installation and some of the new features that we will find are:
The Ubuntu 23.04 ISO image is available at the following link:
ubuntu 23.04
VirtualBox is one of the most popular platforms for managing virtual environments and we currently have the new version 7.0 which we can download for free at the following link:
VirtualBox
Ubuntu Features
Some of the novelties of this new version of VirtualBox are:
- Compatibility to install Windows 11
- Nested paging support for nested virtualization
- Add a new menu item to the devices menu to update guest additions
- New fixed progress indication when automatically installing Linux Guest Additions
- Added initial support for SLES 15.4 kernels
- Cloud virtual machines can be added to Virtual Machine Manager and controlled as local virtual machines
- Added TPM 1.2 and 2.0 virtual devices
TechnoWikis will explain how to install Ubuntu 23.04 in VirtualBox and thus know in advance this new edition..
To stay up to date, remember to subscribe to our YouTube channel!
SUBSCRIBE ON YOUTUBE
How to install Ubuntu 23.04 on VirtualBox
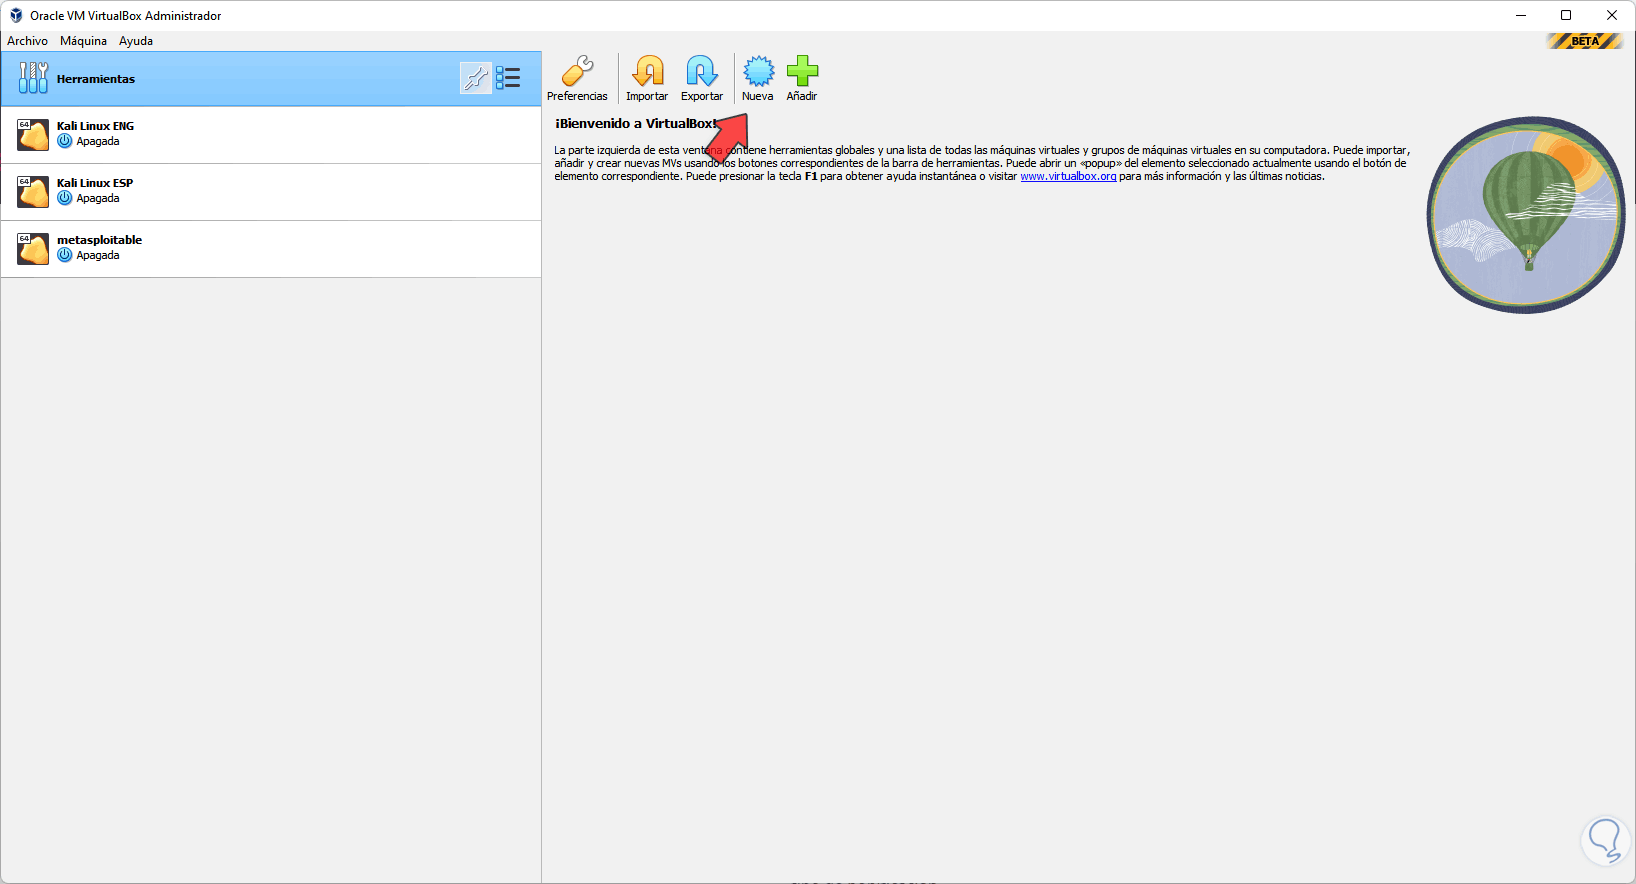
Step 1
We open VirtualBox and click on "New":
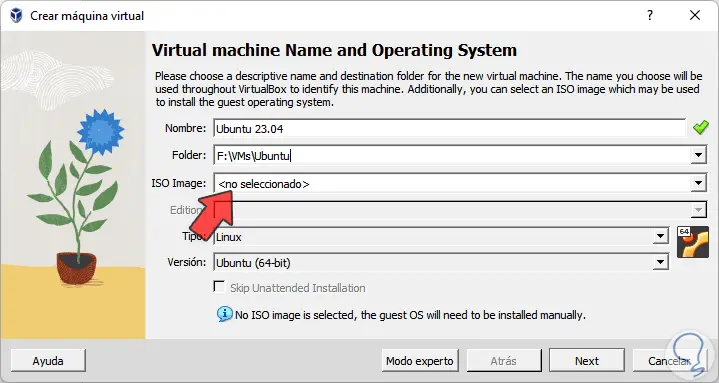
Step 2
In the pop-up window we assign a name to the virtual machine and define where it will be hosted:
We select the Ubuntu 23.04 ISO image (VirtualBox will automatically detect the system) by clicking on the ISO Image drop-down button:
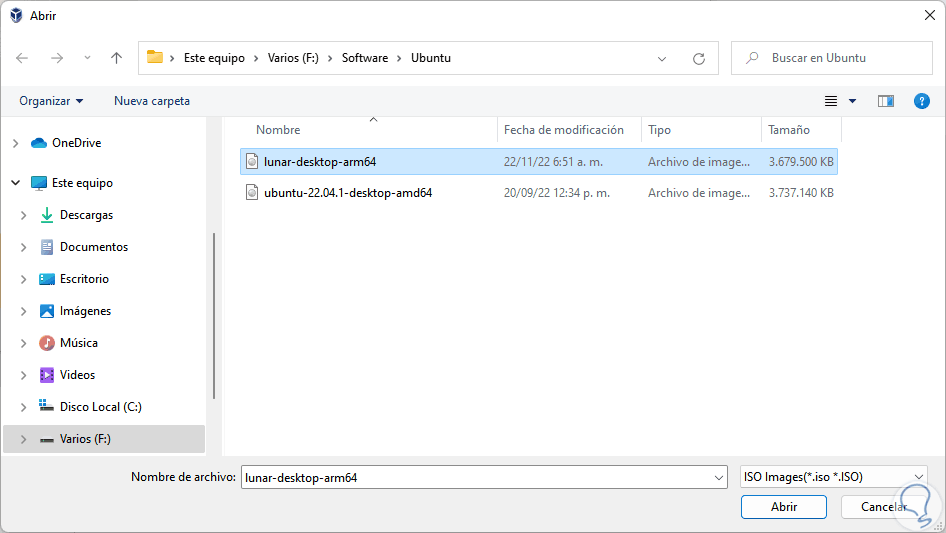
Step 3
We add the ISO:
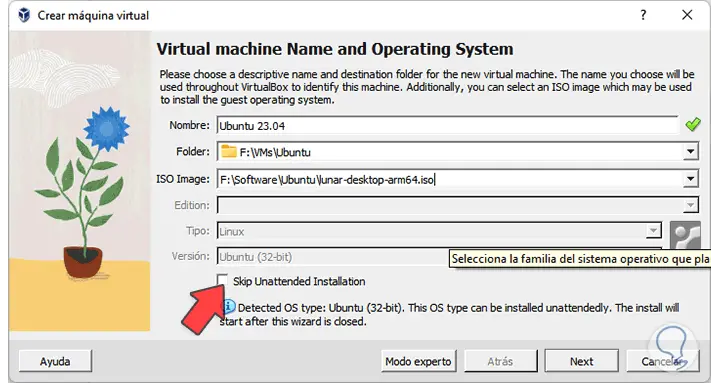
Step 4
We activate the "Skip Unattended Installation" box to avoid automatic configurations by VirtualBox
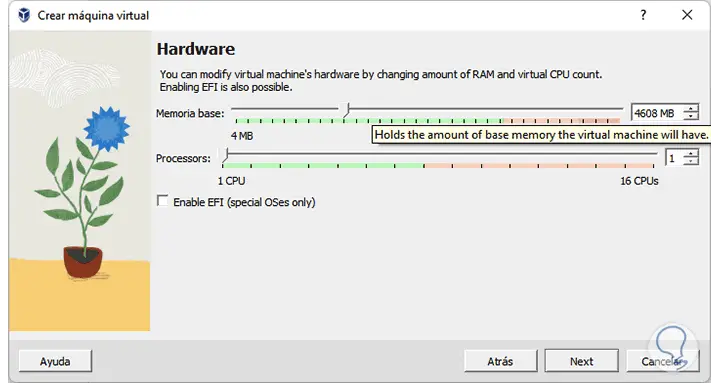
step 5
and then we select the RAM to use:
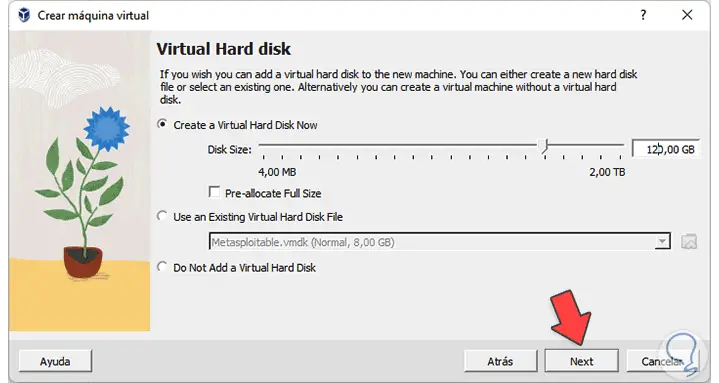
step 6
Set the size of the virtual hard disk:
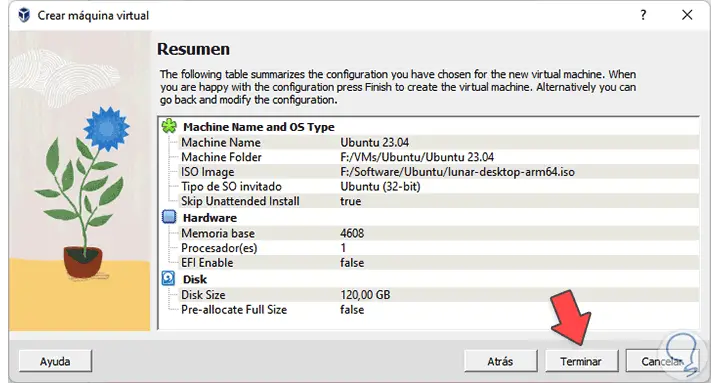
step 7
In the next window we will see a summary of the machine to create. Click "Finish" to see the Ubuntu 23.04 machine:
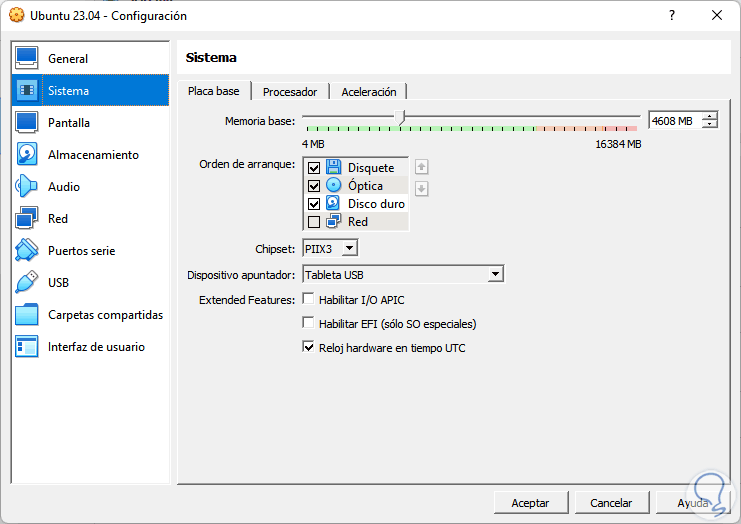
step 8
We click on "Settings" to adjust the necessary parameters of the virtual machine:

step 9
We see the different sections:
step 10
In the Network section we will see the following:
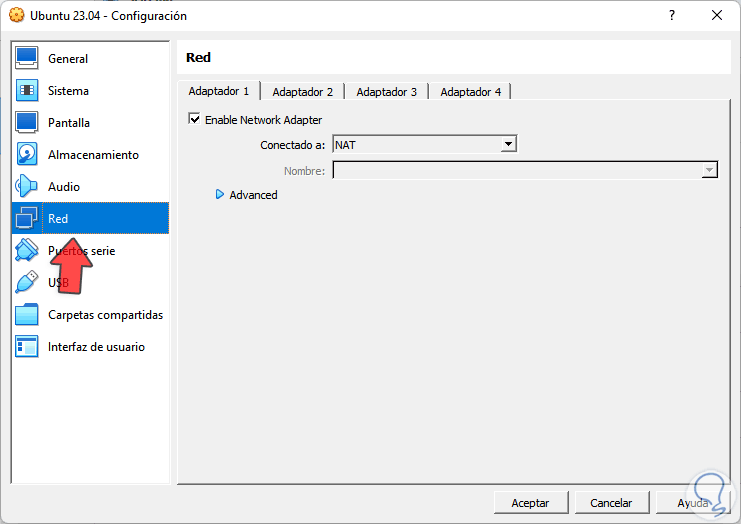
step 11
We establish “Bridge adapter” to allow the connection with the virtual machine:

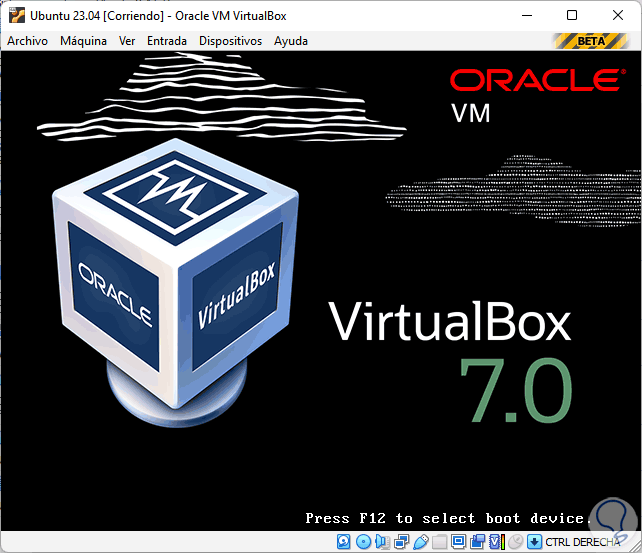
step 12
We click on "Start" to load the virtual machine:
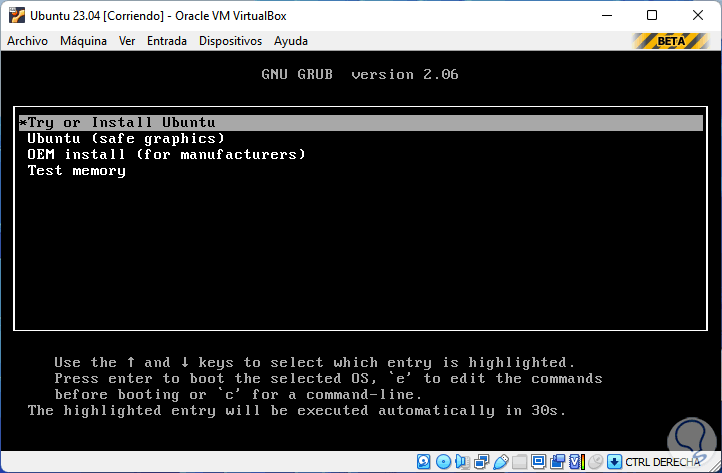
step 13
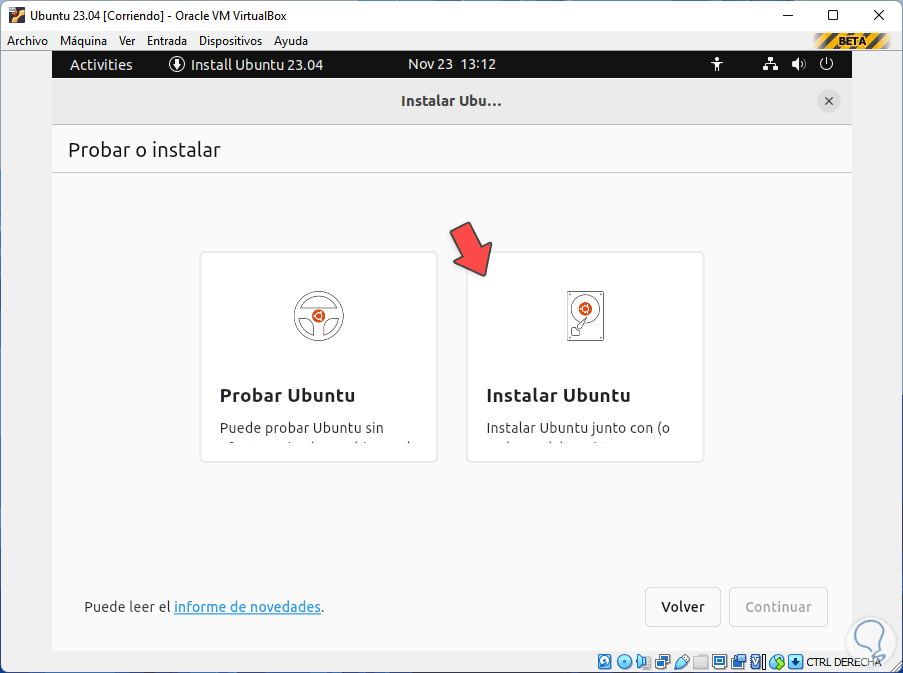
We will see the following. Select "Try or Install Ubuntu"
step 14
and we wait for the processes to load:

step 15
We will see the following:
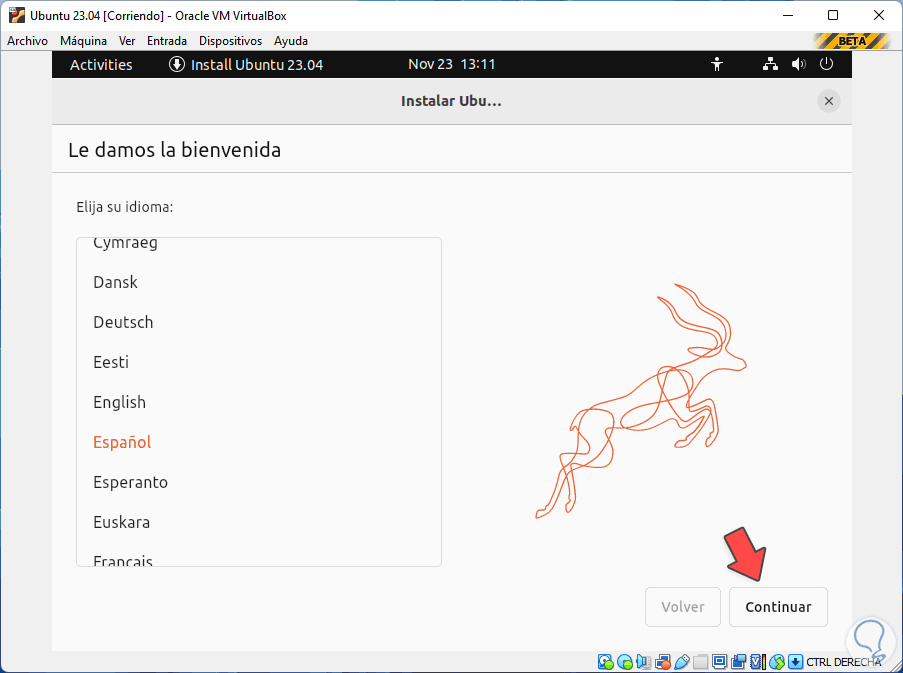
step 16
We select the language to use and in the following window we click on "Install Ubuntu":
step 17
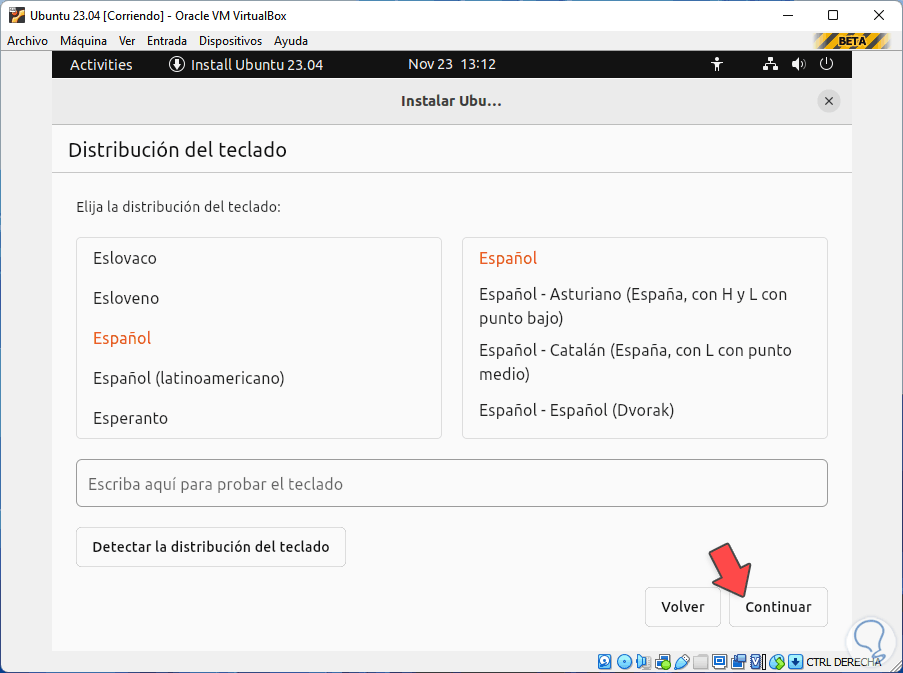
Let's remember that it is possible to test the system but all the changes will be lost when closing the session, then we define the keyboard language:
step 18
Now we select the type of network connection to use:

step 19
After this we define the type of installation to use:
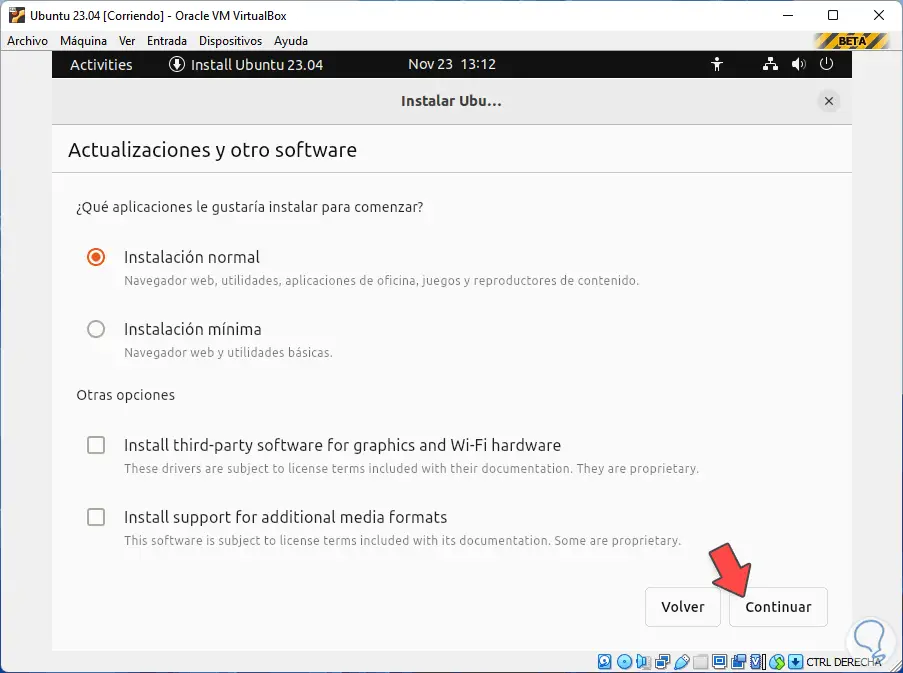
step 20
There it will be possible to use the default installation or the basic installation, additionally it is possible to install third-party updates, we click Continue and in the next window we leave the "Erase disk and install Ubuntu" box active:
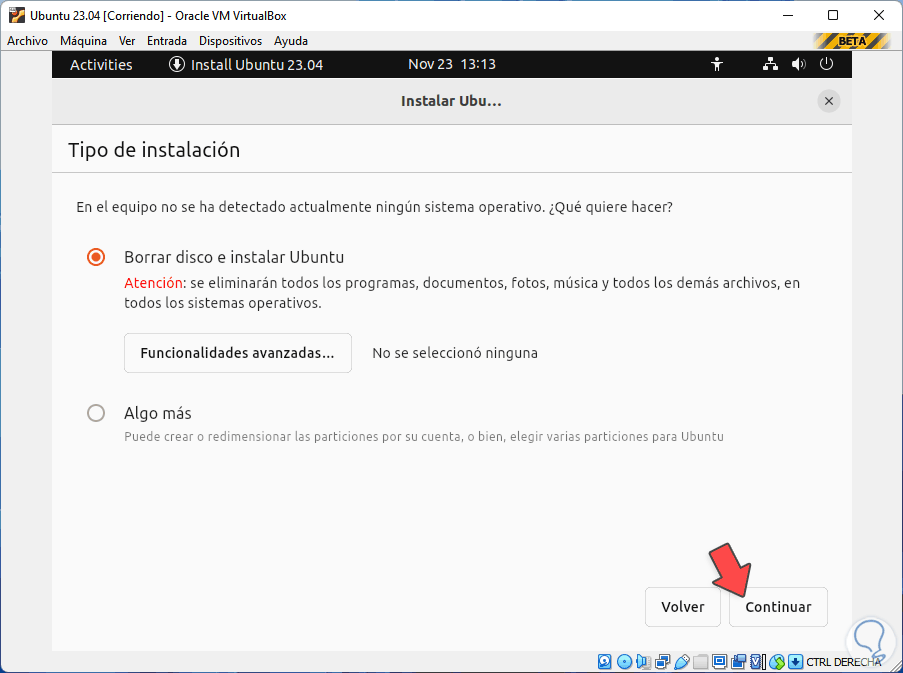
step 21
It is possible to access extra functions by clicking on "Advanced Functions", we click on "Continue" to see the following:
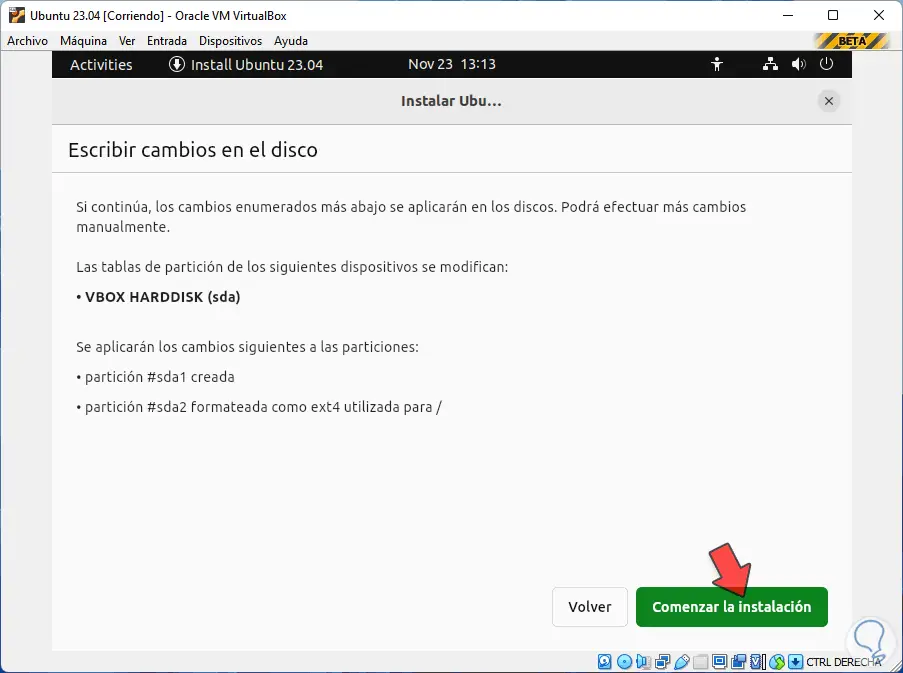
step 22
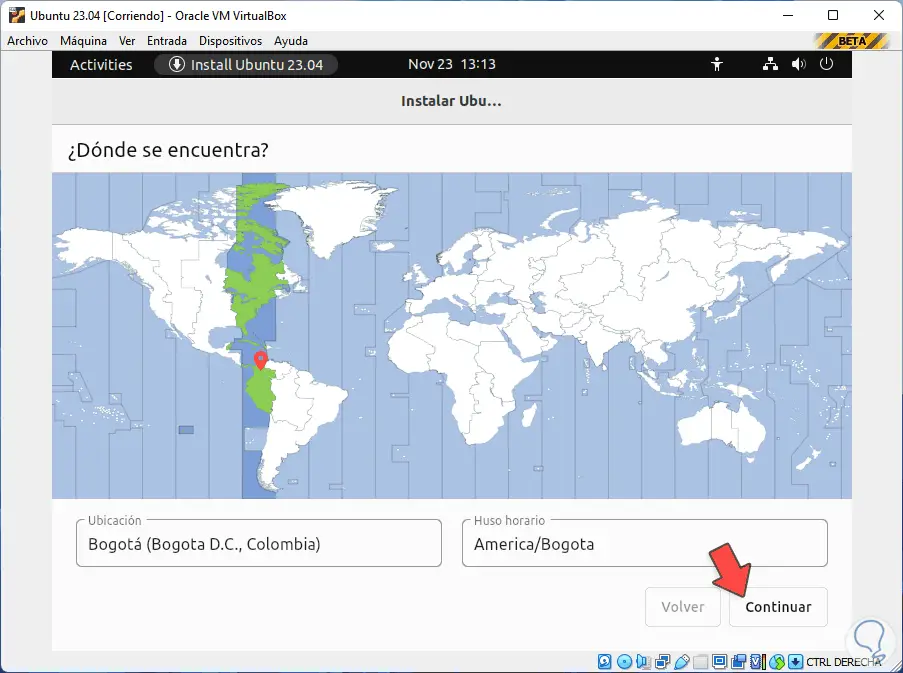
We click on "Start the installation" and now we define the physical location:
Step 23
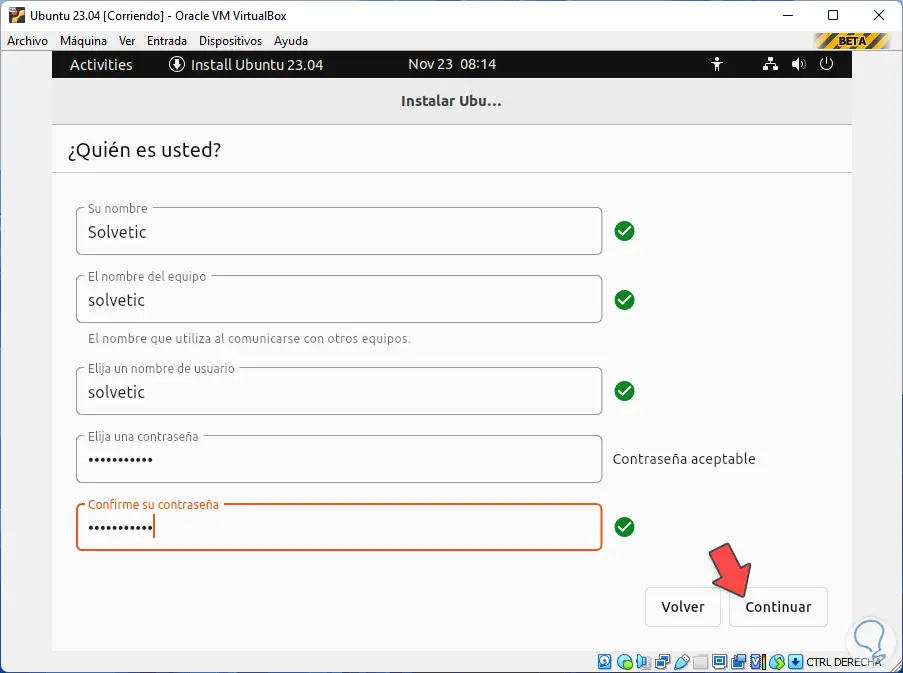
Then we configure username and password:
step 24
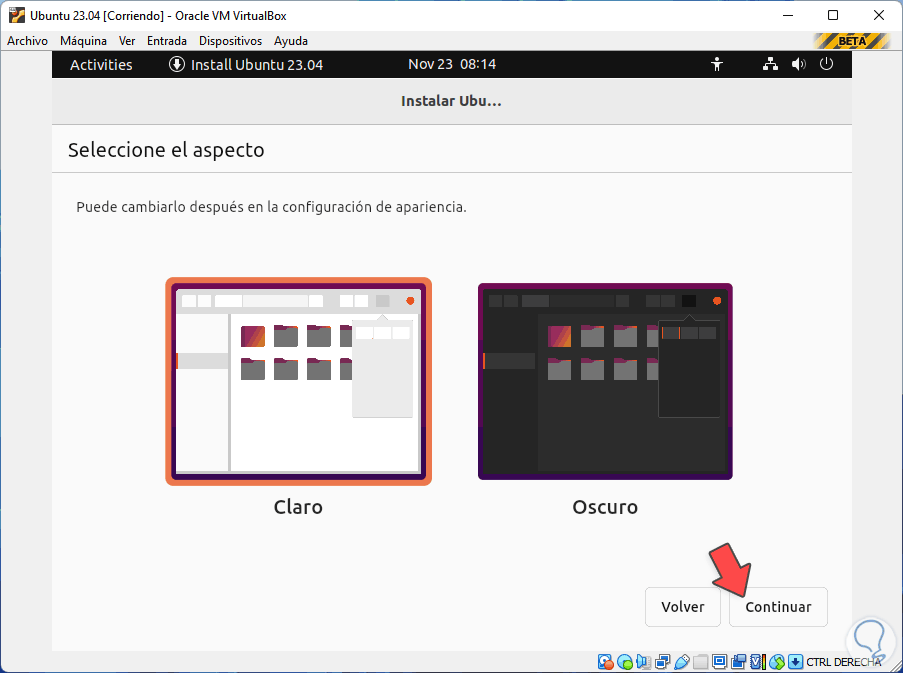
We click on "Continue" and as a novelty it is now possible to select the theme to use:
step 25
We click "Continue" to start the installation of Ubuntu 23.04:
step 26
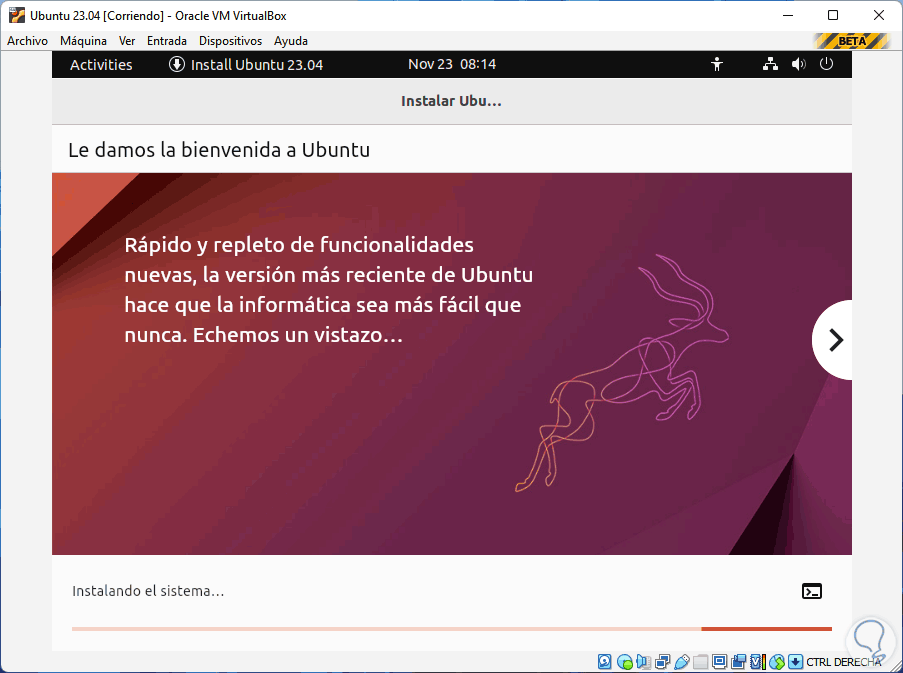
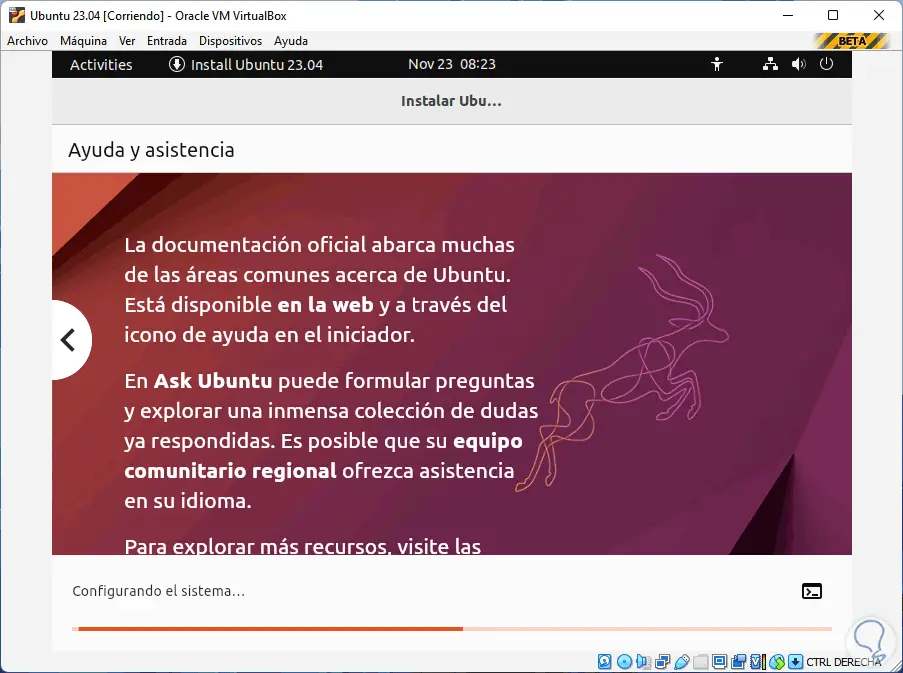
We wait for the system configuration to be done:
Note
It is possible to click on the terminal icon to see the process in this mode.
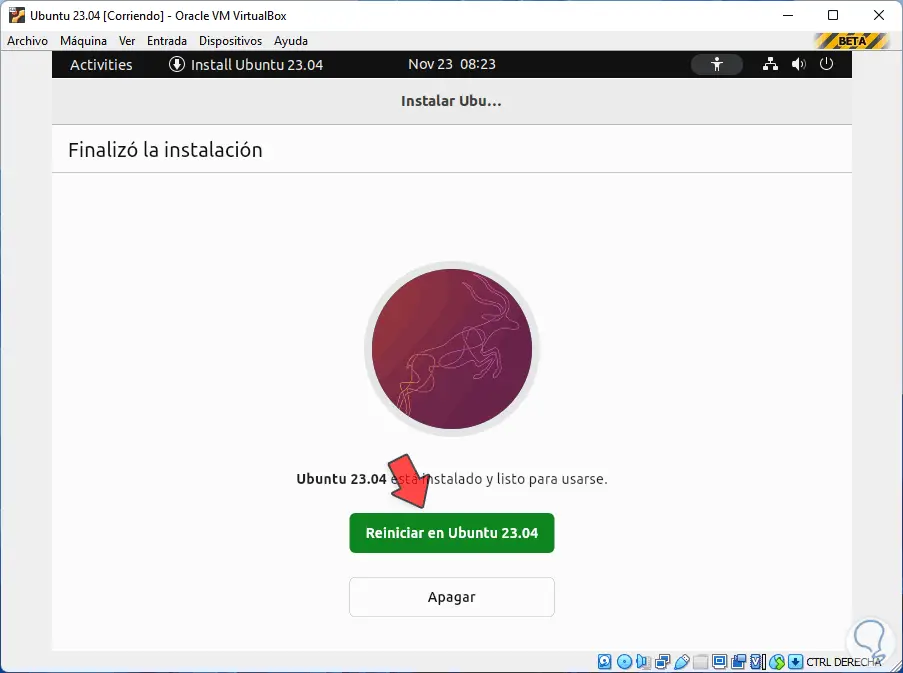
Step 27
We wait for the installation to finish and at the end we click on "Restart in Ubuntu 23.04":
Step 28
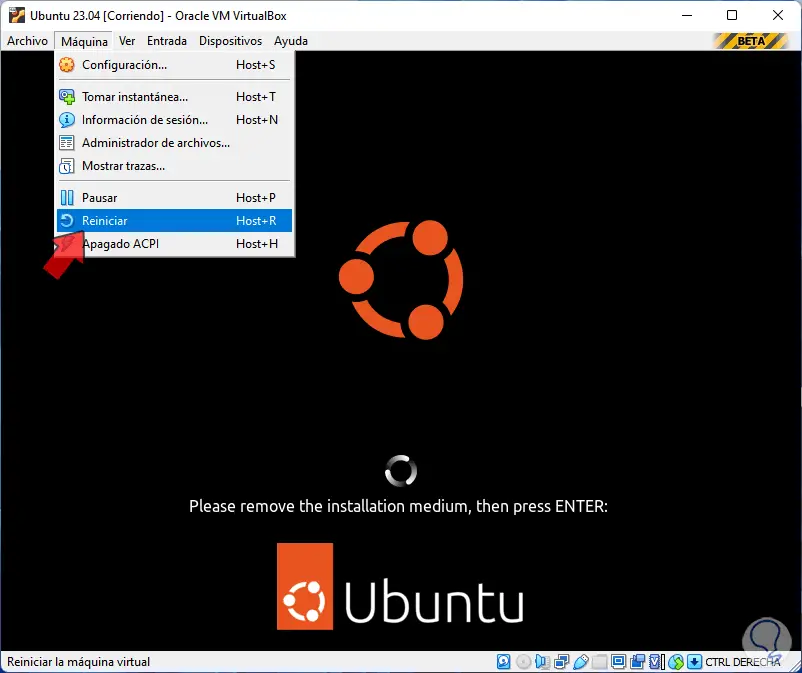
When restarting, the error that the installation medium is present jumps, to avoid it we go to "Machine - Restart" to load the normal boot:
Step 29
We expect Ubuntu 23.04 to load:
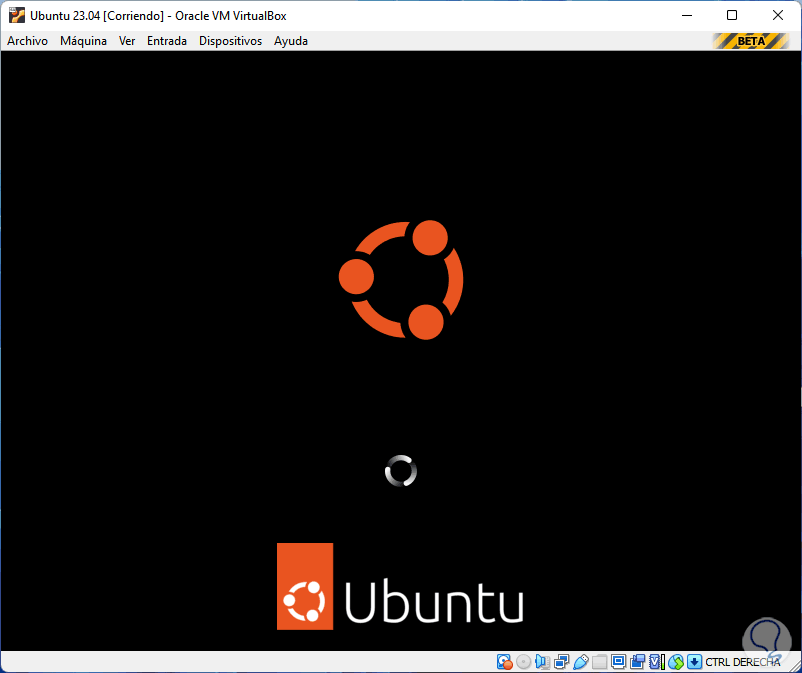
step 30
We logged into Ubuntu 23.04:
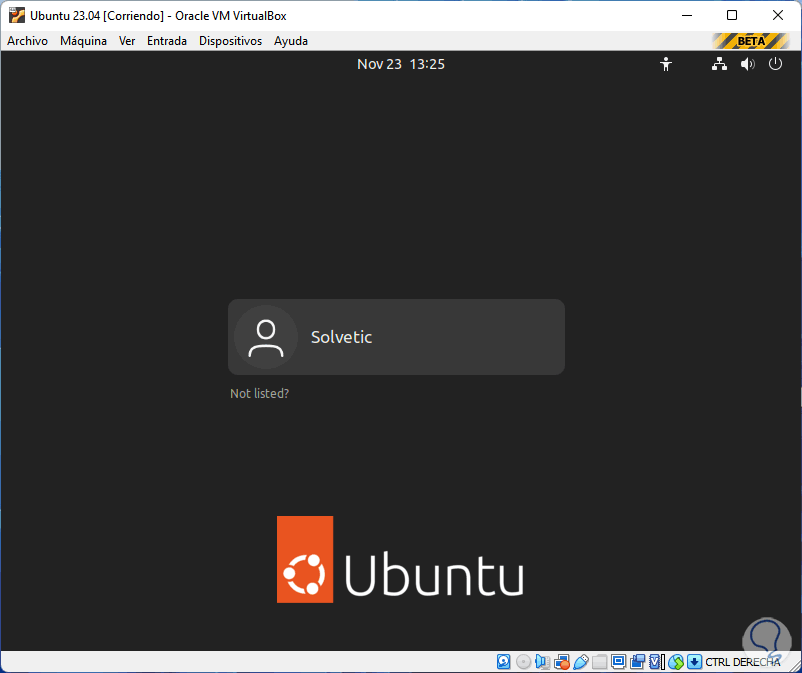
step 31
We enter the password:
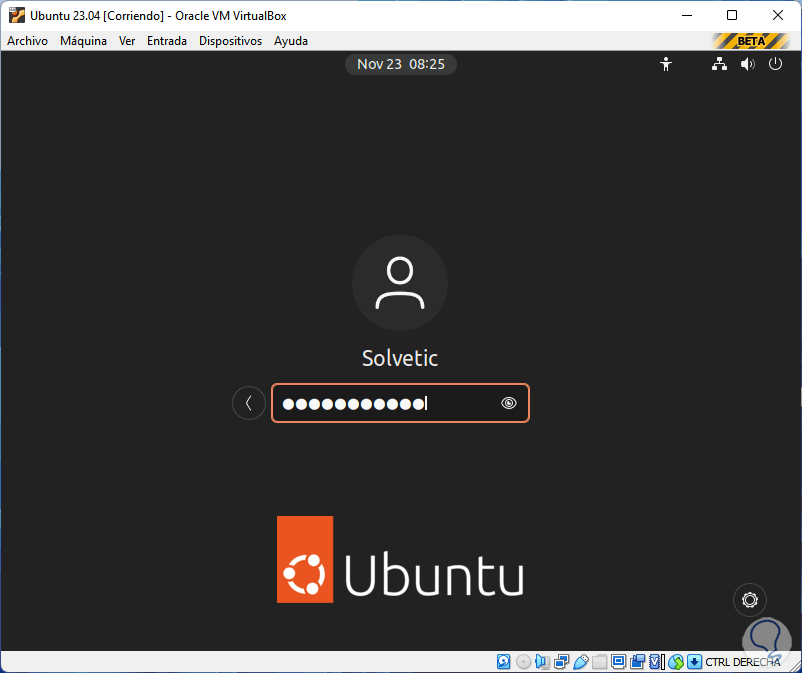
step 32
We complete the initial configuration:
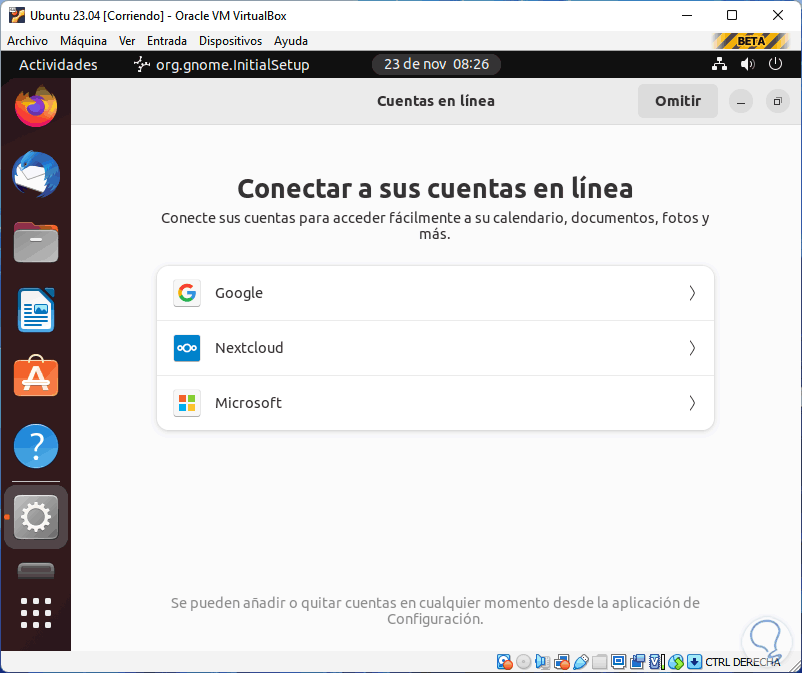
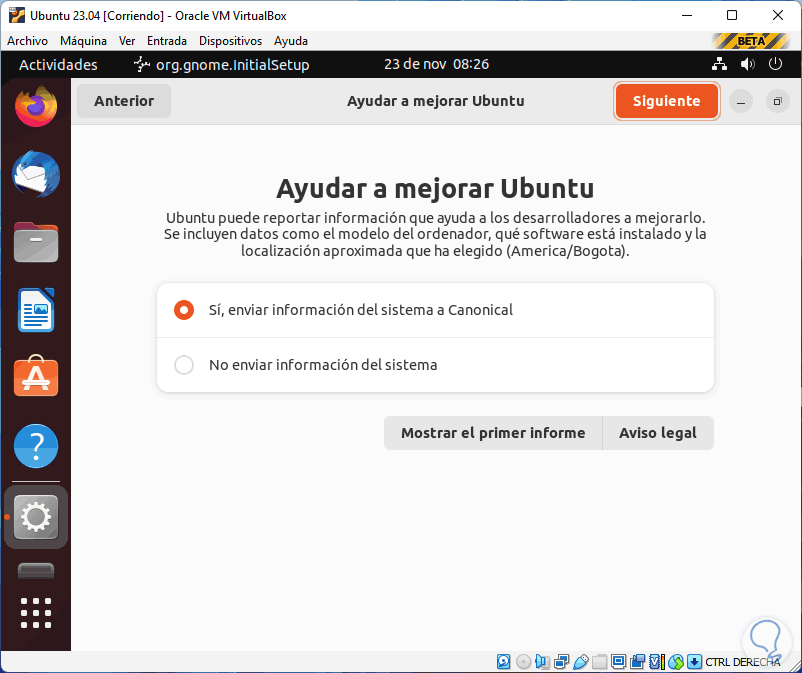
Step 33
It is possible to send information to developers:
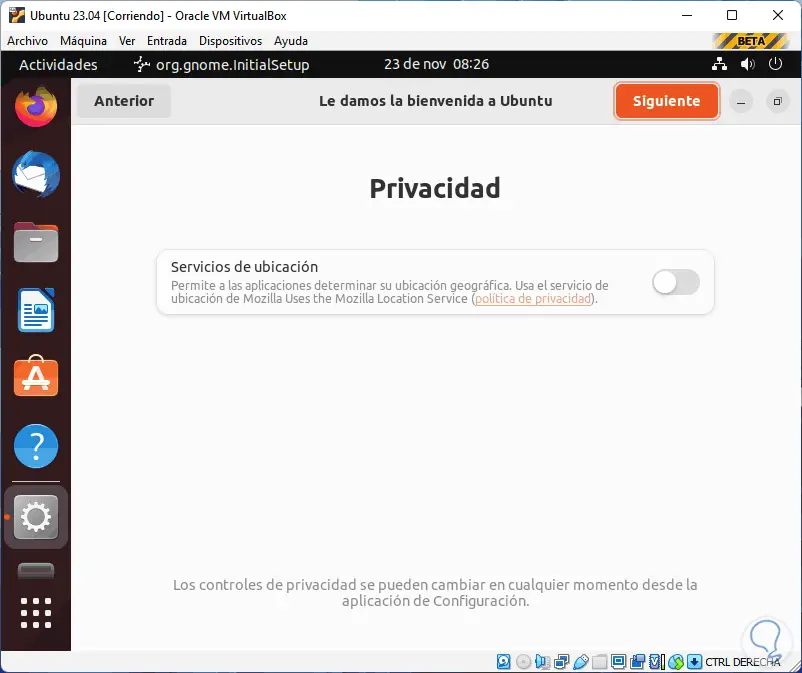
Step 34
We configure privacy:
step 35
We expect it to be completed:
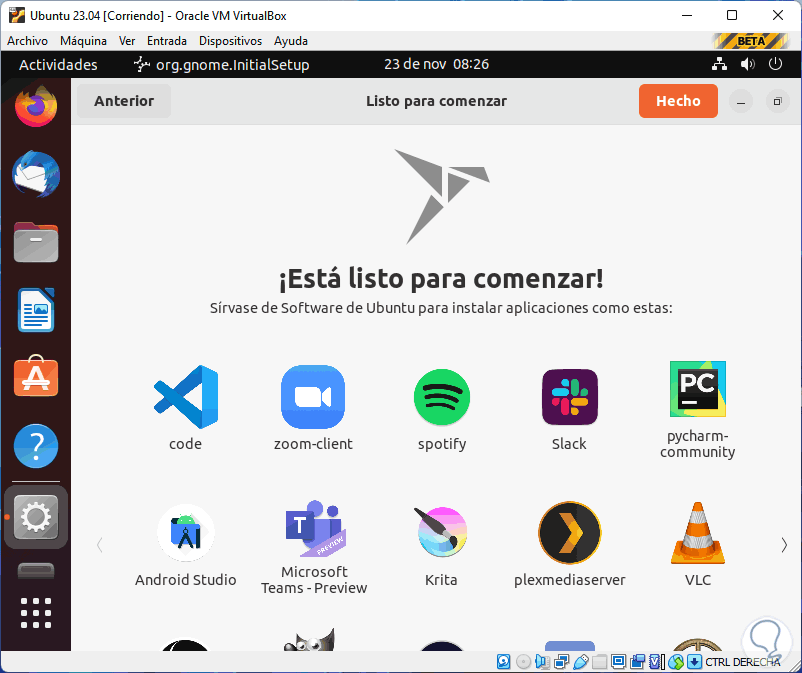
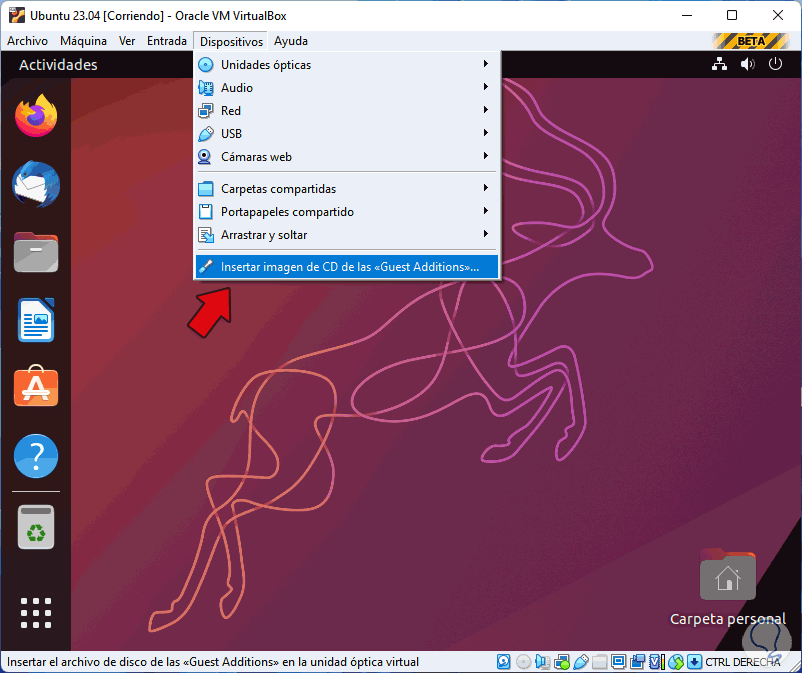
Step 36
Now we are going to Install the Guest Additions which allow a total interaction between the physical equipment and the virtual machine, for this we are going to "Devices - Install CD Image of the <<Guest Additions>>":
Step 37
Confirm that they can be executed, if not, we open the terminal and update the system:
sudo apt update
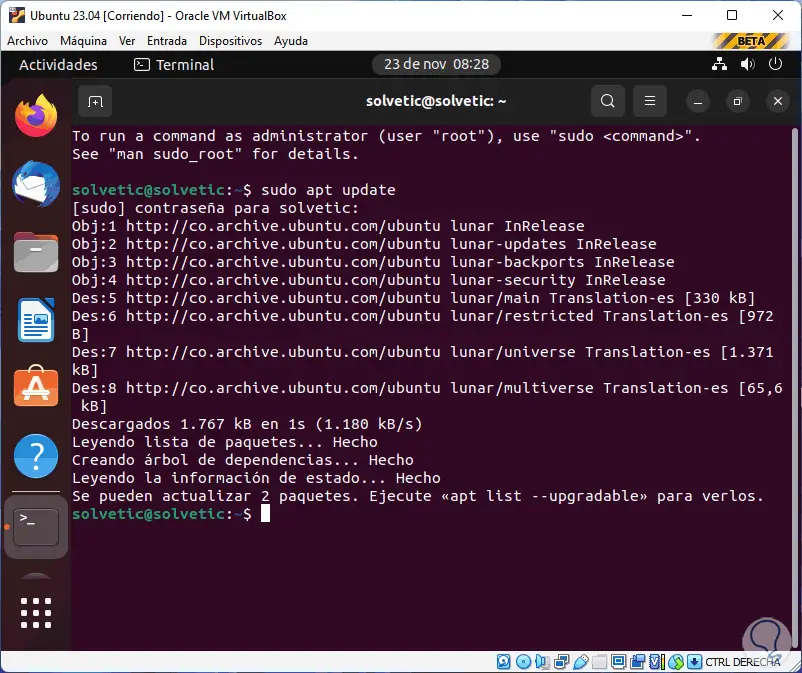
Step 38
Then we apply the updates:
sudo apt upgrade
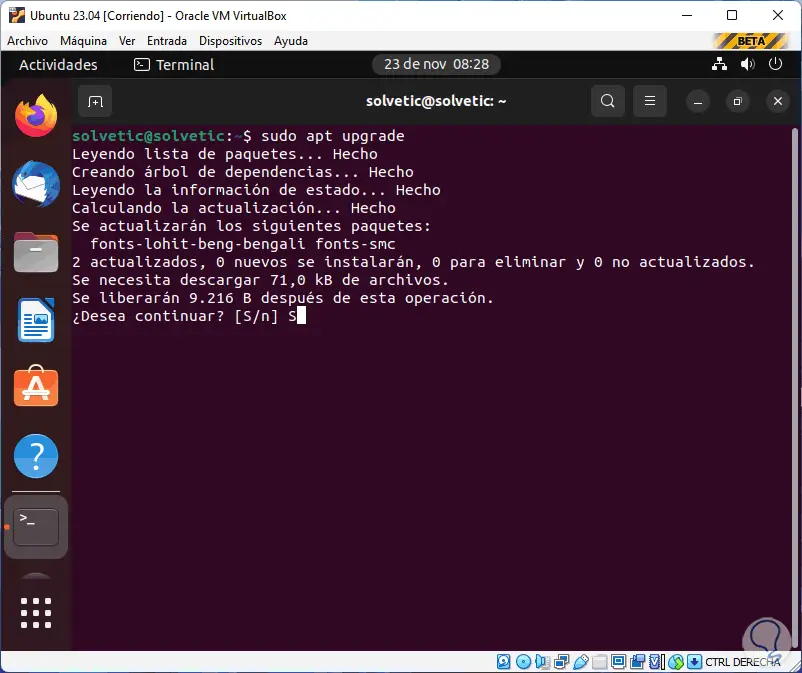
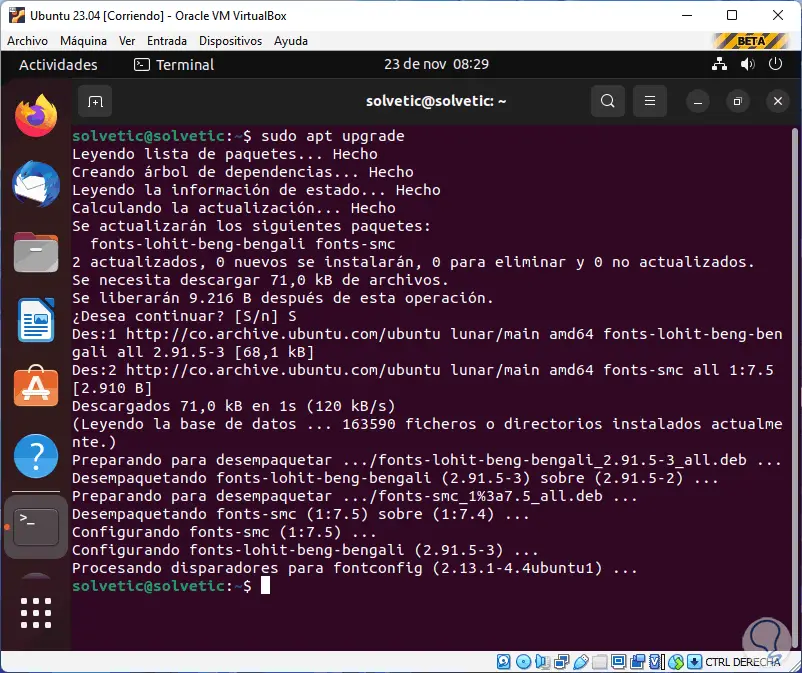
Step 39
We enter the letter S to confirm:
Note
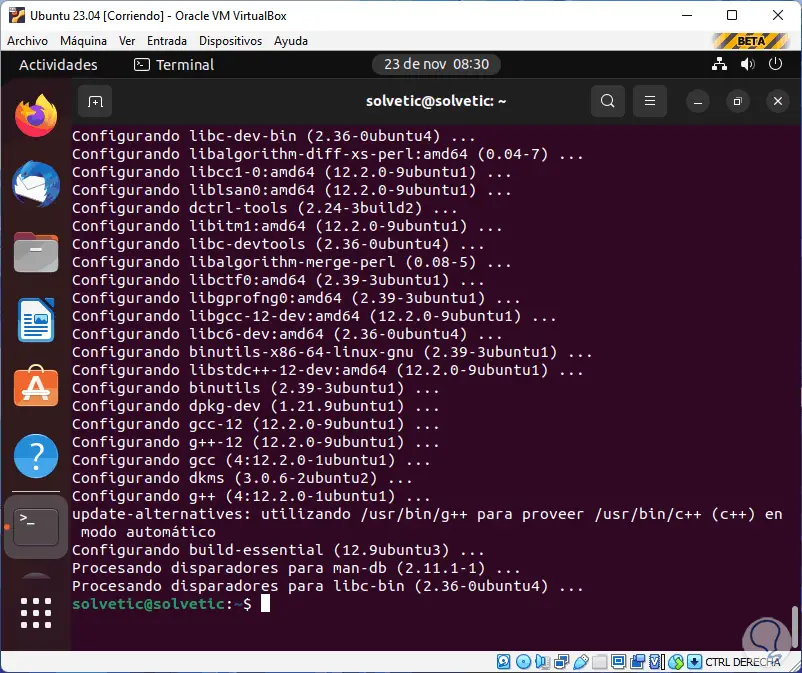
In some cases it is recommended to execute the following:
sudo apt install build-essential dkms Linux-headers-$(uname -r)

step 40
We confirm the process:

Step 41
We hope it reaches its end:
step 42
We check if the Guest Additions image works:
Step 43
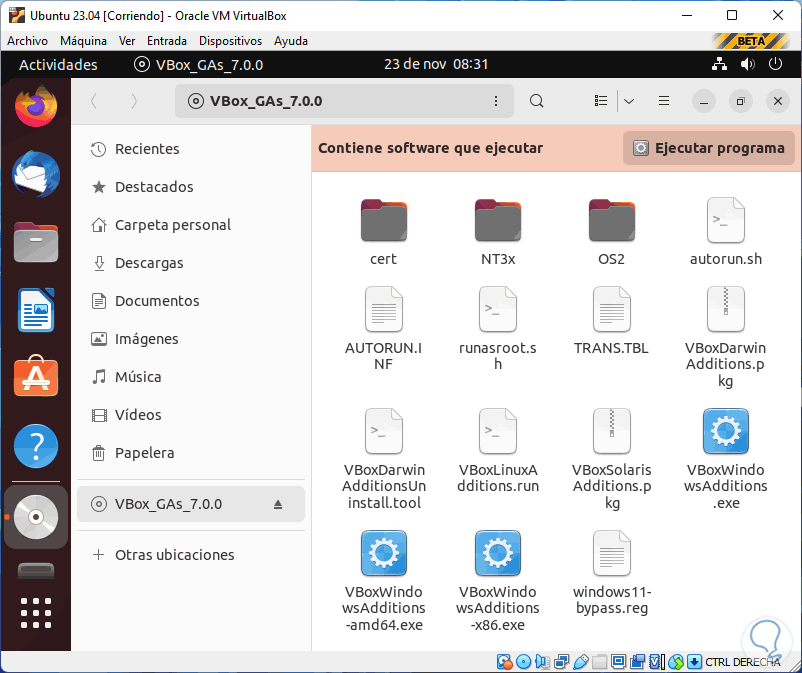
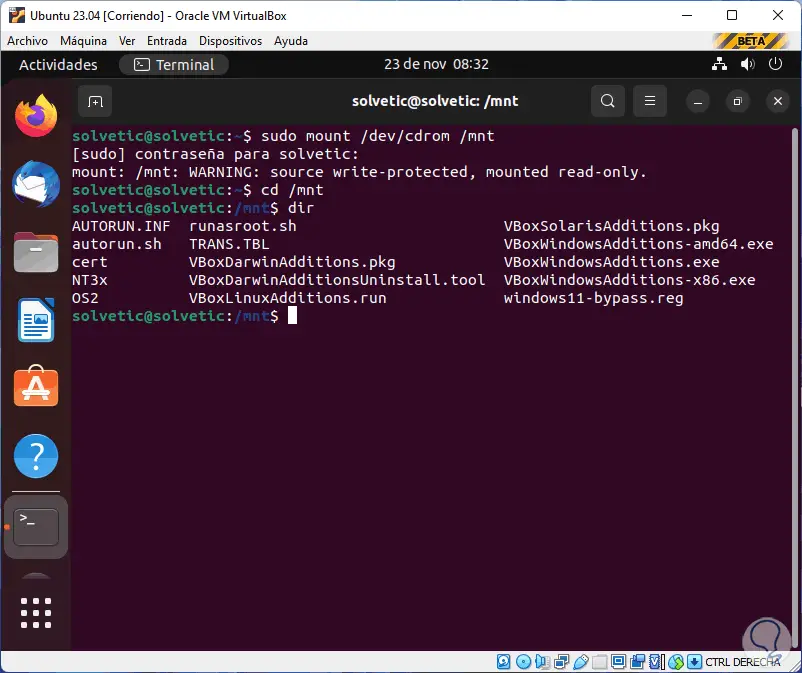
In case it still doesn't work, open terminal and run:
sudo mount /dev/cdrom /mnt cd /mnt dir
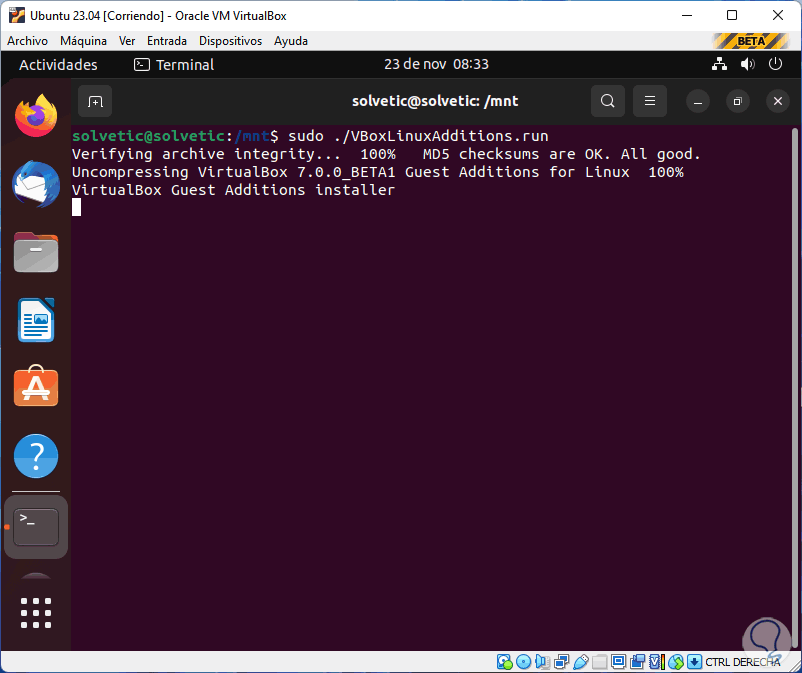
Step 44
Install Guest Additions:
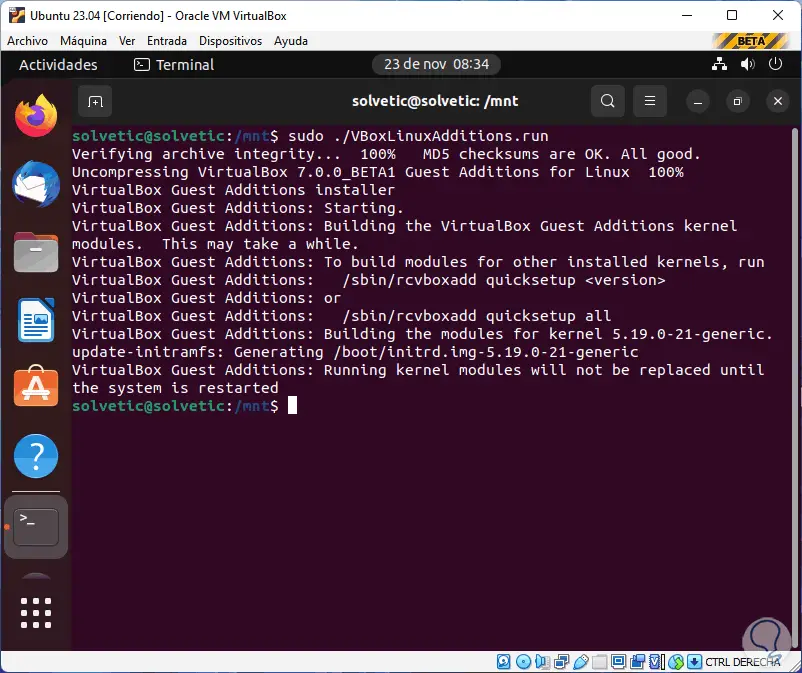
sudo ./VBoxLinuxAdditions.run
step 45
We hope it ends:
Step 46
We maximize the window and wait for the Guest Additions to be applied to have its functions available:
Step 47
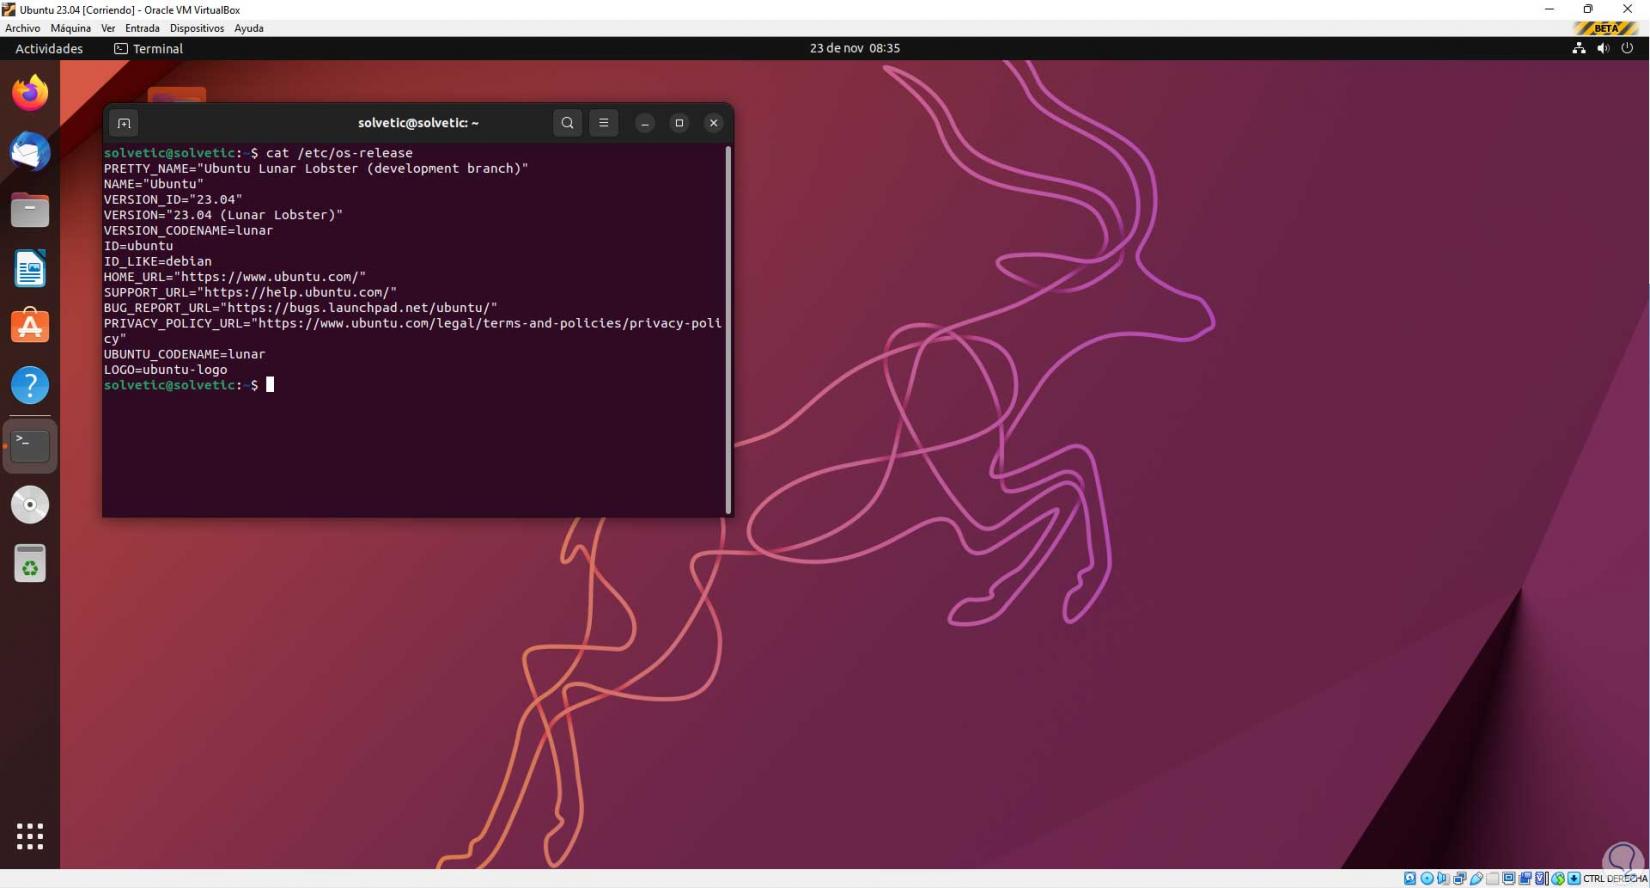
Check the Ubuntu version from the terminal by running:
cat /etc/os-release
It is that simple to install Ubuntu 23.04 in VirtualBox and test it to get the most out of its features.