For some time now we know the advantages of virtualizing machines to test new operating systems and their compatibility with applications. This implies saving resources by not having to invest in the purchase of new equipment, greater security by not affecting at any time the productive environment of the organization or the physical equipment if we use it in our home. Best of all, you can fully explore each of the new features that are integrated into new systems or applications.
There are several virtualization platforms, but for this purpose TechnoWikis will talk about a particular one created by Microsoft such as Hyper-V. Next we will teach you how to install CentOS 8 there and thus know each of its functionalities.
What is Hyper-V?
Hyper-V has been developed by Microsoft as a feature of its operating system thanks to which we have the advantages of hardware virtualization allowing the created machines to run with virtual hardware. In this aspect Hyper-V gives us the opportunity to create virtual hard drives, virtual switches and many more so that the user experience is identical to being on a real computer.
Hyper-V
The Hyper-V platform is available in the 64-bit versions of Windows 10 Pro, Enterprise and Education but not in the Home edition. We can virtualize systems such as:
- Windows Server 2012, 2016 and 2019
features
Some of its main features are:
- Quick creation and access to the VM gallery
- Default network (NAT switch)
- Possibility to share files between the virtual machine and the physical equipment and more.
Hyper-V enablement
By default Hyper-V is not enabled in Windows 10, for its activation we have two options that are:
From Windows PowerShell run the following:
Enable-WindowsOptionalFeature -Online -FeatureName Microsoft-Hyper-V -All
From a command prompt console run:
DISM/Online/Enable-Feature/All/FeatureName: Microsoft-Hyper-V
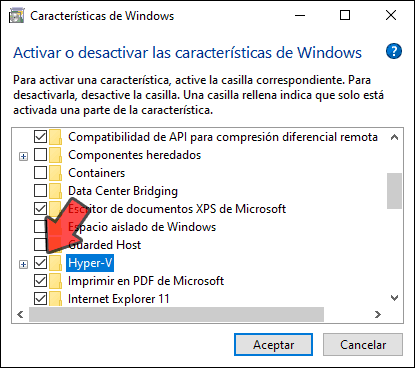
Or, go to the path Control Panel\Programs\Programs and Features and there select the option "Activate or deactivate Windows features" and in the window displayed activate the Hyper-V box:
The ISO image of CentOS 8 is available in the following link:
CentOS 8
New feature
Some of the new features of this edition are:
- Web console improvements (Cockpit)
- New Systemwide crypto policies
- New integrated package updates
Next, we will see how to install CentOS 8 on Hyper-V.
1. How to install CentOS 8 on Hyper-V with Windows 10
Step 1
The first step is to access the Hyper-V console which looks like this: 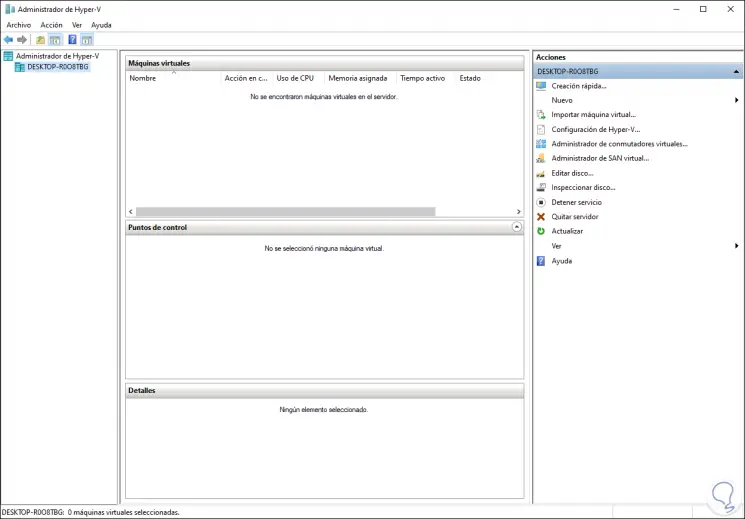
Step 2
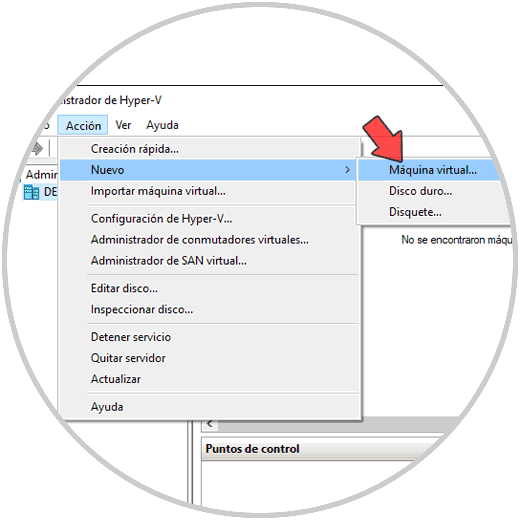
To create our virtual machine we have the following options:
- Click on the line "New / Virtual machine in the right panel
- From the Action / New / Virtual Machine menu
- By right clicking on the name of the physical equipment and there select New / Virtual machine
Step 3
The following wizard will be displayed:
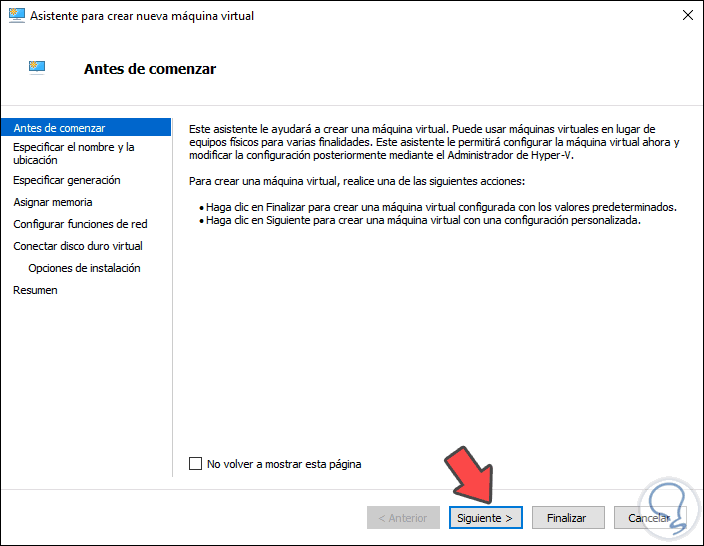
Step 4
We click Next and we will indicate the name of the virtual machine, as well as the route where it will be hosted:

Note
There we can check the box "Store the virtual machine in another location" to define a custom route.
Step 5
We click Next and we will define the generation of the virtual machine. It is important to understand the following:
- Generation 1 is the simplest since it is compatible with BIOS and supports 32-bit and 64-bit systems
- Generation 2 is more secure but only runs in UEFI and only supports 64-bit system
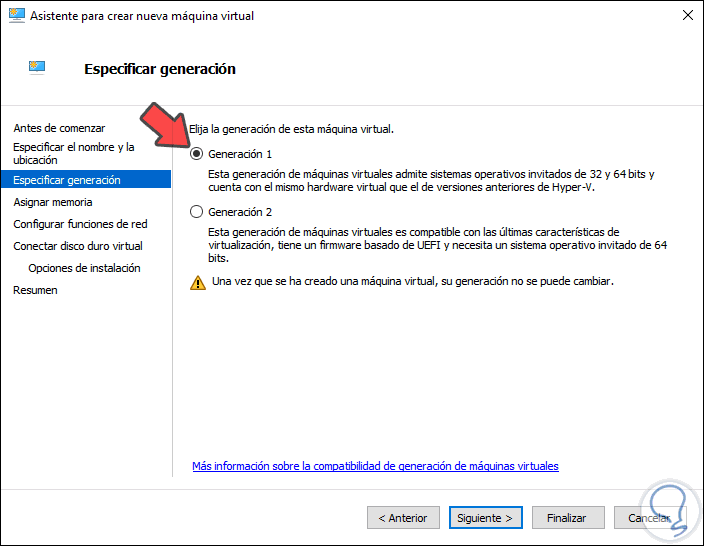
Select Generation 1 and click Next
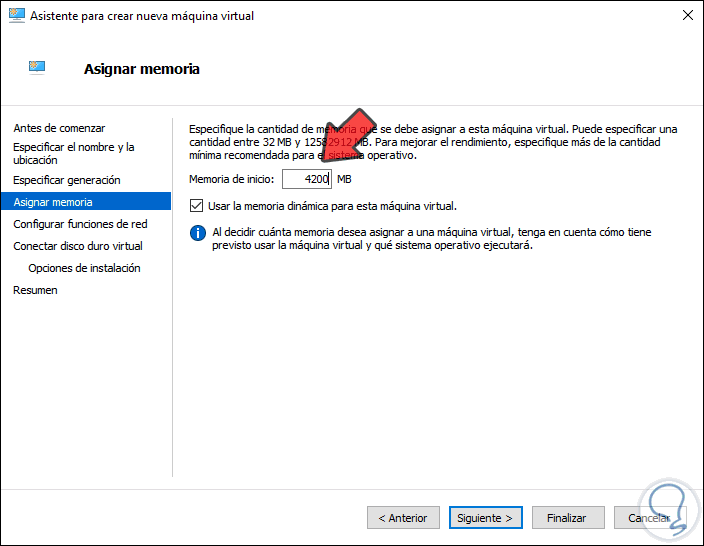
Step 6
We define the RAM to allocate to the CentOS 8 virtual machine.
Step 7
In the following window it will be possible to define the network aspects:
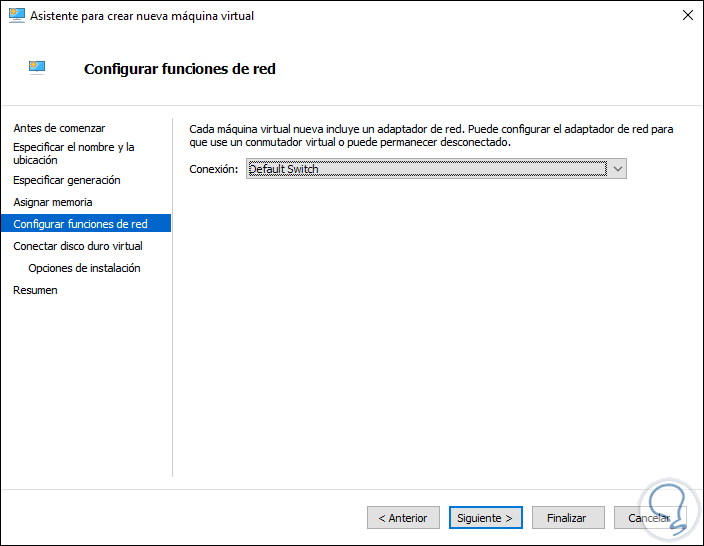
Note
Later, TechnoWikis will explain how to configure a virtual switch to allow communication with the network.
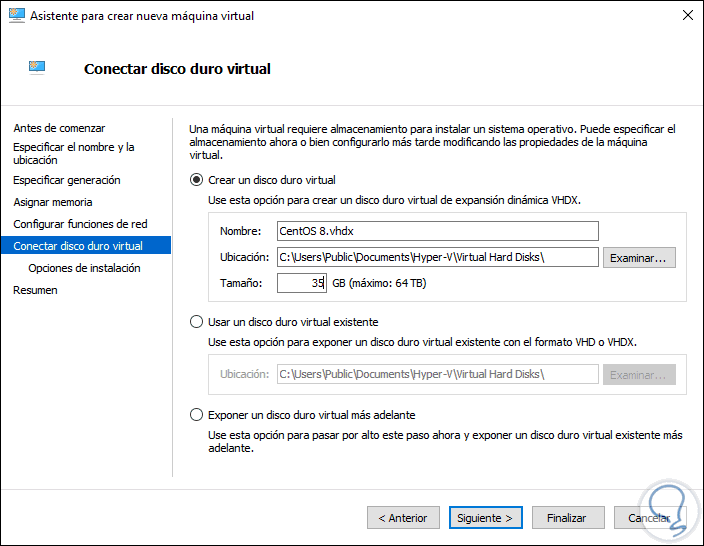
Step 8
In the following window it will be possible:
- Create a new virtual hard disk by assigning size, name and location
- Make use of an existing virtual hard disk
- Do not use a virtual hard disk
Step 9
Next we must select the ISO image that we have downloaded from CentOS 8. To do this we activate the box "Install an operating system from a bootable CD / DVD ROM and then select the CentOS 8 ISO:
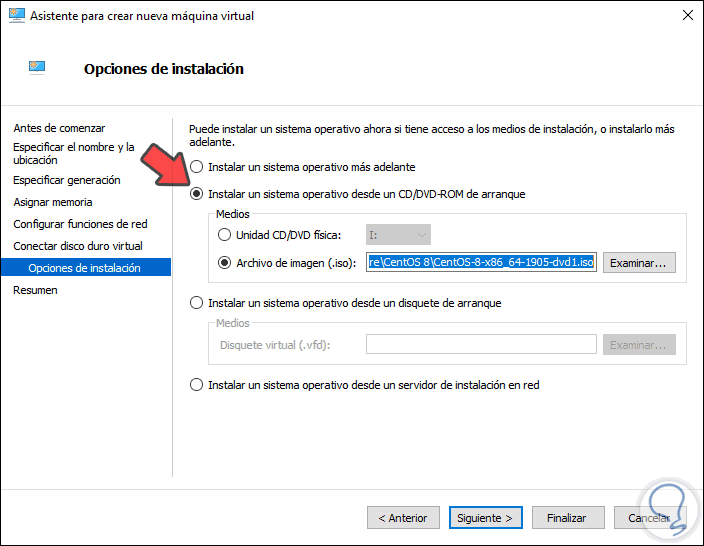
Step 10
Among the options is to install the system later or not to install the operating system. After this we click on Next and we will see a summary of the tasks to be performed:
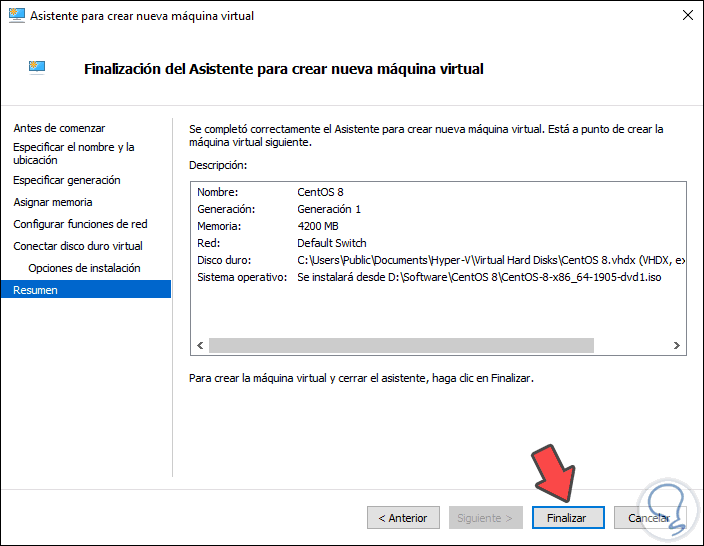
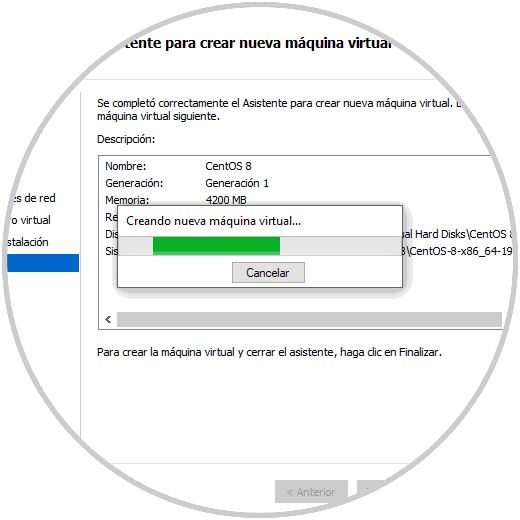
Step 11
Click on Finish to complete the process of creating the CentOS 8 virtual machine in Hyper-V:
2. How to assign Hyper-V virtual switch
Step 1
As we mentioned, it is key that we create a new switch that will allow connection to the Internet, for this from the Hyper-V console we select the line "Virtual Switch Manager": 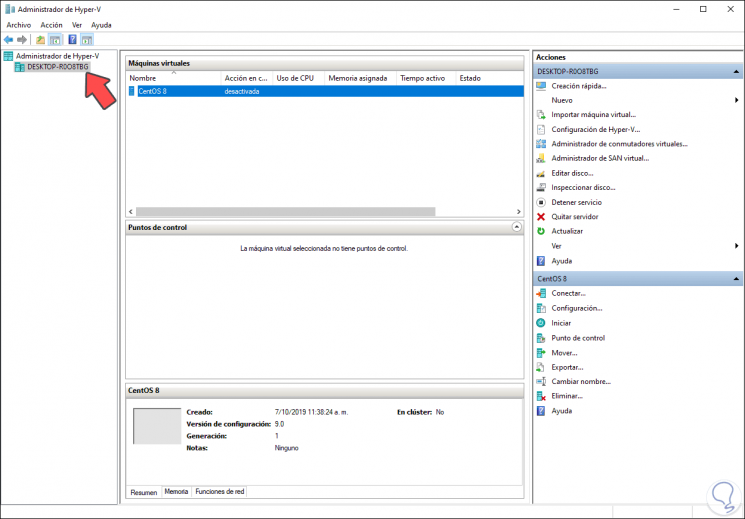
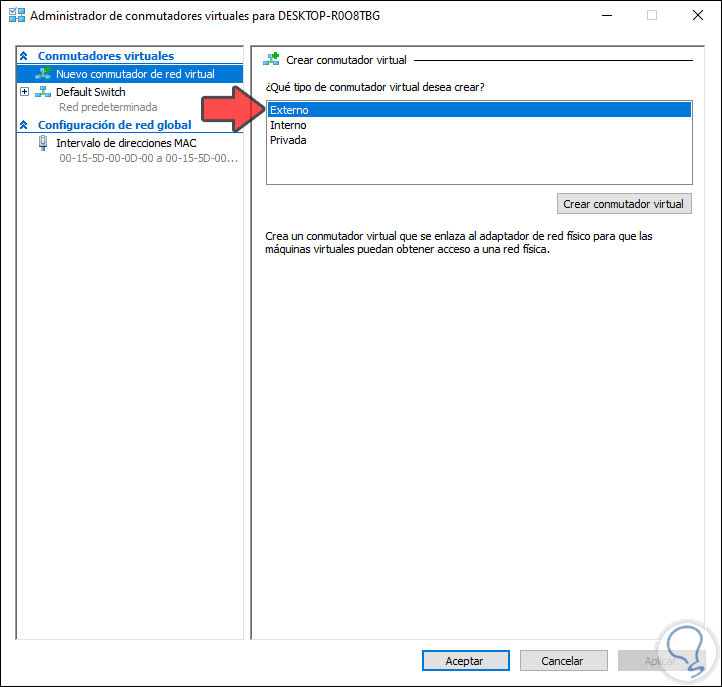
Step 2
In the displayed window we select "External" to allow connectivity with the external network:
Step 3
We click on "Create virtual switch" and then define the following:
- Type of connection and physical network adapter to use
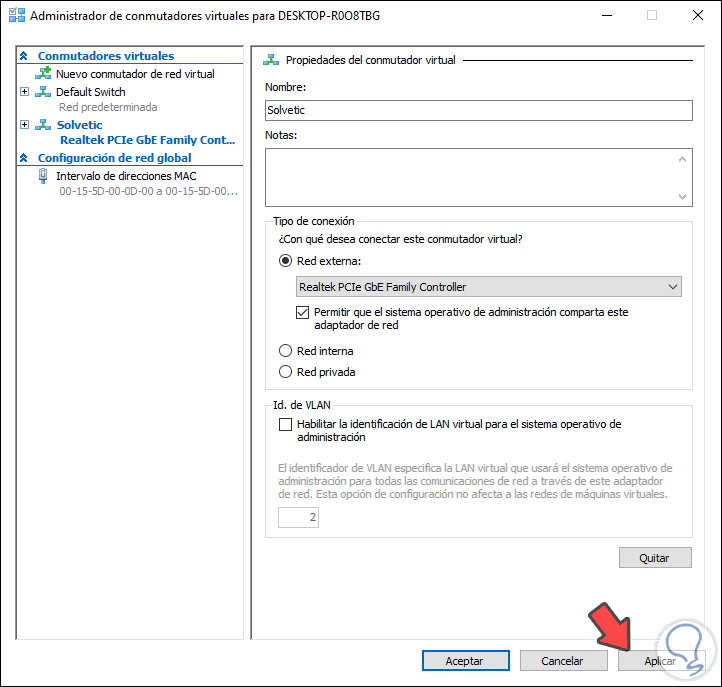
Once this is defined, click on Apply and Accept to save the changes.
Step 4
Next we select the virtual machine created, we click on "Configuration" and in the section "Network adapter" we will select the virtual switch that we have created:
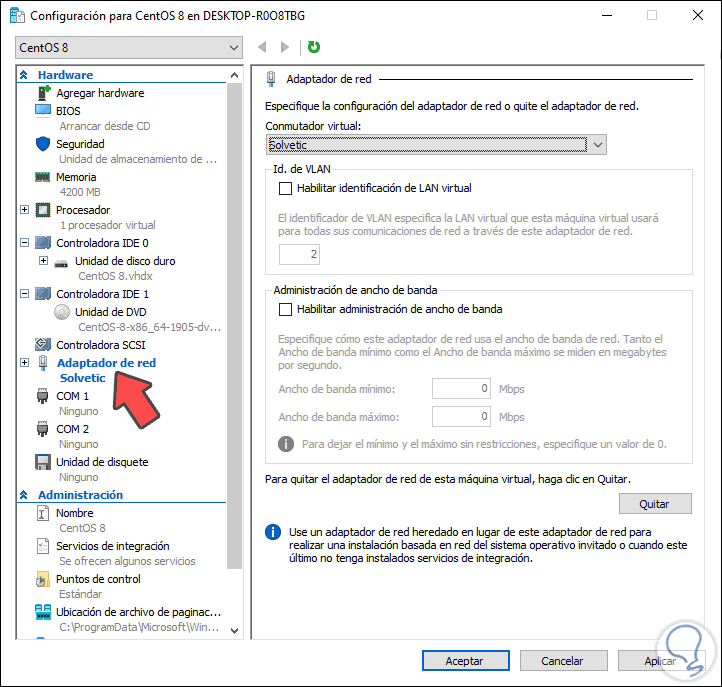
Click on Apply and Accept to save the changes.
3. How to boot and configure CentOS 8 on Hyper-V
Step 1
Once we configure this we can select the virtual machine and there a series of options will be displayed: 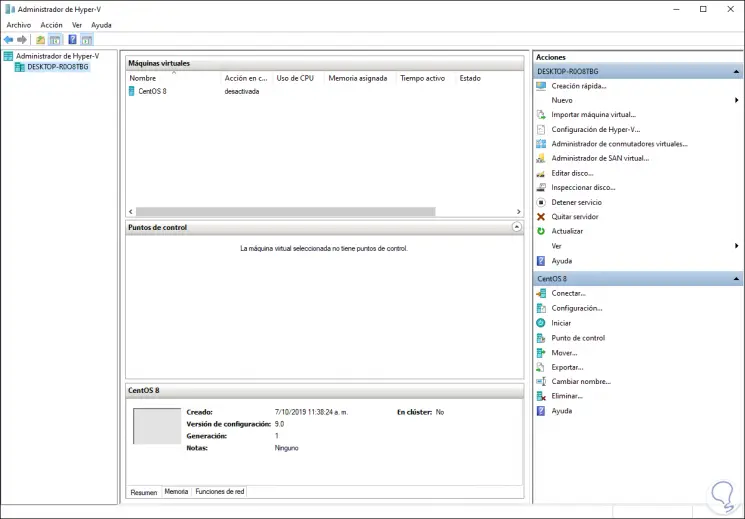
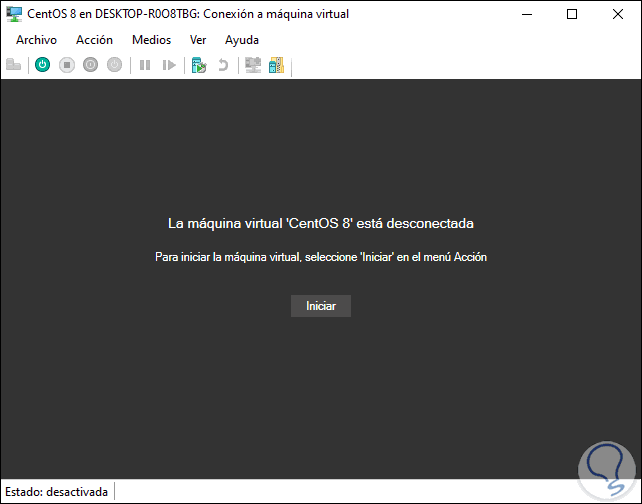
Step 2
We click on the "Connect" line and we will see the following:
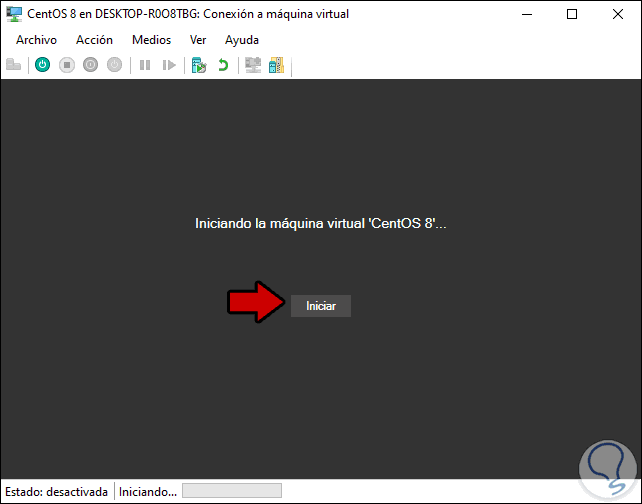
Step 3
There we click on Start to run the CentOS 8 installation wizard:
Step 4
Once the connection is established we will see the CentOS 8 installation wizard:
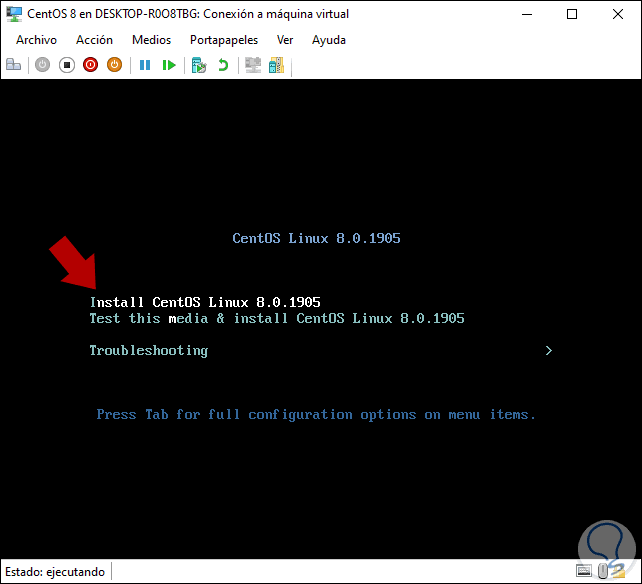
There we select the line "Install CentOS Linux 8.0.1905" to execute the installation or we can solve installation problems.
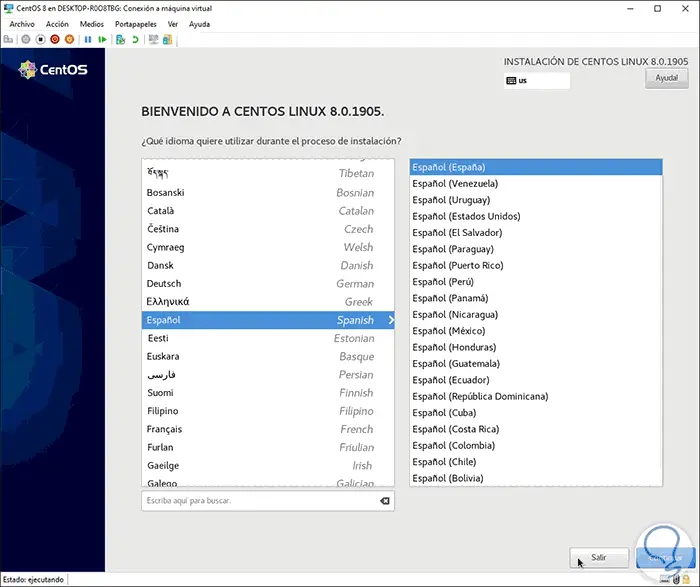
Step 5
After the services are loaded, we will define the installation language:
Step 6
We click on "Continue" and then we will see the following:
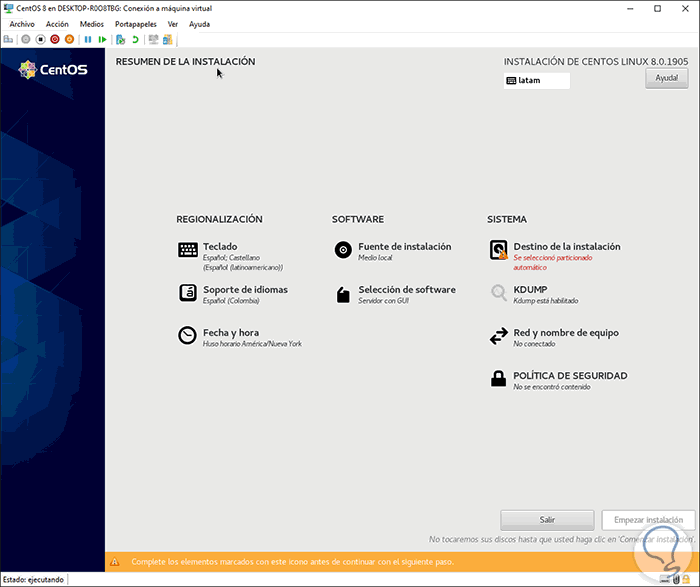
There it is possible to configure the following:
- In the Keyboard section define the keyboard language in CentOS 8.
- In Language Support we can add more languages ​​to use them in the system.
- In Date and time we can define the time zone of the system if it is different.
- In Installation Source we find the selected ISO image.
- In KDUMP we can activate or not this function which is responsible for the kernel dump.
- Security policy allows us to integrate additional security files to CentOS 8.
Step 7
Software selection: there we can define the type of server (console or GUI) to use, as well as define what services are to be installed in the process: 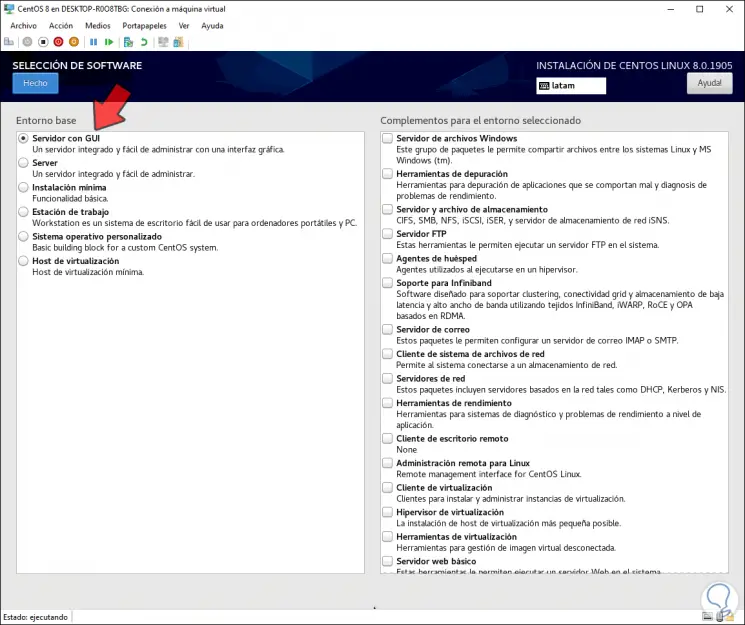
By default, the CentOS 8 server will be installed with a graphical interface, but we can select the "Server" option to be executed from the console.
Step 8
Network & Device Name allows us to activate the network adapter, as well as define a name for the device: 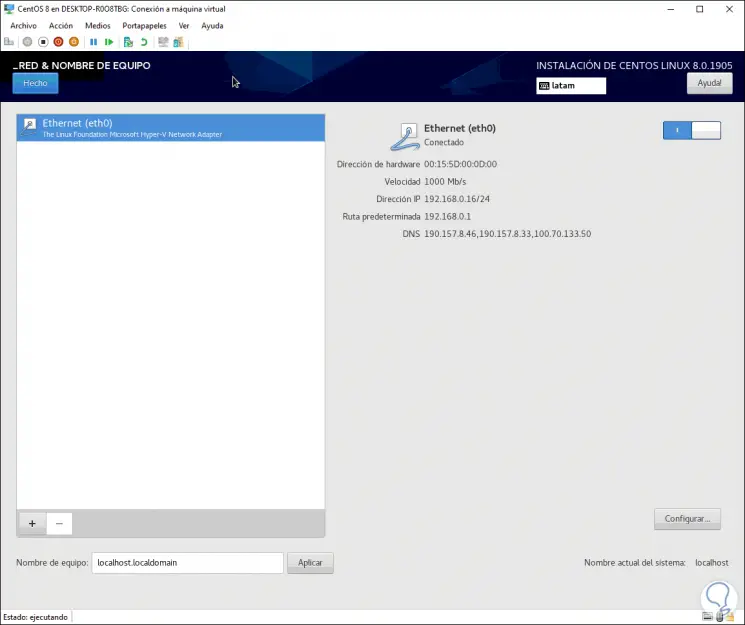
Step 9
In Device Selection we must select the virtual hard disk where CentOS 8 is to be installed on Hyper-V. There we have additional options such as configuring partitioning manually, adding disks, etc., click Done when we define this. 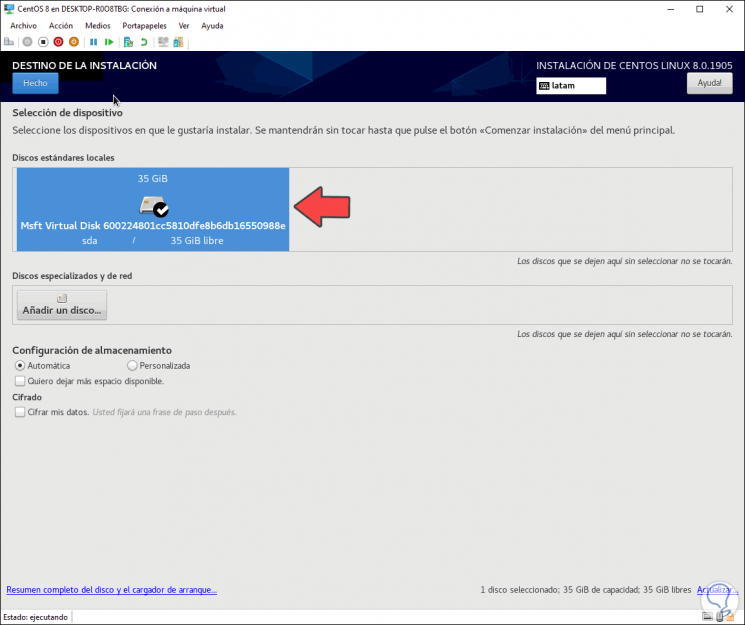
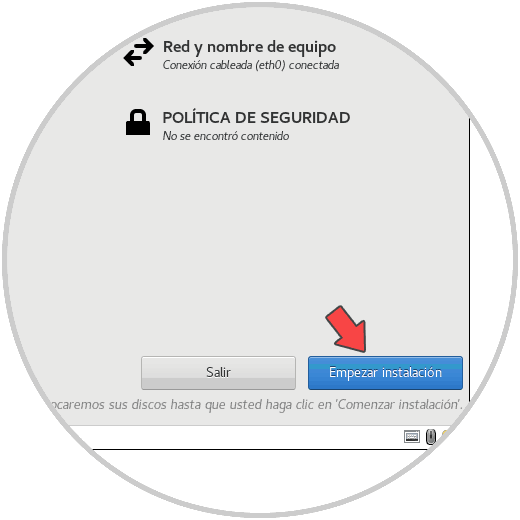
Step 10
We click on "Start installation" and we will see the following:
Step 11
Select "Root Password"
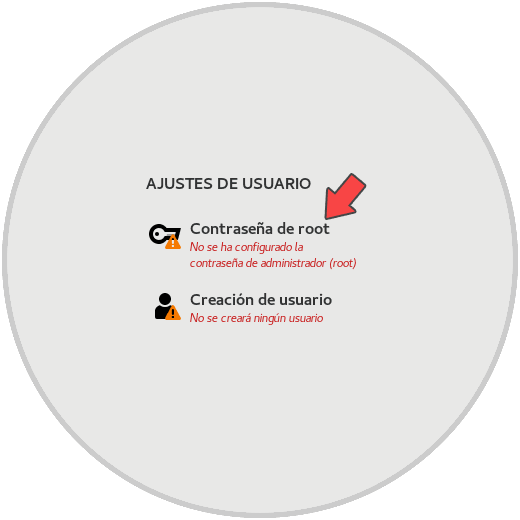
Step 12
We proceed to assign the root password in CentOS 8:
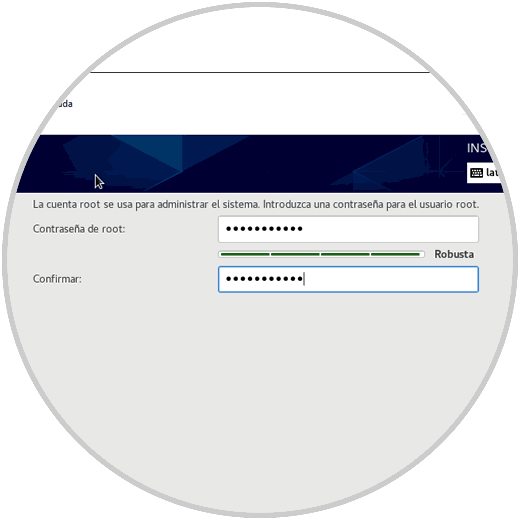
Step 13
We click Done and then configure the system administrator user:
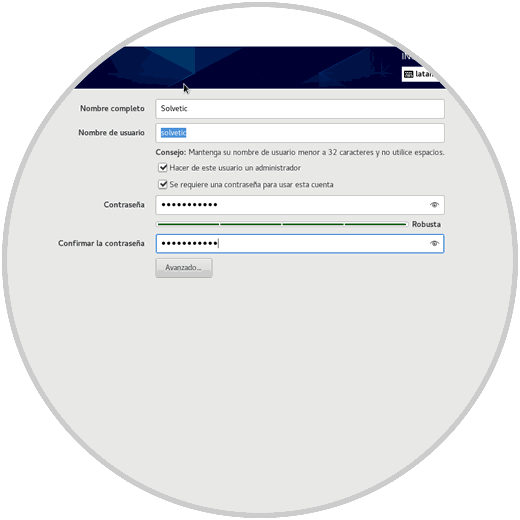
Step 14
We click Done again and we will continue with the installation of CentOS 8 on Hyper-V: 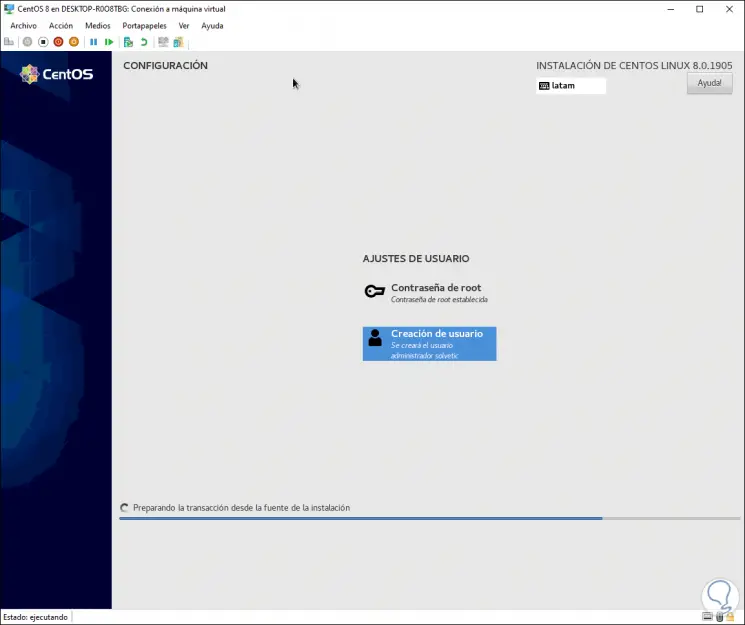
Step 15
When this process ends we will see the following. There we click on Restart 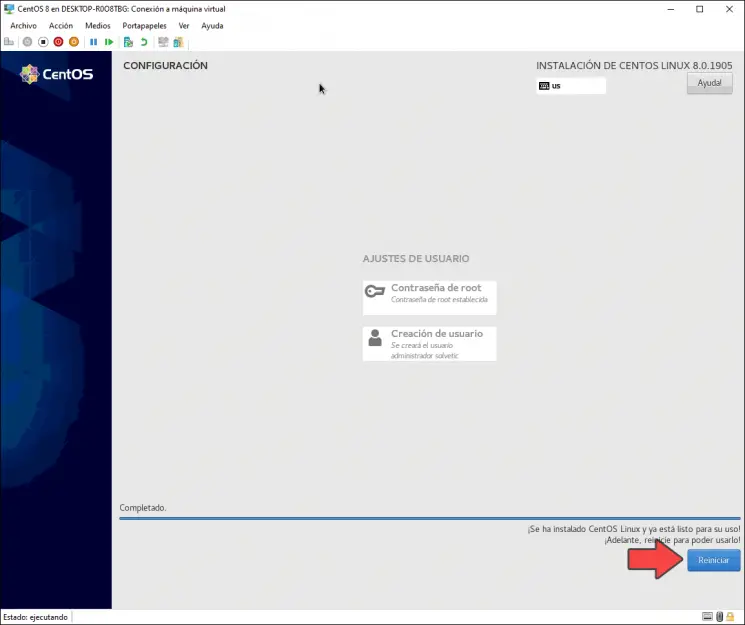
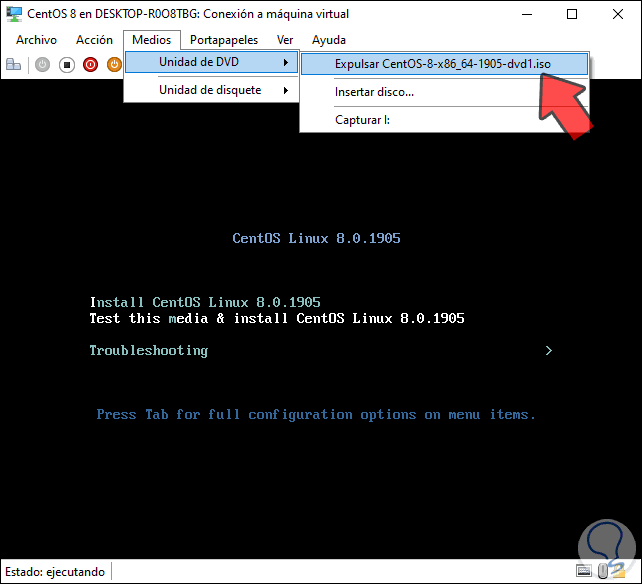
Step 16
We will need to remove the media with the CentOS 8 ISO. To do this we go to the Media / DVD / Eject "ISO" menu:
Step 17
After this the system will be restarted and we will see the following: 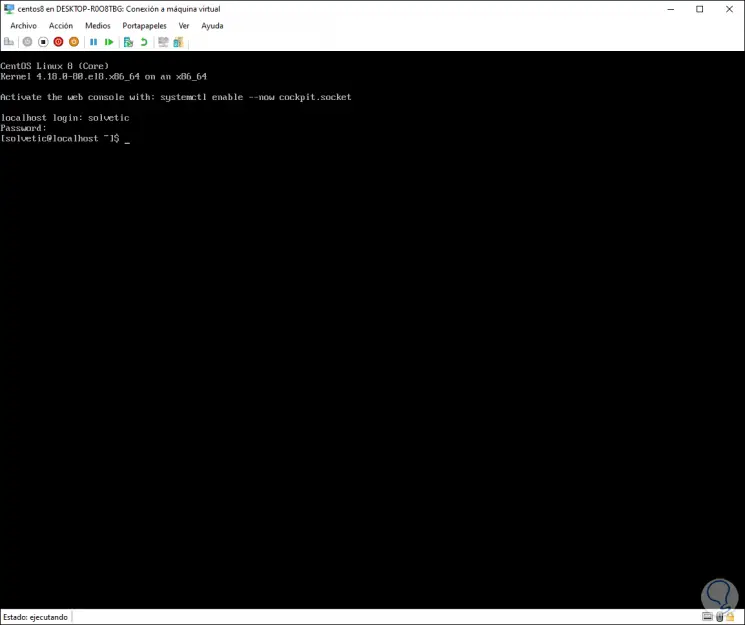
If we have selected the server with GUI interface, it will be necessary to click on the "License information" option to accept the license terms. There we have accessed CentOS 8 on Hyper-V and we are ready to explore it to the fullest.
4. Tasks to be performed in CentOS 8 after installation
Now we will see some things you can do in CentOS 8 to get the most out of them, these are:
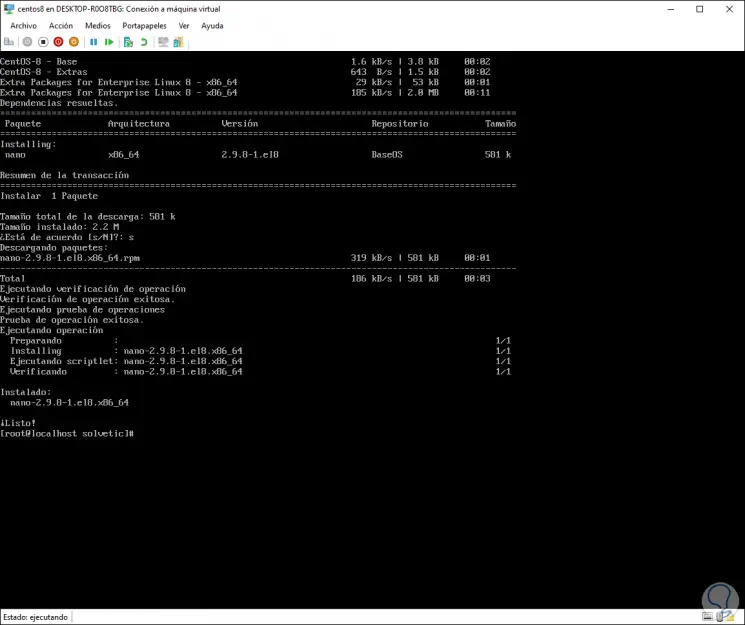
Nano installation
Nano is one of the most versatile text editors for functions and simplicity of use and is ideal for editing various system files, for its installation we must execute the following:
yum install -y nano
Enable dynamic memory on the guest
This is a function that we must enable in order to use dynamic memory with CentOS 8, for this we will create a file in the path /etc/udev/rules.d with the desired name and in that file we enter the following:
SUBSYSTEM == "memory", ACTION == "add", ATTR {state} = "online"
We save the file with the Ctrl + O keys and exit it with the Ctrl + X keys.
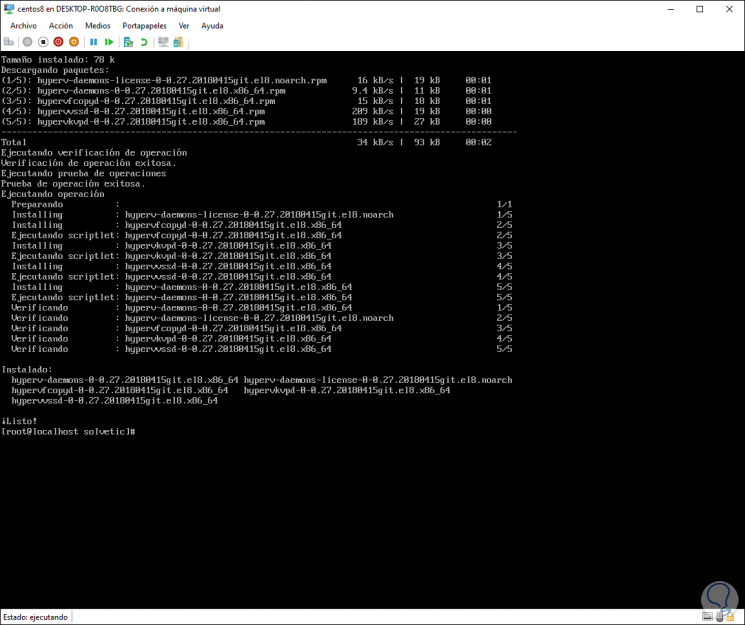
Install Hyper-V tools
These are a set of tools that allow us to expand the capabilities of the platform to the maximum, for this we will execute the following:
yum install -y hyperv-daemons
Note
Remember that to access as root you must execute the "su" command followed by the password that we assign in the process of creating it.
With TechnoWikis we have learned to configure and create a virtual machine with CentOS 8 in Hyper-V. Thanks to the implementation of virtual machines, we will be able to reach our full use potential.