Virtualization has become an ally for the system administrator and for the user who wants to test new operating systems or applications without putting the physical system at risk, virtualization emulates the entire operating system environment (naturally not 100%) with in order that we have knowledge of its design, new functions and something vital that is compatibility..
Microsoft has developed its own virtualization platform and it is Hyper-V, Hyper-V gives us the opportunity to run various operating systems using the virtual machine model in Windows, in the case of Windows 11 we can use 64-bit versions and in Windows 11 Pro, Enterprise, and Education editions, not currently supported for Windows 11 Home.
Hyper-V Advantages
Some of the benefits of using Hyper-V in Windows 11 are:
- Live migration of virtual machines from one host to another without shutting them down
- Virtual Fiber Channel for connectivity enhancements
- Quick create and virtual machine gallery function
- Default network using a NAT switch
Hyper-V requirements
Some To use Hyper-V in Windows 11, the following is required at the hardware level:
- CPU support for VM Monitor Mode Extension (VT-c on Intel processors)
- 64-bit processor with second level address translation (SLAT)
Hyper-V compatibility
Some In Hyper-V we can install and test operating systems such as:
- CentOS and Red Hat Enterprise Linux
TechnoWikis will explain how to install Hyper-V in Windows 11 and thus have an extra world of systems to use on a single computer without having to invest in additional hardware..
To stay up to date, remember to subscribe to our YouTube channel!
SUBSCRIBE ON YOUTUBE
How to install Hyper-V on Windows 11
Step 1
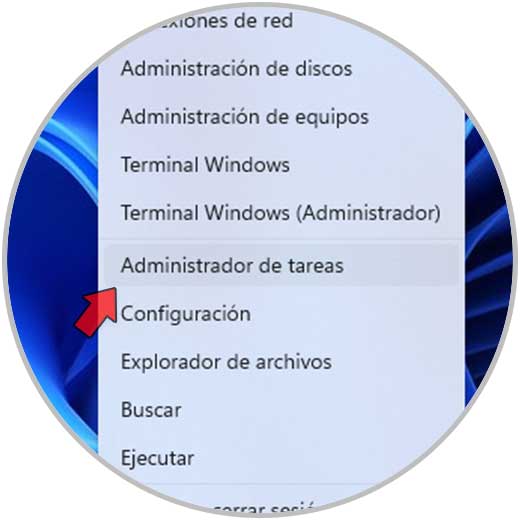
First of all we must validate that virtualization is enabled on our computer, to check this open the Task Manager:
Step 2
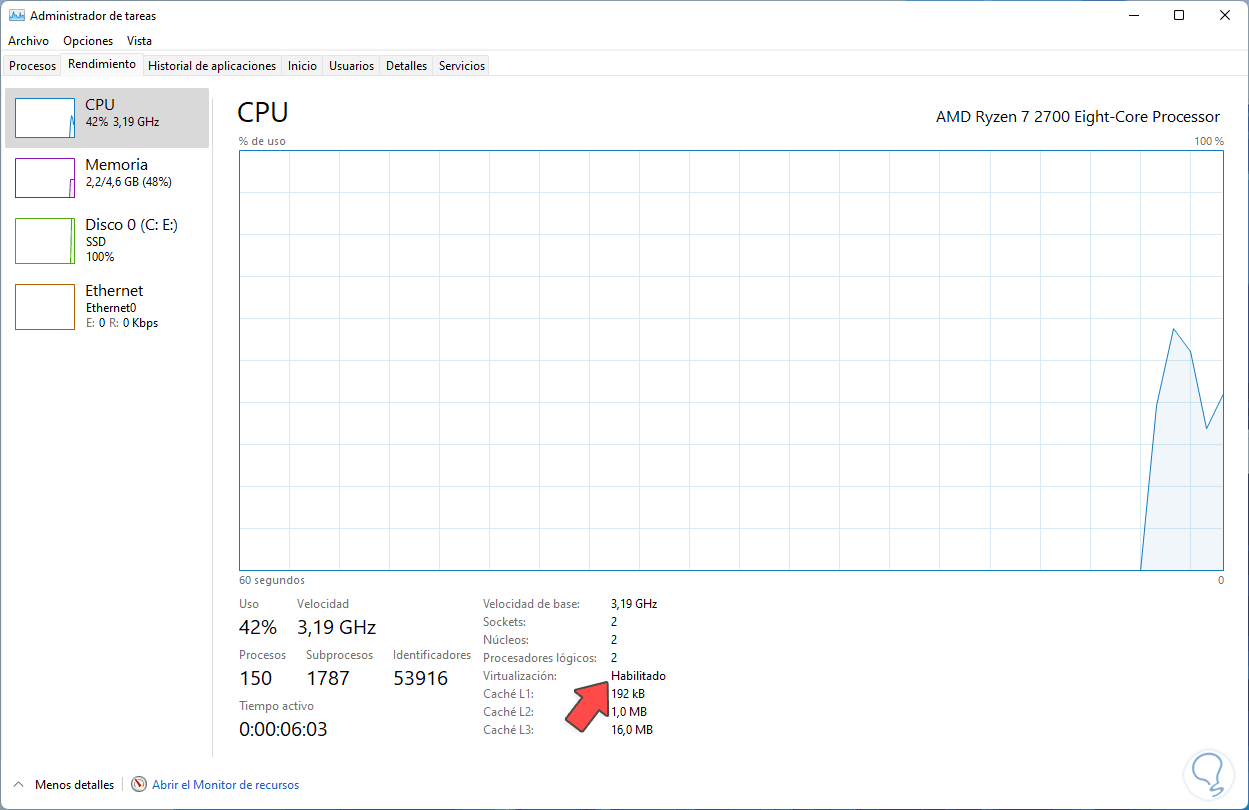
In the "Performance" tab we go to "CPU" and there we validate that virtualization is enabled:
Note
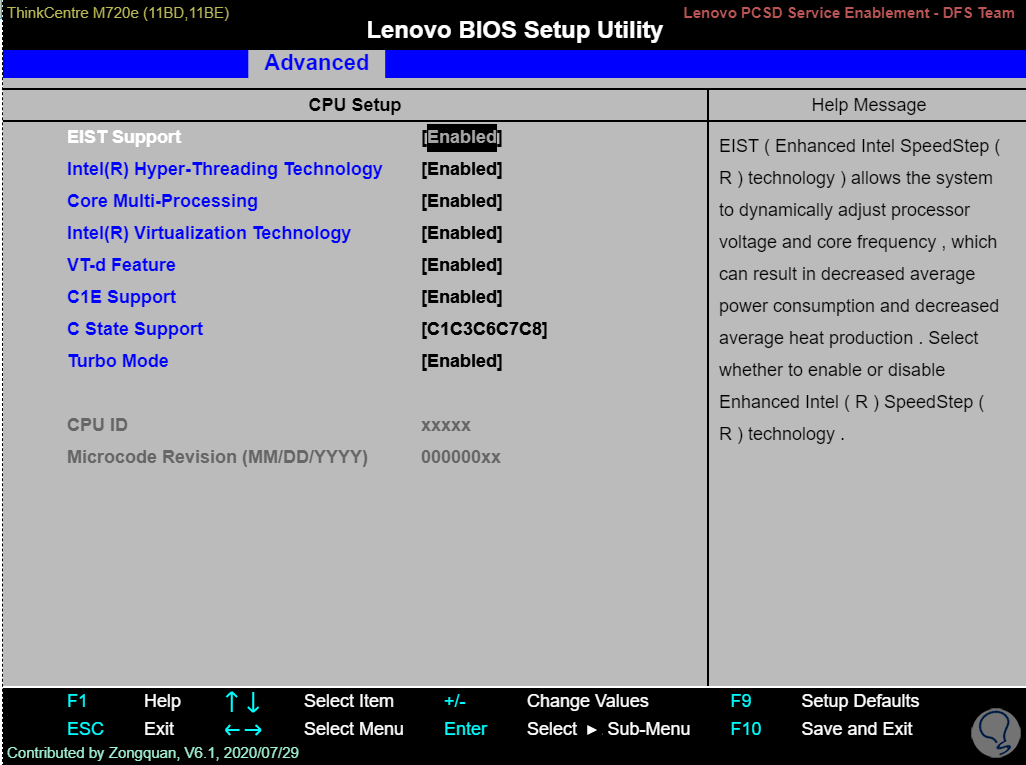
If not, we must access the BIOS or UEFI and in the CPU section enable it:
Step 3
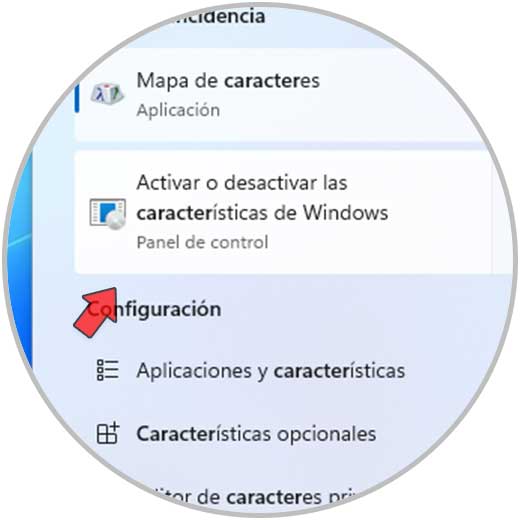
Once this is confirmed, which is essential, we are going to enable the feature, for this in the search engine we enter "character" and then click on "Activate or deactivate Windows features":
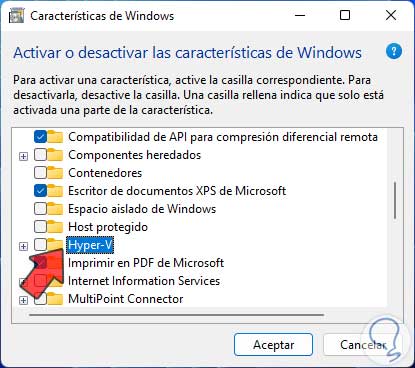
Step 4
In the pop-up window we locate the Hyper-V line:
step 5
Check the "Hyper-V" box:
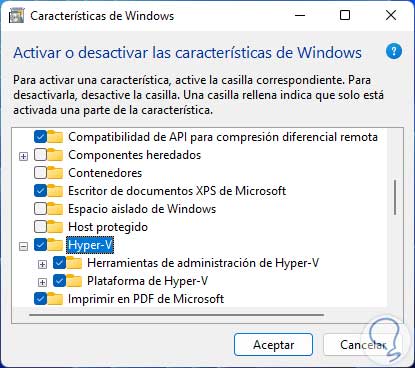
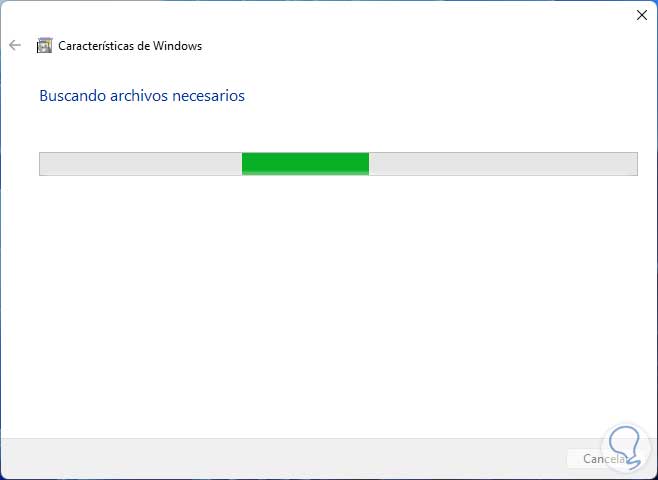
Step 6
We click OK and wait for the appropriate files to be searched:
Step 7
At the end we will see the following:
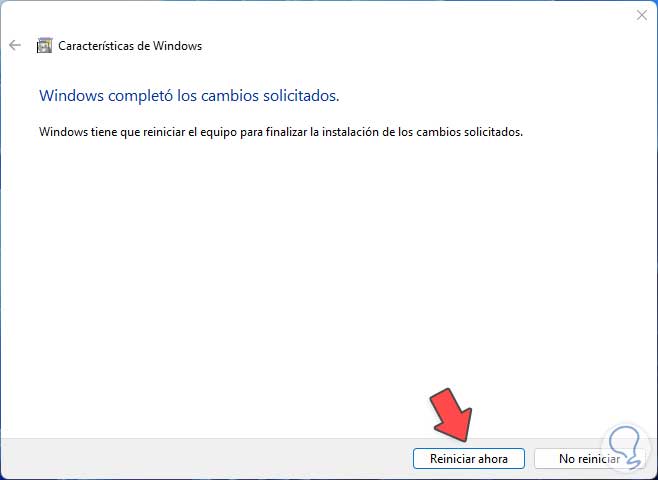
step 8
We restart Windows 11 for the feature to be installed:

step 9
We can see that the Hyper-V feature starts to be installed:

step 10
Then we will see the percentage of installation of this:

step 11
The system will be rebooted again:

step 12
The Hyper-V installation process will complete:

step 13
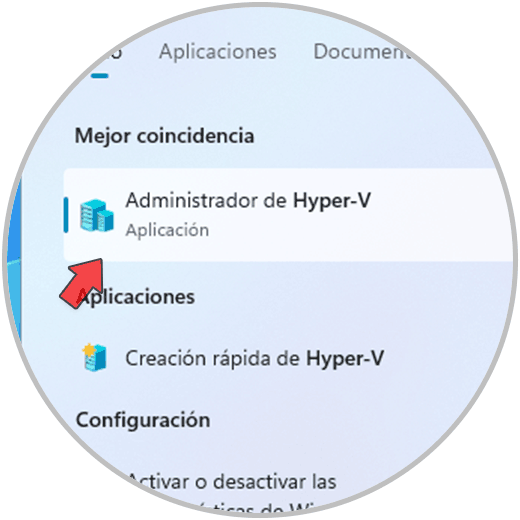
When logging in we open Hyper-V from the browser:
step 14
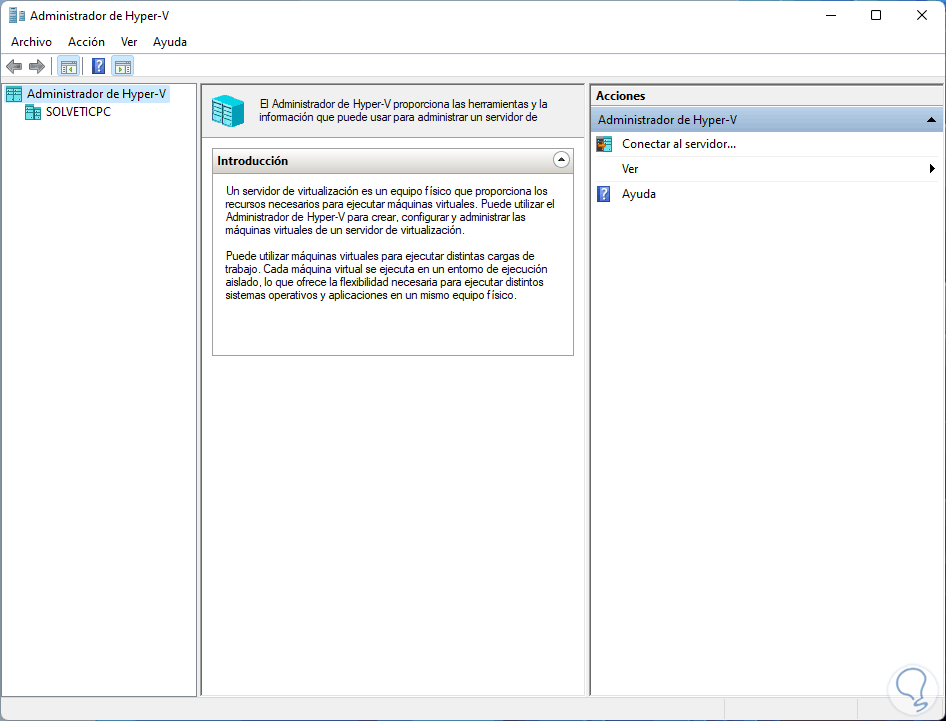
Hyper-V Manager will launch:
step 15
We select the local team to see your options:

step 16
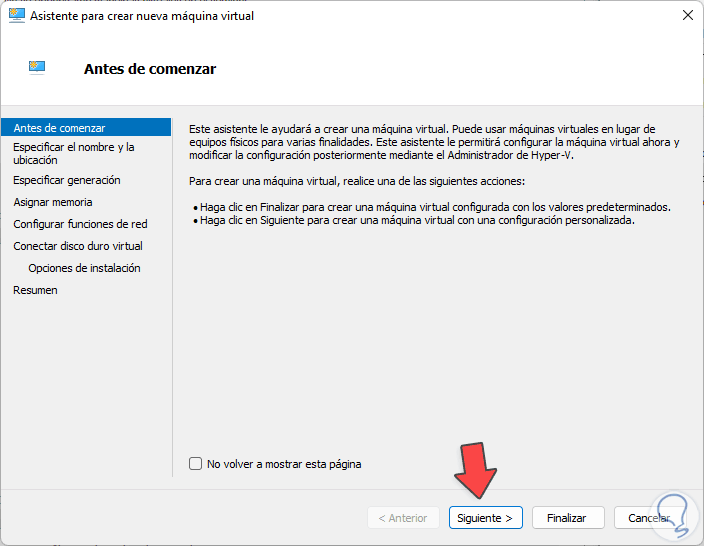
We create a new machine configuring each part of it by clicking on "New - Machine", the wizard will be launched:
step 17
In the next window we assign the name of the virtual machine:

step 18
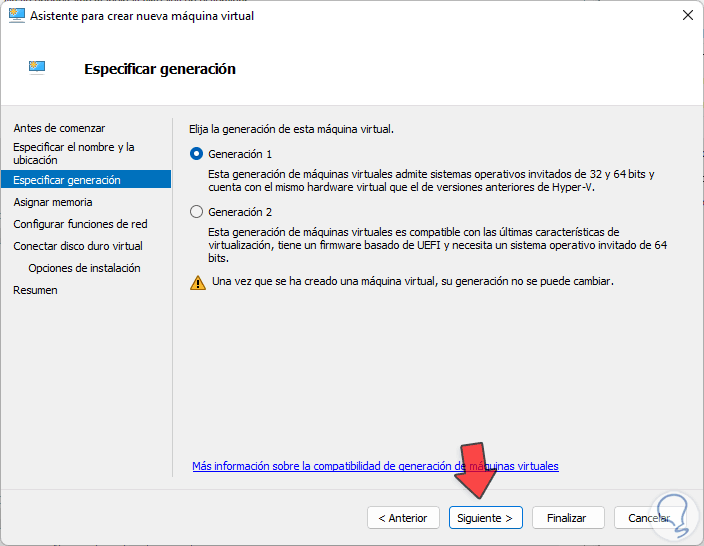
Then we select the generation to use, with generation 1 we can use 32-bit and 64-bit systems while with generation 2 only 64-bit systems and UEFI:
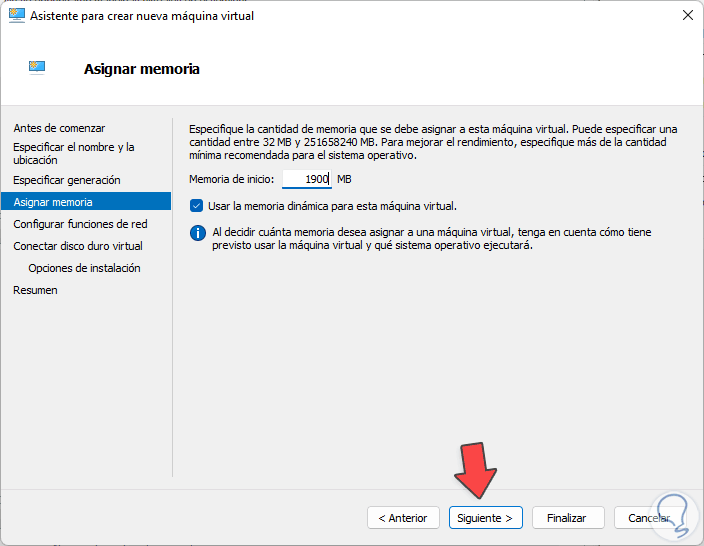
step 19
Now we define the RAM to use:
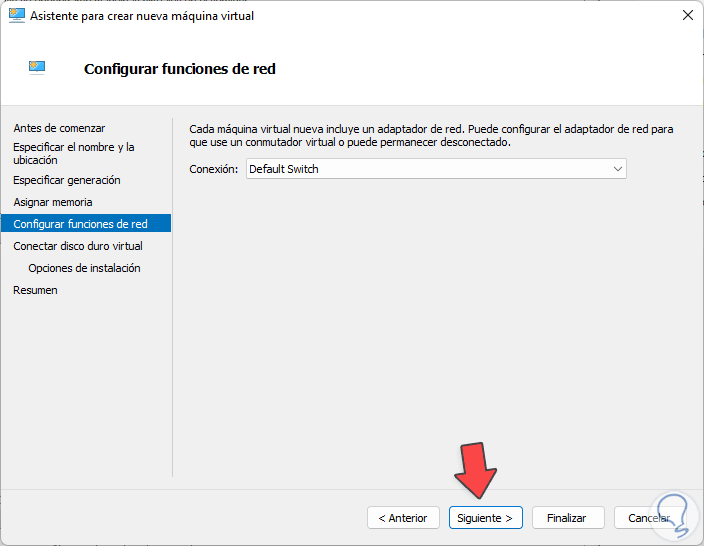
step 20
We establish the network connection to use:
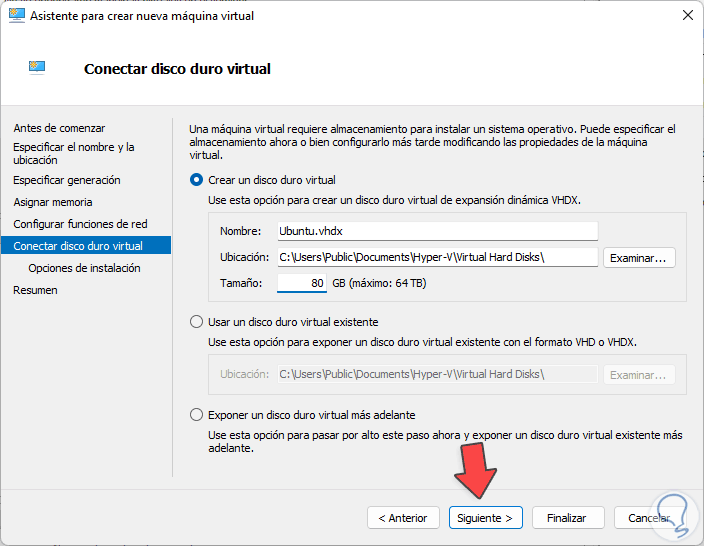
step 21
We define the path and size of the virtual hard disk:
step 22
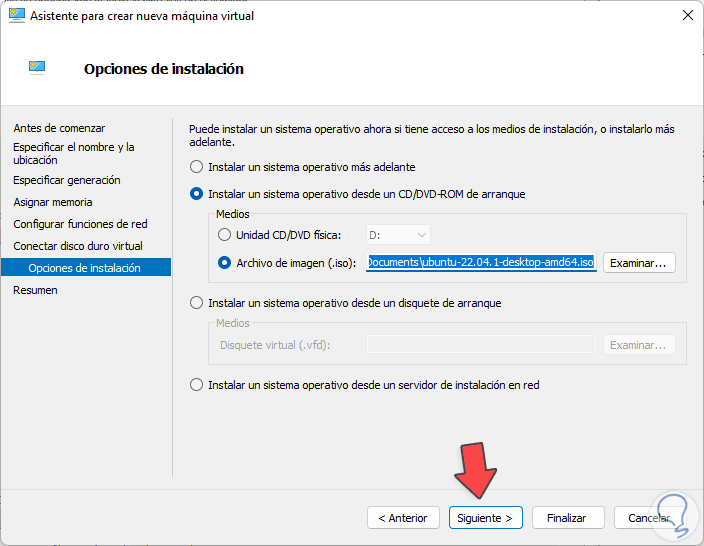
Now in the next window we can use a physical disk or ISO image for the installation:
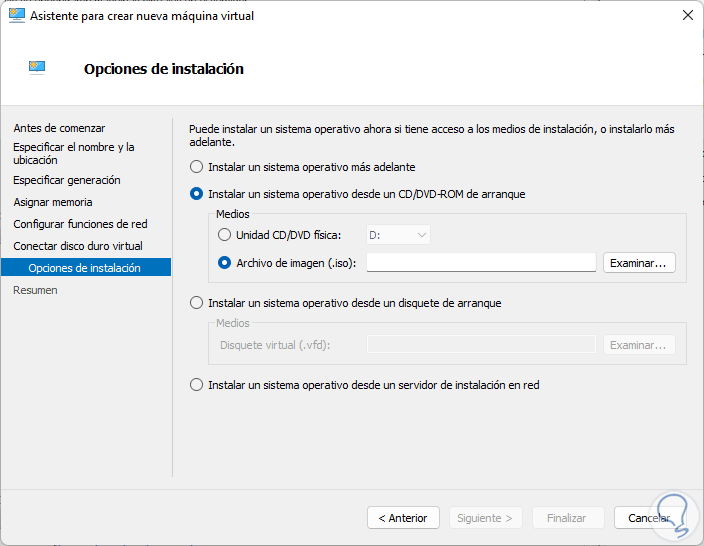
step 23
In this case we will use an ISO image:
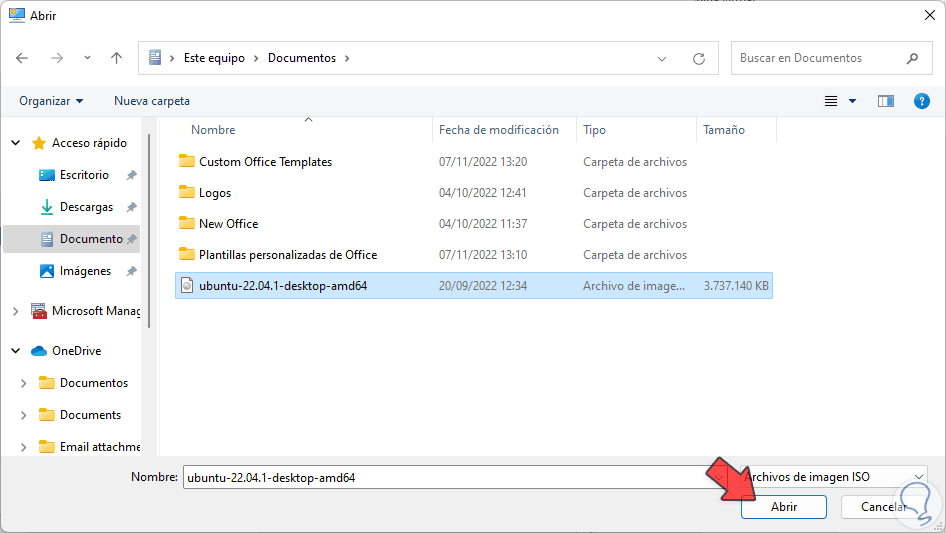
step 24
We add it:
step 25
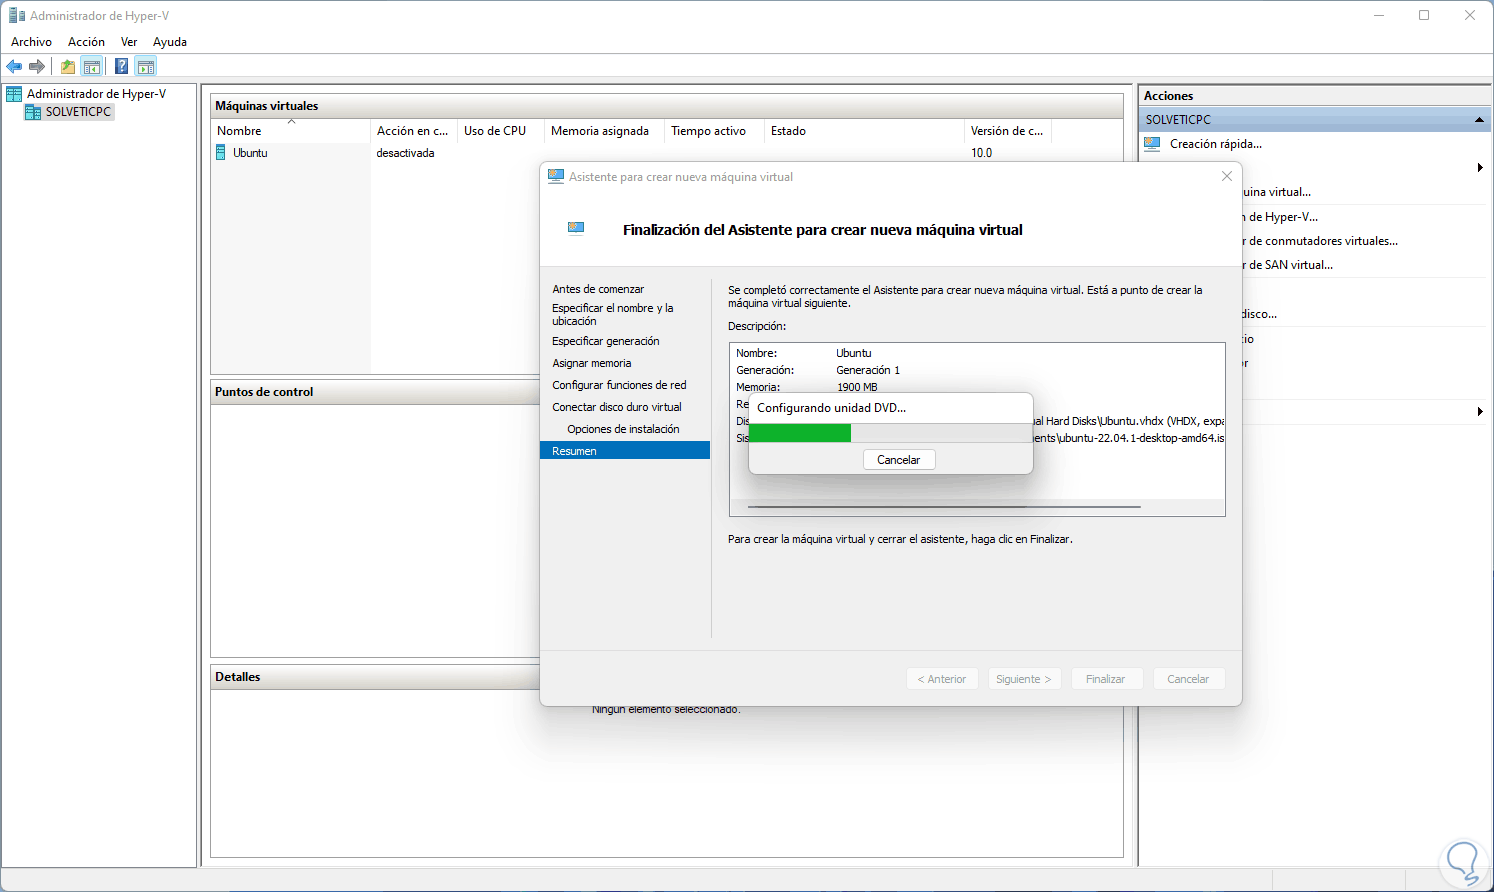
Finally we will see a summary of the machine to create in Hyper-V in Windows 11:
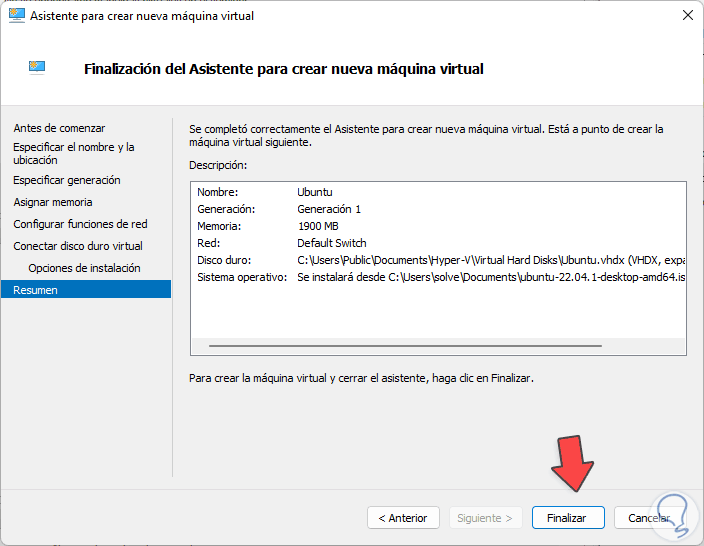
step 26
We click on "Finish" to complete the process:
step 27
Now we select the virtual machine and click "Connect":
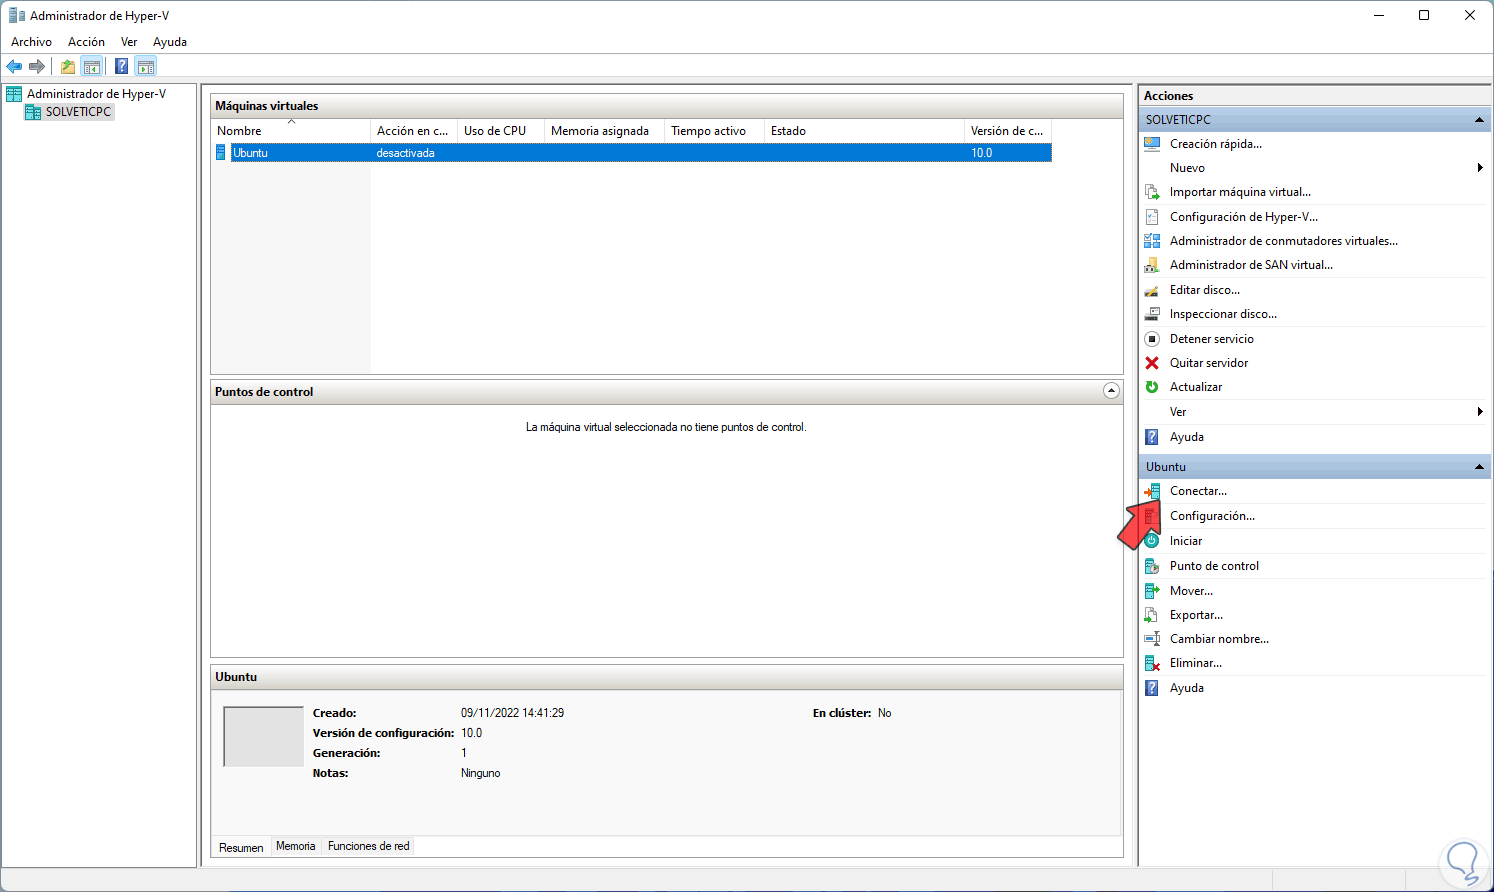
step 28
This will open the window for that machine:
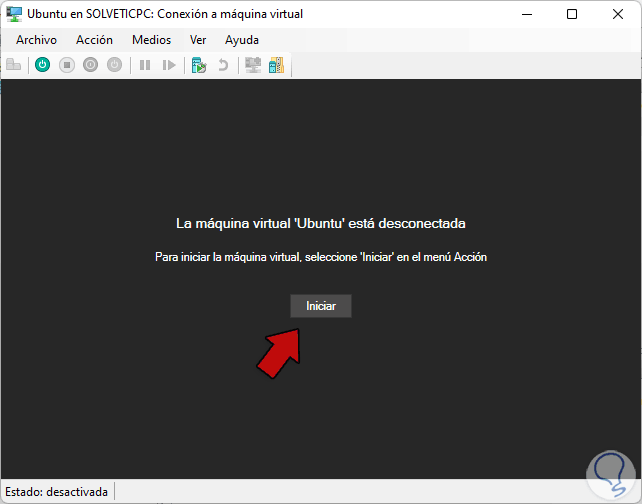
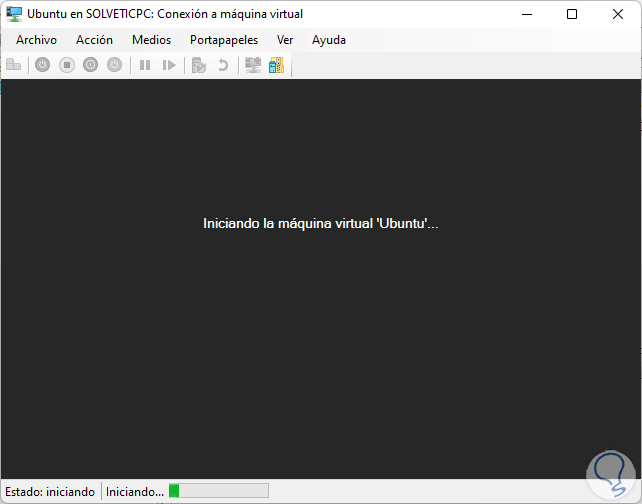
step 29
We click on "Start" to start the installation process:
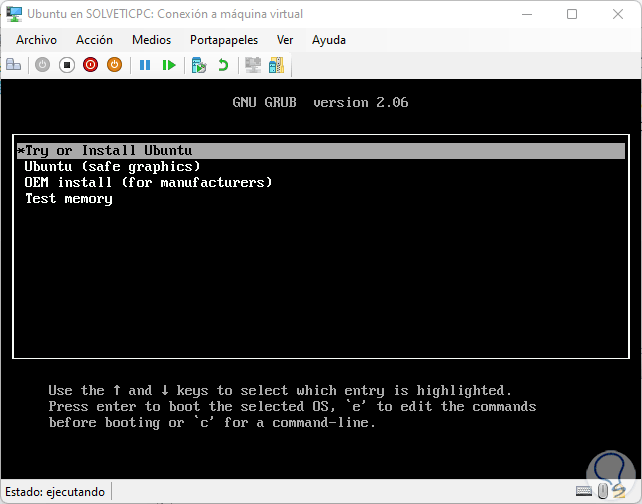
step 30
There it is possible to validate that we can create virtual machines with Hyper-V in Windows 11. We will have the various configuration options.
This is the method to install Hyper-V on Windows 11 and enjoy its advantages and benefits.