Virtualization has been and will be one of the most special security mechanisms for the administrator and user who wants to test new operating systems, new applications or understand the behavior of a task in a specific operating system. The advantage of virtualization is that with only one computer we can test various systems that are not compatible with each other (Windows, Linux, macOS, etc.) without the need for extra resources, although naturally good hardware resources are required. (CPU, RAM memory, etc.)..
Hyper-V has been developed by Microsoft as a feature of Windows and with this feature, as we mentioned, it will be possible to run virtualized computers on a physical PC. Hyper-V has special software that is known as a hypervisor and whose task is to manage the access that occurs between virtual systems and real or physical hardware resources, this ranges from hardware to items such as folders and files. By using Hyper-V we will be able to migrate systems between physical hosts or restore systems without the real environment being affected at any time.
Hyper V Features
Some of the advantages and features of using Hyper-V are:
- A NAT switch can be used as the default network.
- You can do a live transfer of virtual machines from one device to another.
- Allows you to make a duplicate of Hyper-V.
- A collection of virtual machines can be quickly generated for proper administration.
- Enables a virtual fiber channel.
- Allows existing .VHDX share.
Hyper V systems
Some of the operating systems that we can use in Hyper-V are:
- Windows 7 with Service Pack 1 (SP 1)
- Windows Server 2012 / 2022
Hyper V requirements
To use Hyper-V in Windows 11 we must have the following:
- A CPU that supports VM Monitor Mode Extension (VT-c for Intel), with NX bit architecture, 64-bit and must have the Second Level Address Translation (SLAT) function
- Windows 11 Pro or Enterprise
- 4 GB RAM recommended 8 GB
It is possible that when we want to use Hyper-V we do not see the administrator, the cause is that this feature is not enabled by default, but TechnoWikis will teach how to activate the feature and thus enjoy this special function..
1 How to use Hyper-V in Windows 11
Step 1
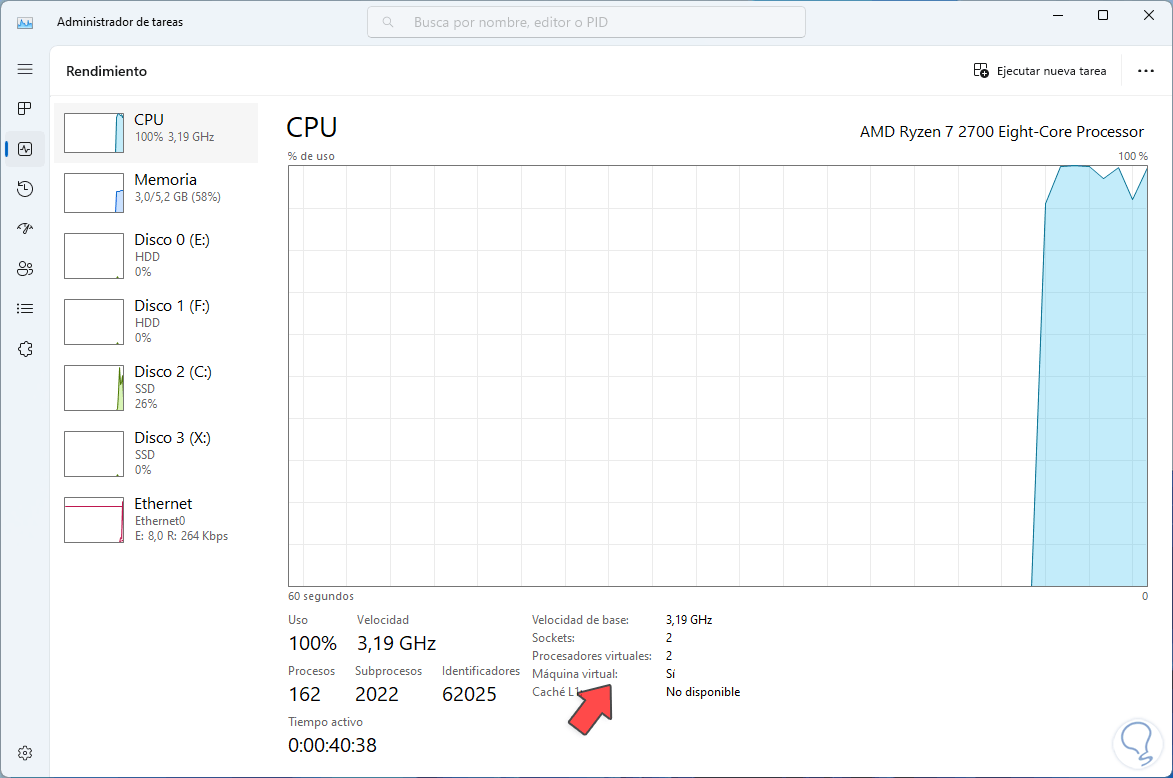
The first thing is to validate that we have the prerequisites and one of them is that the CPU has virtualization, to check the status of this we open the Task Manager:
Step 2
In the "Performance" section we go to the CPU and confirm in the "Virtual machine" line that its status is "Yes":
Step 3
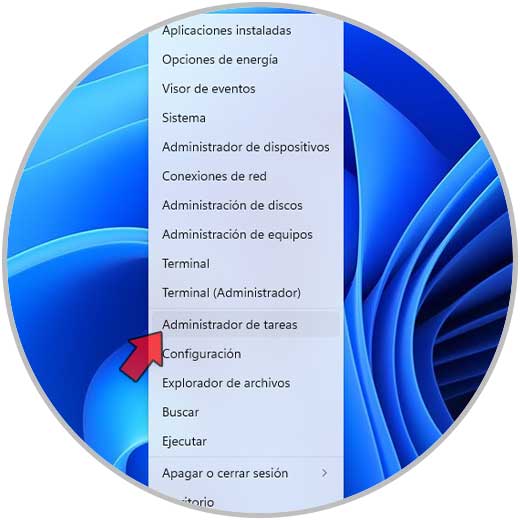
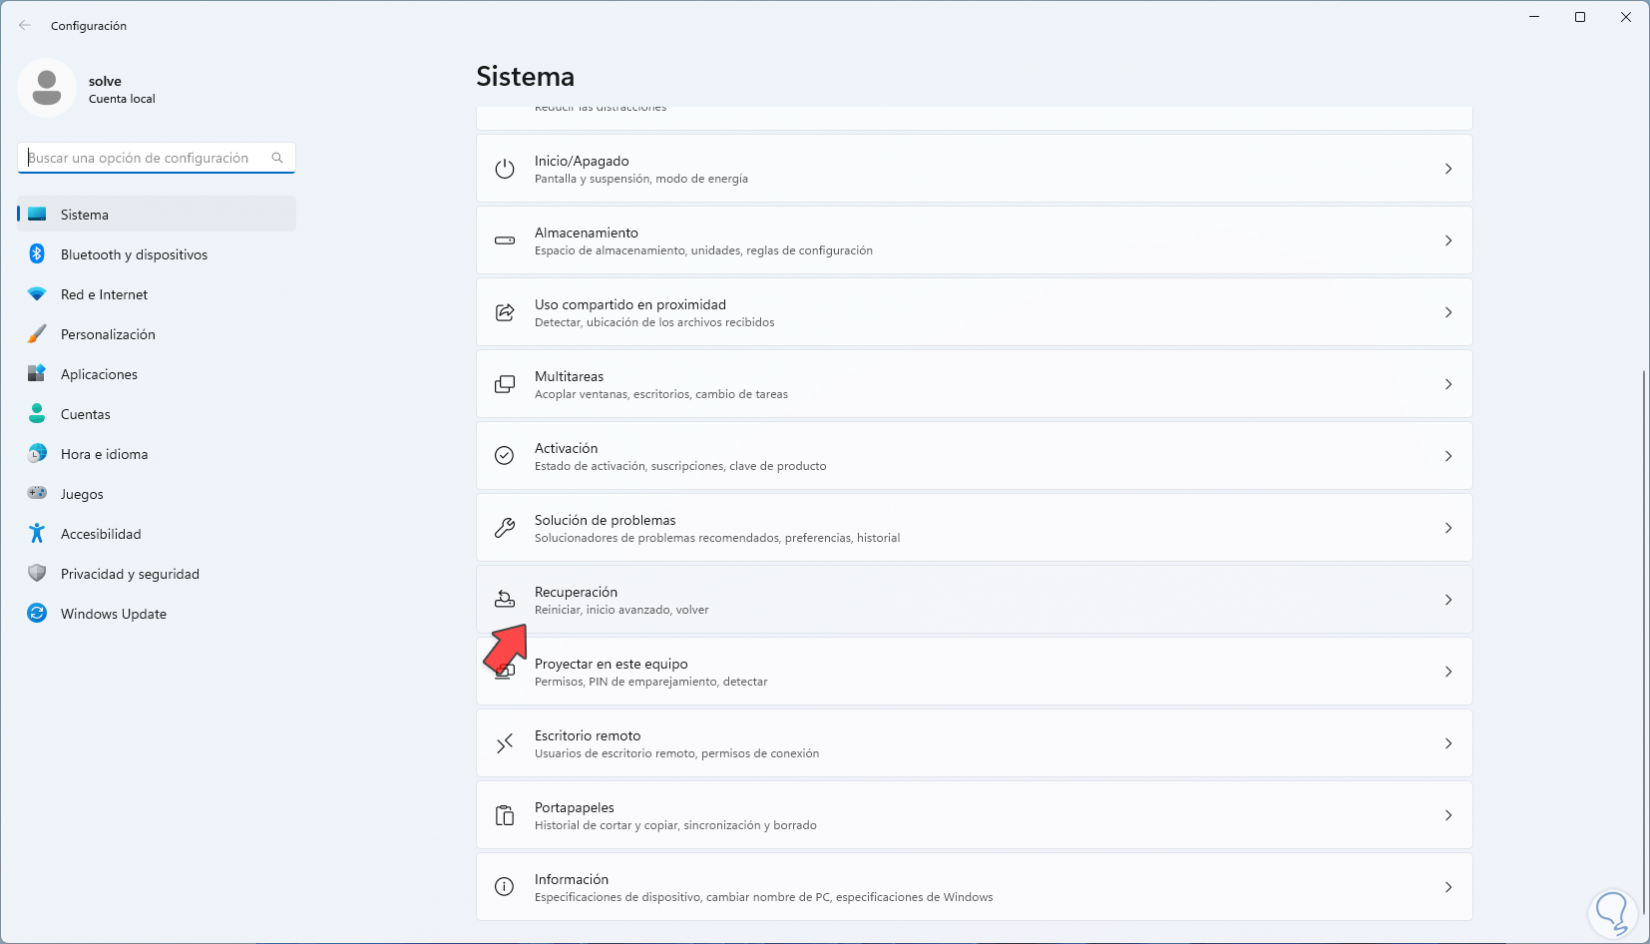
In case it is necessary to enable it, we are going to:
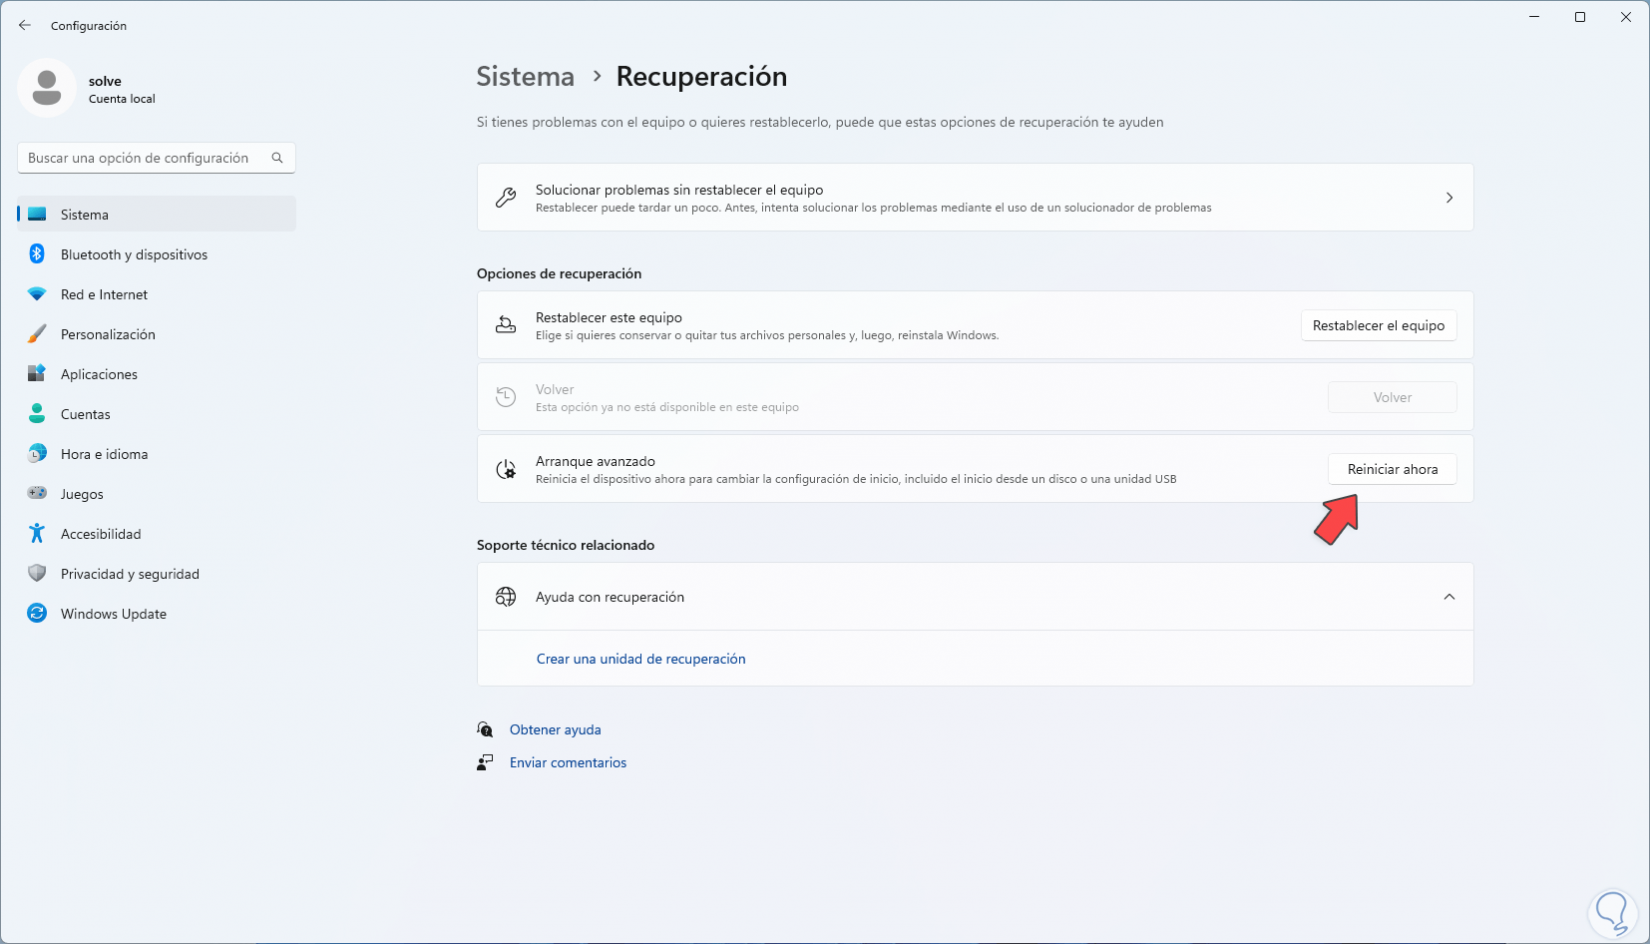
Step 4
Now we click on "Restart" now in the "Advanced startup" section:
step 5
We confirm the process:
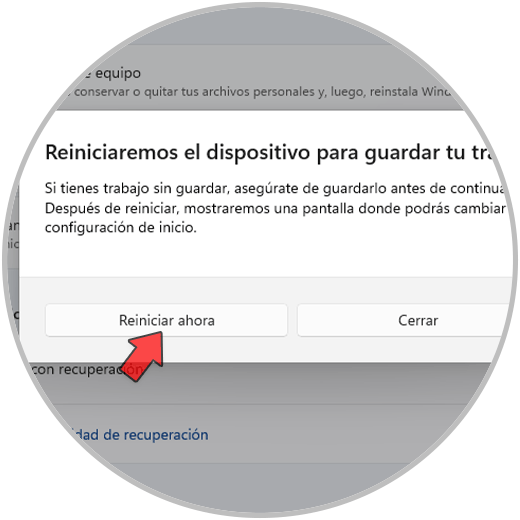
step 6
It will restart Windows in that mode:
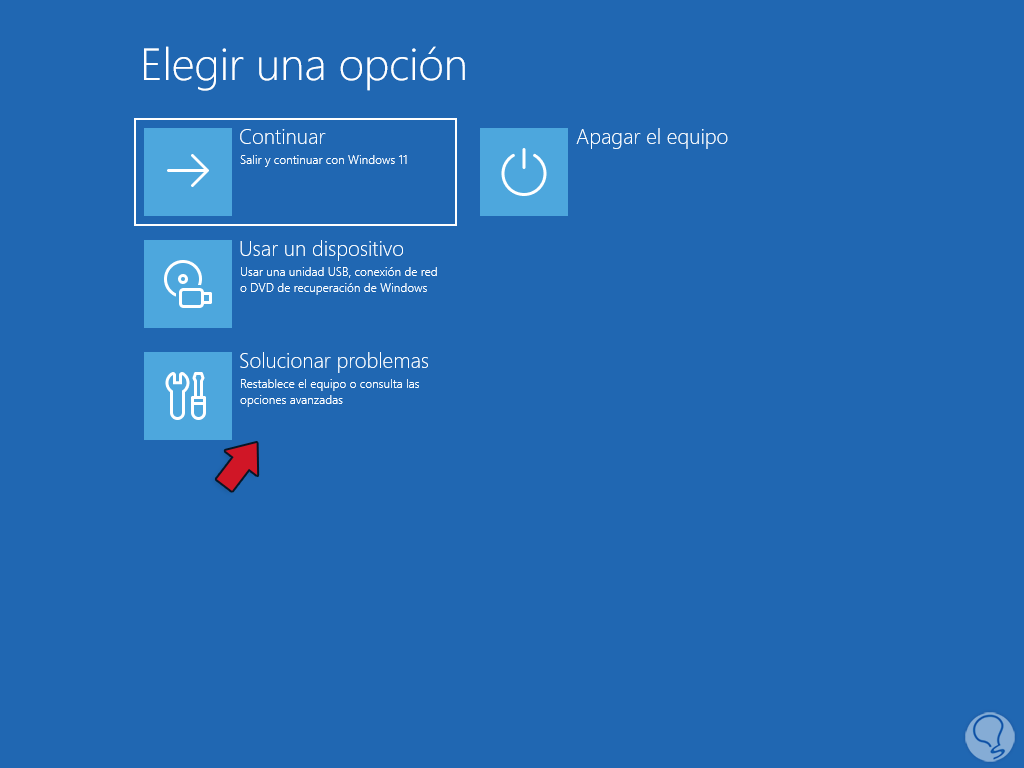
step 7
We will see the following. We click on "Solve problems",
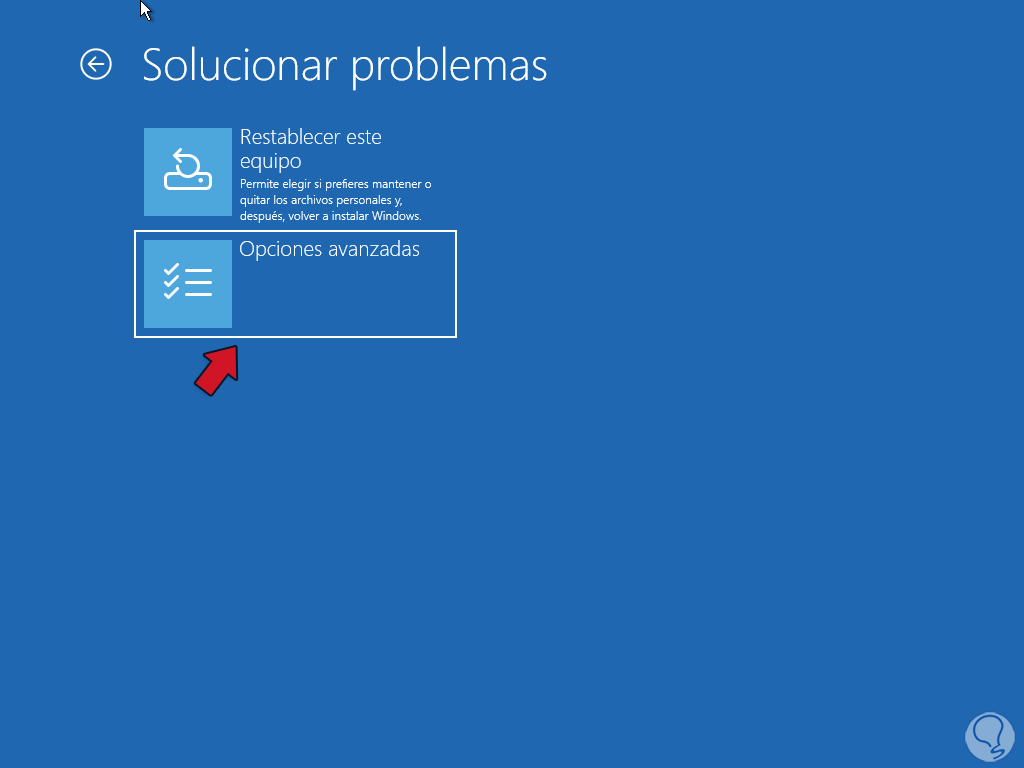
step 8
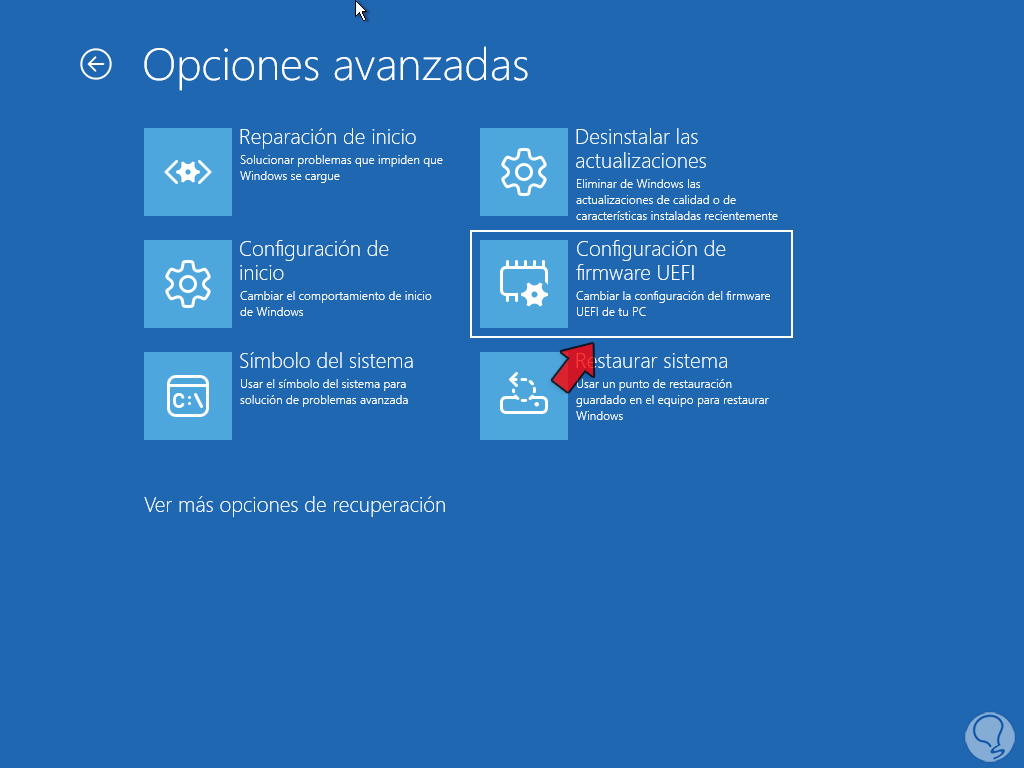
then we click on "Advanced options":
step 9
We will see the various options to use: We click on "UEFI Firmware Configuration"
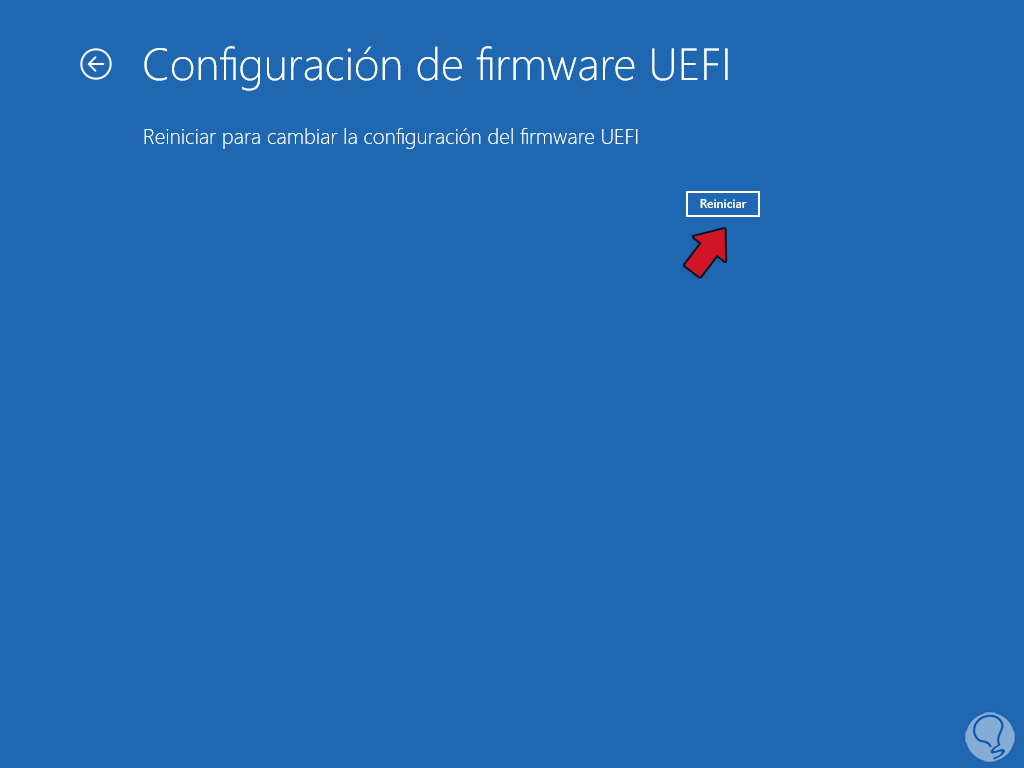
step 10
and now we will see the next one. We click on "Restart" to access the UEFI of the PC, window:
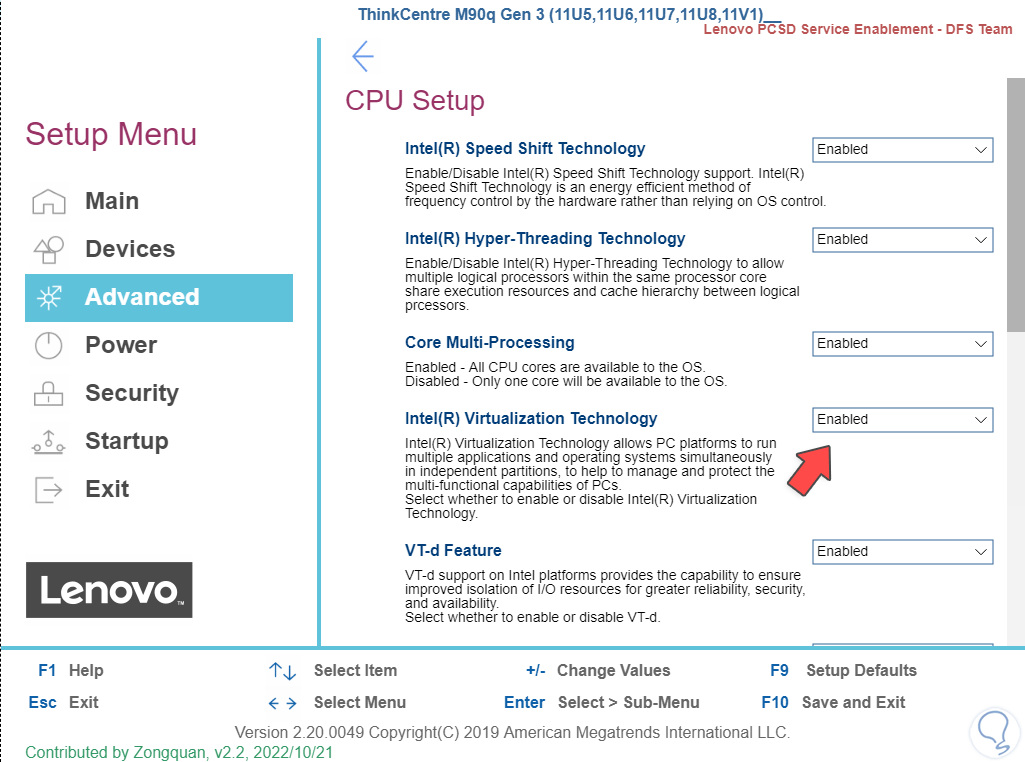
step 11
There we go to the CPU section and check that the virtualization technology is enabled:
Press the F10 key to save the changes.
2 How to activate Hyper-V
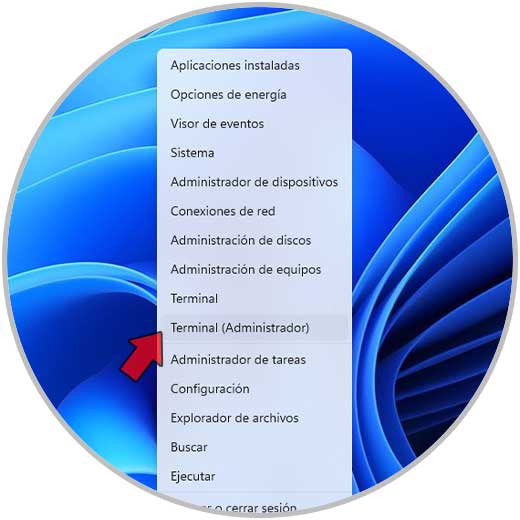
Step 1
It is time to activate Hyper-V and for this we have some ways, first, we open the terminal as administrators:
Step 2
We must accept the UAC permissions:

Step 3
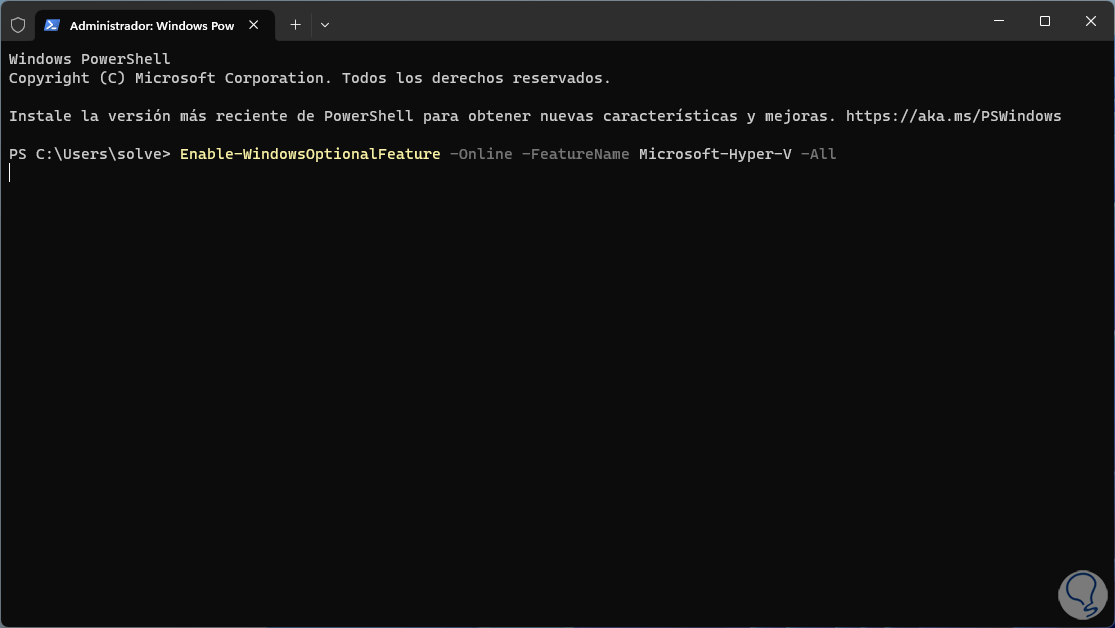
Now we execute the following:
Enable-WindowsOptionalFeature -Online -FeatureName Microsoft-Hyper-V -All
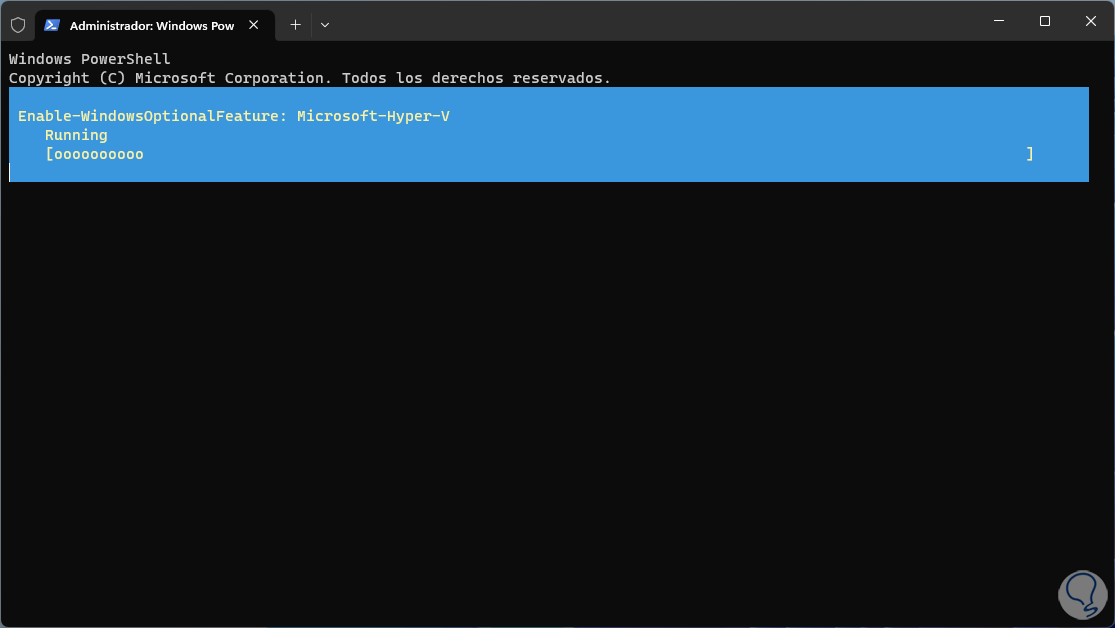
Step 4
We wait for the process to load:
step 5
At the end we will see the following message. We enter the letter Y to restart the system and apply the changes:

step 6
The PC will begin to restart:

step 7
We can see that the features are being added:

step 8
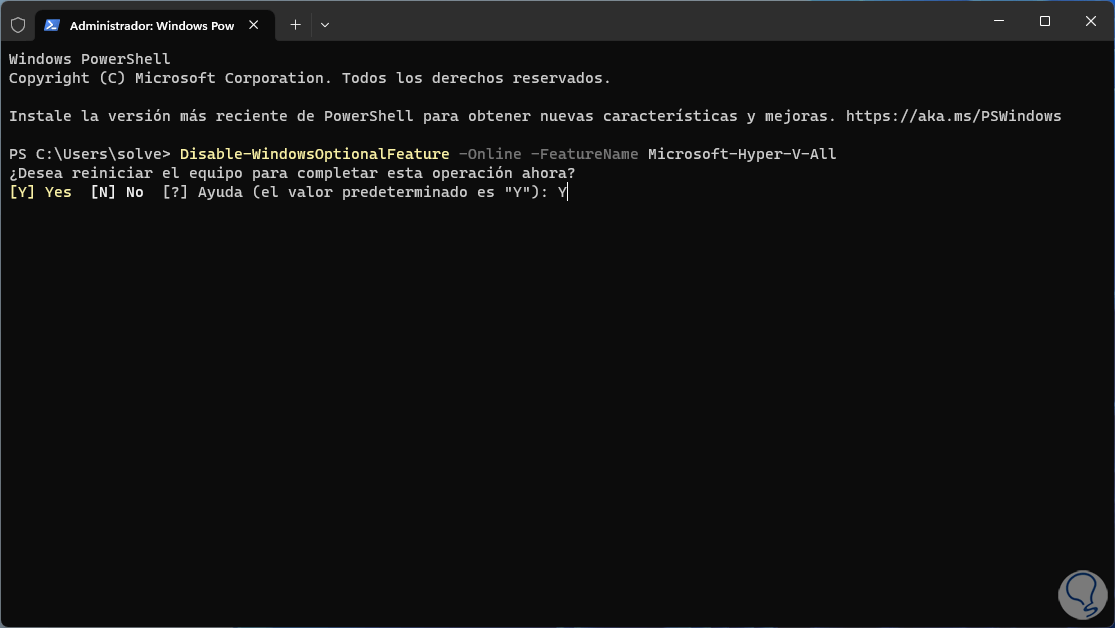
This will have enabled Hyper-V in Windows 11, to disable it in the terminal execute:
Disable-WindowsOptionalFeature -Online -FeatureName Microsoft-Hyper-V-All

step 9
We wait for the process to come to an end:
step 10
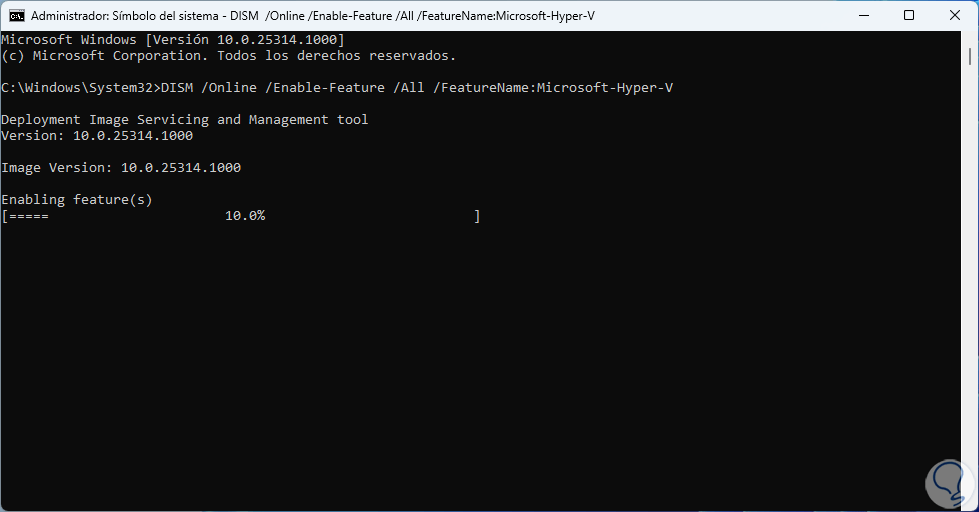
Another way to activate Hyper-V in Windows 11 is using CMD, for this we open the Command Prompt as administrators:

step 11
We accept the UAC permission:

step 12
In the console we execute:
DISM /Online /Enable-Feature /All /FeatureName:Microsoft-Hyper-V
step 13
After the process is finished the system will reboot to complete the Hyper-V activation:

step 14
We see the process in progress:

step 15
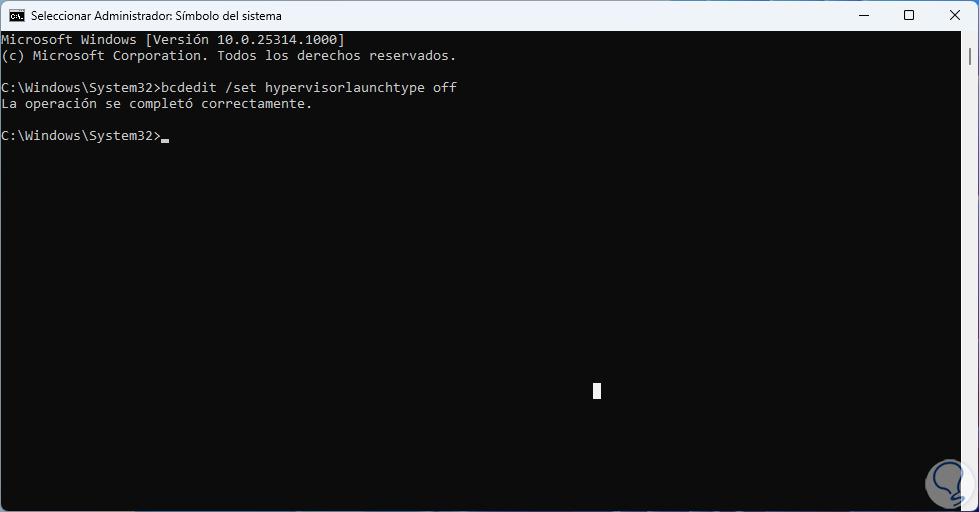
In case you only want to disable Hyper-V but not uninstall it, we must execute the following:
bcdedit /set hypervisorlaunchtype off
step 16
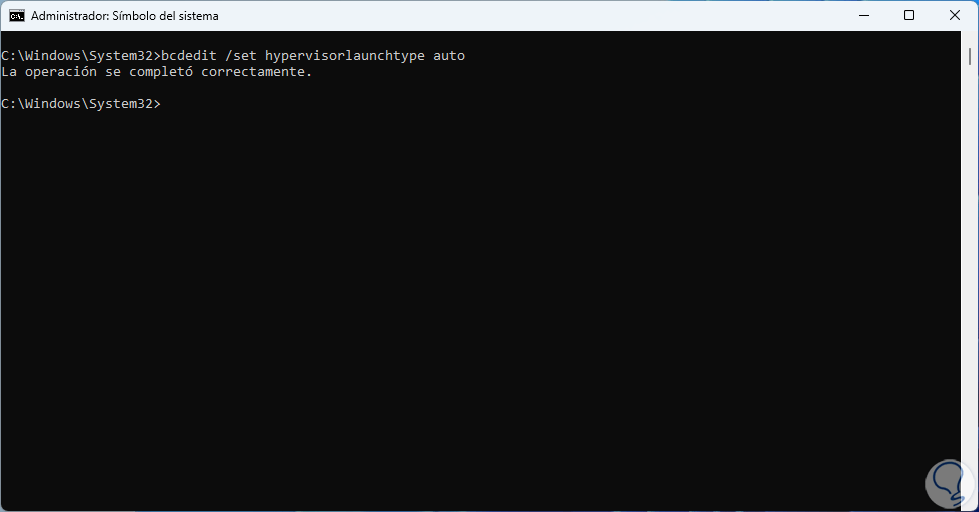
To enable it again we execute:
step 17
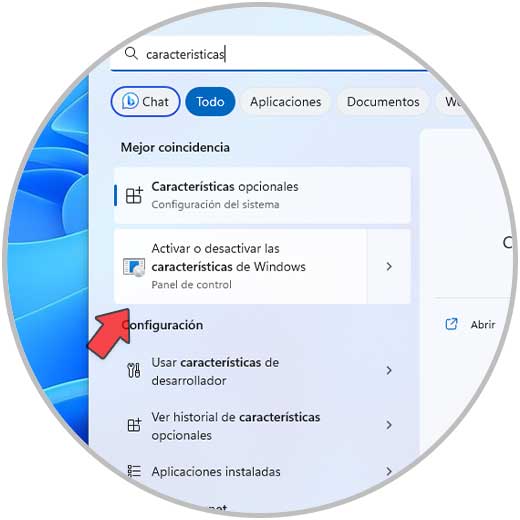
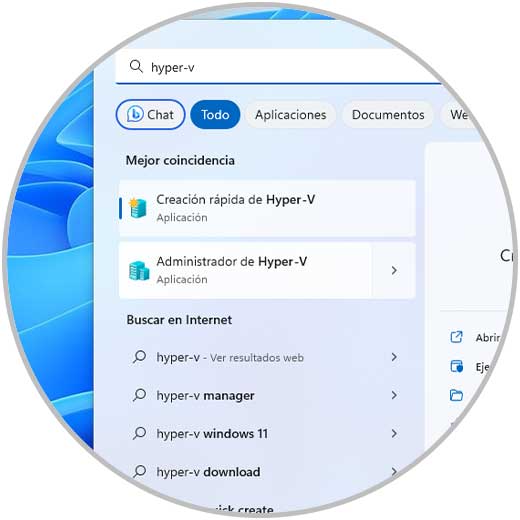
Another way, perhaps one of the most common, to enable Hyper-V is through the system features, in this case in the Start search engine we enter "features" and click on "Turn Windows features on or off ”:
step 18
In the pop-up window we locate the "Hyper-V" line:
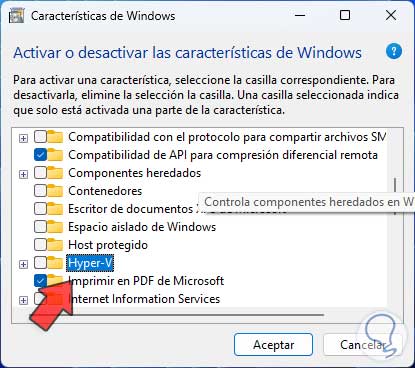
step 19
Activate this box and we will see that all the extra functions are enabled:
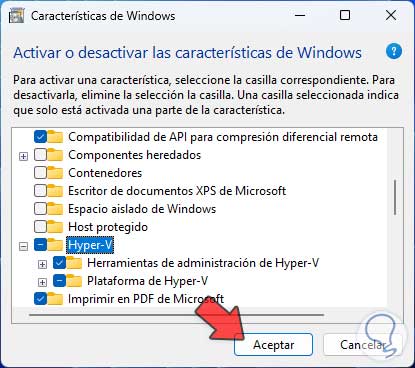
step 20
We click "OK" to search for the files:

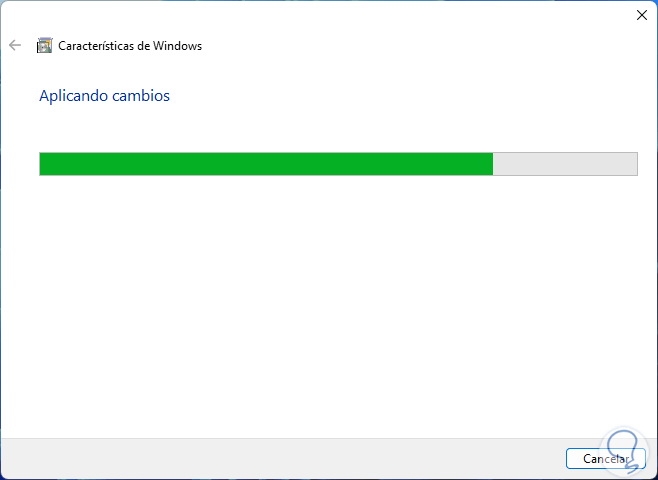
step 21
The changes will be applied:
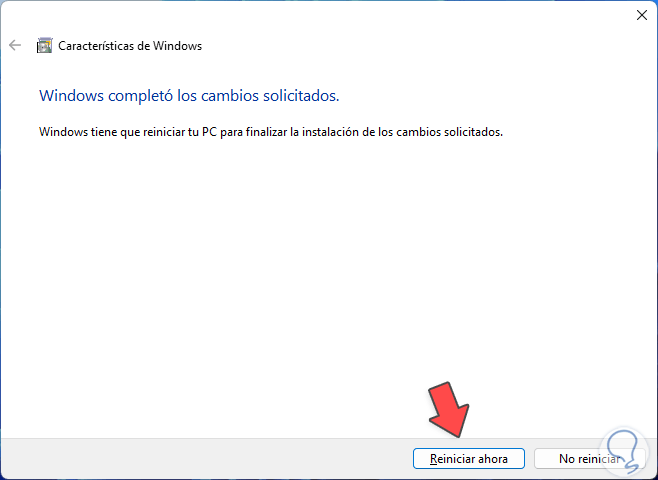
step 22
At the end we will see this. We click on "Restart now" to restart Windows 11:
Step 23
The changes will be applied:

step 24
The characteristics will be applied:

3 How to install Hyper-V in Windows 11 Home
Step 1
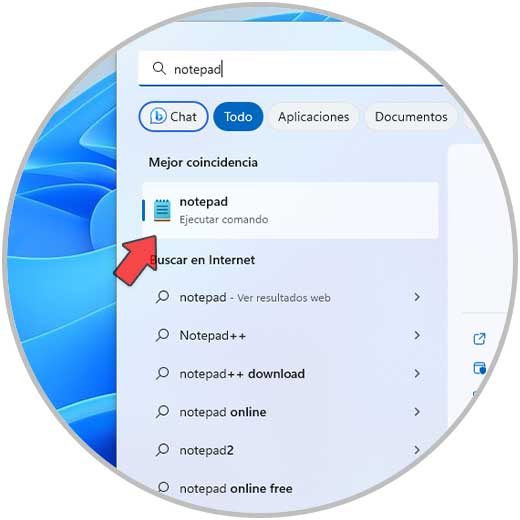
In case of having the Home version of Windows 11, we must create a .bat file since Hyper-V is not enabled by default, to create this file we open the notepad:
Step 2
There we enter the following:
pushd "%~dp0" dir /b %SystemRoot%\servicing\Packages\*Hyper-V*.mum >hv-home.txt for /f %%i in ('findstr /i . hv-home.txt 2^ >nul') do dism /online /norestart /add-package:"%SystemRoot%\servicing\Packages\%%i" del hv-home.txt Dism /online /enable-feature /featurename:Microsoft-Hyper-V - All /LimitAccess /ALL pause 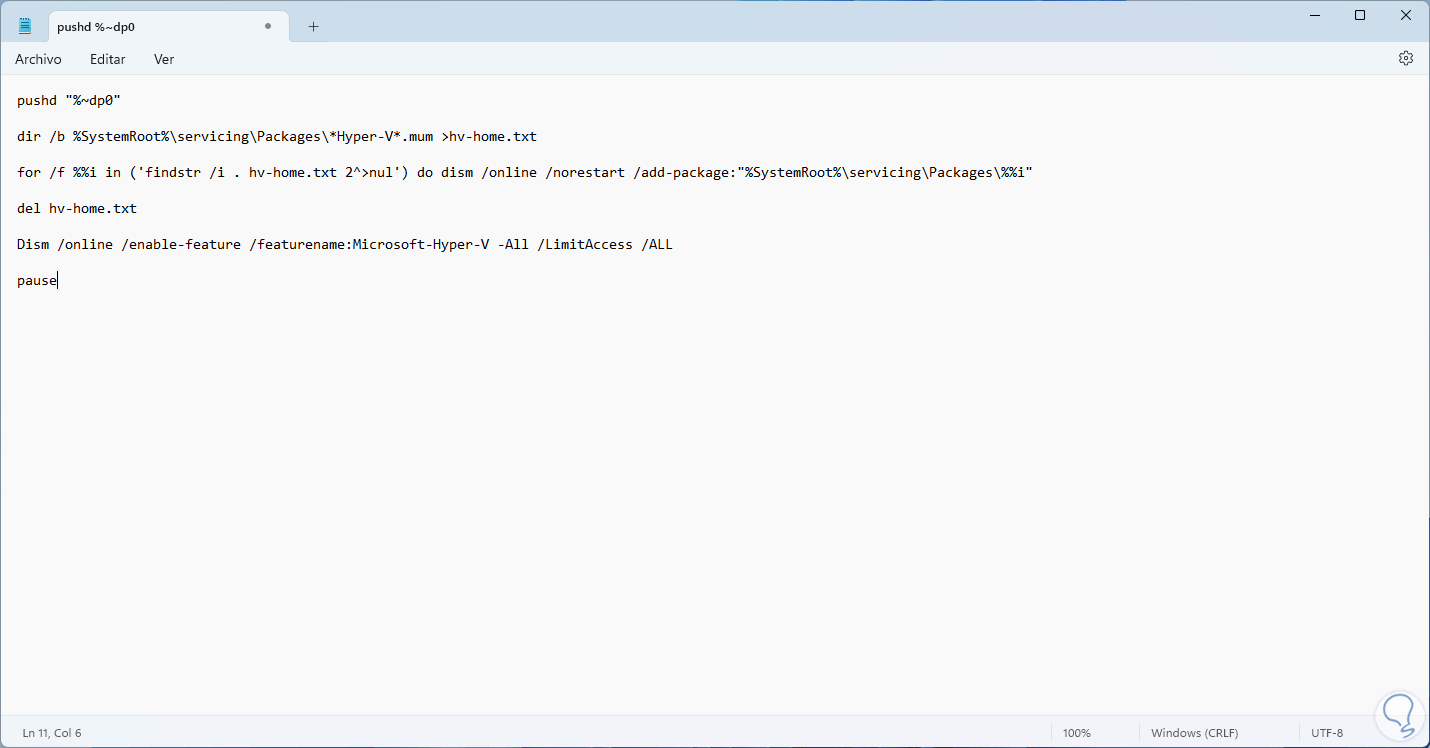
Step 3
We go to "File - Save as":
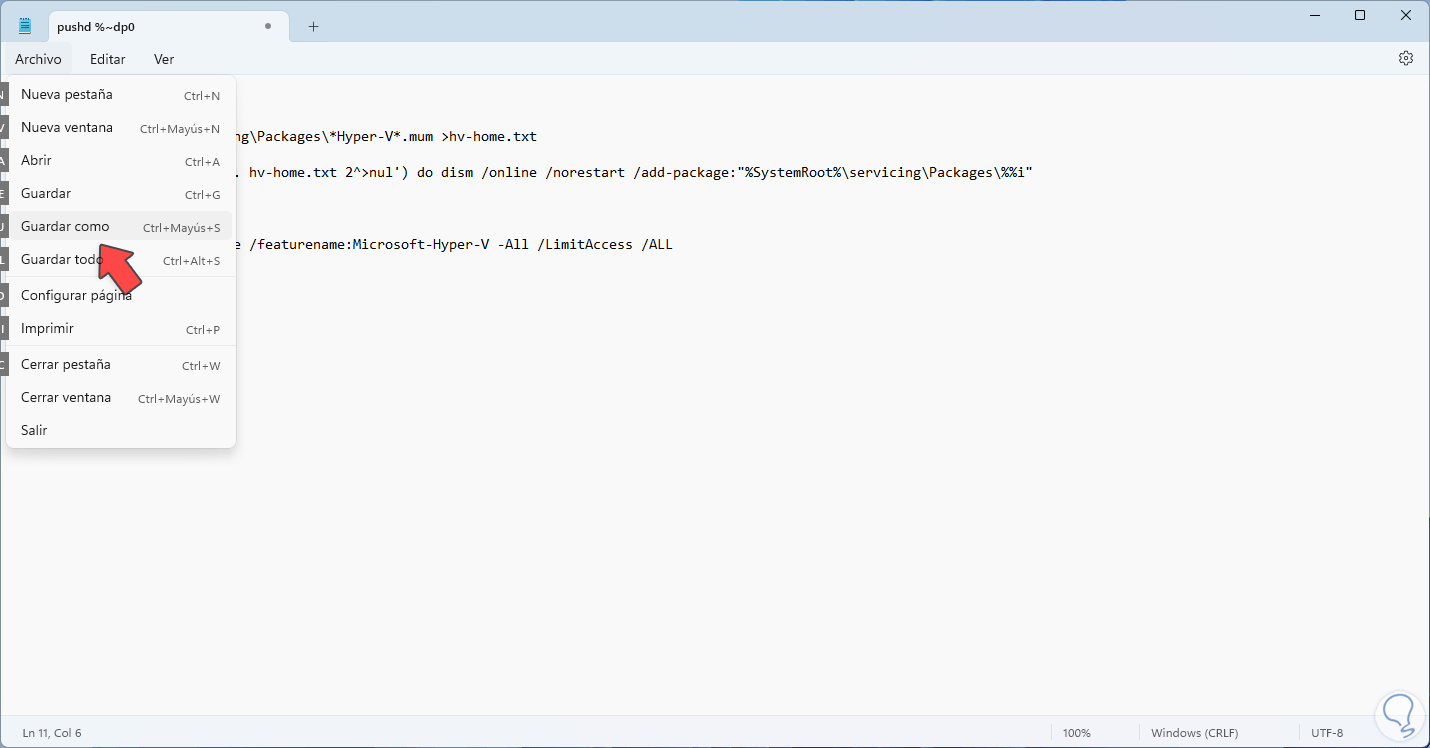
Step 4
We assign the name with the .bat extension and in "Type" we establish "All files":

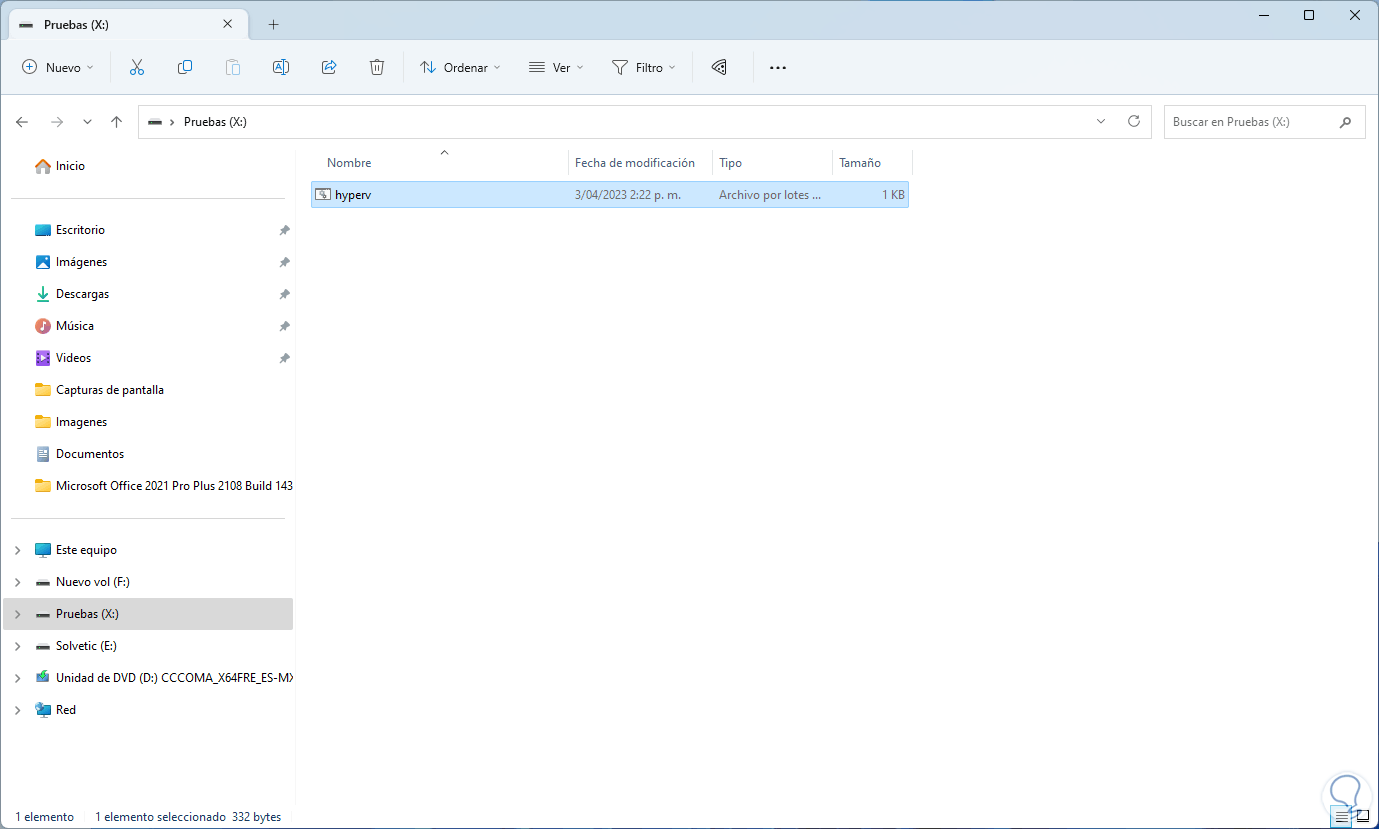
step 5
We save the file and validate that it has been created:
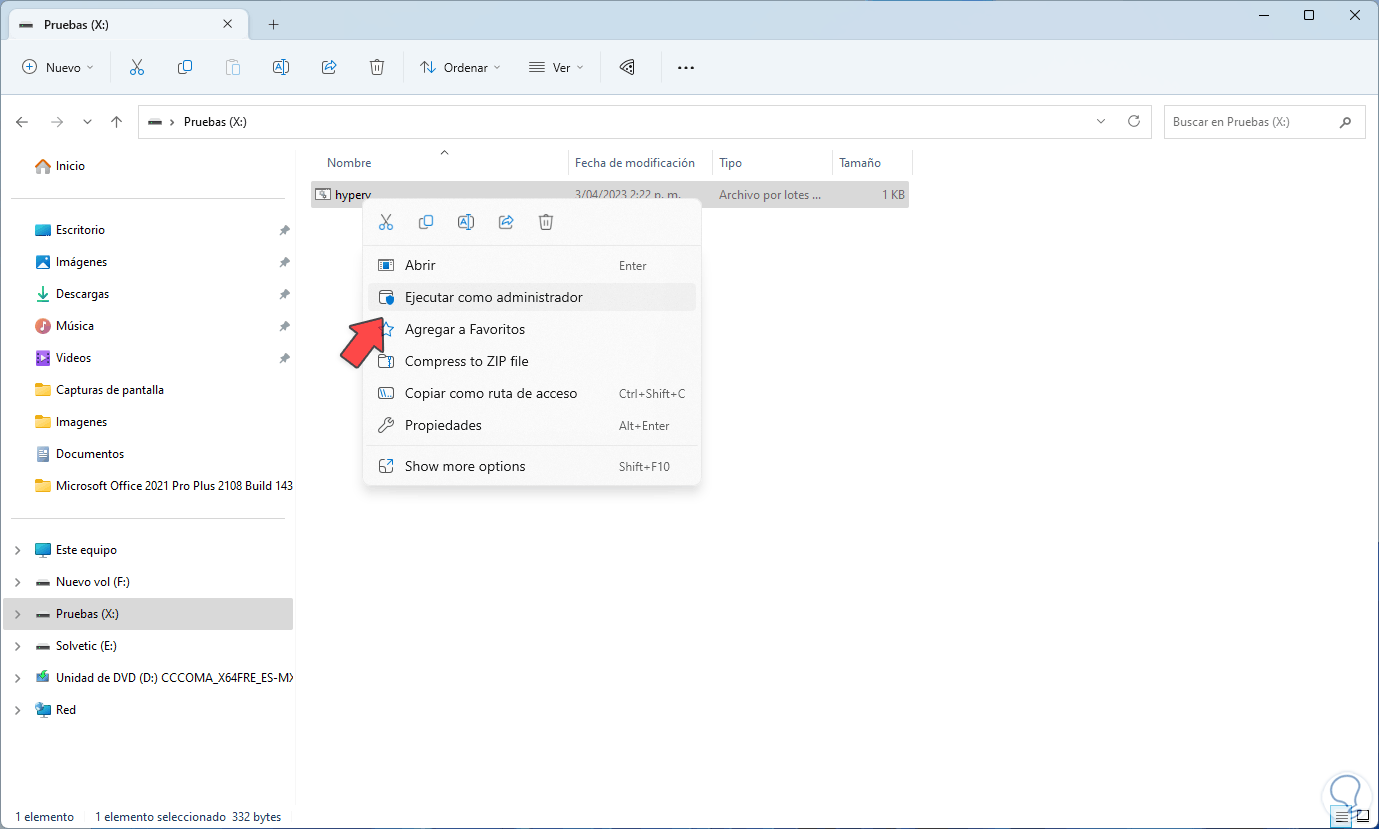
step 6
We right click on the .bat file and select "Run as administrator":
step 7
We accept the UAC prompt:
step 8
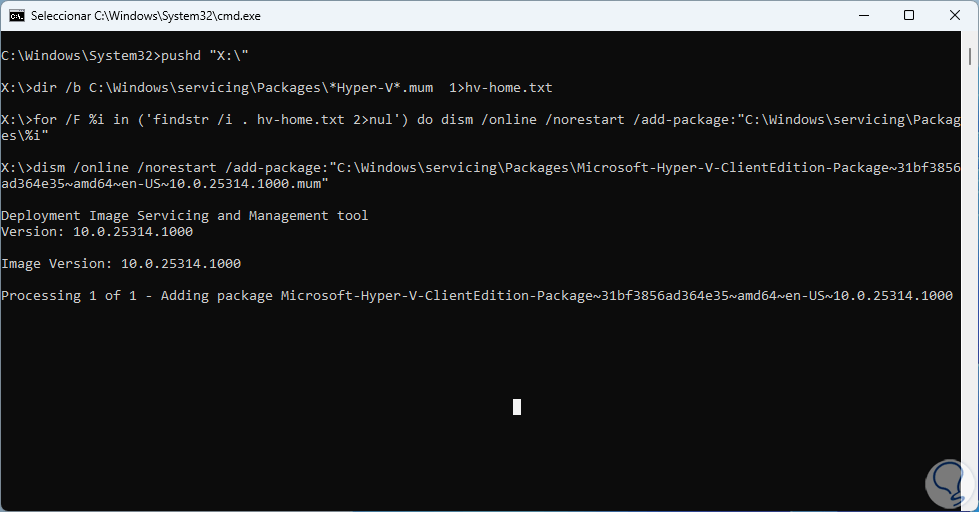
It will automatically start executing in the console:
step 9
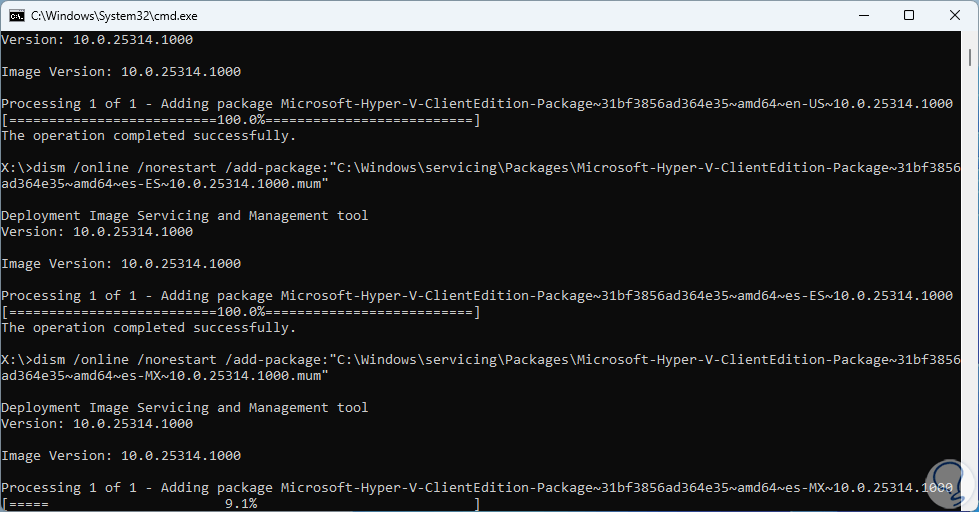
We expect each step to be executed:
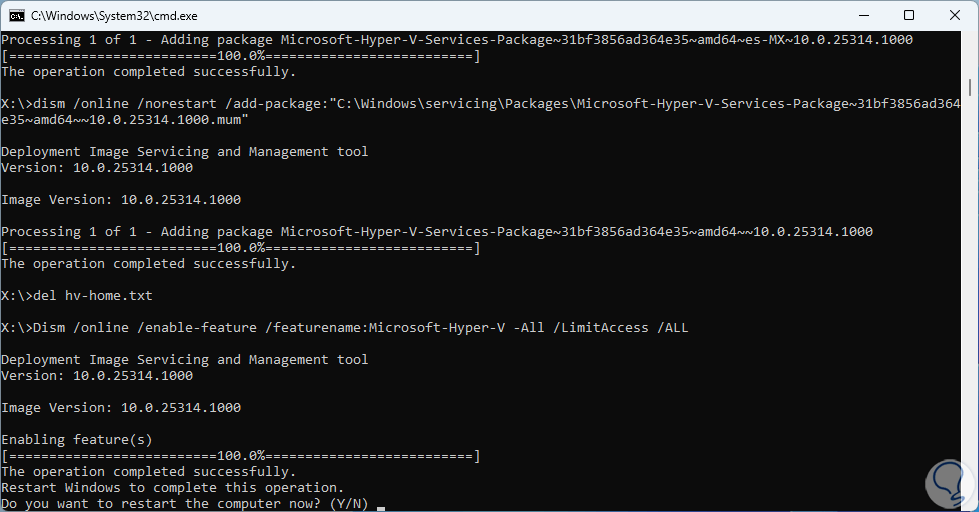
step 10
At the end we will see this. We enter the letter Y to restart the system:
step 11
The changes will be applied:

4 How to use Hyper-V in Windows 11
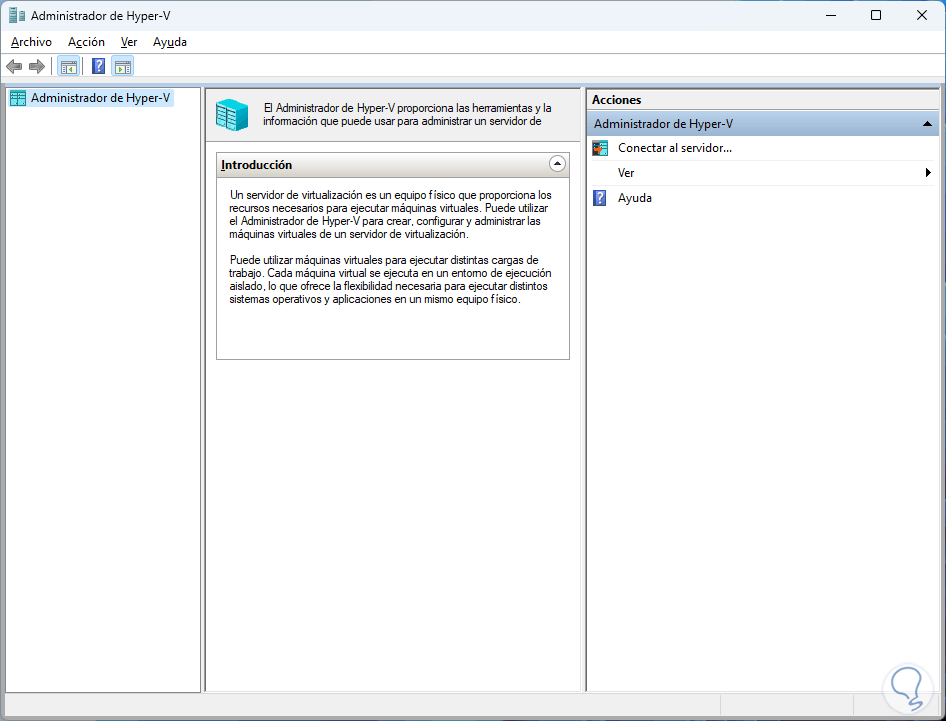
Step 1
With any of these steps we will have access to the Hyper-V console:
Step 2
We will have access to the console:
Step 3
When accessing the local server we will have all the Hyper-V options:
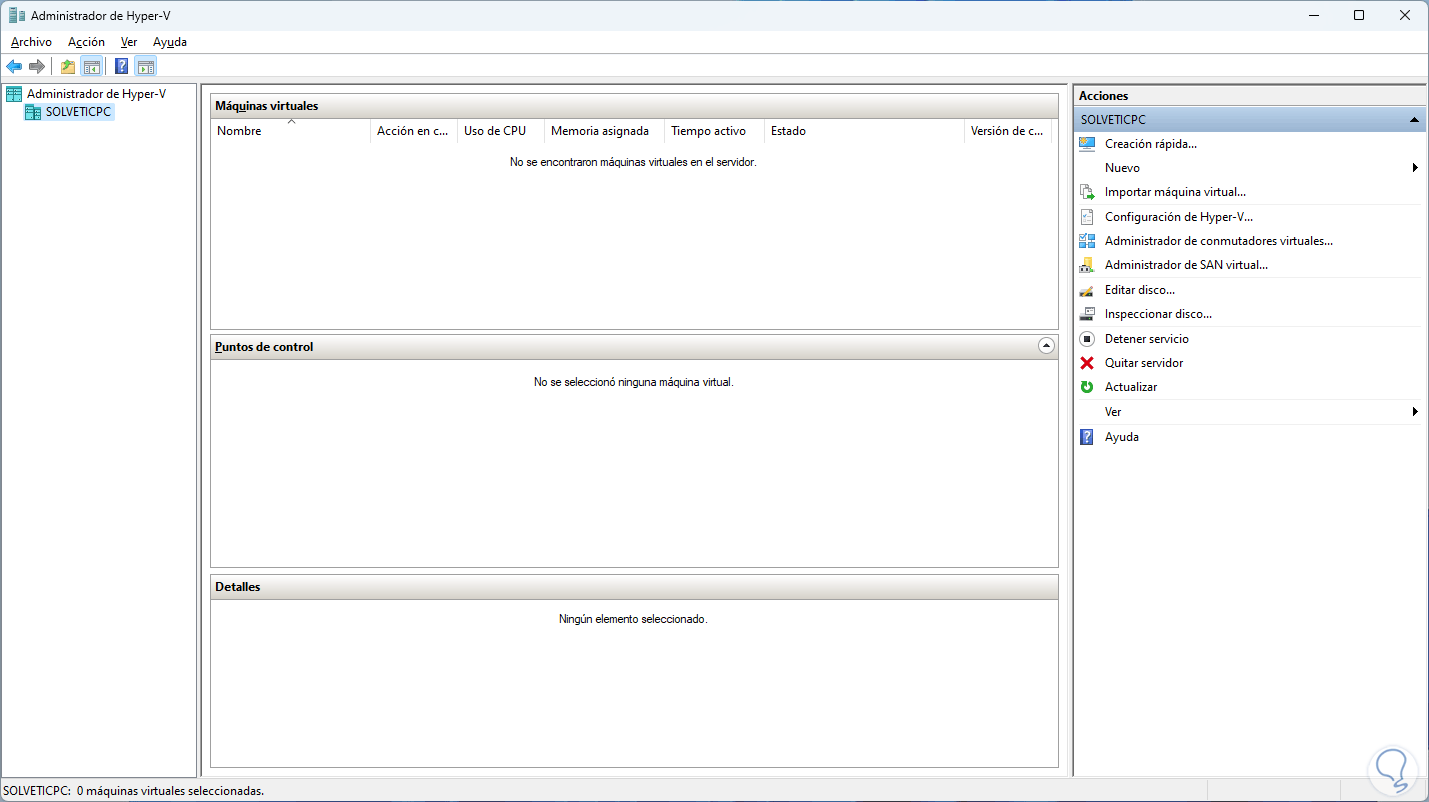
We are now ready to use Hyper-V in Windows 11 and take advantage of its various options..