To stay up to date, remember to subscribe to our YouTube channel!
SUBSCRIBE ON YOUTUBE
Access to Wi-Fi networks is a mechanism that we currently use not only on laptops but also on computers thanks to USB Wi-Fi devices, but a problem that many users currently have in Windows 11 is that it is not visible. the network in the system which will affect connectivity..
TechnoWikis has a series of solutions to correct this, but not before advising you to check the status of the modem or router and that there is indeed an active signal in your area. If you have problems and see that my Windows 11 WiFi Network does not appear, stay and learn about all the options that we propose here to solve it.
1 Fix error to see WiFi network from Services
The Wi-Fi network has an associated service in Windows 11 for its correct operation, so if this service presents an error it may cause the networks or the Wi-Fi status to not be visible..
Step 1
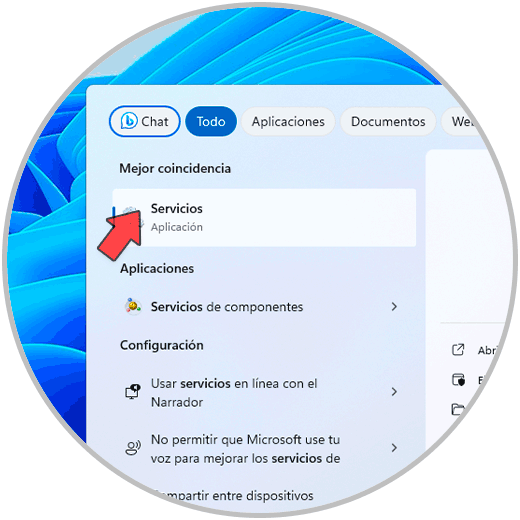
For this method, in the search engine we enter the word “services” and click on Services:
Step 2
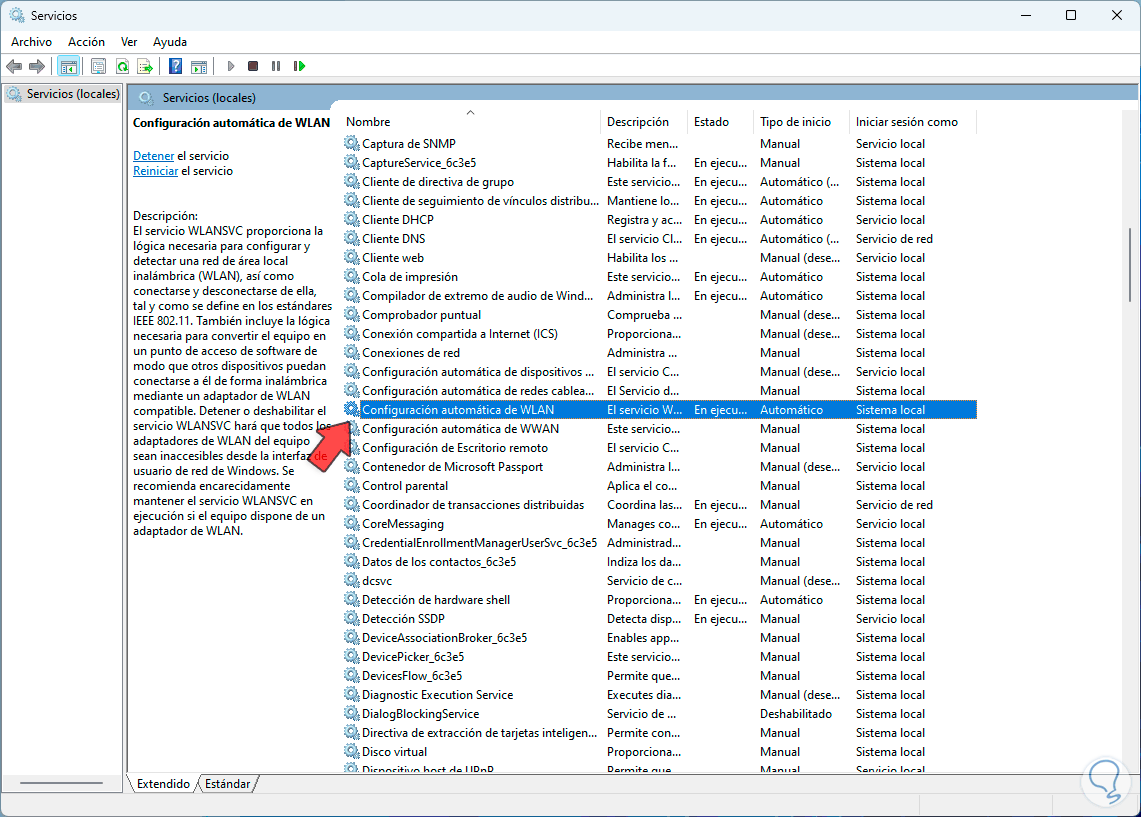
In the displayed window we are going to locate the service called “WLAN automatic configuration”:
Step 3
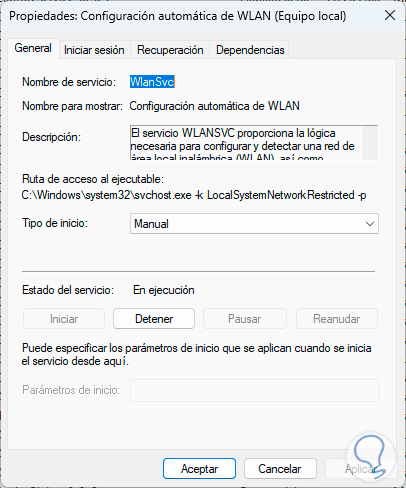
We double click on this service to see its properties:
Step 4
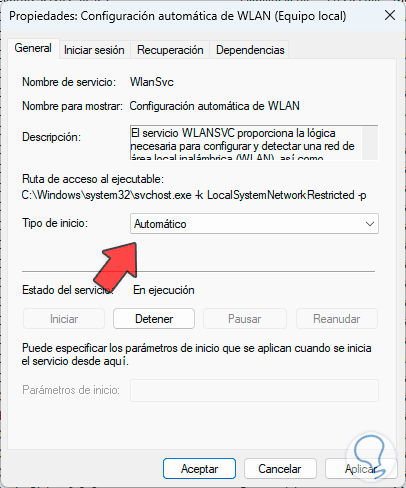
In the “Startup Type” field we are going to set the value “Automatic”: We apply the changes.
2 Fix error to see WiFi network Reinstalling the driver
Step 1
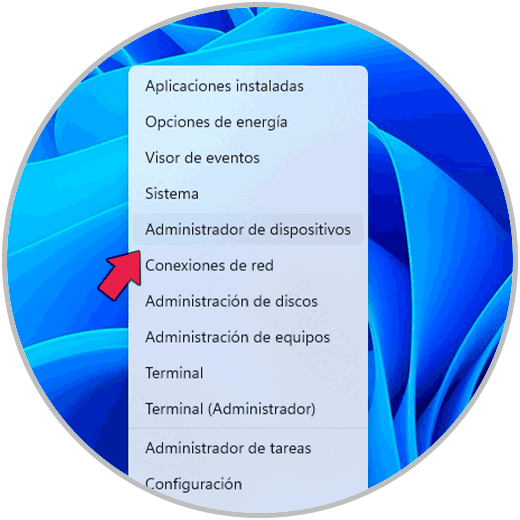
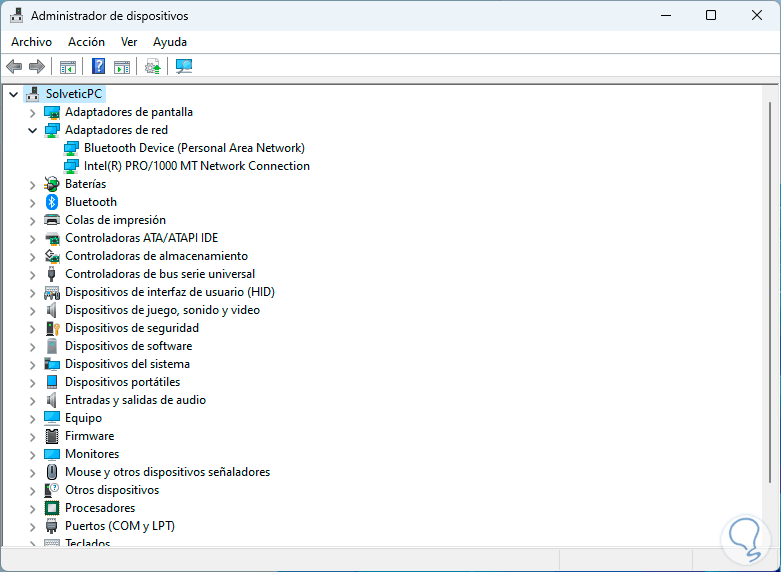
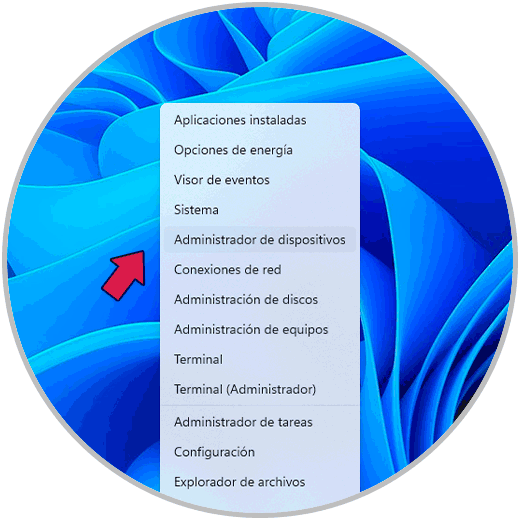
We can reinstall the Wi-Fi adapter driver so that all its services and processes do not affect its status and if it will be of great help, we right click on the Start menu and then click on “Device Manager”:
Step 2
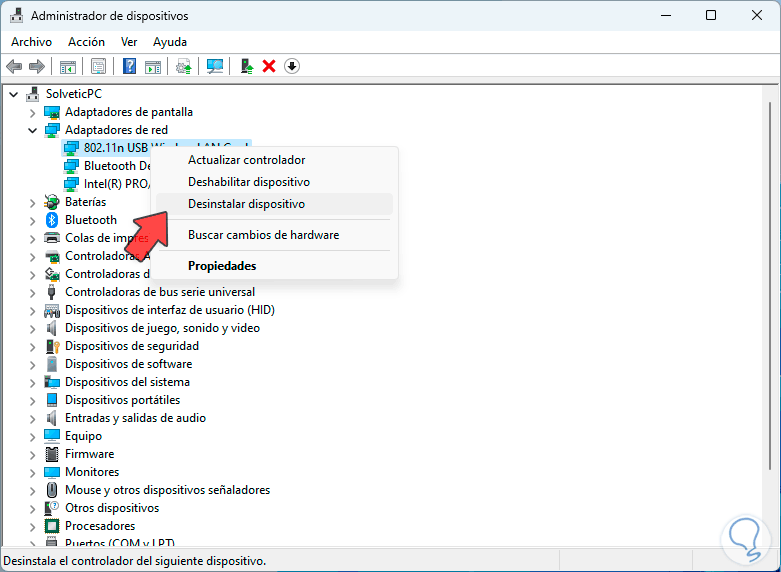
Now we go to the “Network adapters” section and there we right click on the Wi-Fi adapter to select the “Uninstall device” option.
Step 3
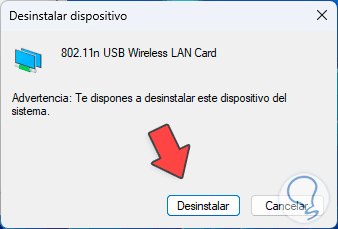
We will see the following message:
Step 4
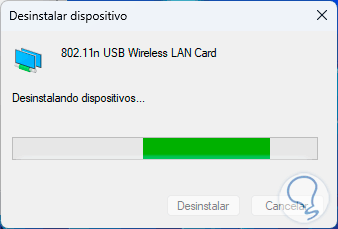
We click on “Uninstall” and wait for the process to start:
step 5
At the end we can see that the driver has been uninstalled:
step 6
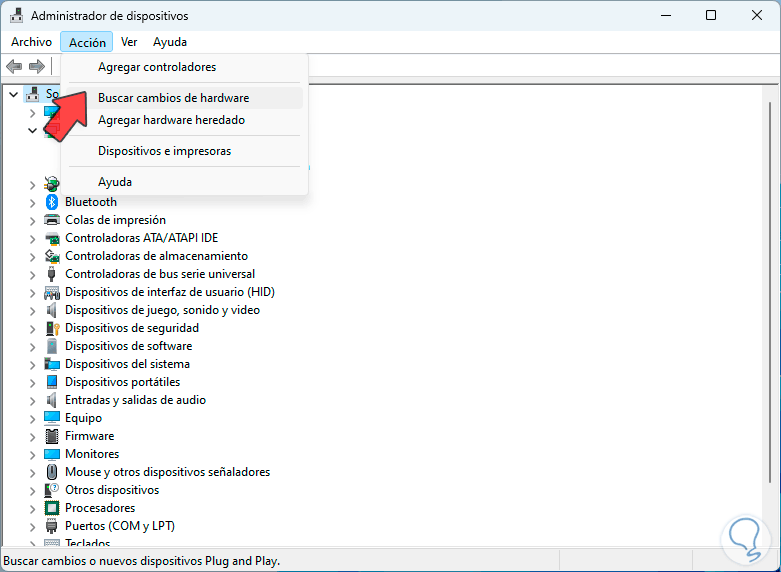
Now we can restart the computer or go to the “Action” menu and then click on “Check for hardware changes”:
Step 7
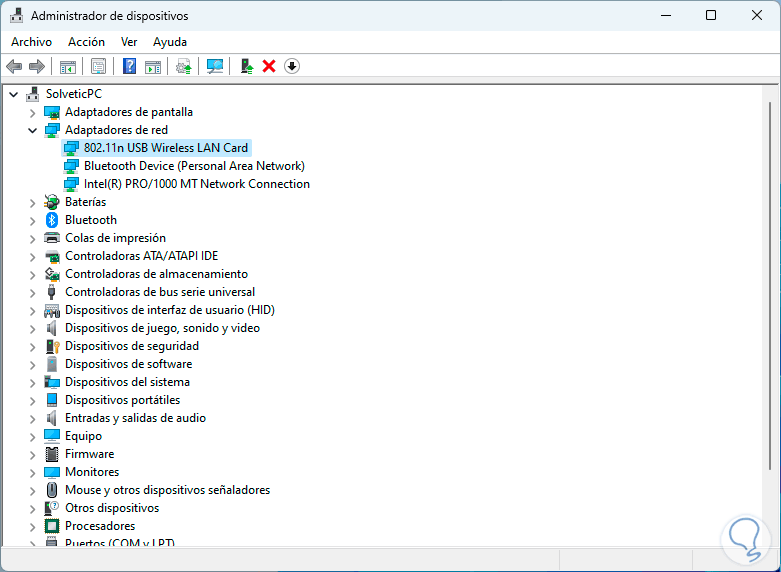
When the process is completed we will see the Wi-Fi controller again:
Step 8
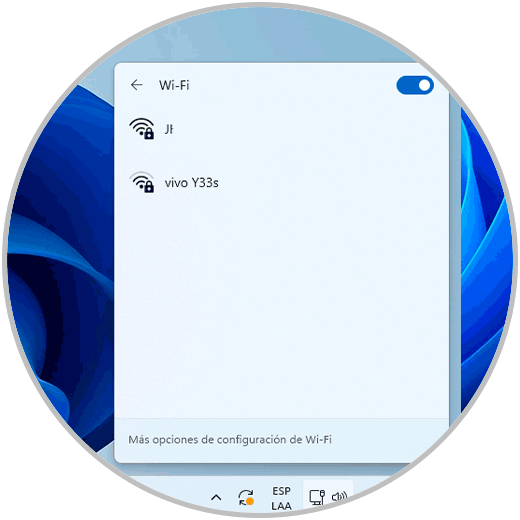
We validate that you have access to Wi-Fi in Windows 11:
3 Fix error to see WiFi network Updating driver
Step 1
Another option is to update the driver since if it is not updated it may happen that one of these updates helps to correct the error, for this we open the Device Manager from Start:
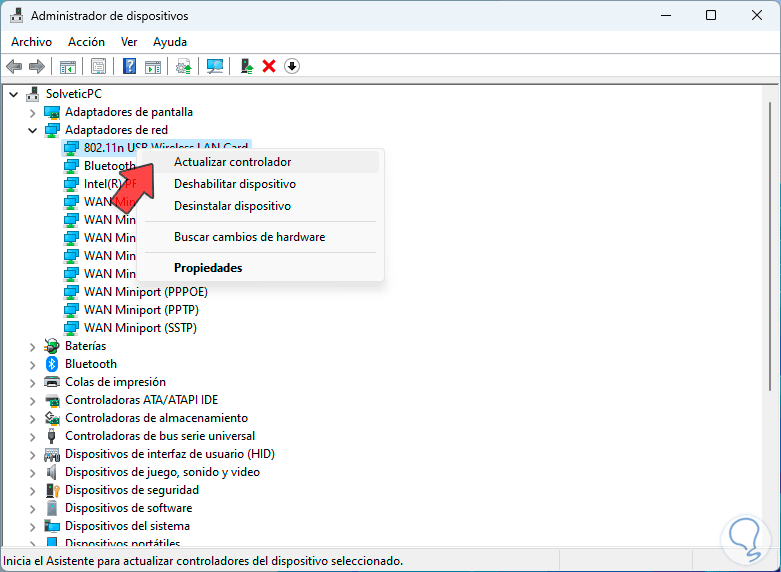
Step 2
In “Network adapters” we right click on the driver and then click on “Update driver”:
Step 3
We will see the following window:
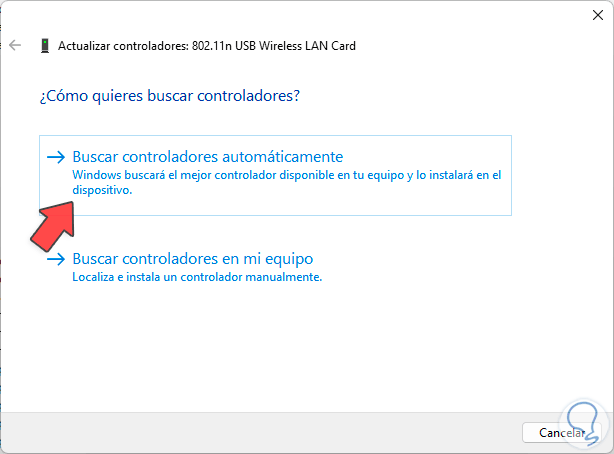
Step 4
We click on “Search for drivers automatically” and wait for the process to finish:
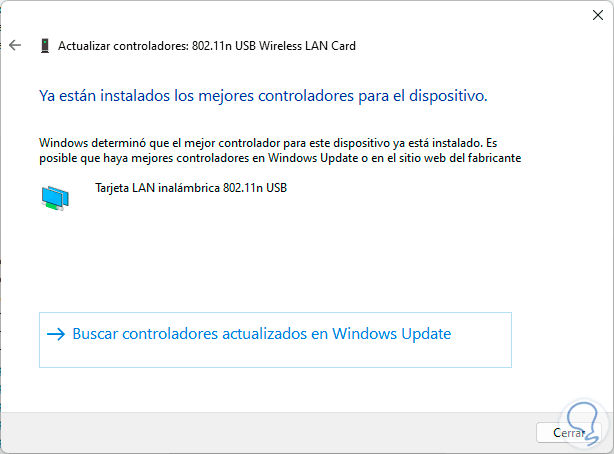
step 5
We check the status of Wi-Fi:
4 Fix error to see WiFi network Configuring power
Step 1
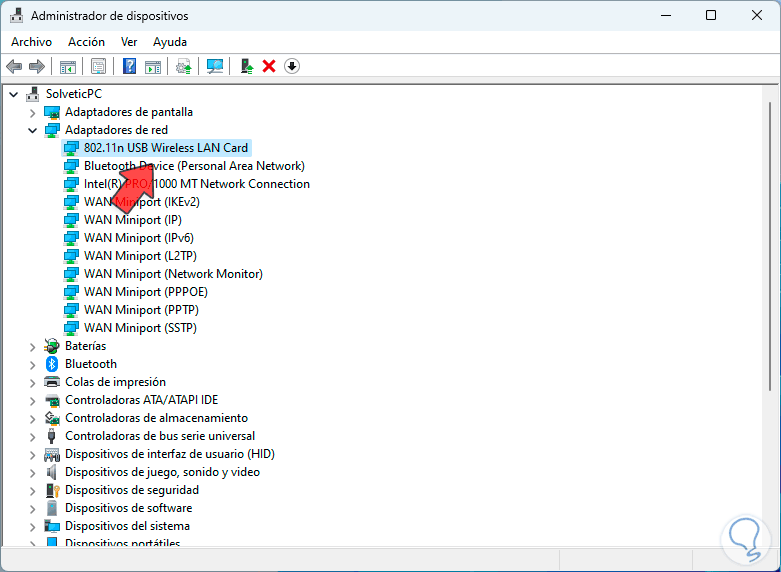
This is a function integrated into the controller which can turn it off when it is not being used, that is, if it turns off due to inactivity we will see that Wi-Fi is not available, to edit this we open the Device Manager:

Step 2
In “Network adapters” we select the Wi-Fi network driver:
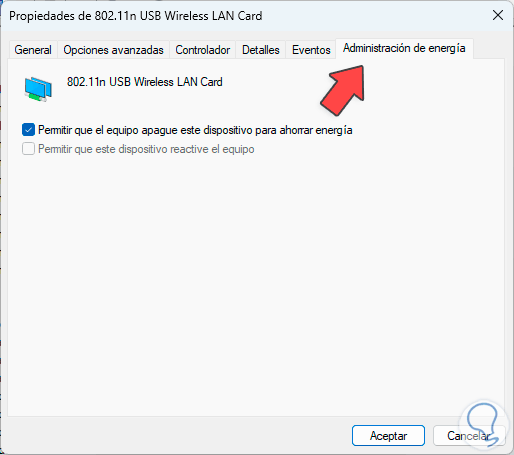
Step 3
We double click on it and in the pop-up window we go to the “Power Management” tab:
Step 4
There we are going to deactivate the “Allow the computer to turn off this device to save energy” box:
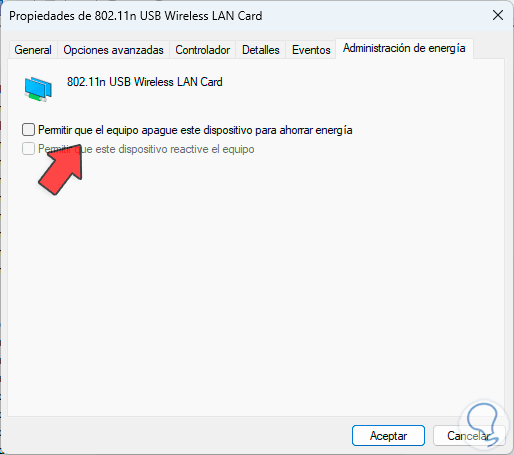
step 5
We apply the changes and validate the network:
5 Fix error to see WiFi network from System Settings
Step 1
This option allows us to see the general status of Windows services and thus determine if any that are related to Wi-Fi are disabled. In this case, in the search engine we enter the word “msconfig” and then click on “System Configuration.” :
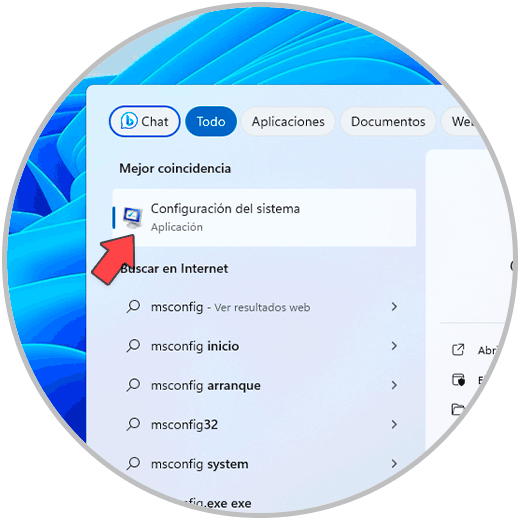
Step 2
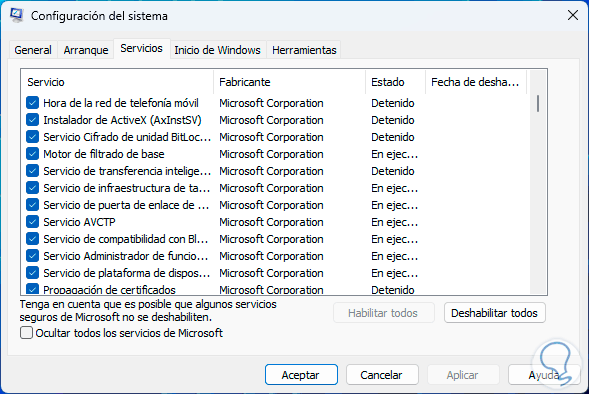
In the window that opens, we go to the “Services” tab to see the status of all of these:
We validate that everyone is fine and then we see that the Wi-Fi network is available.
6 Fix error to see WiFi network Disabling airplane mode
Step 1
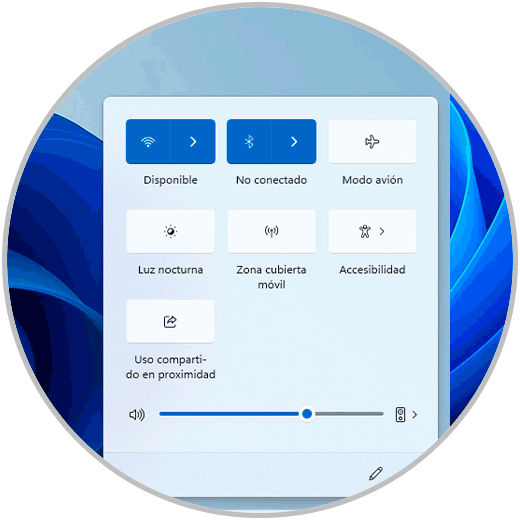
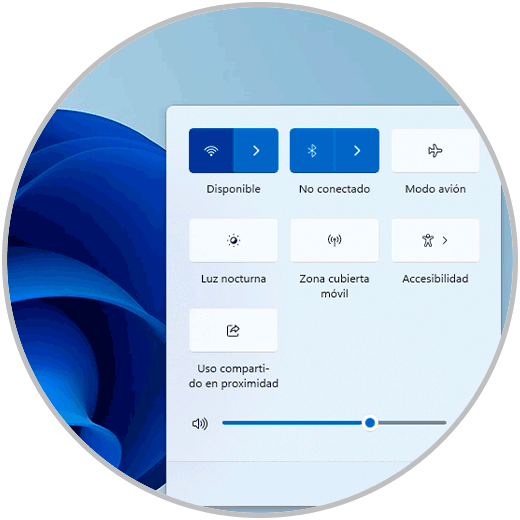
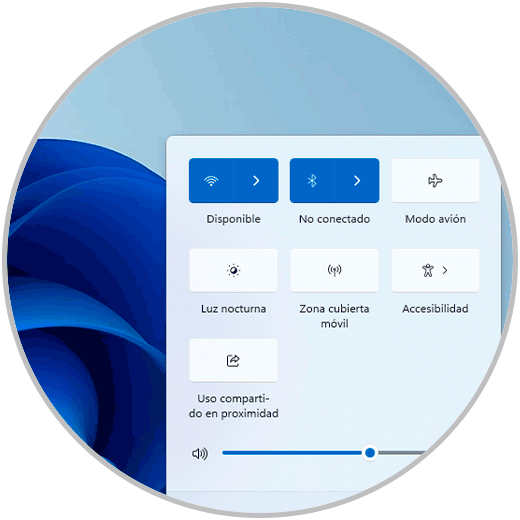
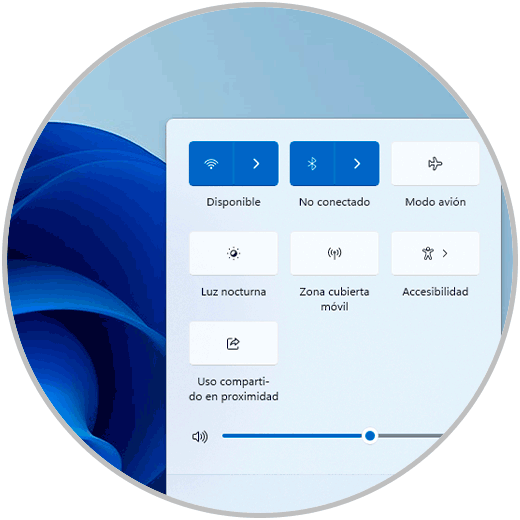
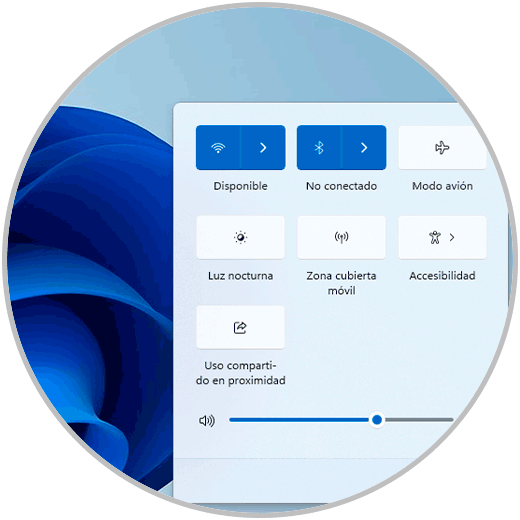
It is possible that due to some error airplane mode has been activated in Windows 11 which will completely block the network, this may be the cause, we validate by clicking on the network icon in the taskbar:
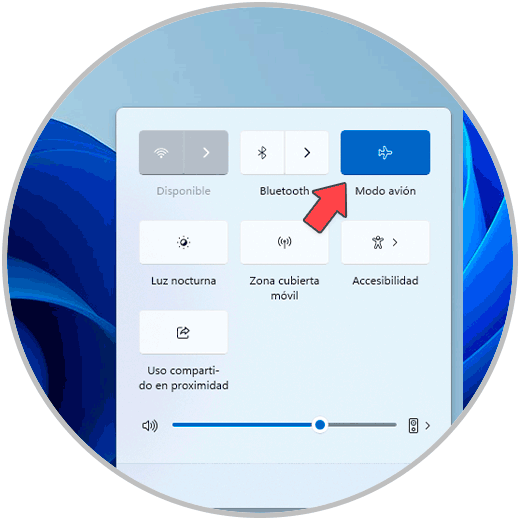
Step 2
To correct it, simply click on the “Airplane Mode” icon and thus have access to the Wi-Fi network:

7 Fix error to see WiFi network with Troubleshooter
Step 1
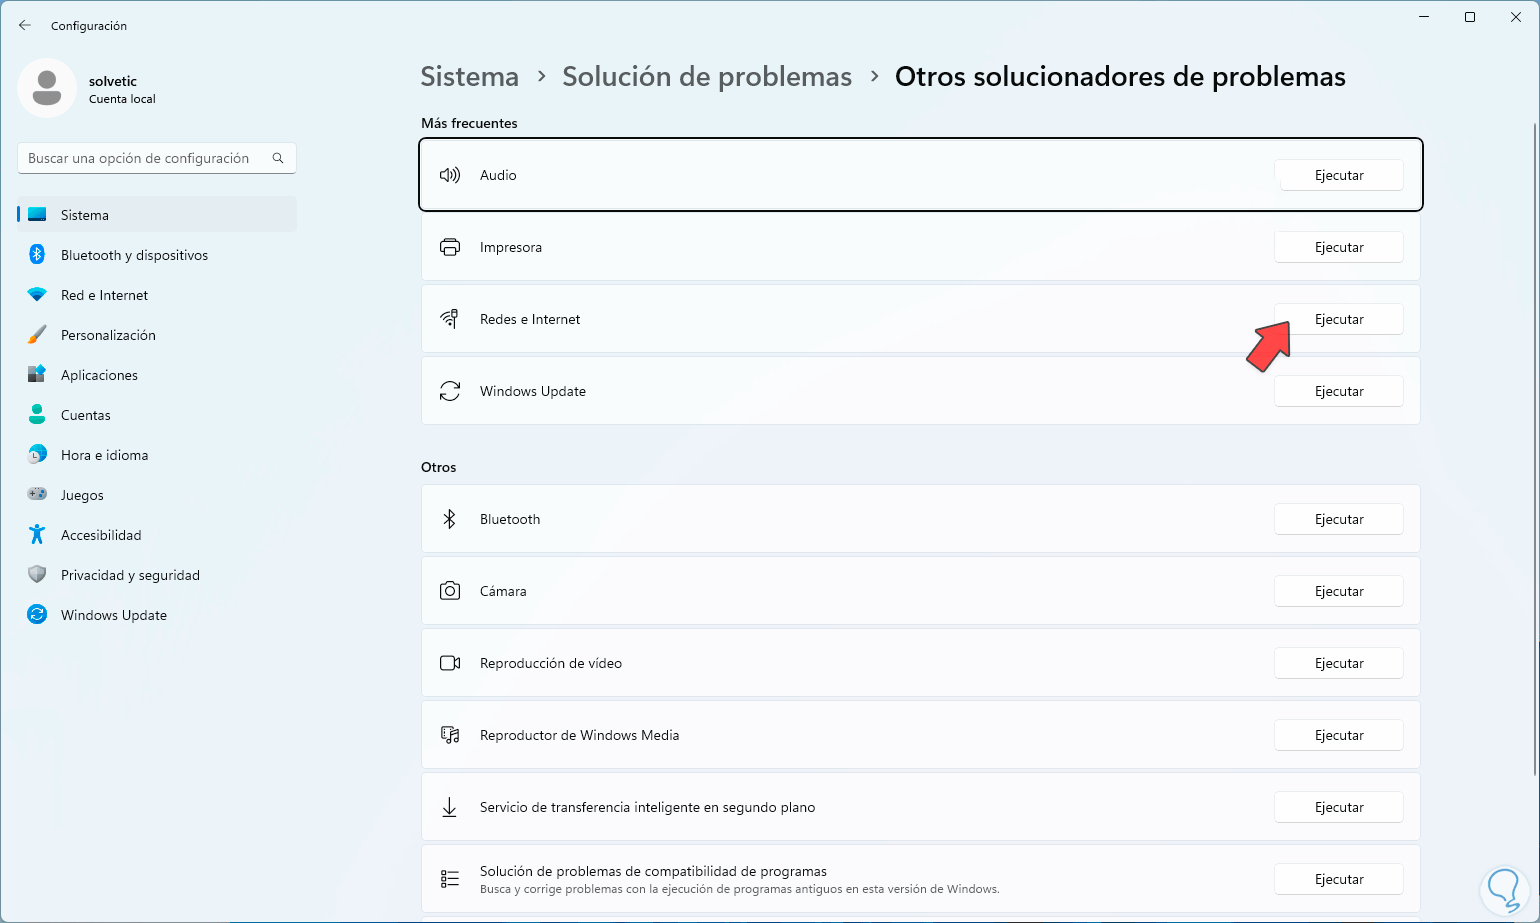
This is a tool integrated into Windows 11 which will automatically help correct problems associated with the Wi-Fi network. From the search engine we enter the word “solve” and click on “Fix other problems”:

Step 2
We will see the following: In the “Networks and Internet” section we click on “Run”
Step 3
and the wizard will open which automatically takes care of the process:
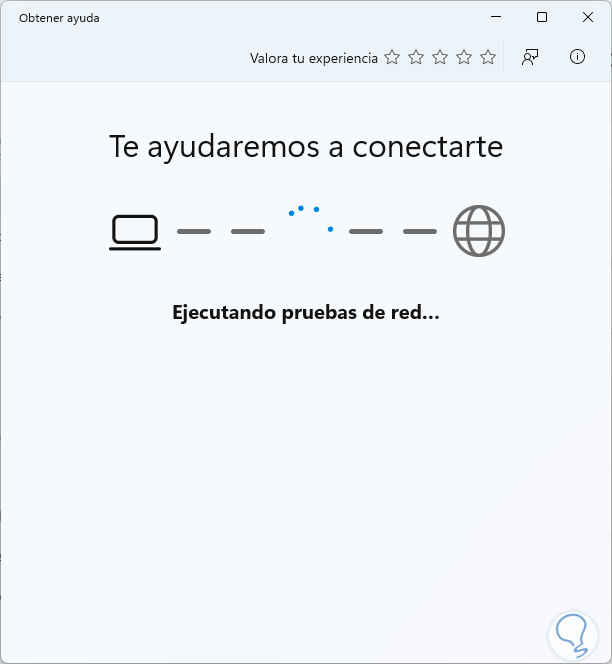
Step 4
Once finished, we validate that the Wi-Fi network works correctly:
8 Fix error to see WiFi network Activating driver
Step 1
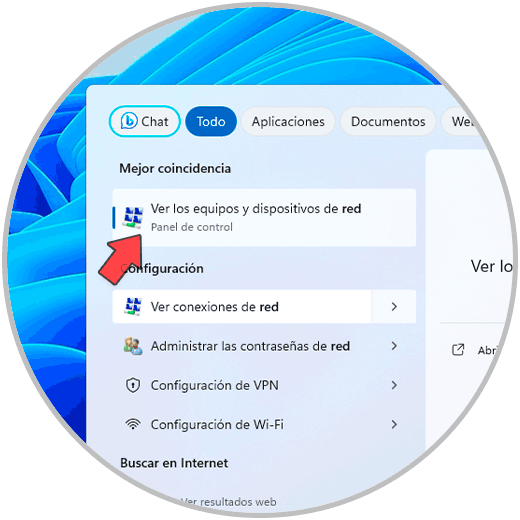
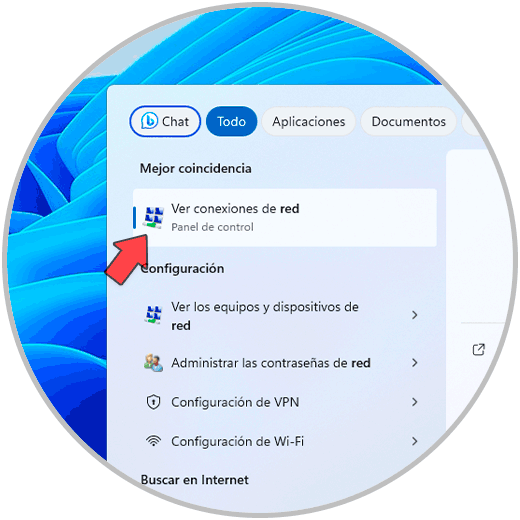
With this method we seek to reactivate the Wi-Fi controller in a few steps, to do this in the search engine we enter the word “network” and click on “See network connections”:
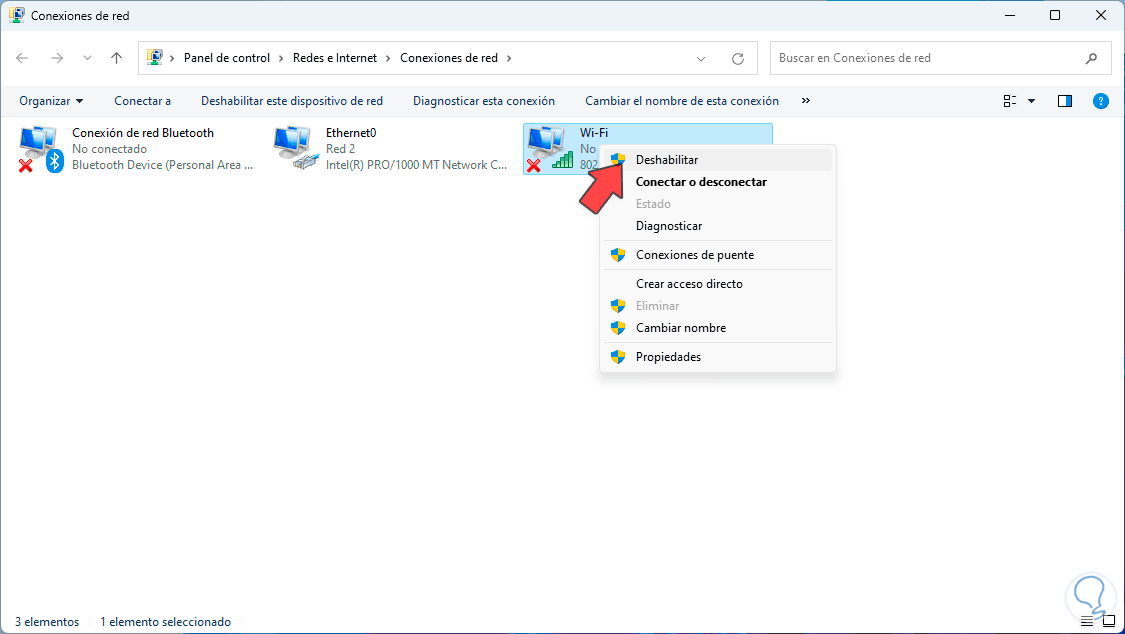
Step 2
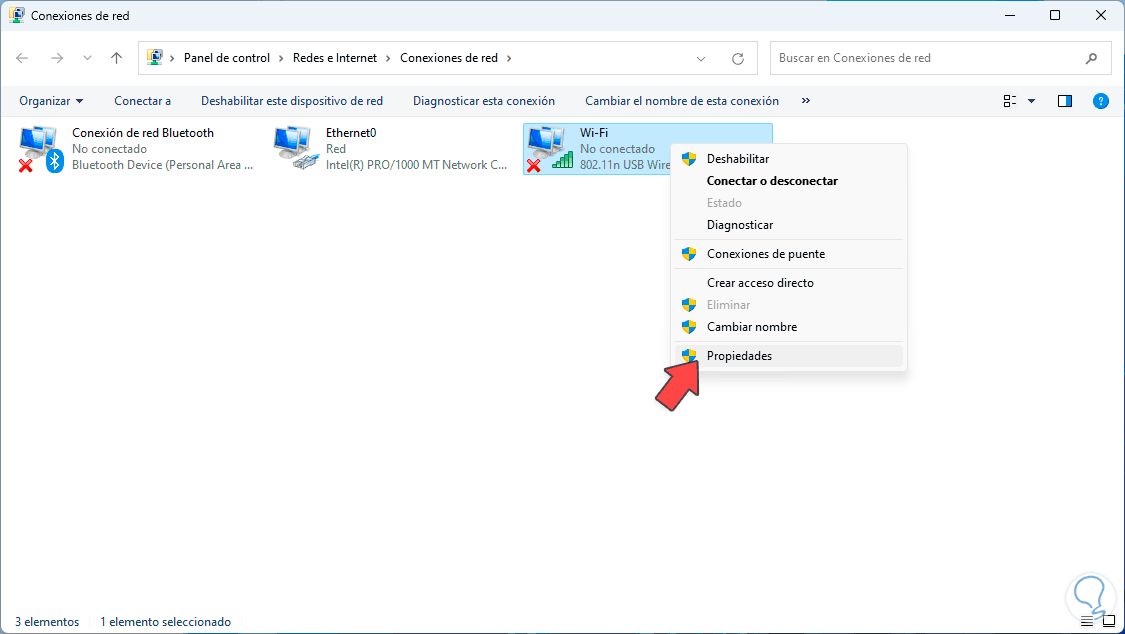
Then, in the Wi-Fi controller, we right click on it to select the “Disable” option:
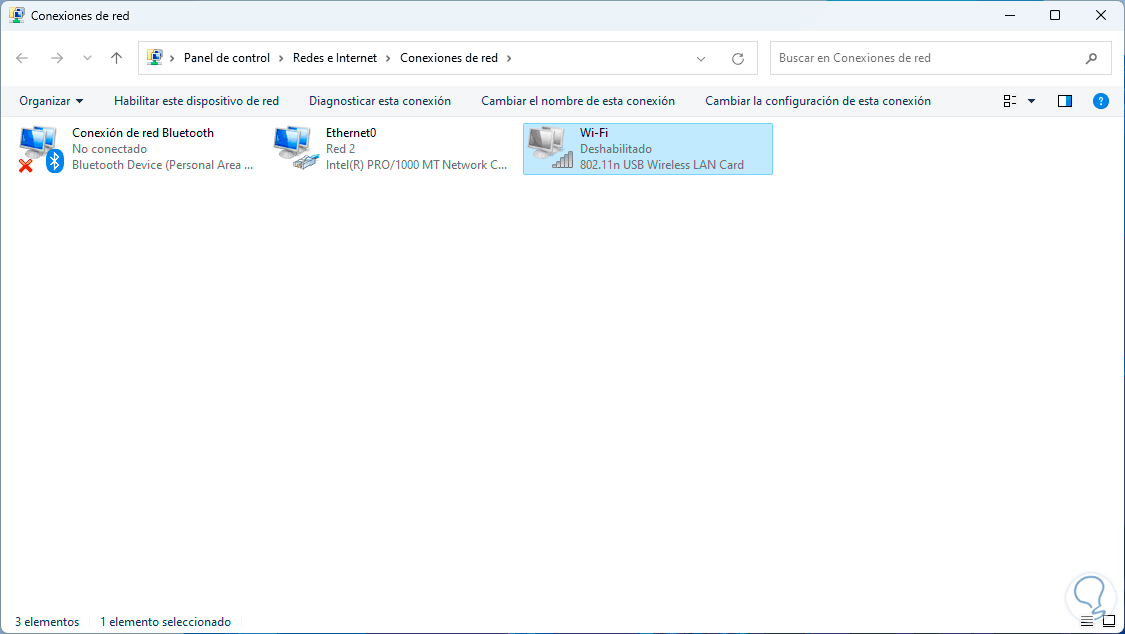
Step 3
We hope it is disabled:
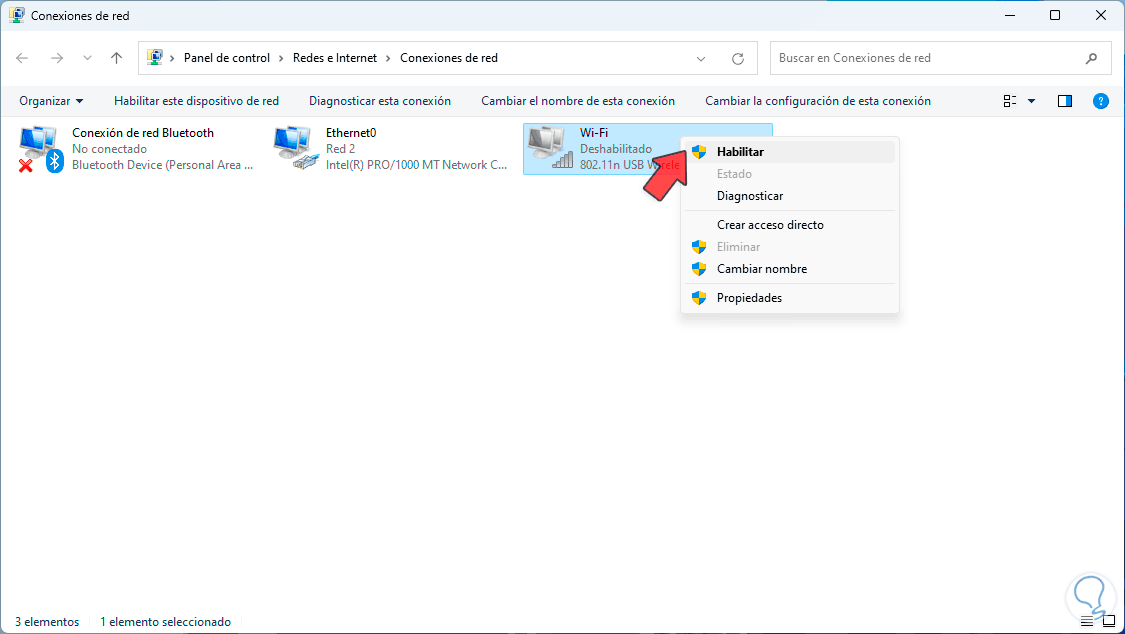
Step 4
We right click on the adapter again and this time select “Enable”:
step 5
We see that it is enabled:
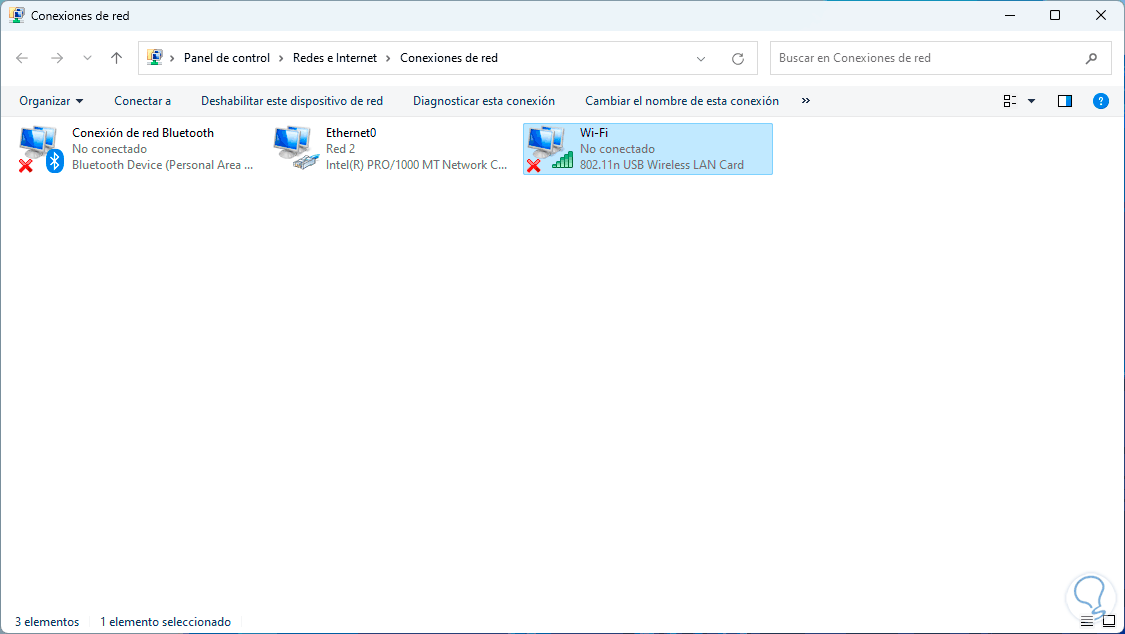
step 6
We can check the Wi-Fi network in Windows 11:
9 Fix error to see WiFi network from Terminal
Step 1
Through the terminal we can execute some commands to have access to the Wi-Fi network again, we open the terminal as administrators:
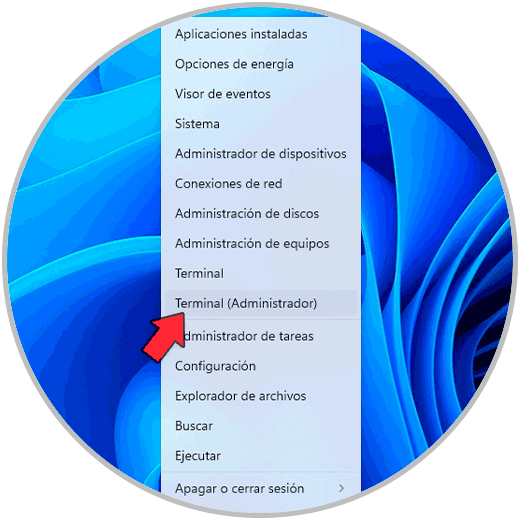
Step 2
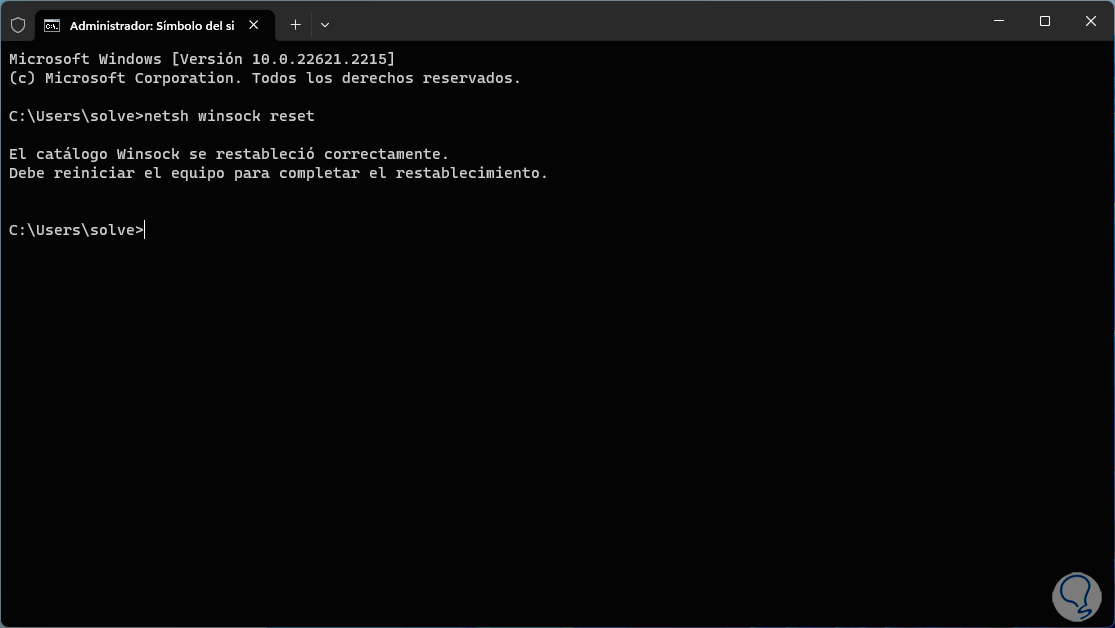
First we reset Winsock:
netsh winsock reset
Step 3
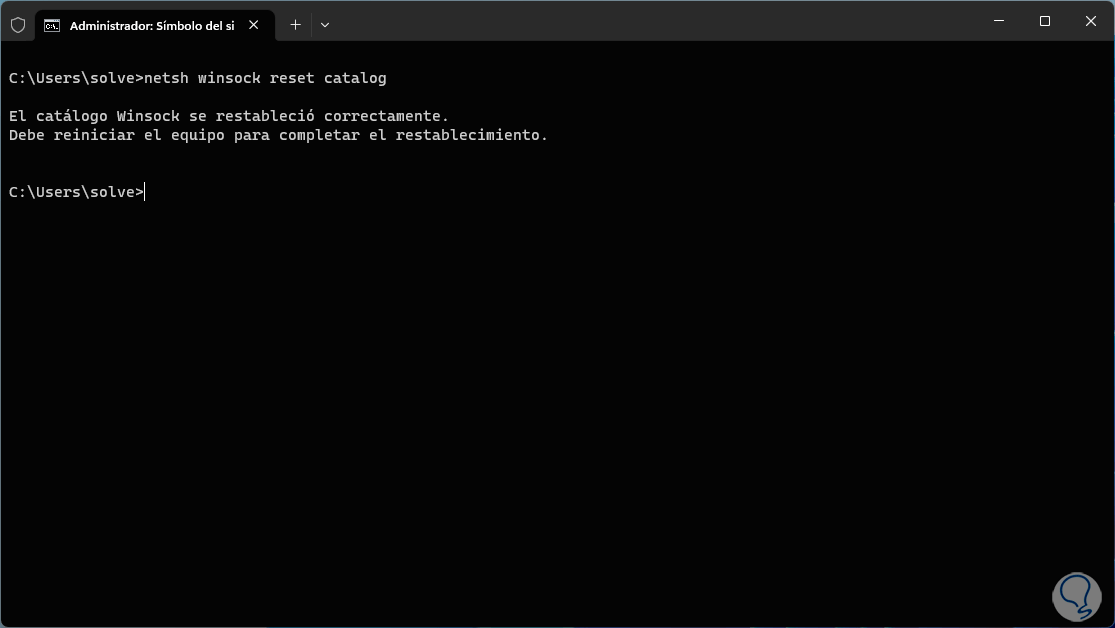
Next, we reset the Winsock catalog:
netsh winsock reset catalog
Step 4
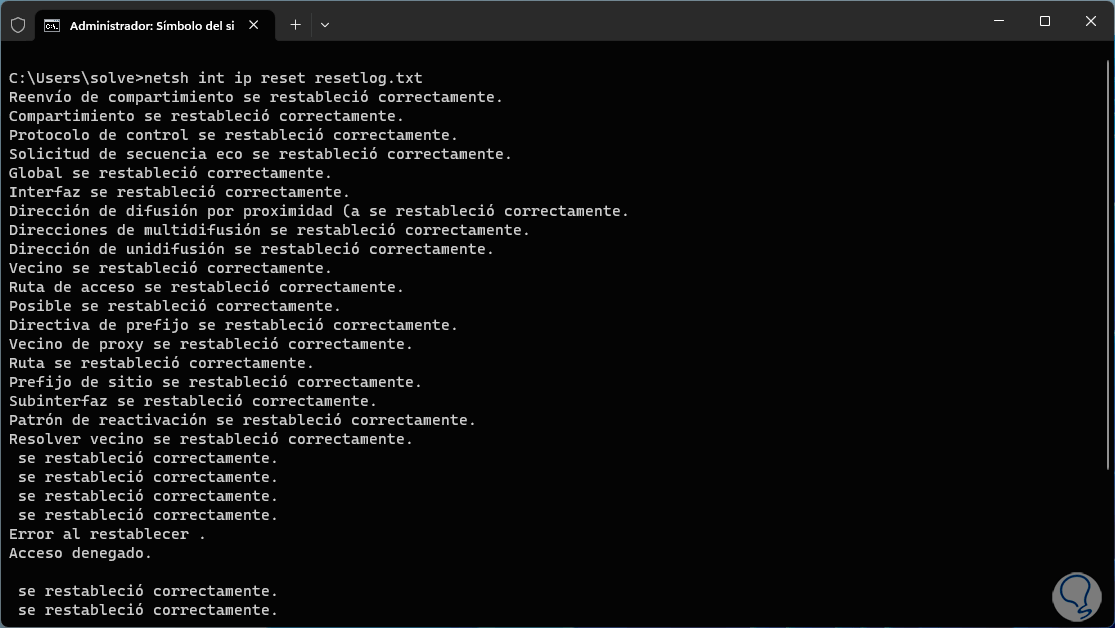
Now we reset IP values:
netsh int ip reset resetlog.txt
step 5
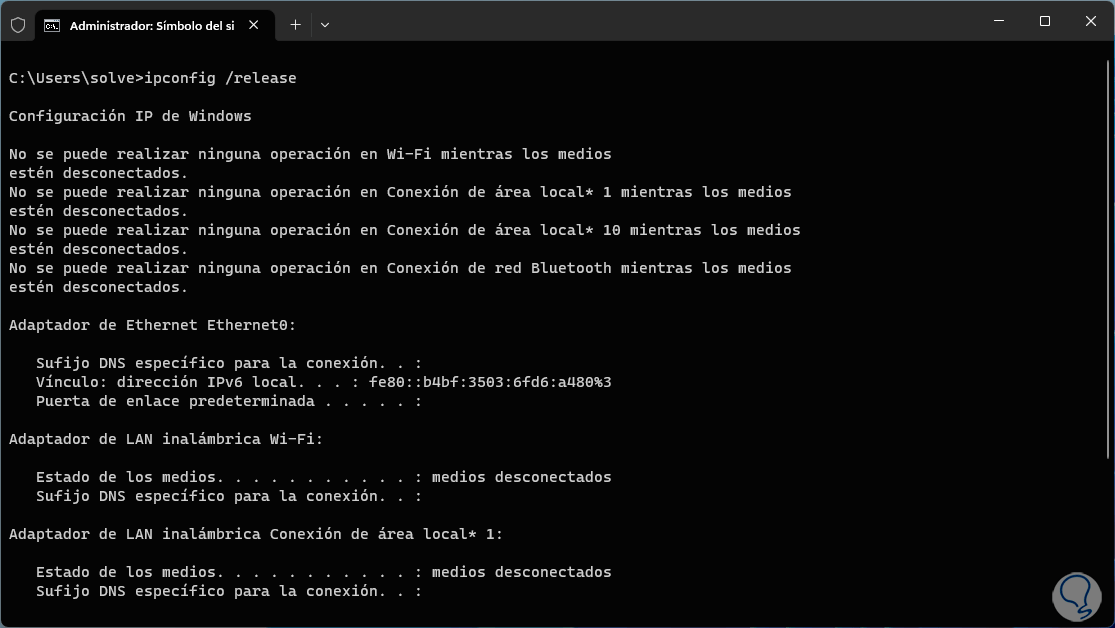
Now we release the IP address with the command:
ipconfig /release
step 6
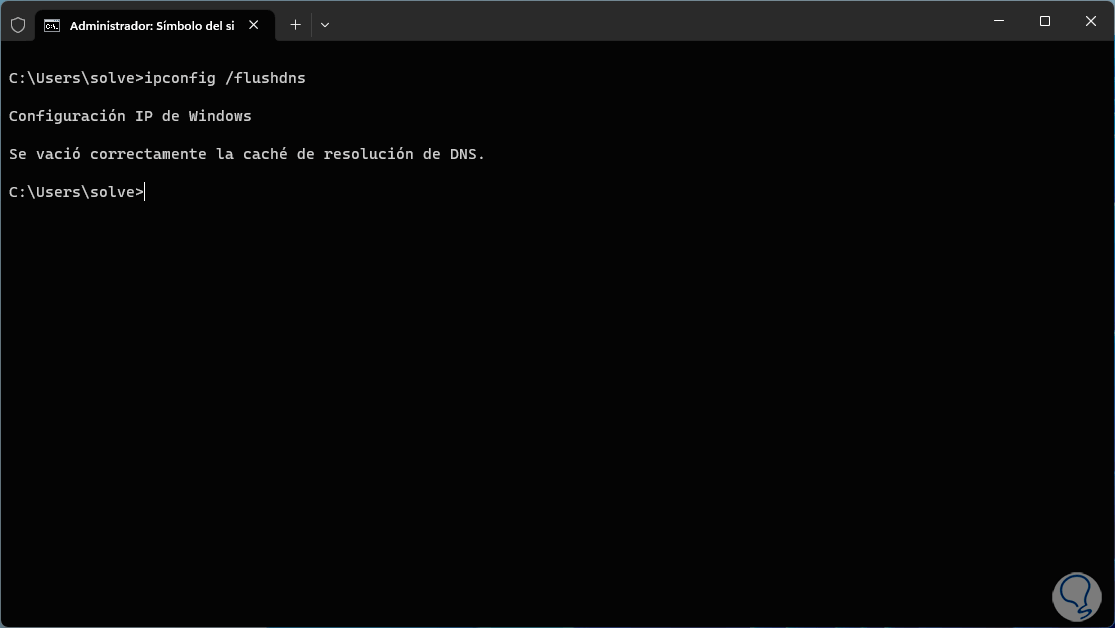
Then we release the DNS cache:
ipconfig /flushdns
Step 7
After this, we exit the terminal and restart the system:
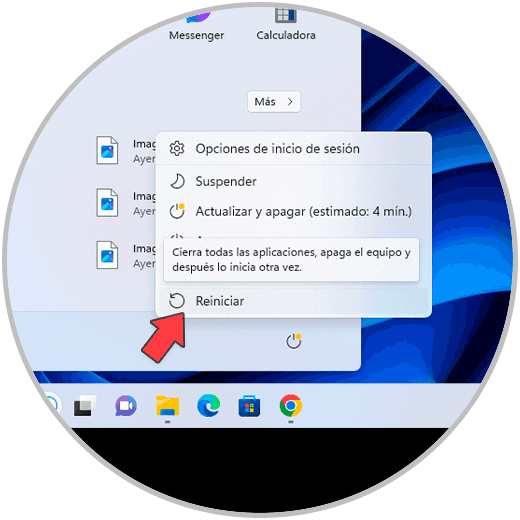
Step 8
Windows will restart:

Step 9
When logging in we check the network status:
10 Fix error to see WiFi network Resetting the network
Step 1
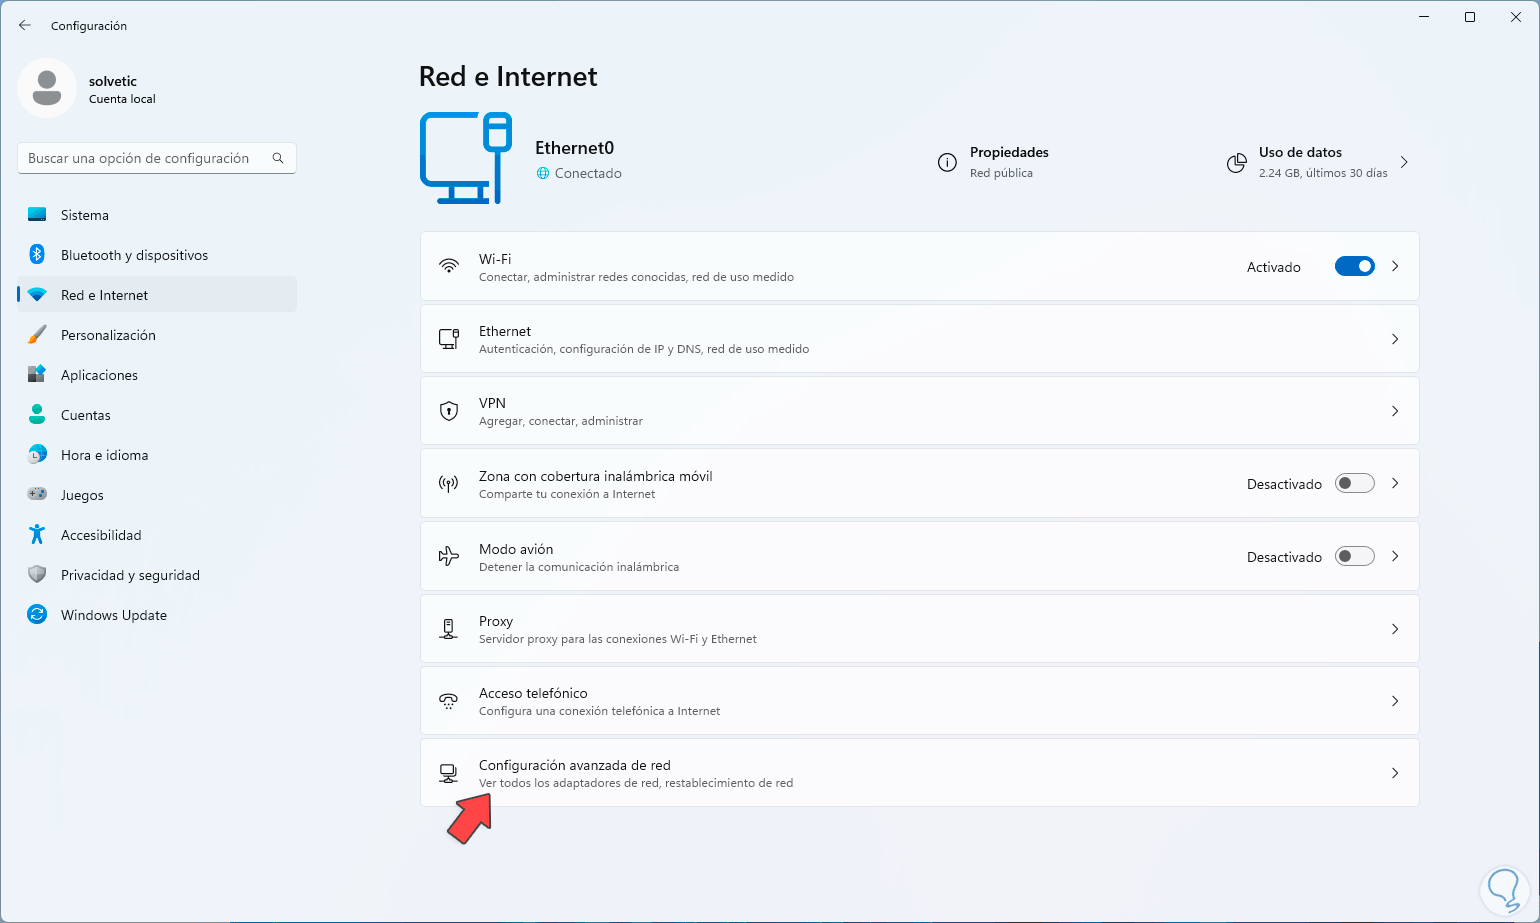
It is possible to reset the network to return to its default states, to achieve this, we will:
- Advanced network settings
Step 2
Then we will see the following:
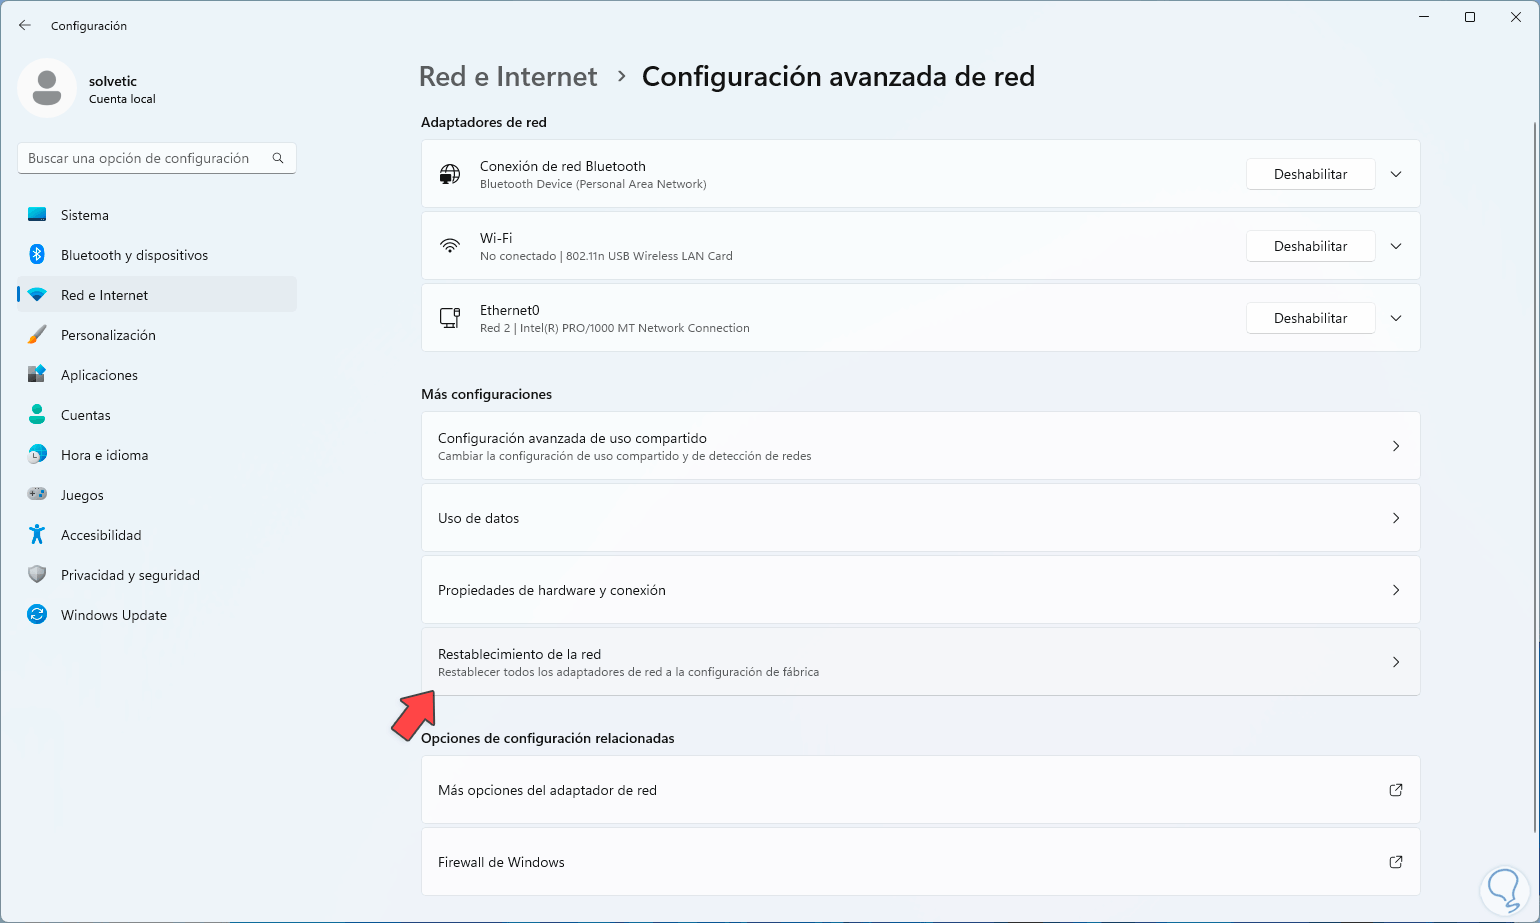
Step 3
There we click on “Network reset” and then click on “Reset now”:
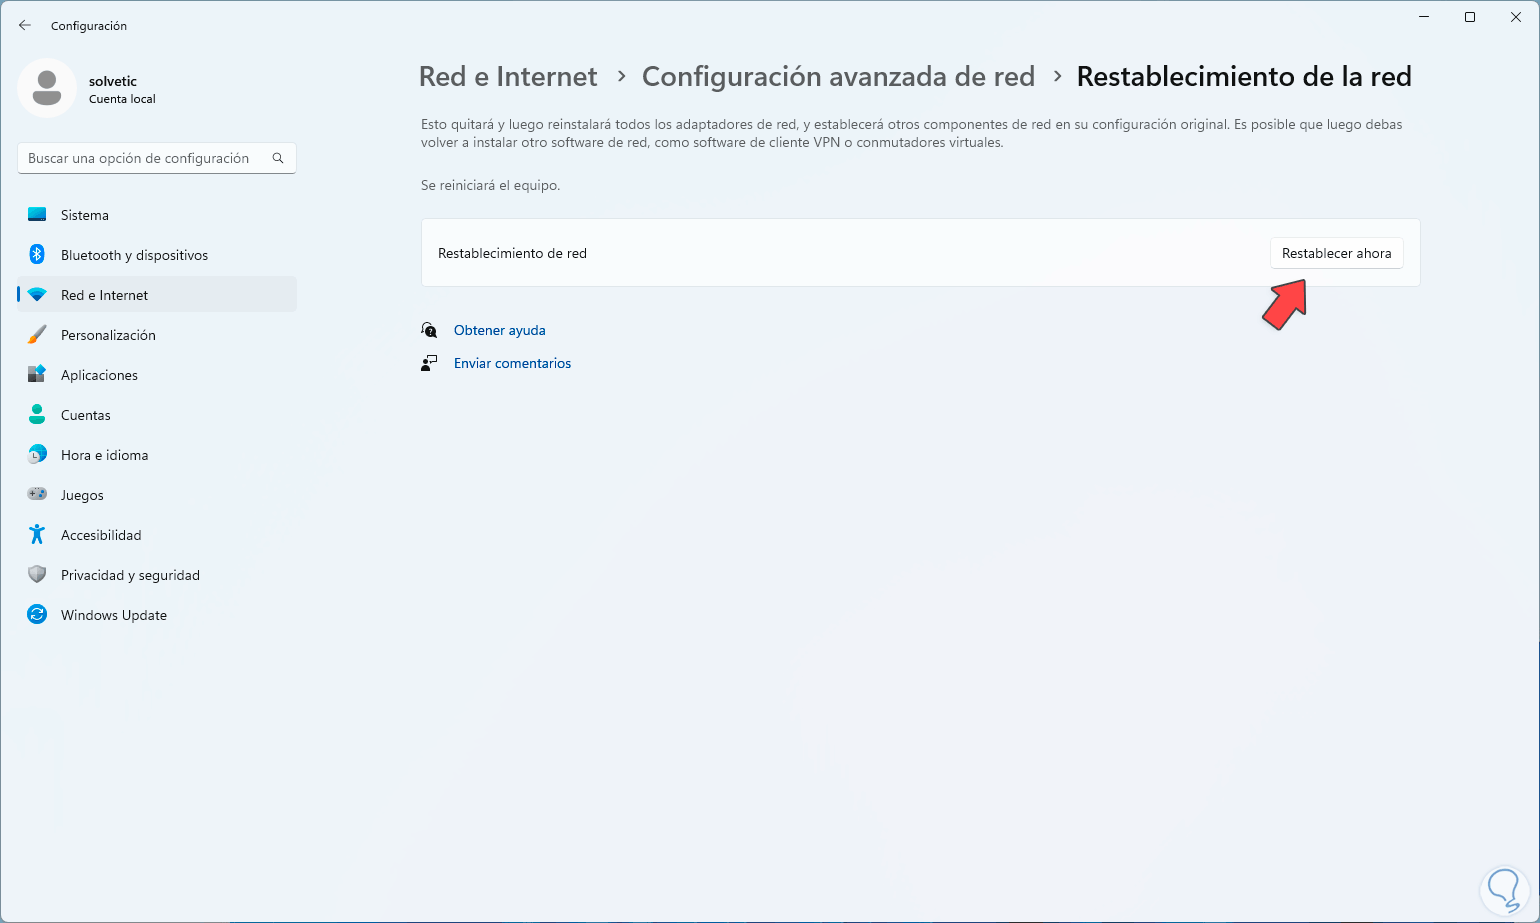
Step 4
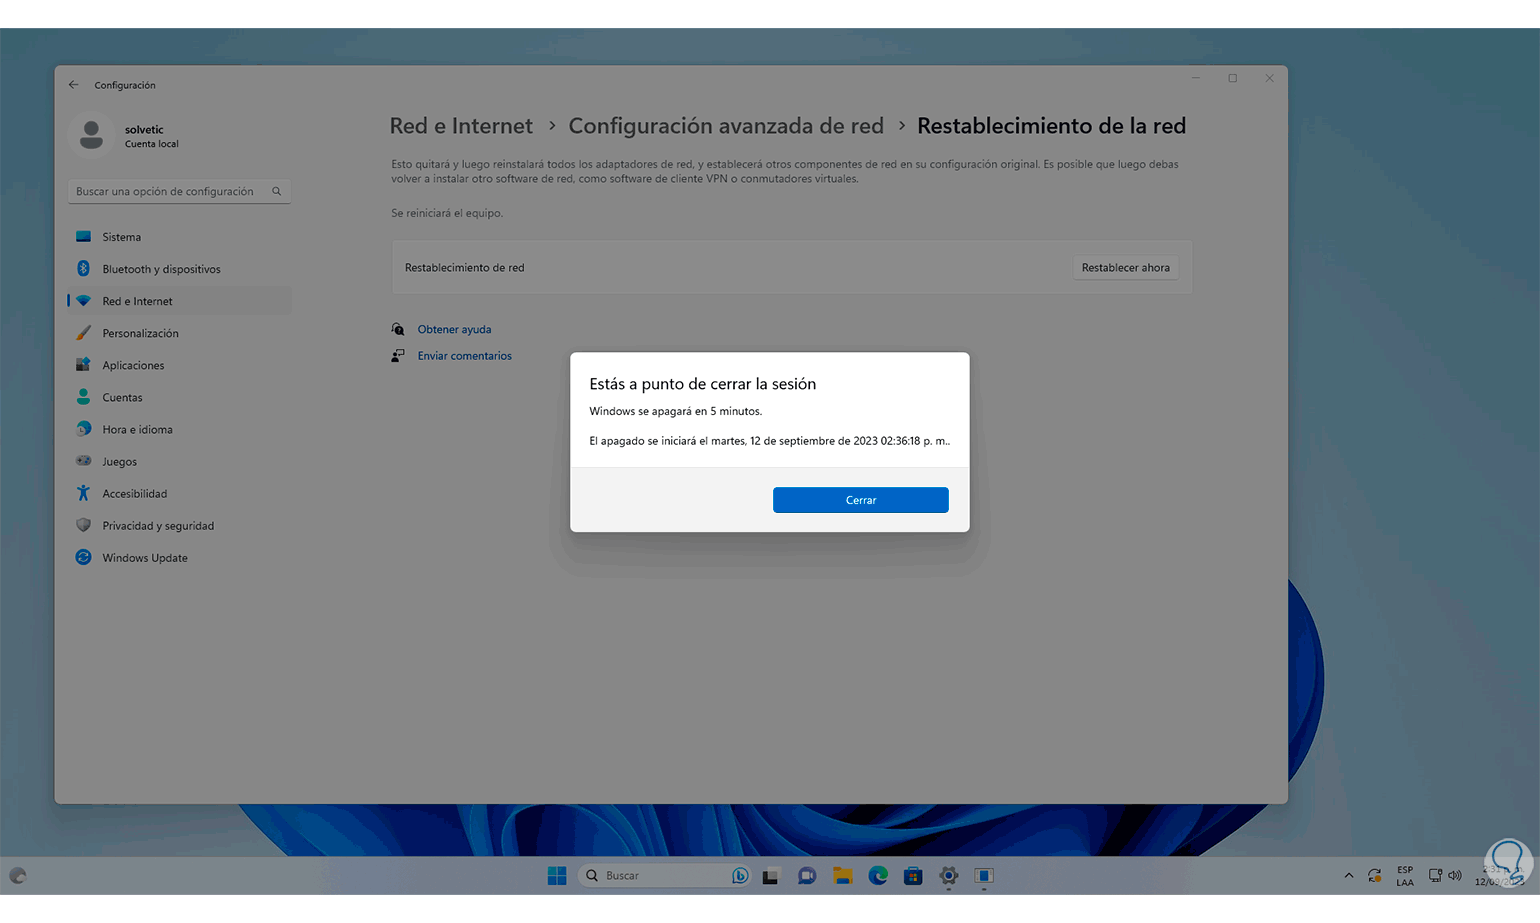
We will see the following message:
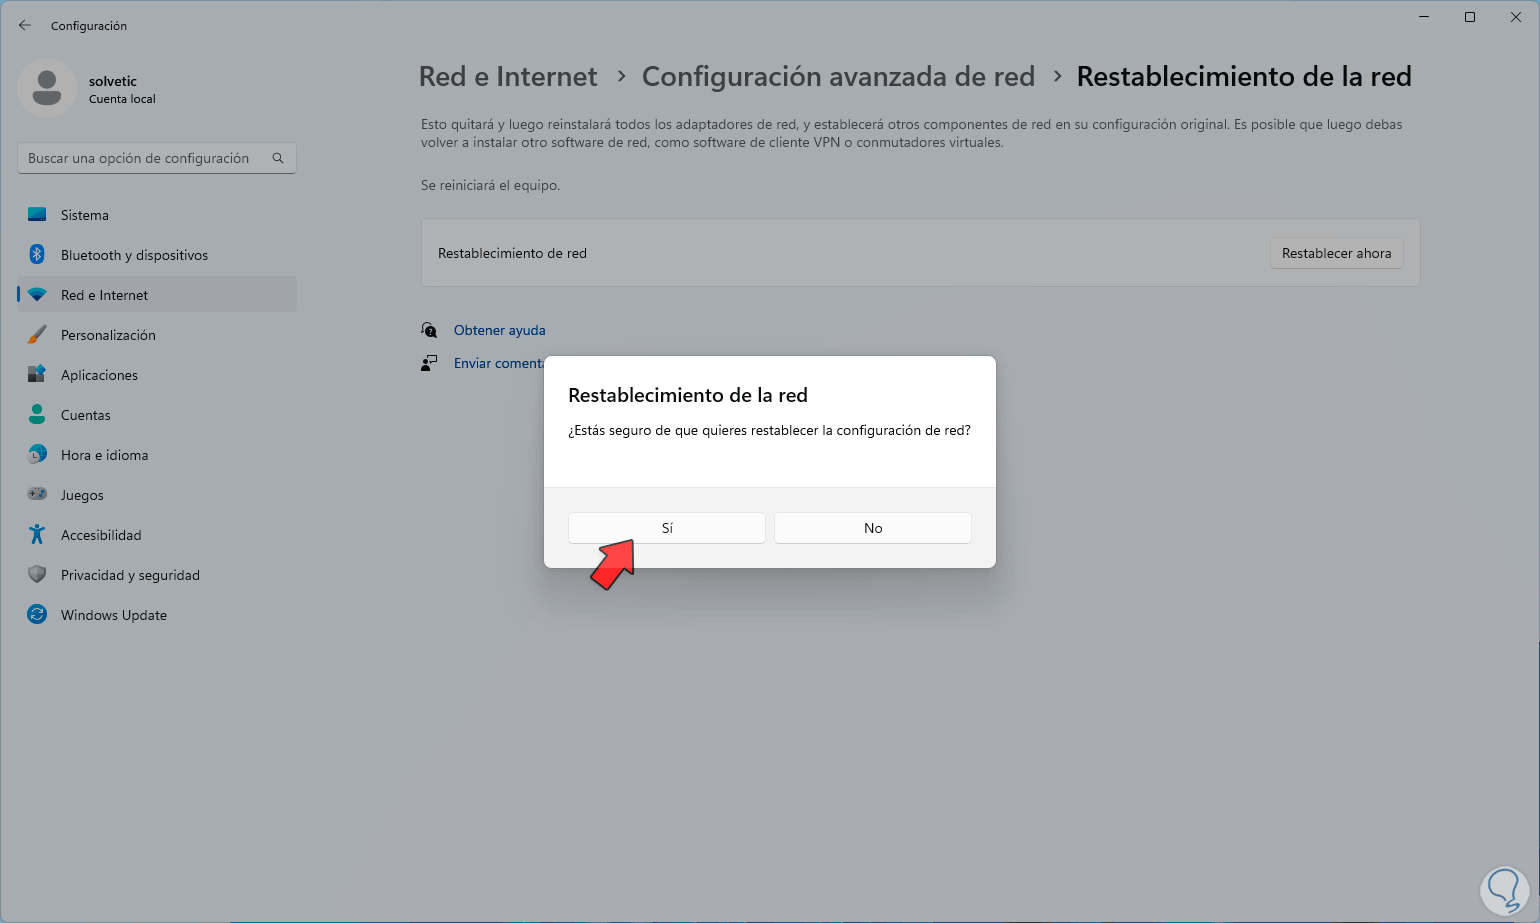
step 5
We click on “Yes” and then we will see that the session will be closed to complete the process:
step 6
We reboot the system:

Step 7
When logging in we check the Wi-Fi network:
11 Fix error to see WiFi network by adjusting DNS
The DNS allows us to convert IP addresses into domain names and vice versa, helping with navigation, but it is possible that we have it configured with a provider or public DNS, it is ideal to leave it automatic so that it can use the provider's services,
Step 1
To do this, in the search engine we enter “network” and click on “See network connections”:
Step 2
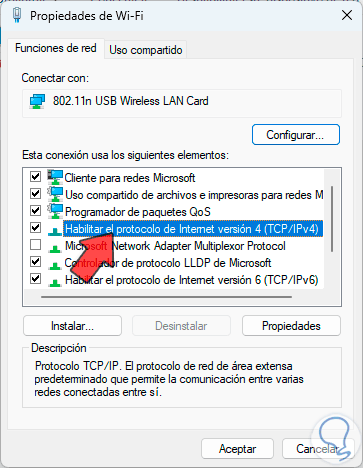
Then, we right click on the adapter and select “Properties”:
Step 3
In the pop-up window we select the lines “Enable Internet Protocol version 4”:
Step 4
We click on “Properties” and verify that the “Obtain the DNS server address automatically” box is active:
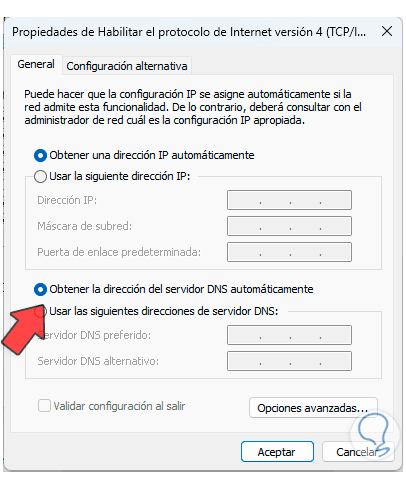
step 5
We apply the changes and check the Wi-Fi:
12 Repair error to see WiFi network by checking the Proxy
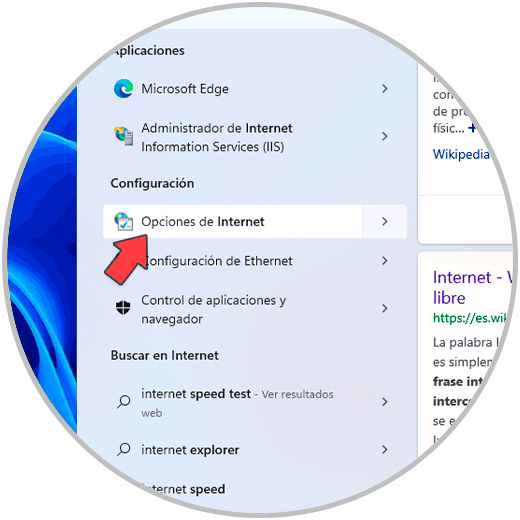
Step 1
Finally, if we use a proxy server it could be the fault, we will check that it is not active, in the search engine enter “options” and click on “Internet options”:
Step 2
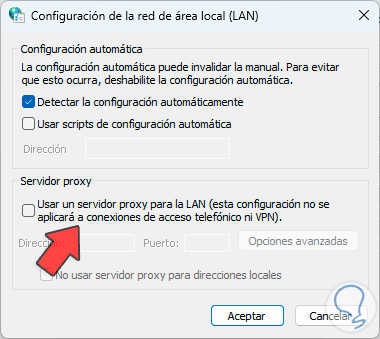
In the opened window we go to the “Connections” tab and there we click on “LAN Configuration”:
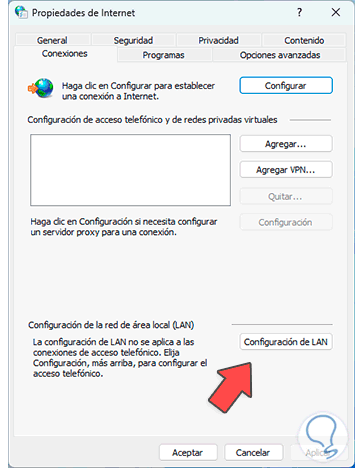
Step 3
Then, confirm that the “Use a proxy server for the LAN” box is not activated:
Step 4
We apply the changes and review the network:
These ways will be functional to recover the operation of our Wi-Fi network in Windows 11.