A high expectation is created with the launch of a new edition of any operating system, it is always sought to know what are the new functions and built-in features that have undoubtedly been developed thinking about improving the tasks of management, control and administration to the user regardless the role that this handles. One of these new editions is the one that is about to be launched by Fedora with edition 29 which is available in both corporate-level (Server) and desktop (Workstation) versions where each of them obviously has its own characteristics. each one focused on the respective segment..
New features Fedora 29
In this tutorial we will focus on the corporate edition, Server Edition, which provides us with new functions such as:
- By default, Dbus-Broker is set as the default D-Bus with higher performance and reliability.
- Improvements in continuous work and modularity which has been named as Team Silverblue.
- Use of GNU Binutils 2.30.
- New updates in the kernel.
- Kernel hidden if only one operating system is handled.
- Py3 has been moved from Python 3.6 to Python 3.7.
- Update key packages such as Ruby on Rails 5.2, MySQL 8.0 and more.
In addition, Fedora has developed an IoT edition to be used in this new technology incursion which will gradually take a place in the daily lives of all of us. Now, there is a fundamental issue to keep in mind and this edition of Fedora 29 Server is still in beta, so it is prone to errors and failures. These can be reported, but they pose a risk if this is implemented in a production environment where users and equipment are involved. In this case, the most practical and reliable solution is to install Fedora 29 Server on a virtualization platform since this will not affect any component of the organization and we avoid the use of additional hardware since the virtual machine takes its own resources. team.
Hyper-V features
One of the most used platforms is the one built into Windows 10 called Hyper-V, it is disabled by default, but it offers great features such as:
- Protection of host resources.
- Creation of virtual machine control points using VSS.
- Improved cluster balancing.
- Armored virtual machines.
- Full compatibility with Windows 10 hardware
TechnoWikis will explain how we can enable and install Fedora 29 Server on Hyper-V and thus get the most out of its functions..
1. Enable Hyper-V in Windows 10
Step 1
To enable Hyper-V and its platforms in Windows 10 we must go to the following route:
- Programs and characteristics
Step 2
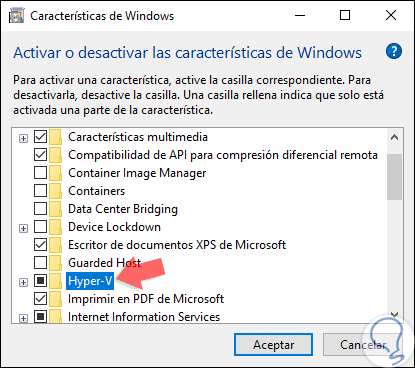
There we click on the line "Activate or deactivate Windows features" and in the window displayed we activate the Hyper-V box:
Step 3
Click on OK and the system will automatically start the file search process for this process:

Step 4
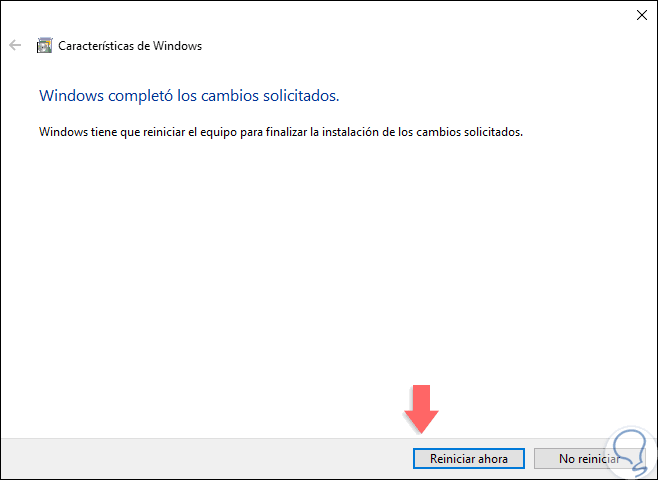
Once this is over we will see the following. There we must click on the "Restart now" button for the system to apply the changes.
Note
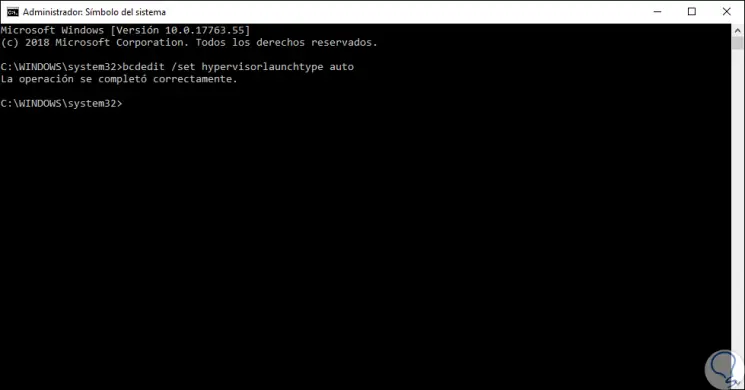
In some cases, an error may occur with the execution of Hyper-V, for this we must access the command prompt and there execute the following:
bcdedit / set hypervisorlaunchtype auto
2. Create Fedora 29 Server virtual machine in Hyper-V Windows 10
Step 1
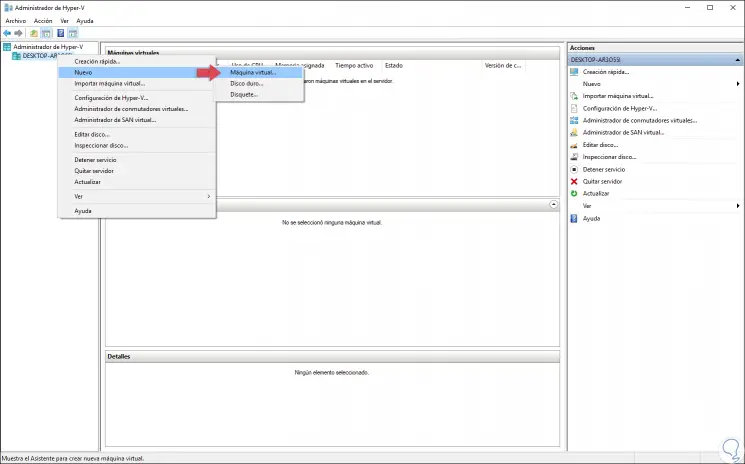
Once Hyper-V is configured, we proceed to open Hyper-V Manager and to create our virtual machine we have the following options:
- Right click on the local server and select the option "New / Virtual machine".
- Go to the Action menu and there go to the “New / Virtual Machine†route.
- Click on the "New" button located on the right side and select "Virtual Machine".
Step 2
The following wizard will be displayed:
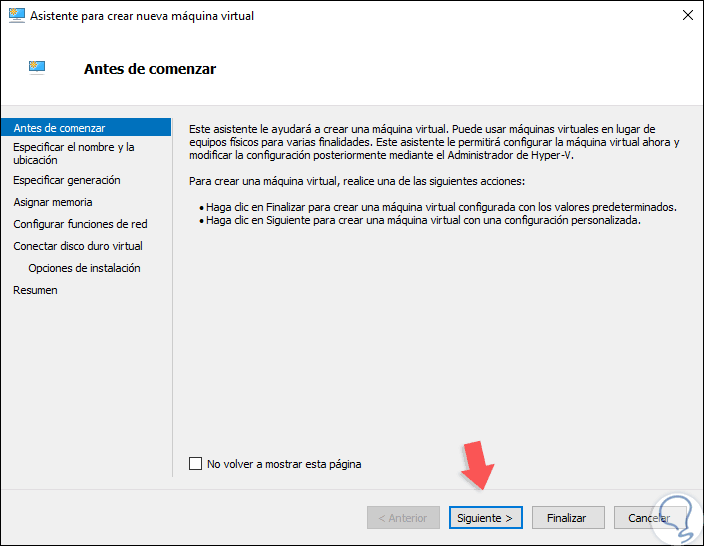
Step 3
Click Next and we will assign the desired name to our virtual machine in Hyper-V. If we wish, we can check the box “Store the virtual machine in another location†to define a new route.

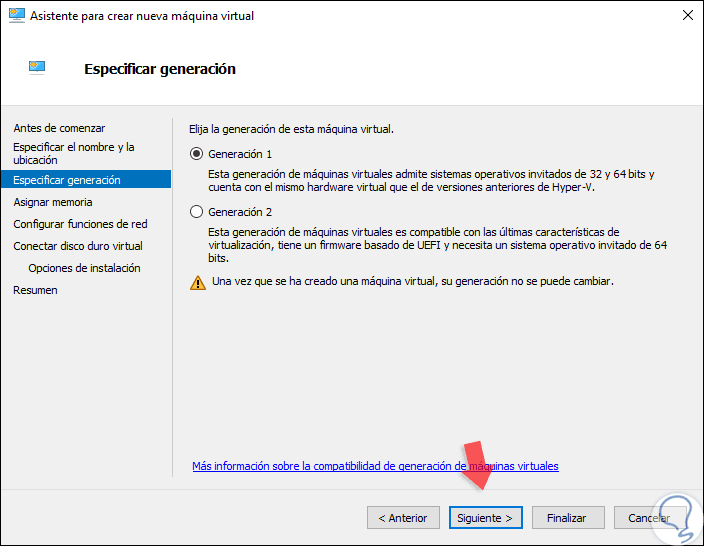
Step 4
Click on Next and now define the type of generation to use, the options are:
Generation 1
This option allows us to create both 32 and 64 bit machines.
Generation 1
Only support 64-bit machines with UEFI.
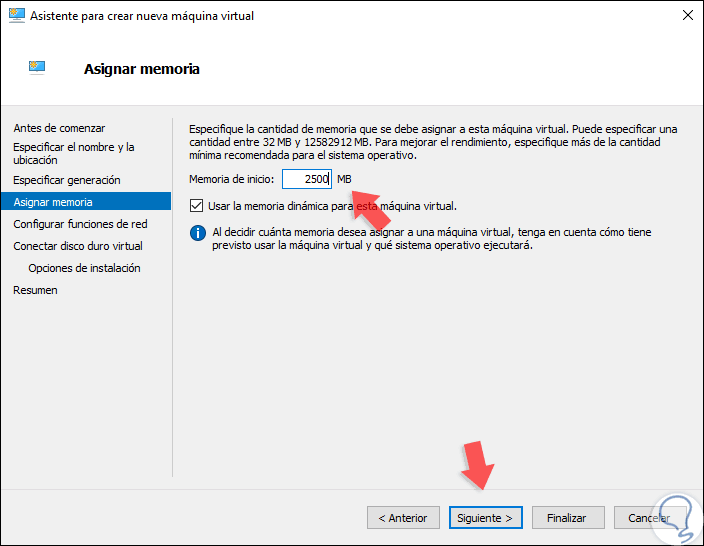
Step 5
Once the generation is defined, click Next and now we can configure the amount of RAM that the virtual machine will use. We can check the box “Use dynamic memory for this virtual machine†for the system to manage this function.
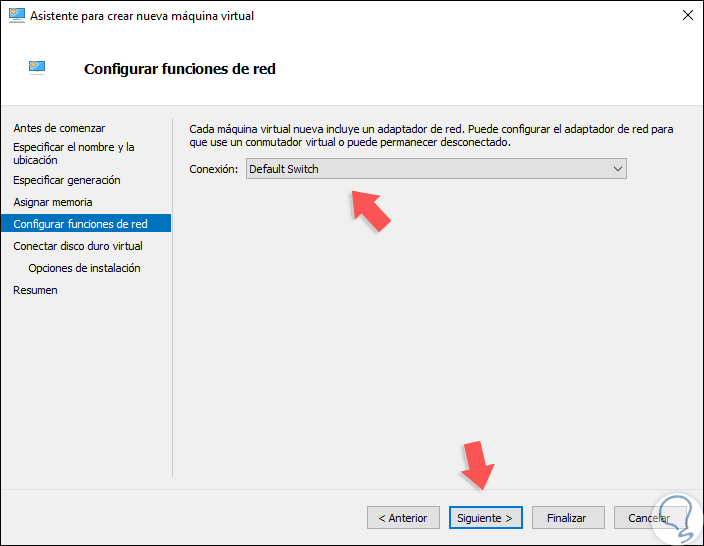
Step 6
Click on Next again and now it is possible to configure the appearance of the network, remember that in Hyper-V we must create virtual switches that bridge the network controller.
Step 7
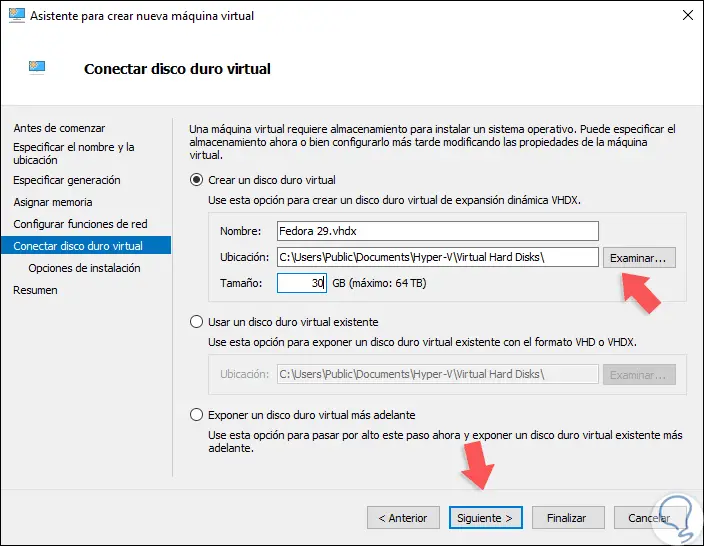
In the following window it will be possible to configure the path where the Fedora 29 virtual hard disk is to be stored as well as define its name and size:
Step 8
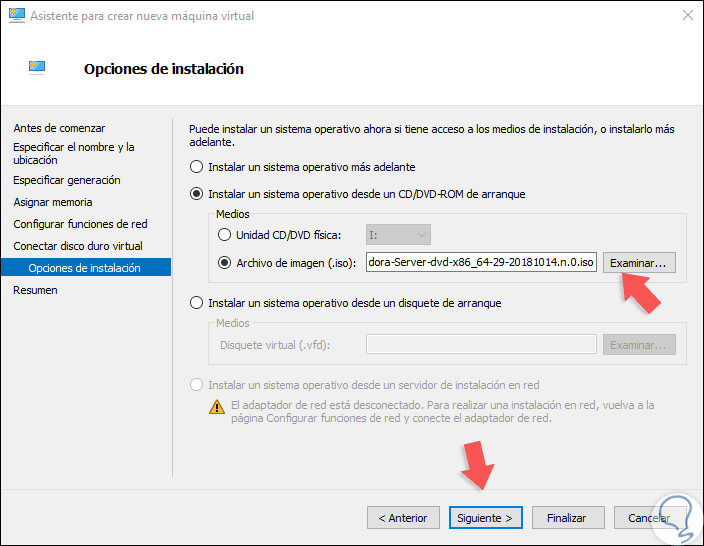
Once this is defined, click on "Next" and proceed to check the box "Install an operating system from a bootable CD / DVD-ROM" and then activate the option "Image file (.iso)" and select the Fedora image 29 Server that we have downloaded:
Step 9
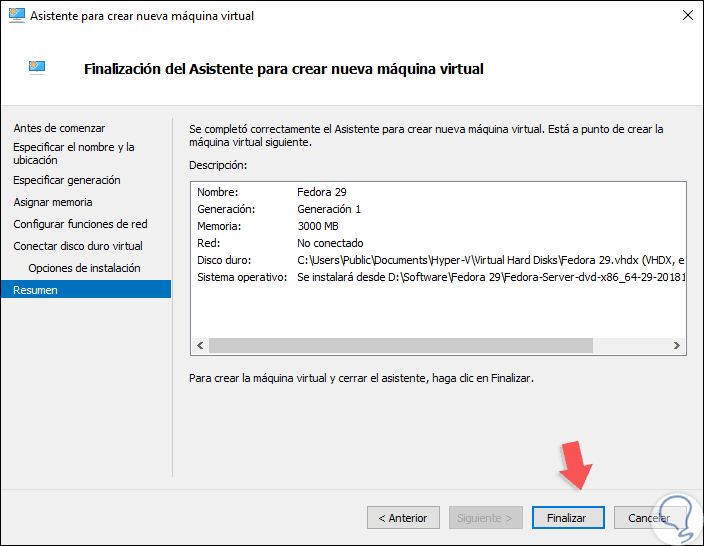
Click on Next and we will see a summary of the virtual machine to create:
Step 10
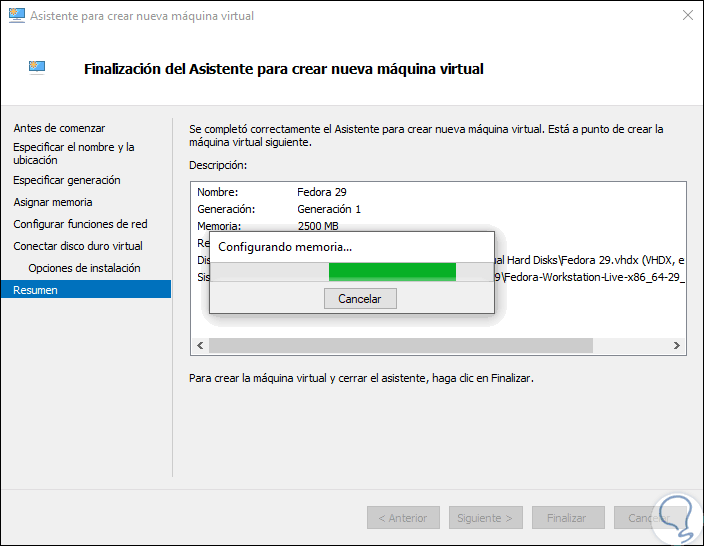
Click on the Finish button to apply the changes:
3. Run Fedora 29 Server virtual machine on Hyper-V Windows 10
Step 1
Now, we must connect the virtual machine and for this we have the following options:
- Click on the "Connect" button located on the right side of the machine configuration
- Right click on the virtual machine and select "Connect".
- Go to the "Action" menu and choose "Connect" there.

Step 2
We will see the following:
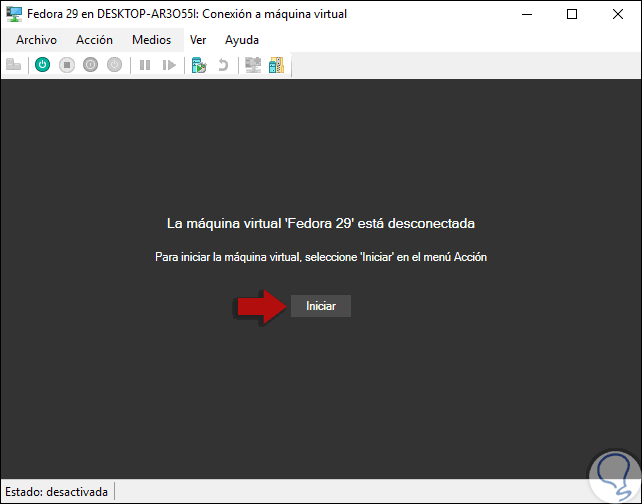
Step 3
There we must click on the "Start" button for the virtual machine to begin the installation process:
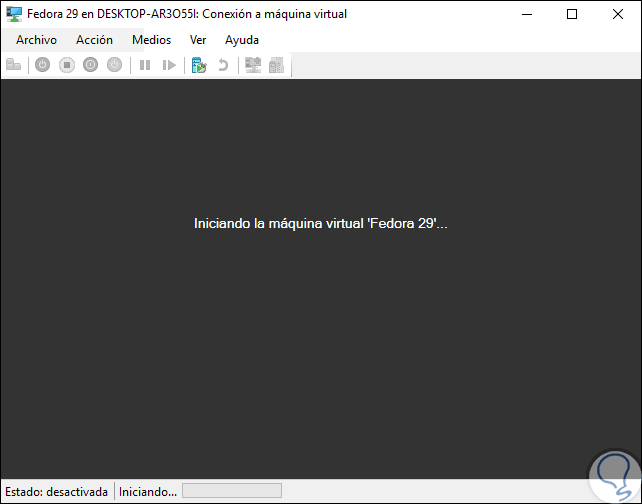
Step 4
Once this process is completed successfully, we will access the Fedora 29 Server menu:
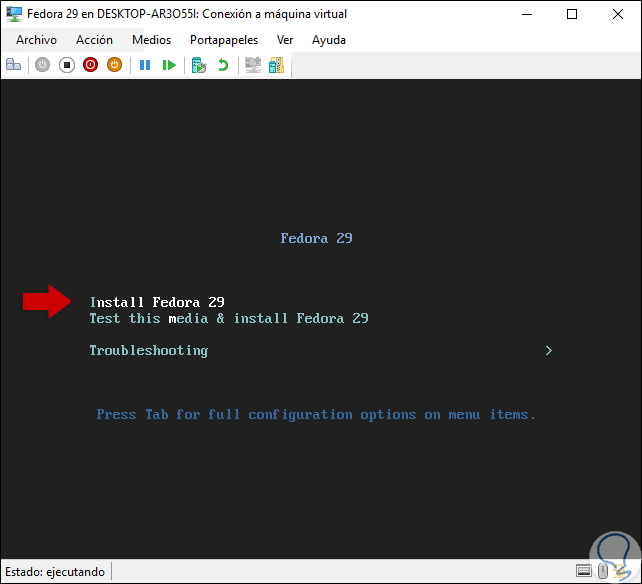
Step 5
There we have the following options:
Install Fedora 29
This option runs the direct Fedora 29 Server installer.
Test this media $ install Fedora 29
This option allows a previous analysis of the hardware components of the equipment and if everything is correct proceed with the installation.
Trubleshooting
Run a RAM, disk or CPU problem analyzer.
Step 6
In this case we select the first option and proceed to select the installation language of Fedora 29 Server:
Step 7
Once this is defined, click on “Continue†and the following message will be displayed:
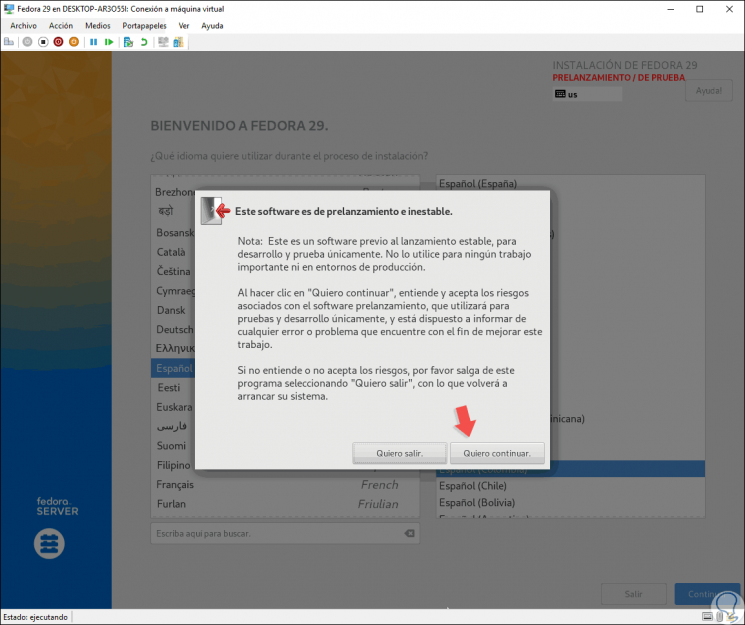
Step 8
It is a warning that the software to be used is for testing, so it is exposed to errors, and in the upper part we will see the legend "PROOF". In the next window we will see the following:
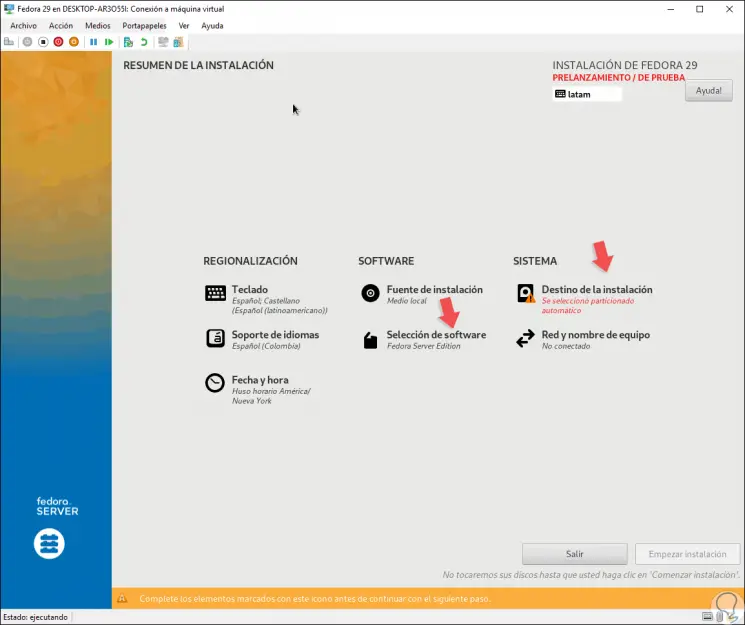
Step 9
There it will be possible to define parameters such as:
- Language and keyboard settings.
- Set the date and time of the system.
- Select the source of the installation (ISO image).
- Configure the network and the name of the device.
- Select the disk where Fedora 29 is to be installed.
- Choose the software to install.
Step 10
We will focus on two fundamental aspects that are:
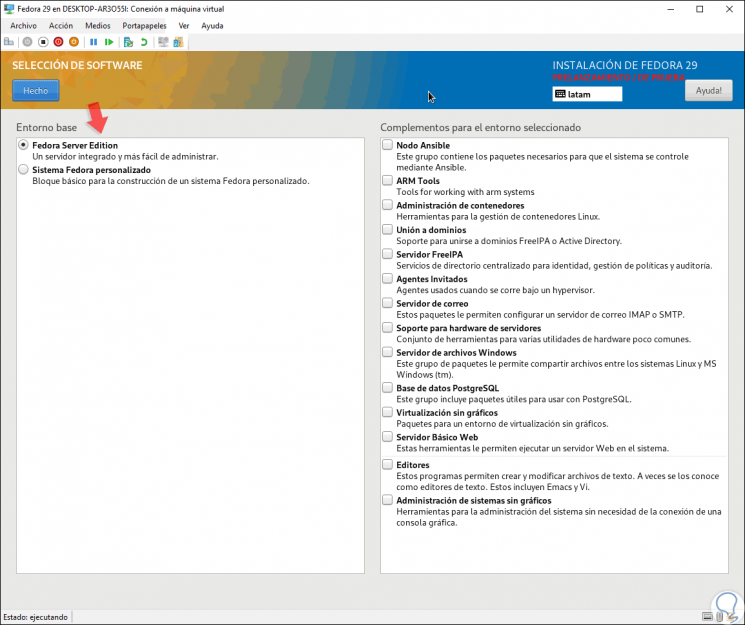
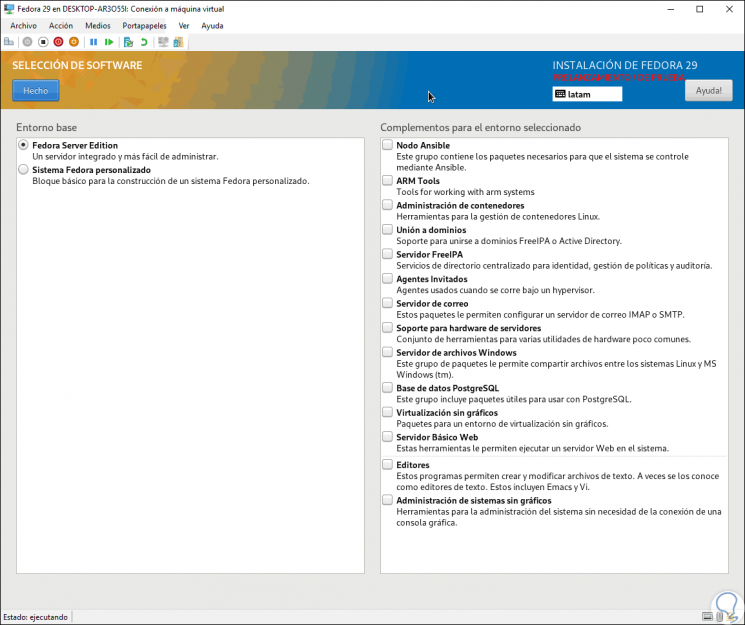
Software selection
When selecting this option we have two alternatives that are:
- Fedora Server Edition: The basics for the operation of server roles and services will be installed there.
- Custom Fedora System. Through this option we can define what type of additional software has to be installed on Fedora 29 Server, we have options such as ARM tools, container management, Ansible node, mail server, FreeIPA server, editor and more.
Destination of the installation
There we must define the hard disk on which Fedora 29 Server is to be installed.
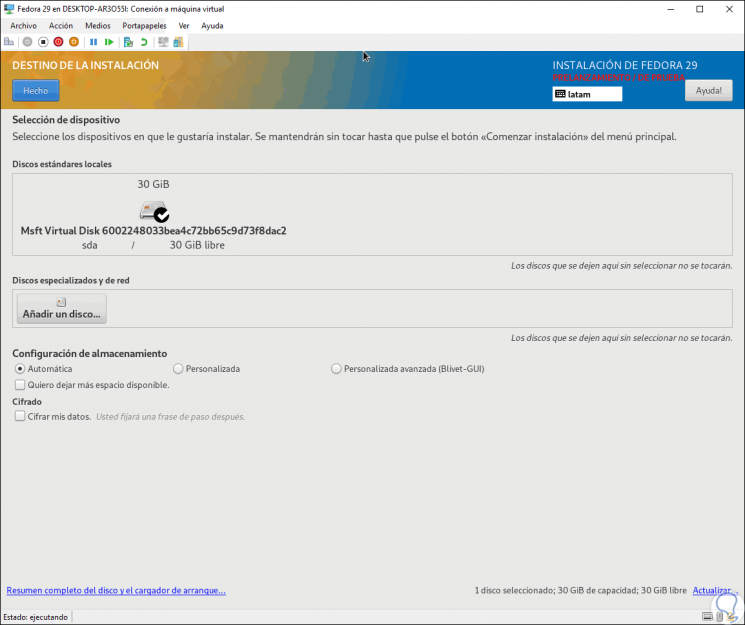
It will also be possible to add new disks or define how the existing disk will be managed, by default the “Automatic†option is activated, but we can activate the “Custom†box and configure partitions such as swap, home or root (/). Once the disc is selected, click on the “Done†button and we are ready to start the Fedora 29 installation process by clicking on the “Start installation†button:
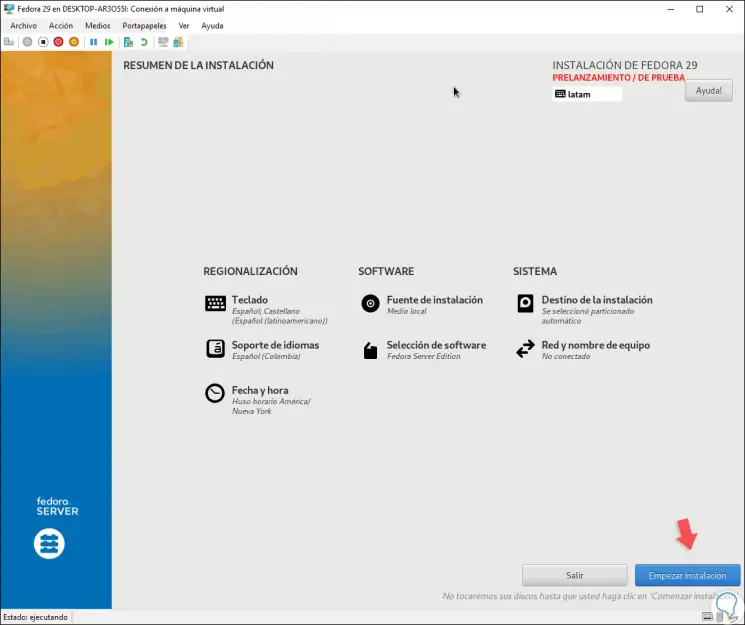
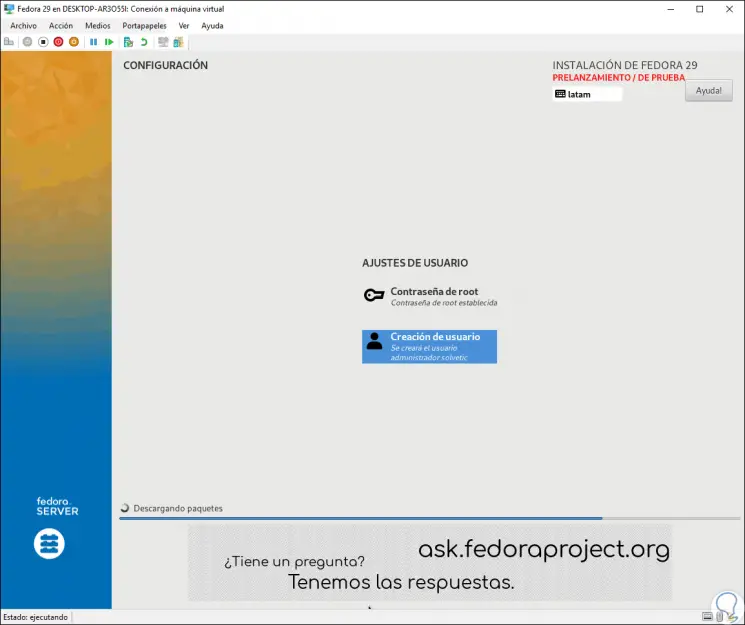
We will see the following:
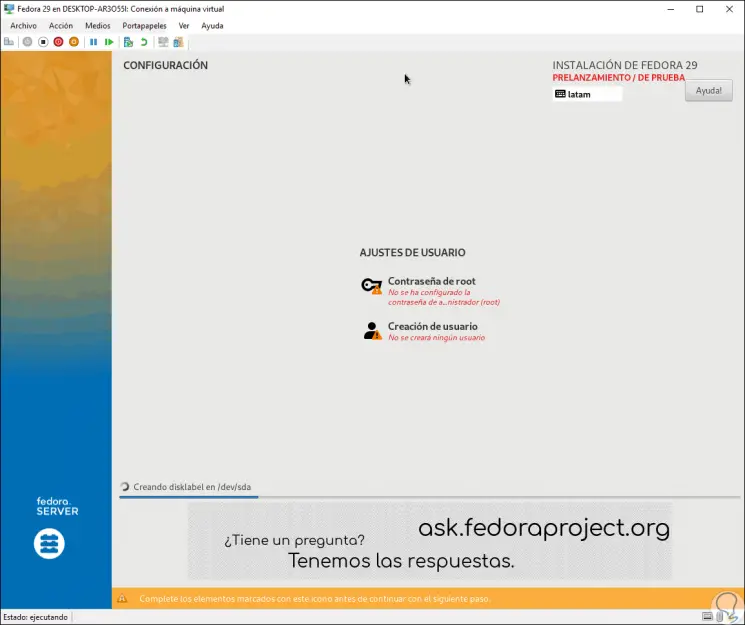
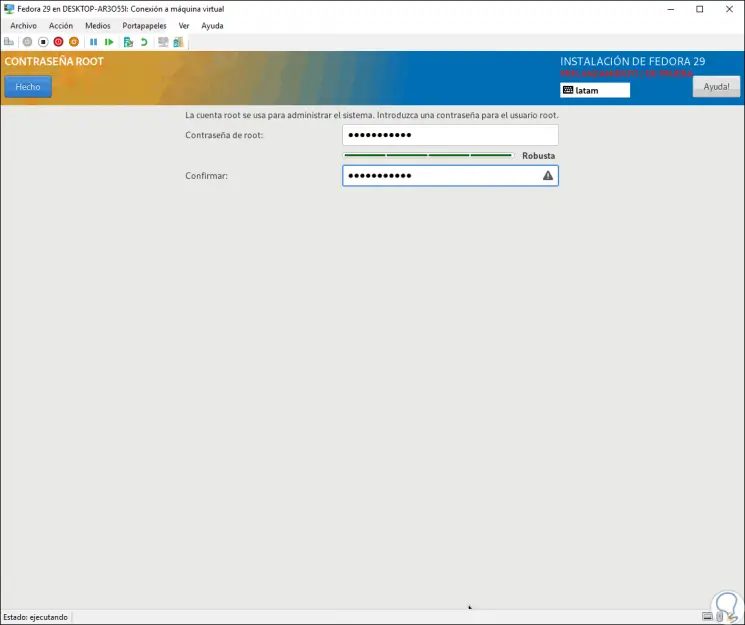
There we must configure and validate the root user's password:
Then, we configure the administrator user next to his password:
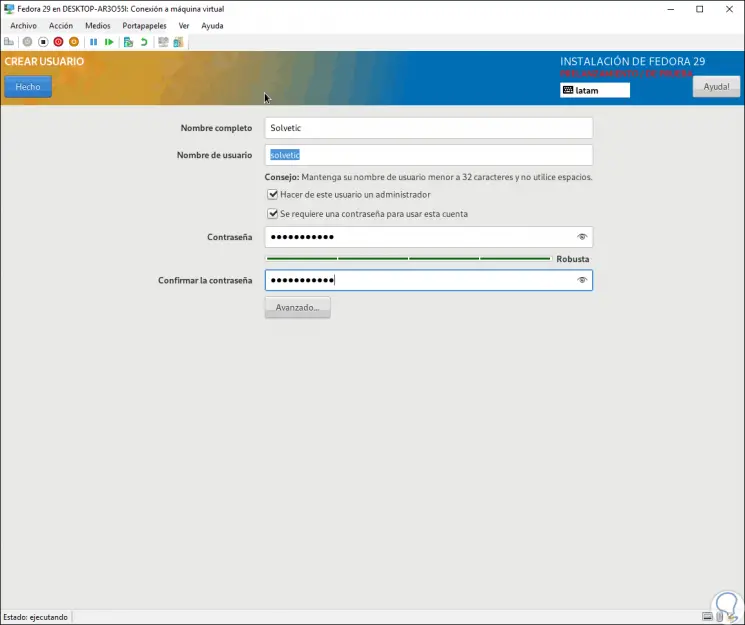
Defined this we can continue with the installation process of Fedora 29 Server:
Once this process is finished we will see the following:
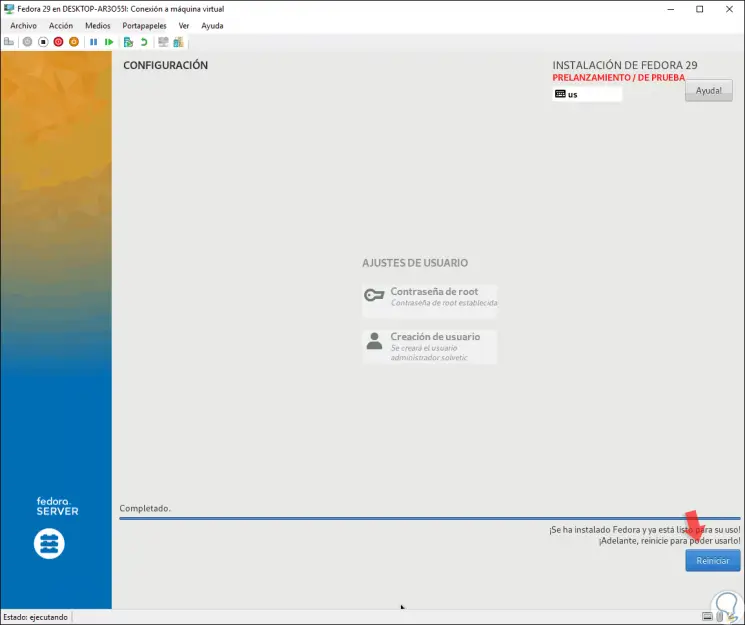
Click on the "Restart" button, eject the ISO image and we can access Fedora 29 Server with our registered credentials:
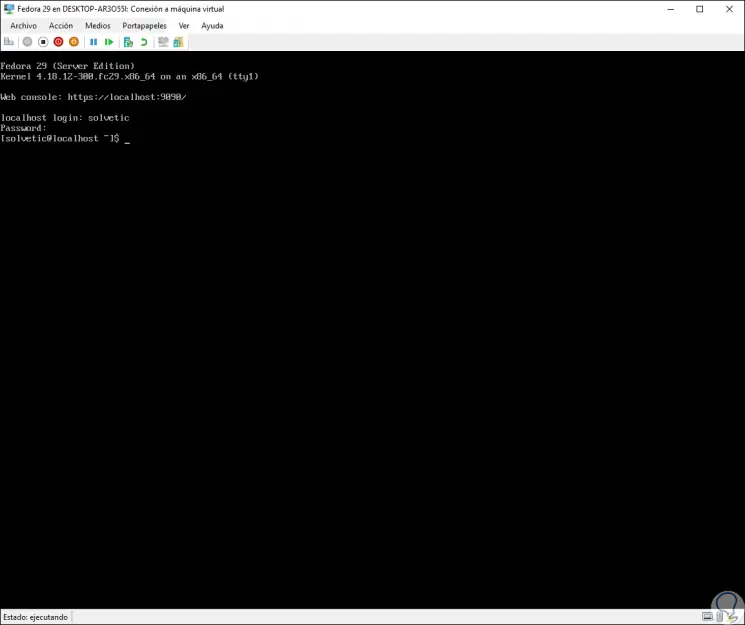
From this moment we can also configure Hyper-V with the improved session to enjoy better features during the virtual machine management process. Thus, we have learned to install Fedora 29 Server on Hyper-V.