One of the most comprehensive virtualization solutions is VMware , which gives us a wide range of professional functions in everything related to virtualization; allowing to have control of each virtual machine that is created regardless of its operating system..
Thanks to the creation of a virtual machine, it is possible to incur extra hardware or water risks when running test or launch systems in a real environment, as this could have a negative impact on both the information hosted there as in the equipment configuration.
VMware features
- High availability, as it offers protection against hardware failures.
- VMotion function, which allows moving virtual machines that are running on one host to another with a single click.
- Linked clones, which are copies of virtual machines created from a snapshot of a single main VM.
- VMotion storage, whereby it will be possible to move the virtual machine disk files between several storage spaces without affecting them.
- VNetwork distributed switch, which allows provisioning, administration and monitoring of virtual machines using a combination of network clusters.
- Site recovery manager, thanks to which data can be recovered in case of a disaster and more functions.
VMware is available for your trial download from the official website you have it at the following link:
VMware
The launch of the new official version of Fedora 29 in its editions Workstation (desktop) and Server (Servers) includes new features such as:
What's new in Fedora 29
- Hiding the GRUB menu if a single operating system is installed.
- System based on modularity.
- Integration of GNOME 3.30 in the case of the Workstation edition and many other features.
Because this system is still in beta, that is, testing, what better opportunity than to use VMware to virtualize it and know in detail these developments before the official launch of the stable version is made..
The ISO image of Fedora 29 is available at the following link:
Fedora 29
Note
For this tutorial we will use Fedora 29 Workstation.
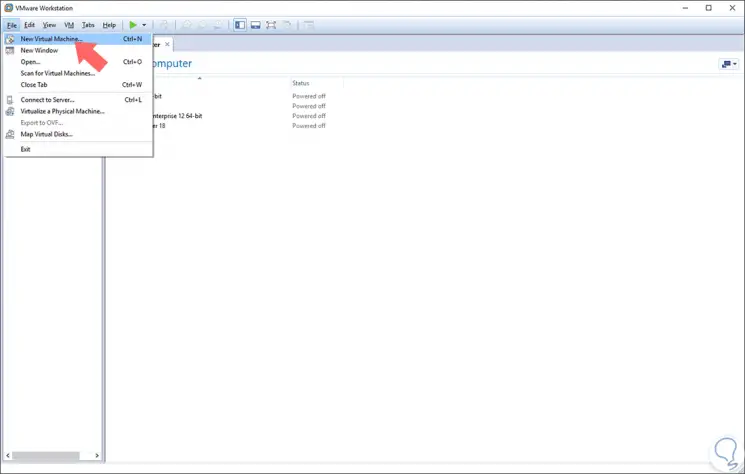
Step 1
To start this process we will create the virtual machine using one of the following options:
Option 1
Go to the "File" menu and there select the option "New Virtual Machine"
Option 2
Use the key combination:
+ N Ctrl + N
Option 3
Click on the "New" button located in the VMware central panel
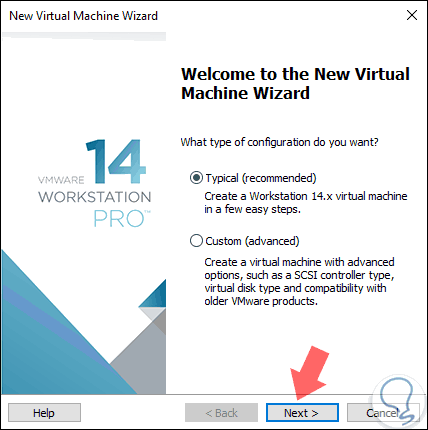
Step 2
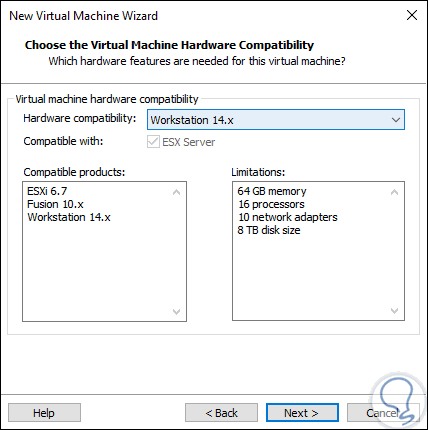
The following wizard will be displayed. There we can select the classic option or the advanced option with which it will be possible to define specific machine parameters such as SCSI controllers, hardware compatibility and more. This is the vision of the advanced option.
For this case we will use the Typical option and click on "Next"
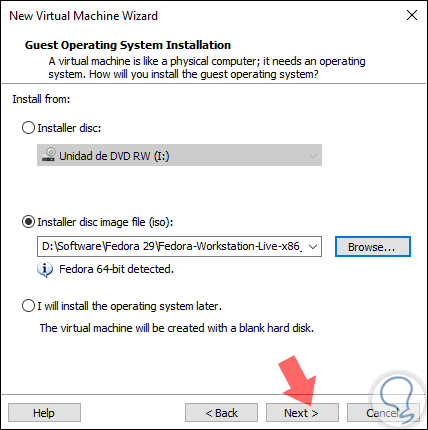
Step 3
We must select the Installer disc image file (.iso) option and go to the path where the downloaded ISO image is hosted. We can see that VMware automatically detects the version and architecture of the image. Click on the "Next" button.
Step 4
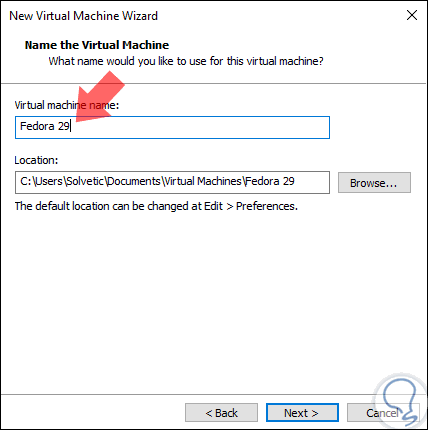
Next we define the name and route where the Fedora 29 virtual machine is to be stored. Again click on "Next".
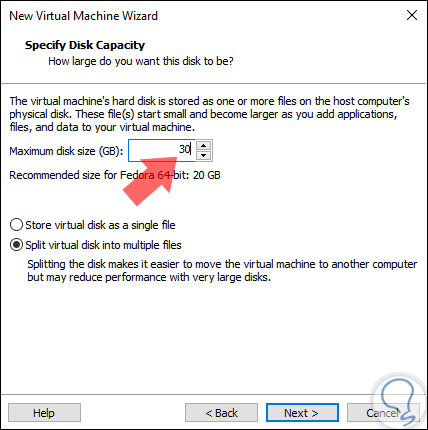
Step 5
Now we assign the size of the hard disk and the type of storage, there we have the following options:
Store virtual disk as a single file
Create the disk as a single single file of fixed size.
Store virtual disk into multiple files
Create the disk dynamically which will increase as information is saved in it.
Step 6
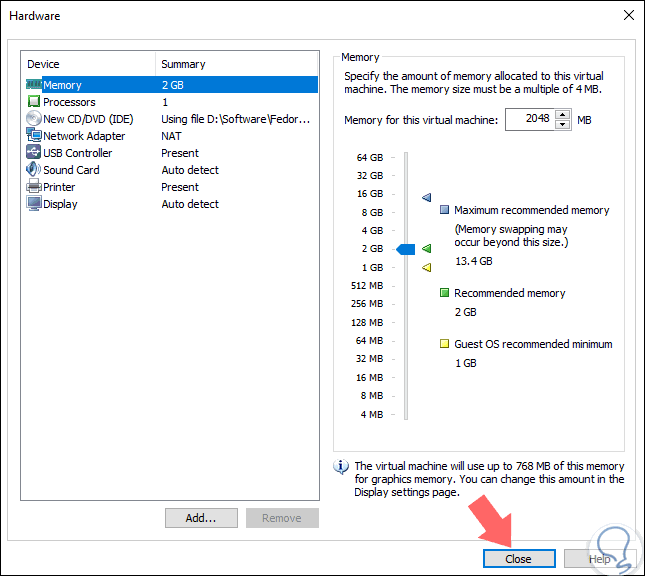
In the next window we will see a summary of the virtual machine to create. There we can click on the "Customize hardware" button to access the general configuration.
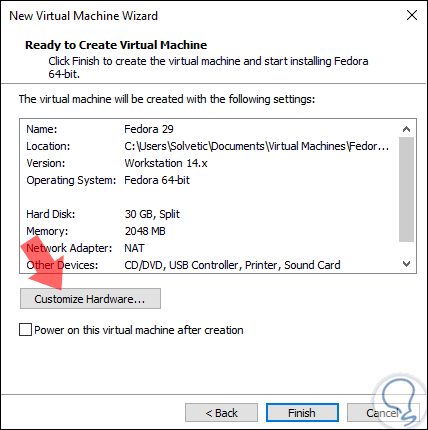
Here we can set parameters such as:
- Configure the network (NAT, bridge, etc.).
- Define the number of processors.
- Enable USB ports and printers and more.
Once this is configured, click on the "Close" button.
Step 7
We will see the virtual machine created and ready to start the process:
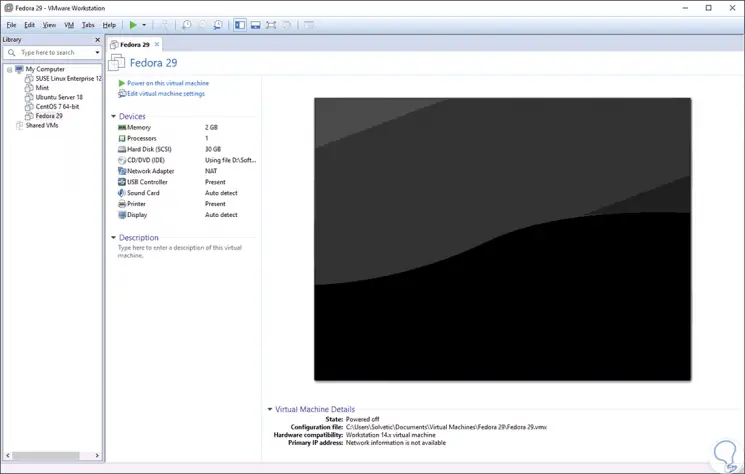
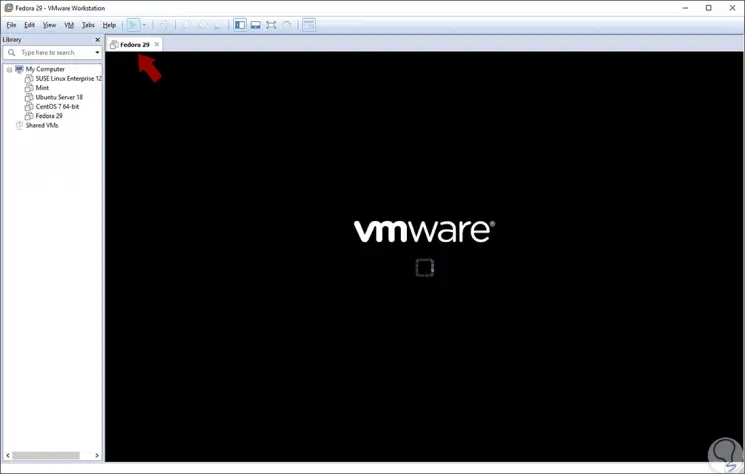
Step 8
There we click on the play sign located at the top and the VMware load will begin:
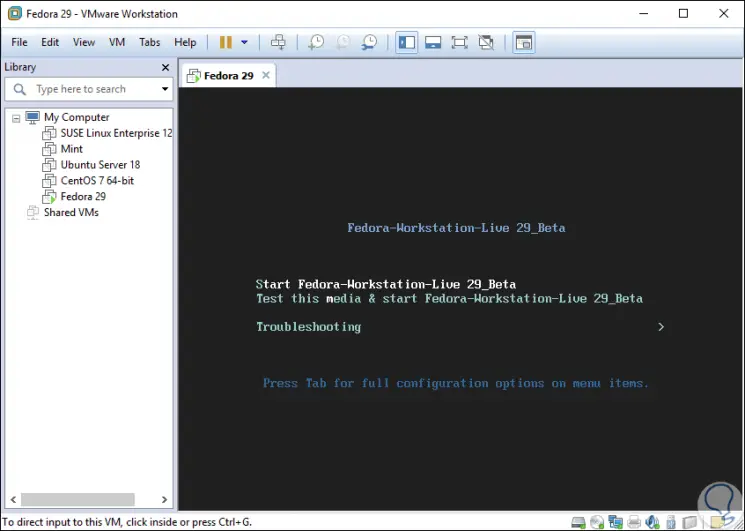
Step 9
After this we will see the main menu of Fedora 29 where we have options such as:
Start Fedora-Workstation-Live 29 Beta
This option allows you to perform the Fedora 29 test before installing it locally, it is the option that we will select for this tutorial.
Test this media & start Fedora-Workstation-Live 29 Beta
With this option it will be possible to check the basic system requirements and proceed to run Fedora 29 if everyone passes the test.
Troubleshooting
This option allows us to solve problems associated with the hardware of the equipment.
Note
Remember that to exit the virtual machine and return to the physical equipment we must use the keys:
+ Alt Ctrl + Alt
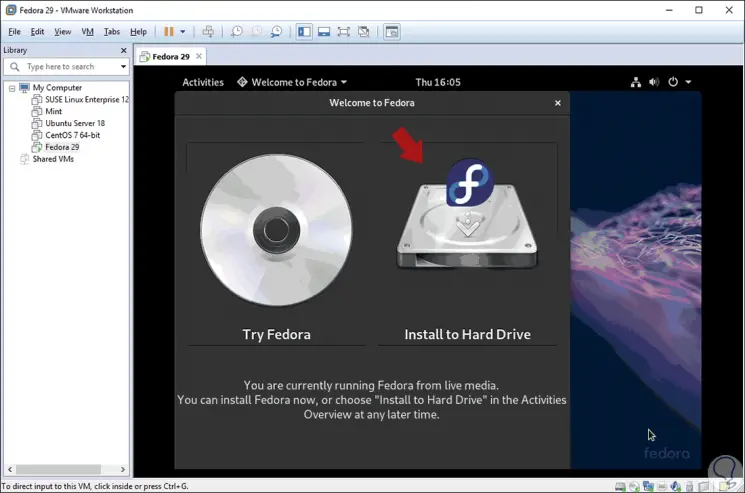
Step 10
Once we select this option we will see the following. There we can test Fedora 29 Beta to analyze its functions or click on the "Install to Hard Drive" option to perform the local installation which is the option we will use in this case.
Step 11
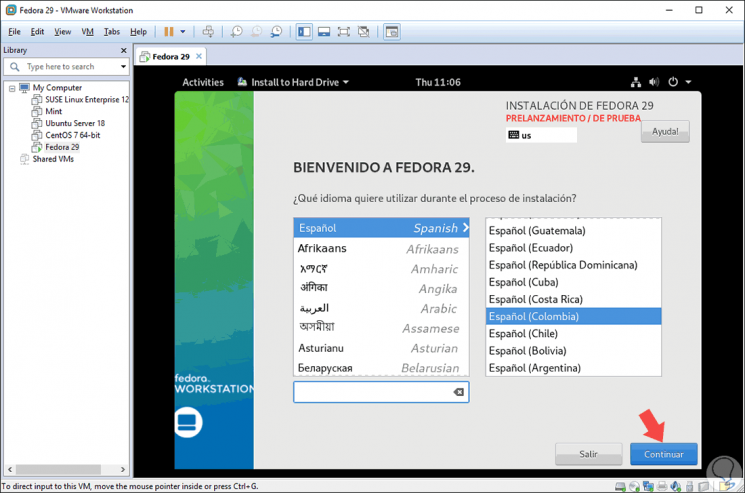
First, we must configure the installation language:
Step 12
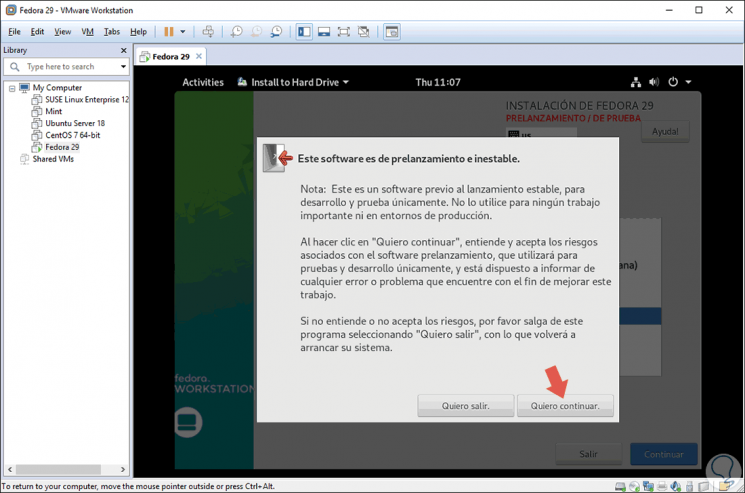
Selected this the following warning will be displayed indicating that it is a test system. Click on the "I want to continue" button.
Step 13
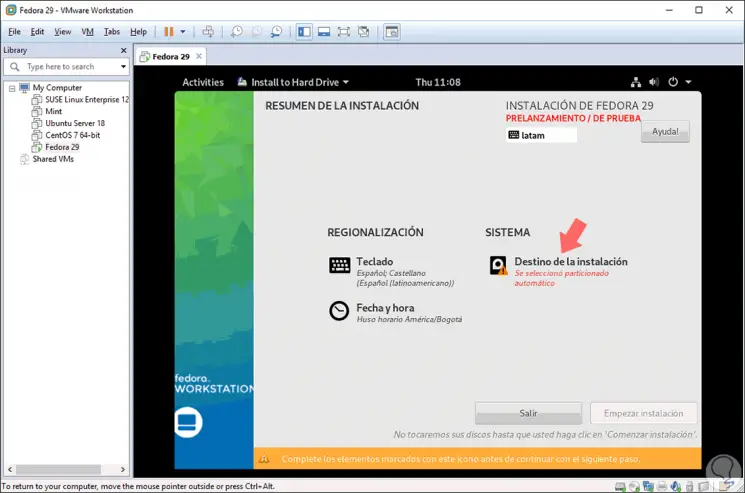
The following will be displayed. There we can configure the keyboard, date and time of the system, but by obligation we must click on the "Installation destination" option.
Step 14
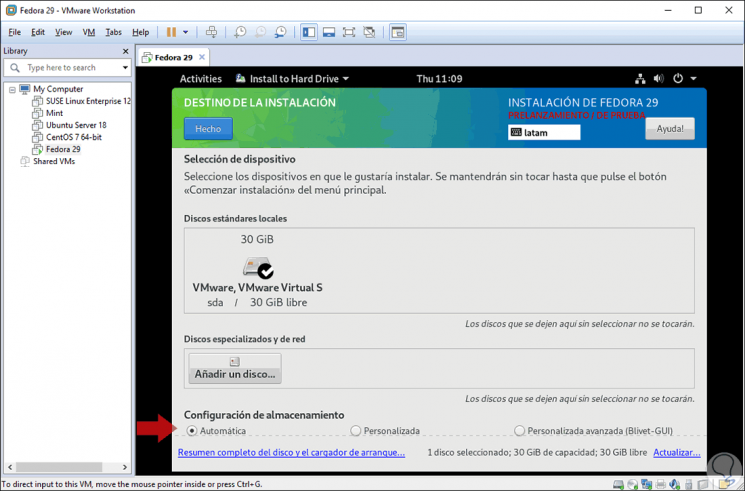
We will see this, by default the option to use is "Automatic" for the disk partitioning issue. We can click on the "Custom" box and then on the "Done" button if we want to manually configure these values.
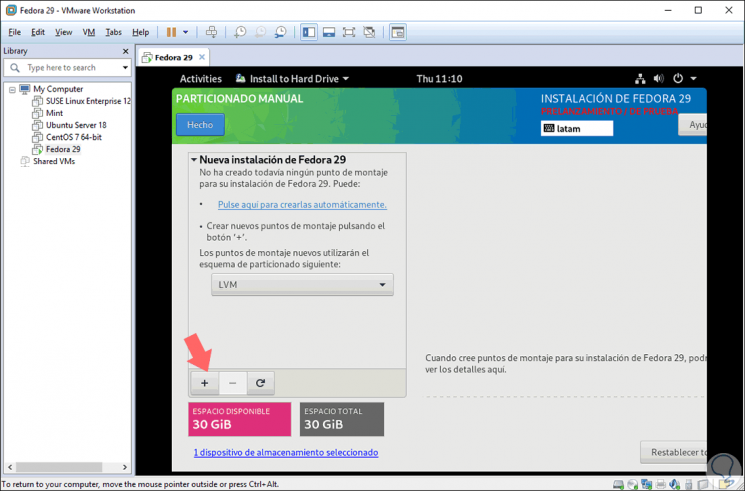
Step 15
There we must click on the "+" sign and define each mount point with its respective size, we can select mount points such as root (/), swap swap memory, home directory, etc.
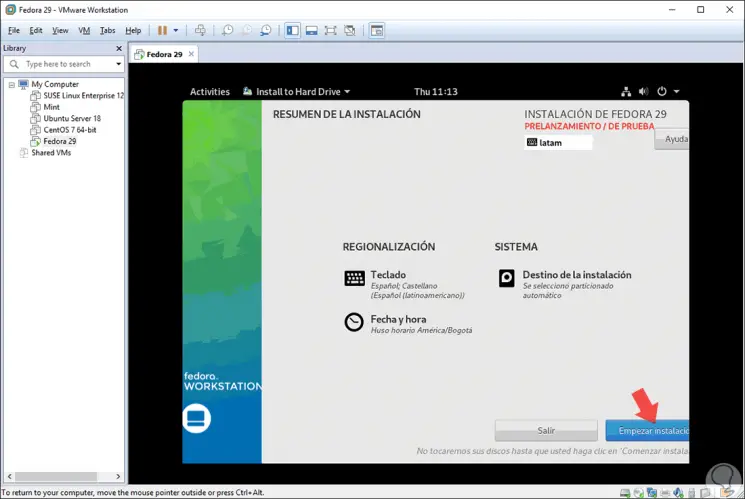
Step 16
Based on the desired option, if all is well, we will return to the main screen where it will be possible to start the installation process by clicking on the "Start installation" button:
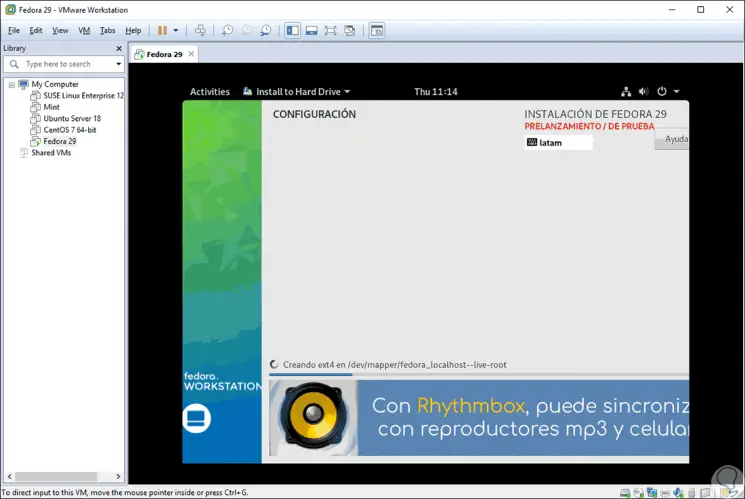
Step 17
There we must wait for the system to configure all the values ​​that we have established:
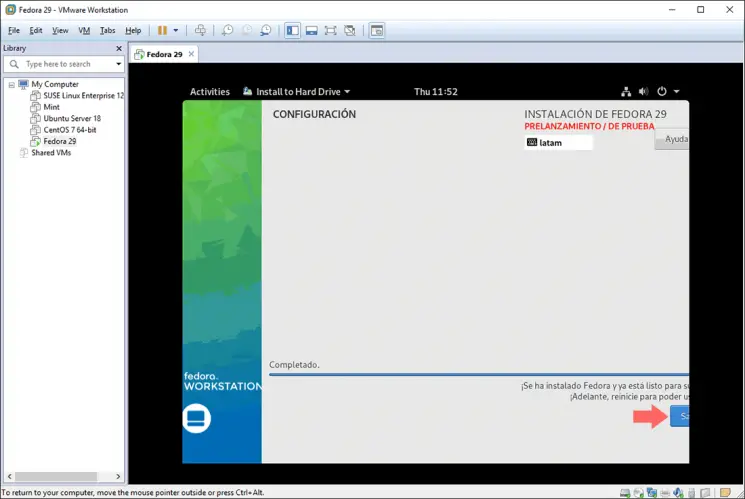
Step 18
Once this process is finished, we will see the following message indicating that the installation was correct. There we click on the "Exit" button and the system will be restarted to access the new Fedora 29 environment:
Note
The Fedora 29 full screen is not visible because the VMware tools have to be installed which allow all the functionality of file sharing, accepting printers and USB and display settings to be active.
Step 19
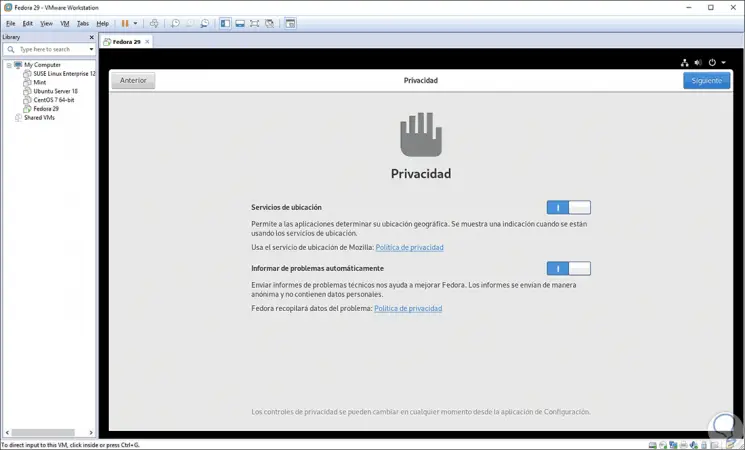
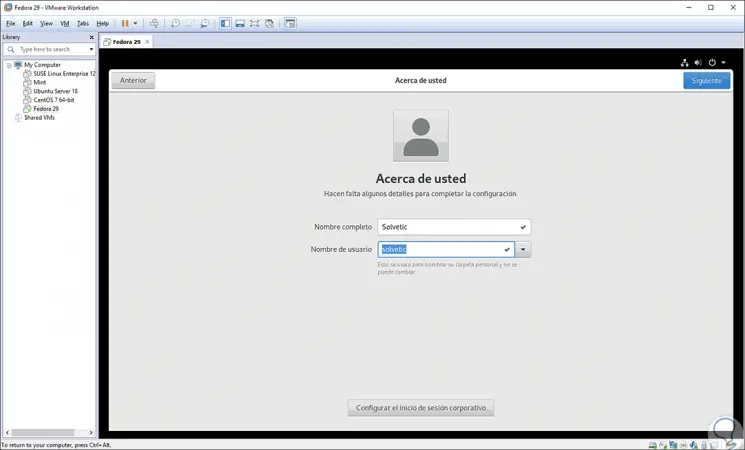
Once the system loads, the following welcome wizard will be displayed. There we can link accounts and it will also be necessary to assign a user along with their access credentials
Step 20
Then it will be possible to start using Fedora 20 Workstation in VMware and thus know each of its main advantages.
As we can see, with this process we have installed Fedora 29 in VMware to virtualize this powerful system without affecting physical equipment..