Word is the leading program for creating, editing and managing text and is part of the Office suite and is available for different operating systems for both PC and mobile. The essential part of Word is its fonts, and although Word brings a wide set of these in styles, sizes or presentation, it never hurts to resort to external fonts so that our presentations are much more comprehensive and that the visual impact (as long as content allows) may be unique..
TechnoWikis will explain how to install fonts in Word for macOS from Dafont and thus be able to customize all the designs and layouts in text that you have to do from Word. Remember that Word already has a wide list of fonts that we can customize with color and other effects, if you like any external source here we can see how to obtain it.
What is dafont
Dafont is a website from where we will have hundreds of fonts that are freeware, shareware or public domain without affecting copyright. There are more than 15 categories of fonts alli9 and TechnoWikis will explain how to install a new font for Word in macOS from dafont.
We also leave you the video tutorial to install DaFont fonts in Word Mac..
To stay up to date, remember to subscribe to our YouTube channel! SUBSCRIBE
How to install Dafont fonts in Word for macOS
Step 1
The first thing is to go to the official Dafont site at the following address:
Dafont
Step 2
There we will see the following:
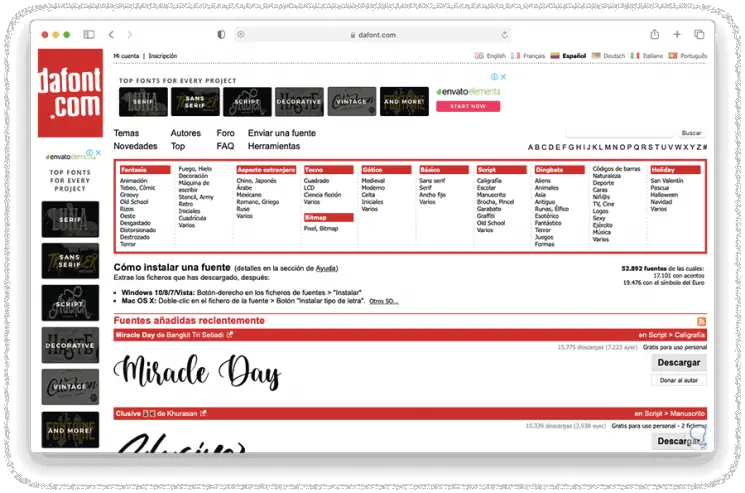
Step 3
As we can see there are different categories and styles to choose from, when we locate the desired font, we click on it and we will see the following:

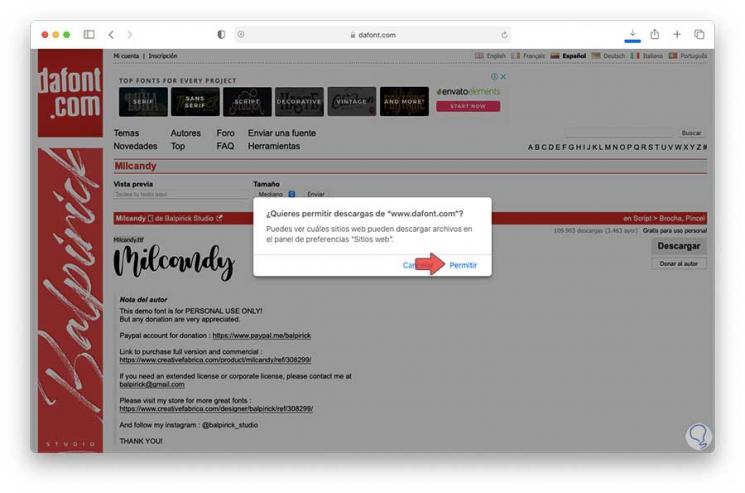
Step 4
In this case we have selected the "Milcandy" source, we click the Download button and in this case macOS Big Sur will request permission to download. We click on "Allow" to proceed with the download of this font.
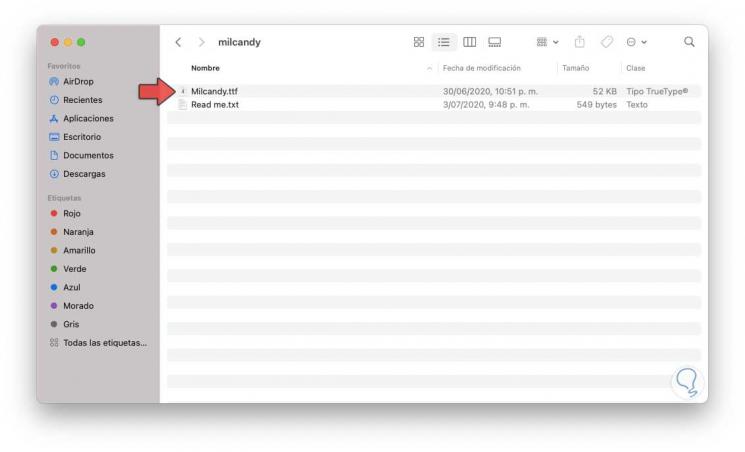
Step 5
Once downloaded, we open the folder that has been downloaded and there we will see the font in TTF format, which is the format for all fonts in macOS:
Step 6
We double-click on this source and the following window will be displayed where we will observe the variables of this source:
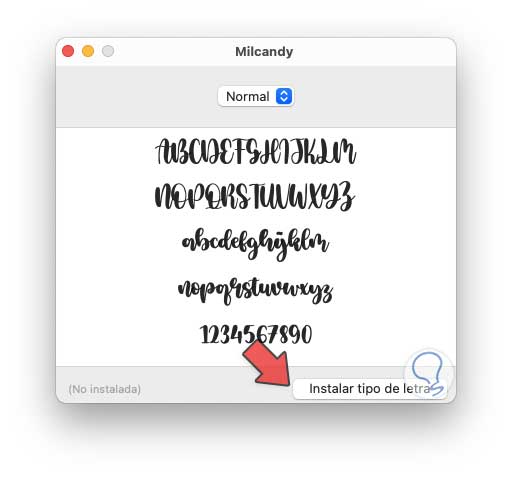
Step 7
To install it and be able to use it, click on the "Install font" button and the font validation process will start:
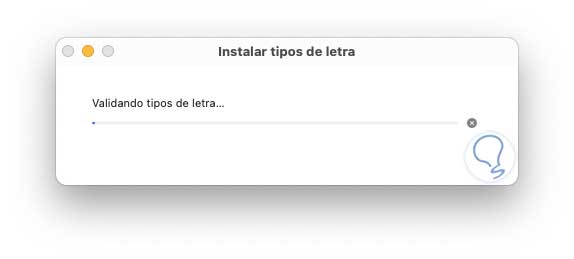
Step 8
Once it is validated by the system, the containing folder where that particular font has been installed will open:
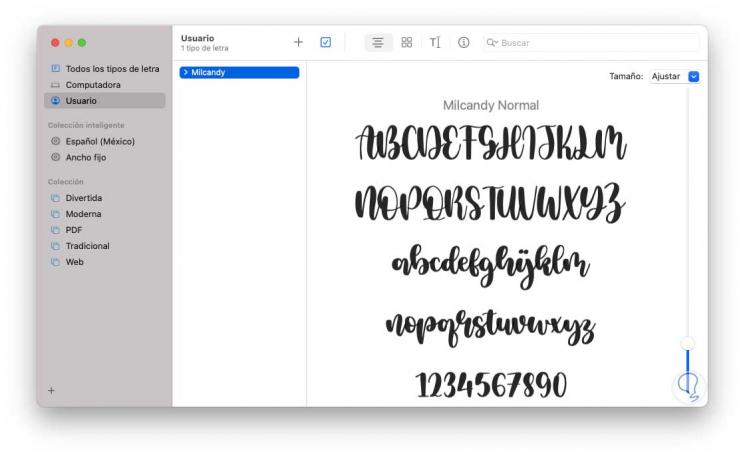
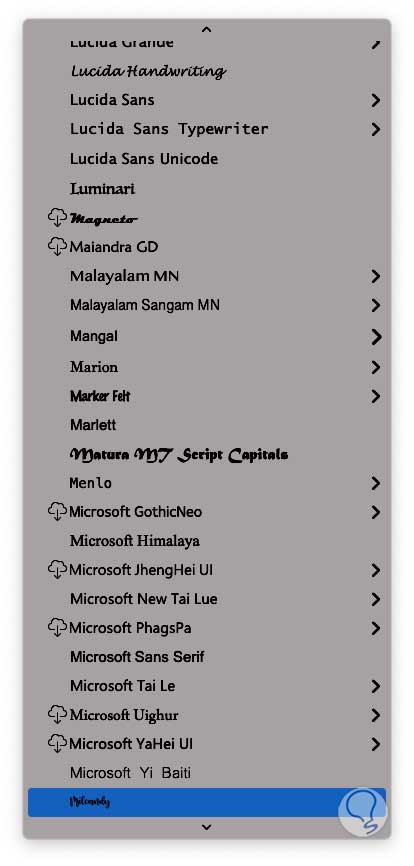
Step 9
We can close this window, when we access Word on macOS, we can locate the font that we have installed from the fonts section:
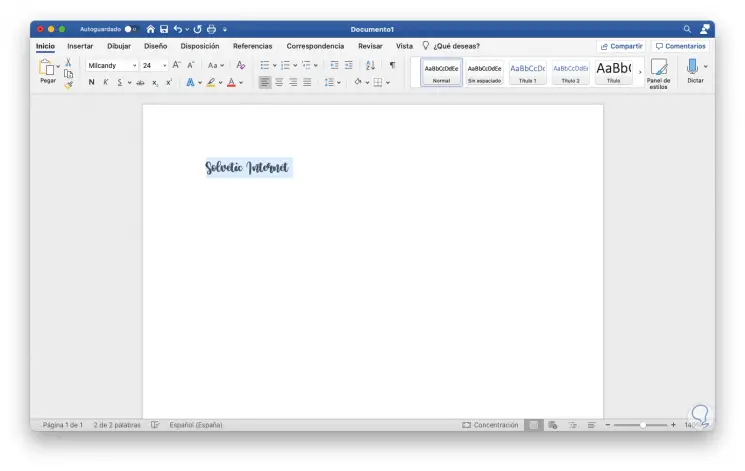
Step 10
We select it and we can now use it as the case may be:
It's that simple to add fun new fonts in Word for macOS and have better options when writing your documents.