Today we work with the computer to do a lot of things, since the possibilities it offers us are increasing. There is no doubt that one of the main ones is the creation of documents , since from our computer we have the possibility to modify them, add new things, mark them to our contacts or simply save that information for us..
Microsoft Word is the program most used by millions of users for everything related to text editing . This not only implies words since Word allows us to insert many more objects, but sometimes this process leads to blank sheets remaining in the final file. This will obviously increase the size of the file and visually it will not be fitting that sheets without content are in the content of the document in Word.
In the case of macOS we can eliminate the blank sheets using a simple but functional method. TechnoWikis will explain how to remove a blank sheet of Microsoft Word in macOS..
To stay up to date, remember to subscribe to our YouTube channel! SUBSCRIBE
How to delete a blank sheet of Word in macOS
Step 1
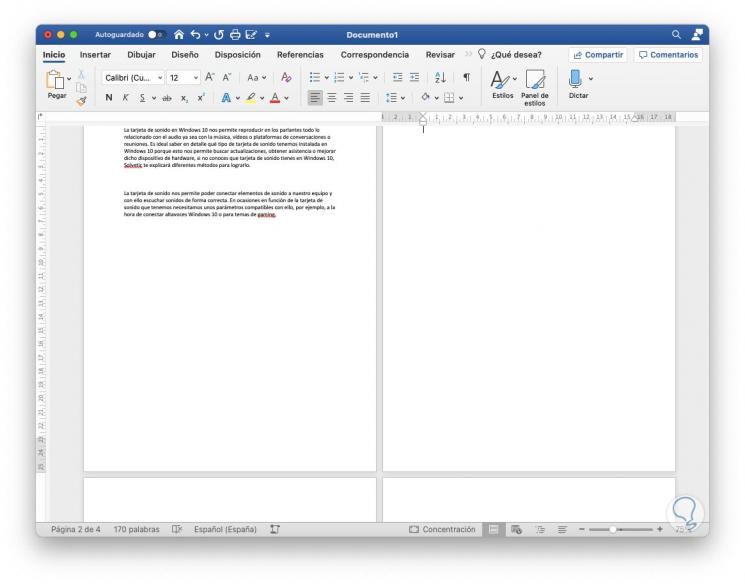
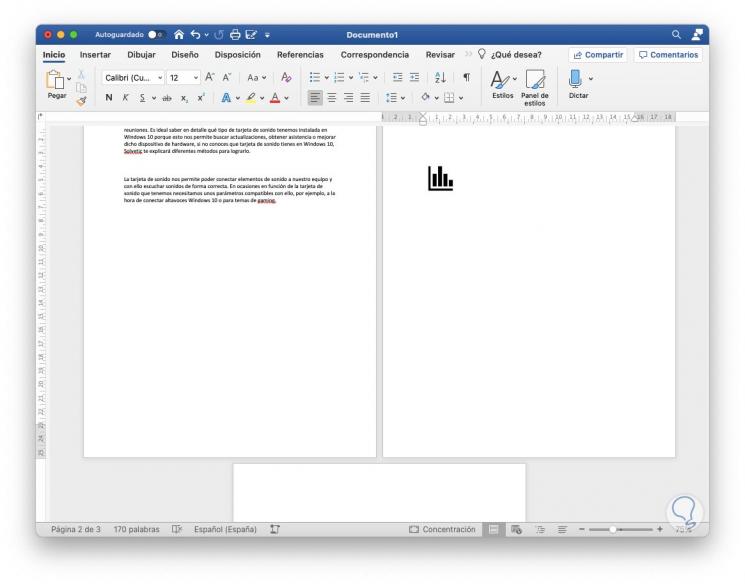
In this case we can see that the second sheet of our Word file is blank:
Step 2
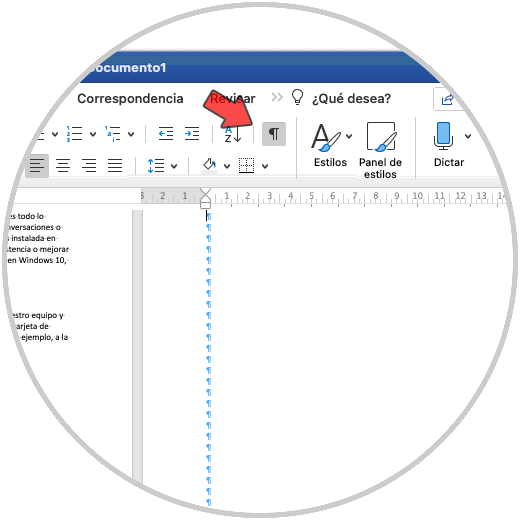
To eliminate it, we place the cursor on it and from the Start menu we click on the icon "Show or hide format marks" just next to style and we will see the following in the document:
Step 3
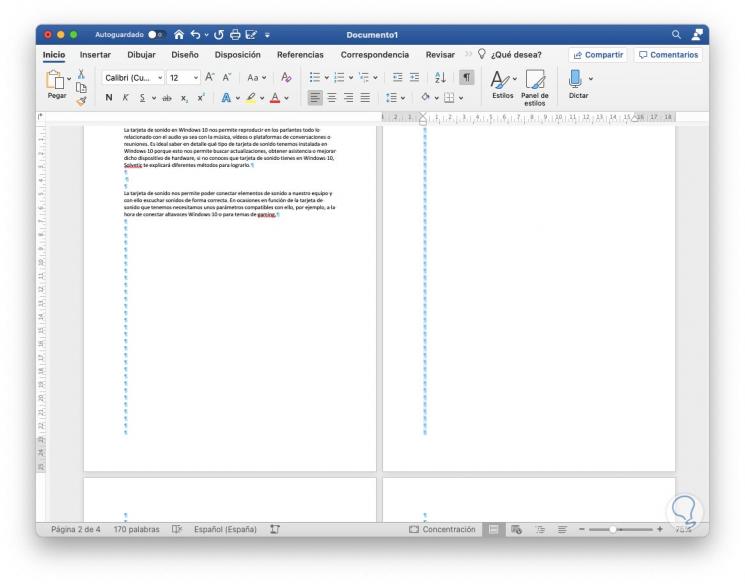
To remove the blank sheet, we select all the format marks for the blank sheet:
Step 4
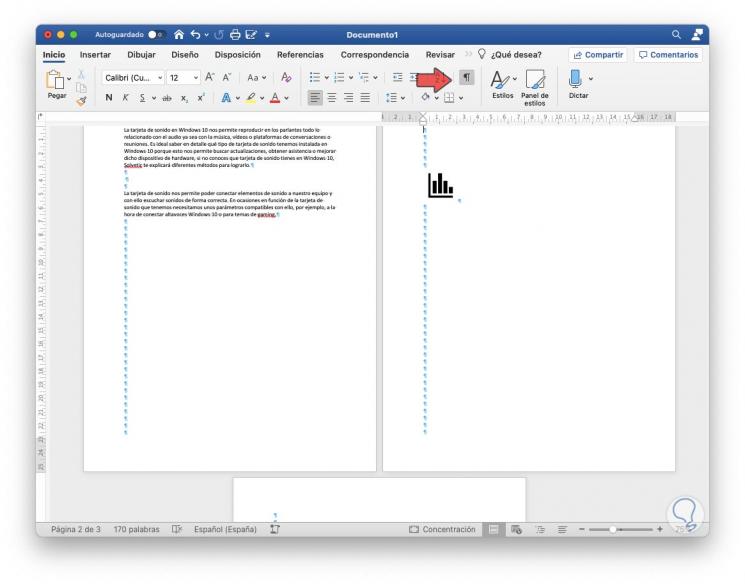
Now we press the Delete key in macOS (left arrow key), this removes the formatting marks and with it the blank sheet, the content of the following sheet will ascend to this location:
Step 5
After this we click again on the icon of "Show or hide format marks" to see the sheets in their normal view:
As we mentioned, it is a simple but functional process to remove blank sheets in Word for macOS.