Microsoft Word is part of the Office suite and where thanks to its integrated features we can manage all the data in a much more dynamic and centralized way, when it comes to a lot of text in Word. In this case Word for macOS, it is possible to change the orientation of the pages, whether it is horizontal or the default value which is vertical so that the content is more readable..
The default Word configuration that programs give us is not always good for us, and that is why Word has sheet configuration options to adapt to your needs. TechnoWikis will explain how to set a horizontal sheet in Word for macOS and thus have this option when working with text.
We also leave you the video tutorial to know how to horizontally place a single sheet in Word Mac..
To stay up to date, remember to subscribe to our YouTube channel! SUBSCRIBE
1. How to horizontally only one sheet in Word Mac
Step 1
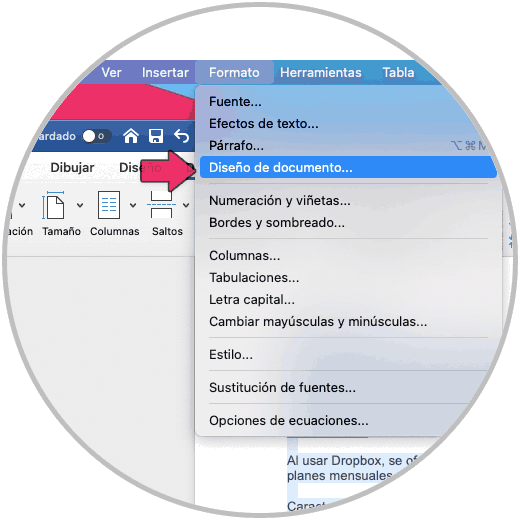
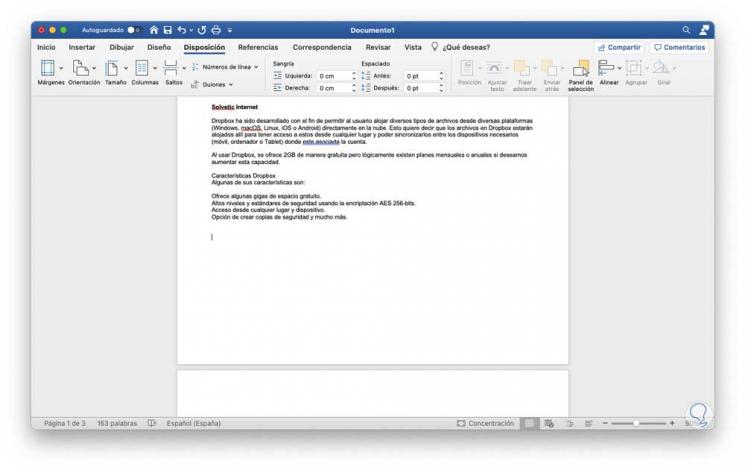
For this we open Word and select the text to edit, we go to the menu "Format - Document Design":
Step 2
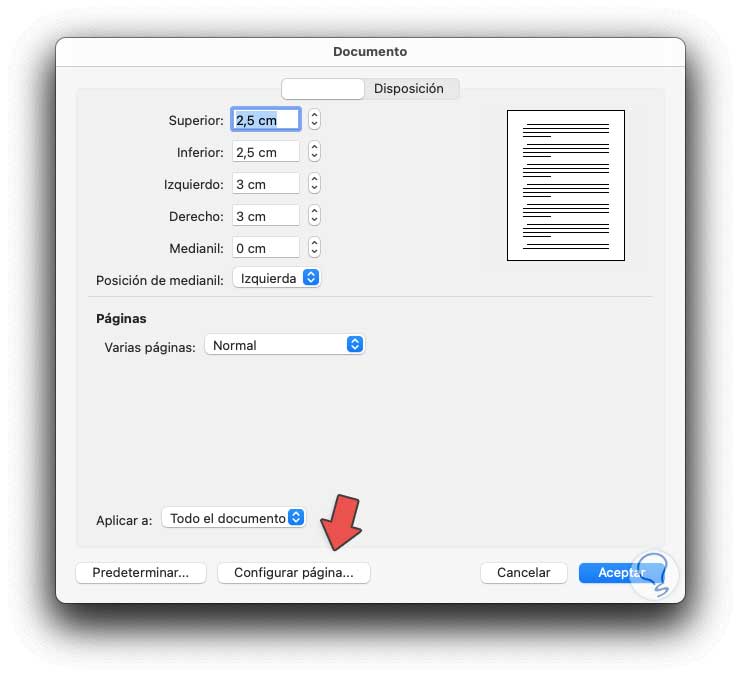
By clicking there the following window will be displayed:
Step 3
We click on "Configure page" and we will be redirected to the following window:
Step 4
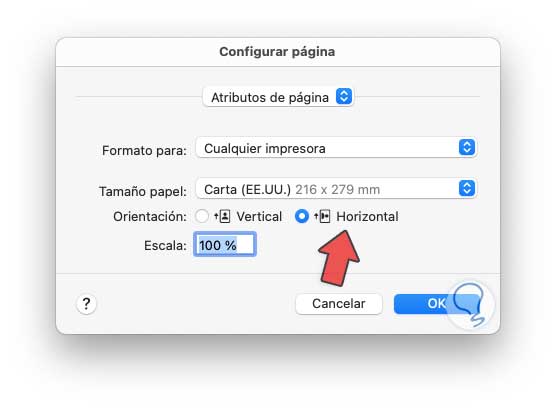
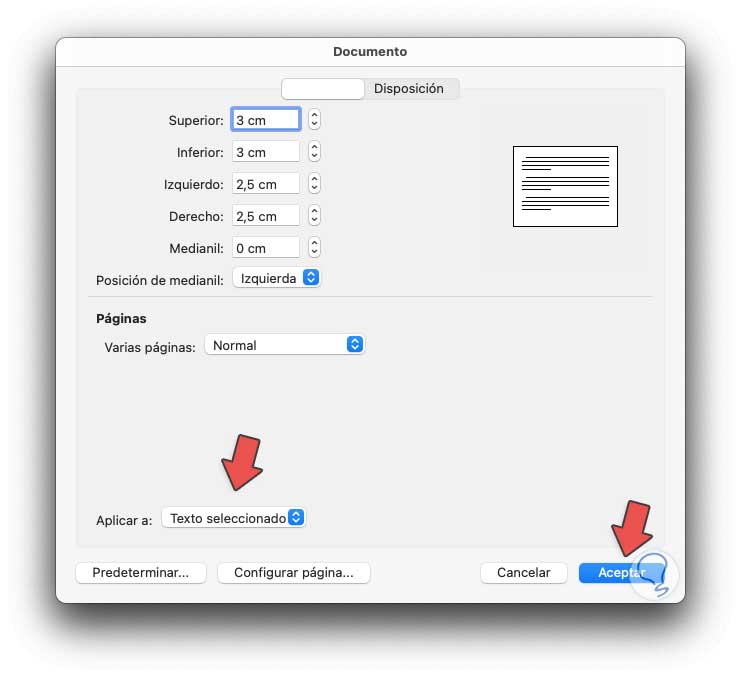
There we activate the "Horizontal" box and click OK, now in the document window we establish "Selected text" in the "Apply to" field:
Step 5
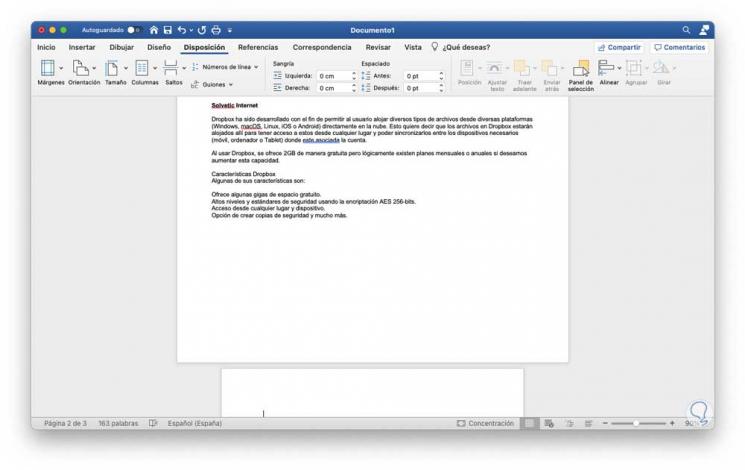
We click OK and we will see only the selected text in horizontal orientation:
2. How to horizontally all the sheets in Word Mac
Step 1
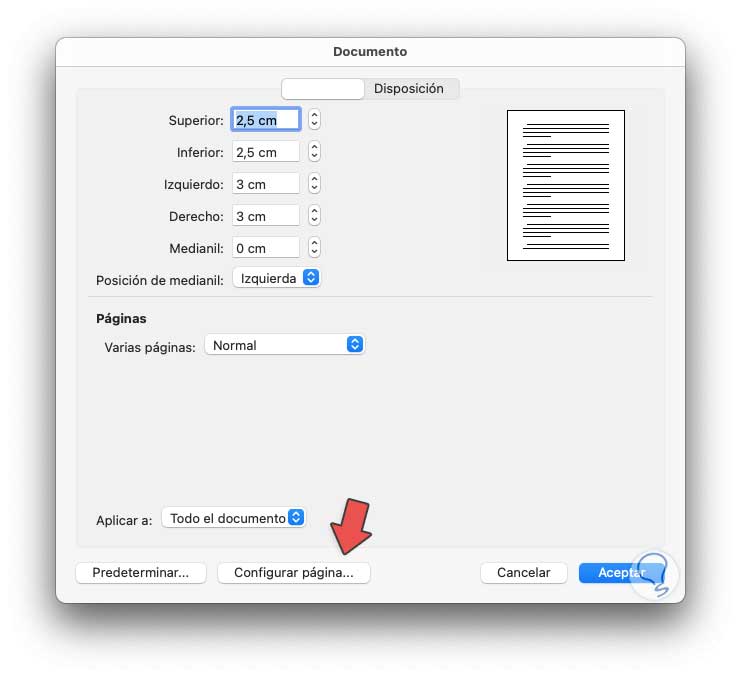
We open the document and again go to the menu "Format - Document Design":
Step 2
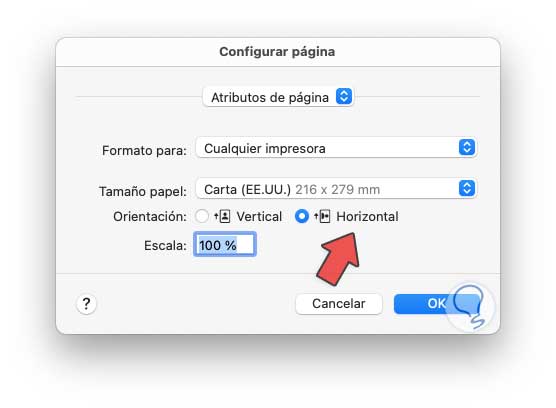
We click on "Page Setup" and in the next window we activate the "Horizontal" box:
Step 3
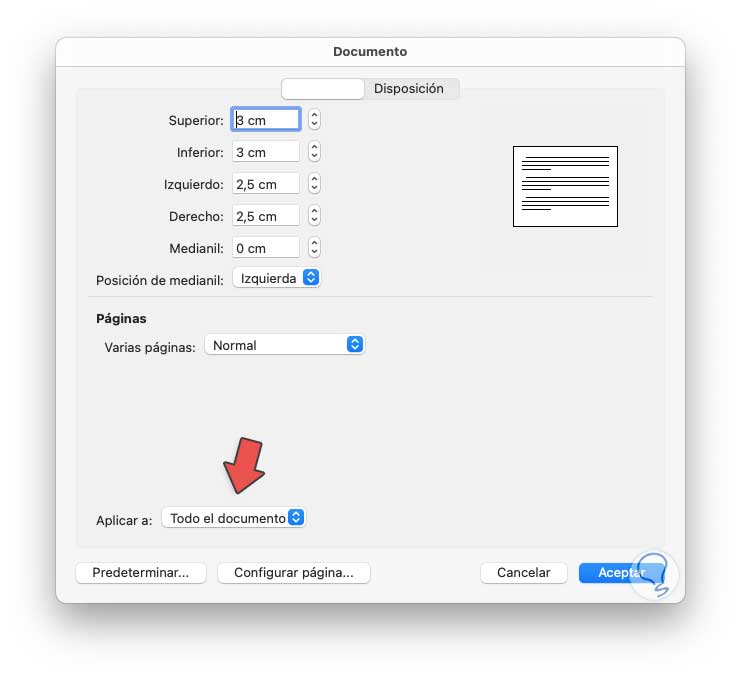
We click OK and now in the "Apply to" field we leave the default value "All the document":
Step 4
We click OK and in this way the entire Word document in macOS will be horizontal:
With any of these options we can modify the orientation to horizontal either in the selected text or in the entire document.