Word offers us a series of functions focused on each user having the best tools to create quality work, one of these tools is focused for when we must create documents that contain many titles or sections such as theses, diplomatic papers, etc. , there must be an order sequence of each step explained in the document and for this it is essential to integrate an index to the document..
An index helps us to be able to structure our documents and thus at a glance know how the content of the document is organized. You can even help hyperlinks on which you can click and go directly to a part of the entire document. For this, it is a task that will be done automatically in Word 2019 , in this case for macOS, and it only requires some adjustments that TechnoWikis will explain in detail.
We also leave you the video tutorial to know how to create an index in Word for Mac..
To stay up to date, remember to subscribe to our YouTube channel! SUBSCRIBE
How to create an index in Word Mac
Step 1
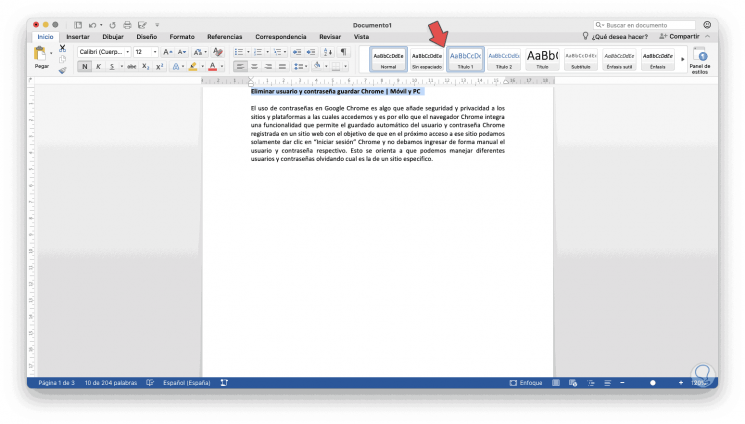
The first step we must do is select the title and in the Start menu we select the style "Title 1":
Step 2
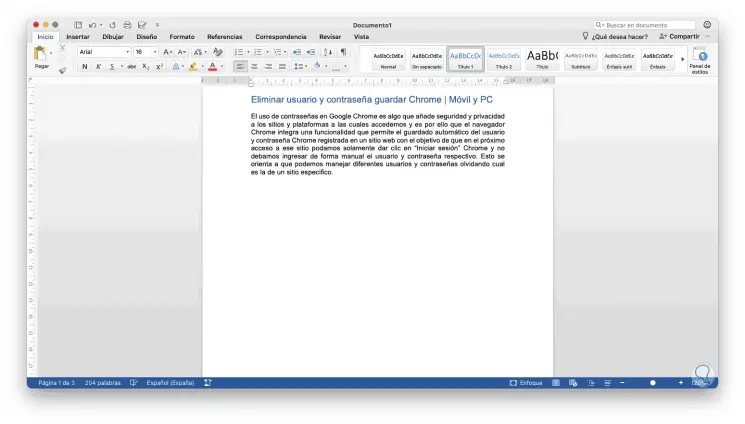
As a result of this we will see a change in the format of the selected text:
Step 3
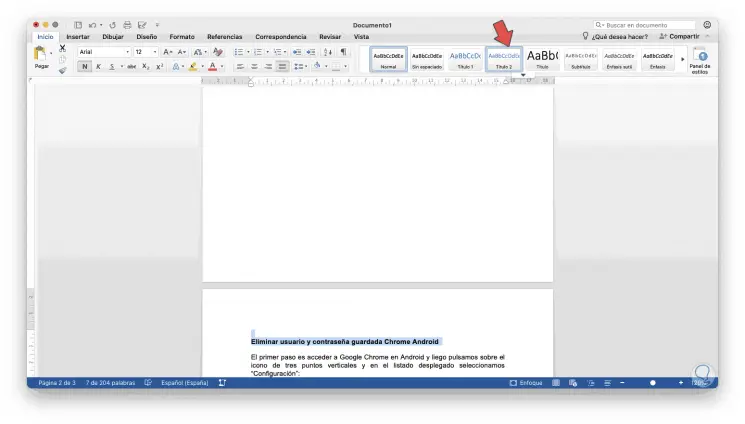
Now we select the first chapter or section and this time we select the style "Heading 2":
Step 4
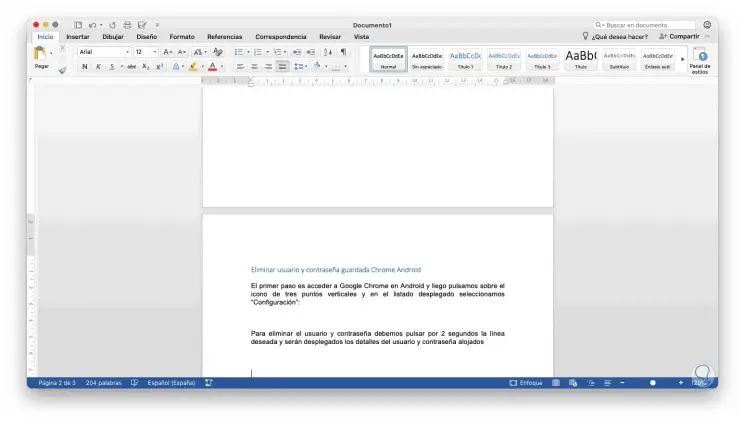
Like the previous one we can see the change reflected automatically:
Step 6
We repeat the same process with each section or chapter that makes up the document where the index is to be integrated:
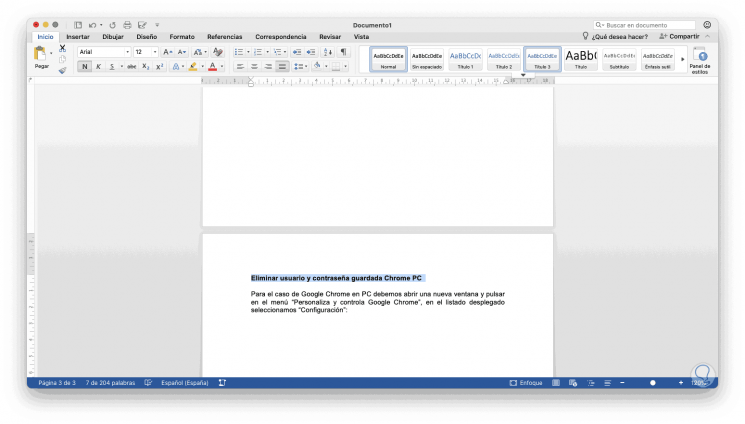
Step 7
We apply the desired style in the Titles section:
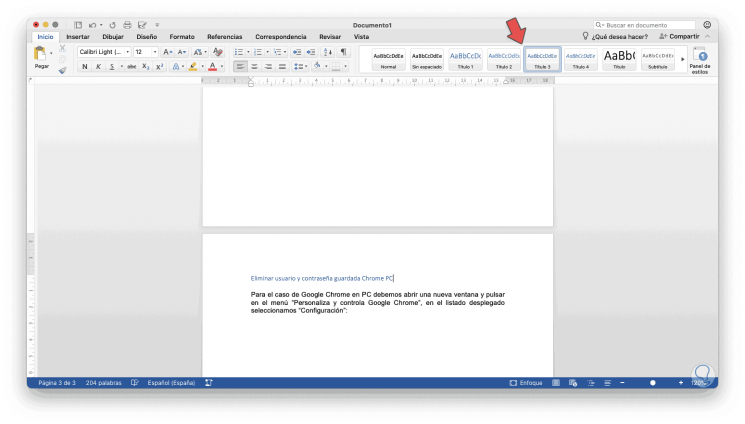
Step 8
Once the title and the chapters have been applied with the corresponding format, we will go to the References menu and there we will find the different options in "Table of contents":
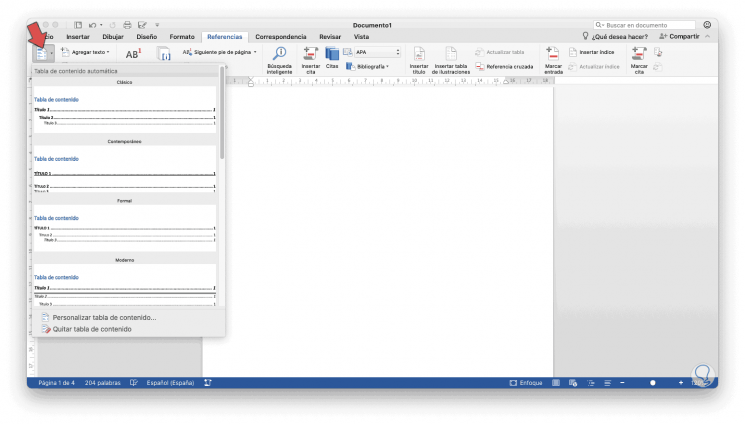
Step 9
There are different styles to add the table of contents or index, in this case we have selected the "Classic" option:
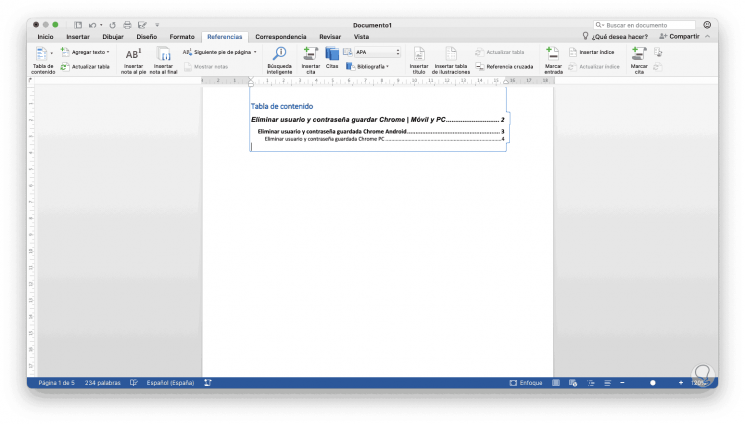
Step 10
By default a hyperlink is created for each line to the chapter that has been selected, there we can see the page number where the title is.
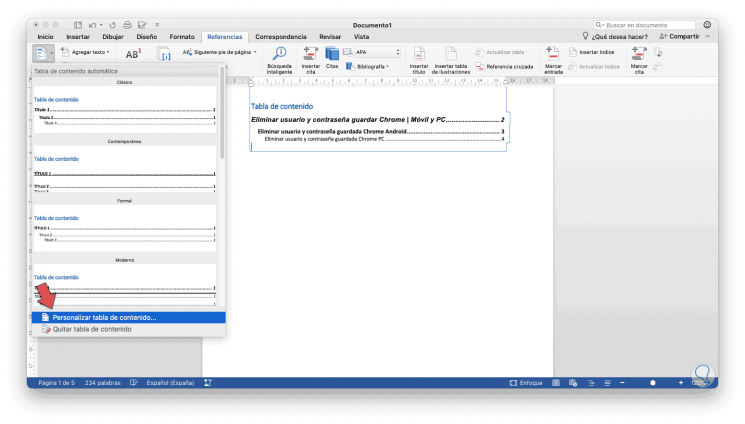
We can click again on Table of Contents and this time select "Customize Table of Contents":
Step 11
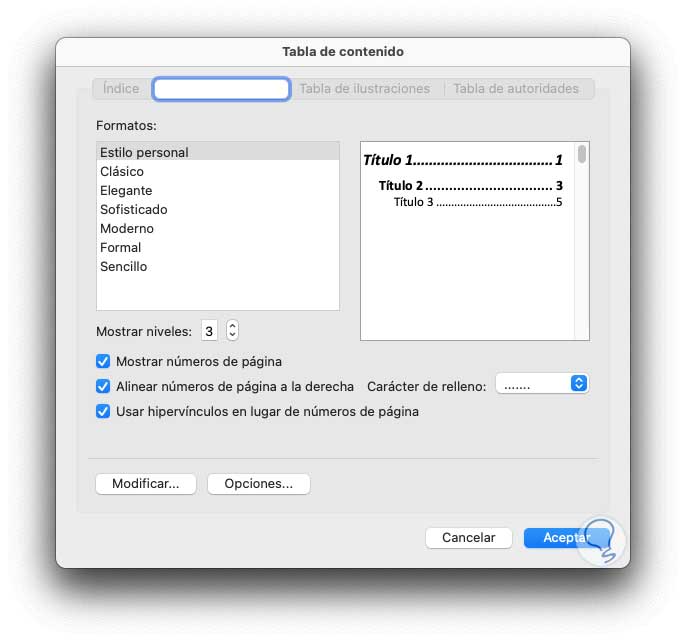
As a result of this, the following window will be displayed where we have the following options:
- Table of contents styles to use
- Define the number of levels available
- Option to show the page where the section is
- Create hyperlinks for each title
- Define the alignment of the numbers
Step 12
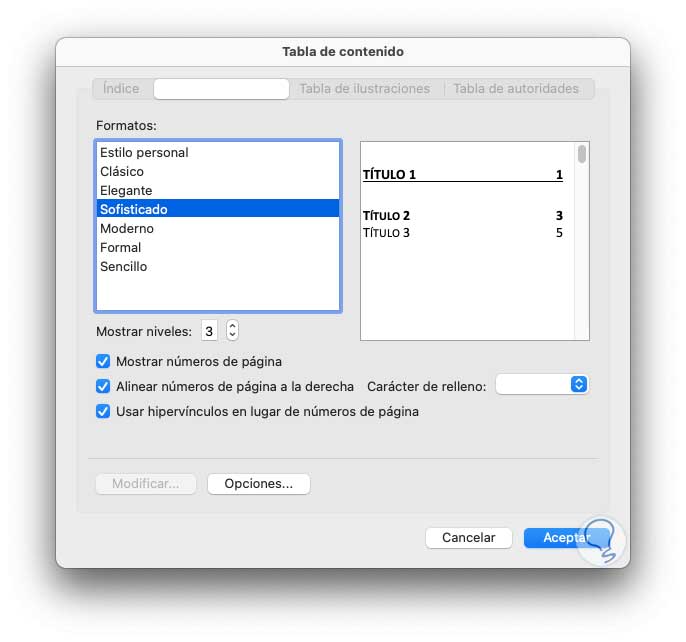
In the field "Fill character" we can define the type of line that joins the title with the page number:
Step 13
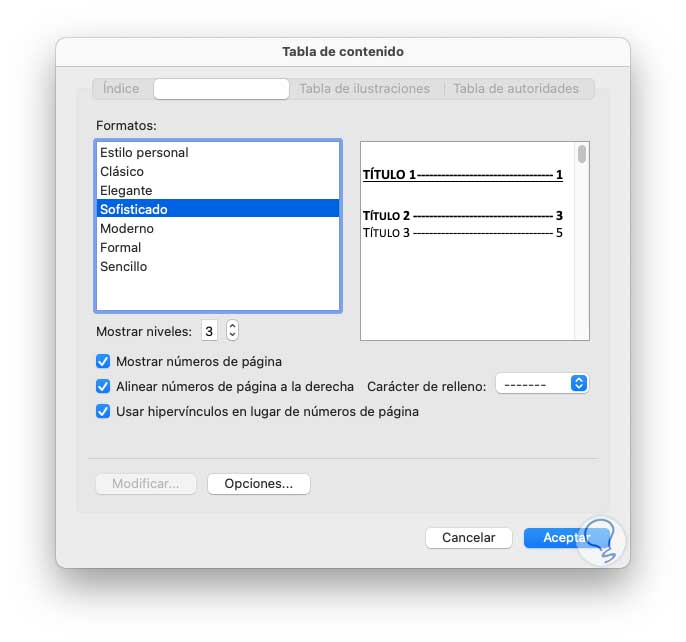
Each style has its own attributes:
Step 14
Once the style of the table of contents is defined, click on "OK" to apply the changes automatically:
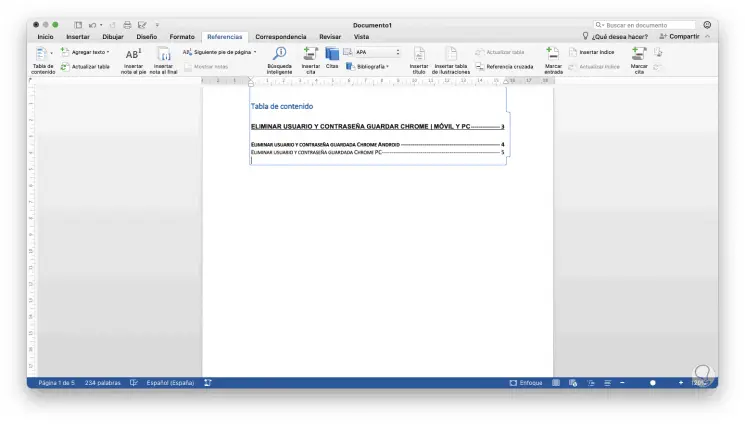
Step 15
We can make any changes to the titles such as font, size, style, etc:
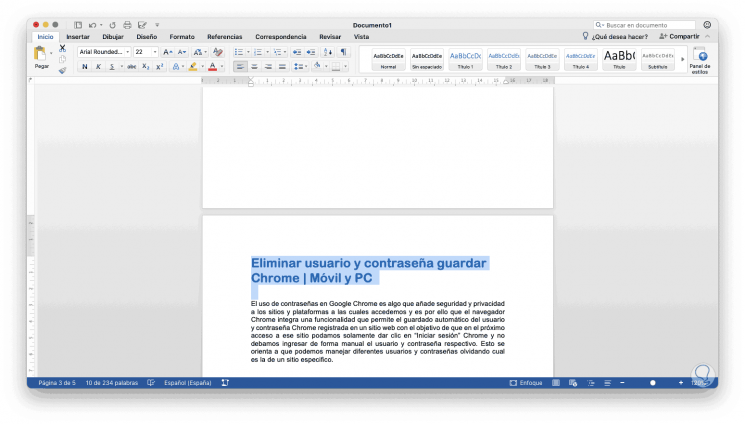
Step 16
The table will not apply these changes by itself, for this we go to References and there we must click on the "Update table" button:
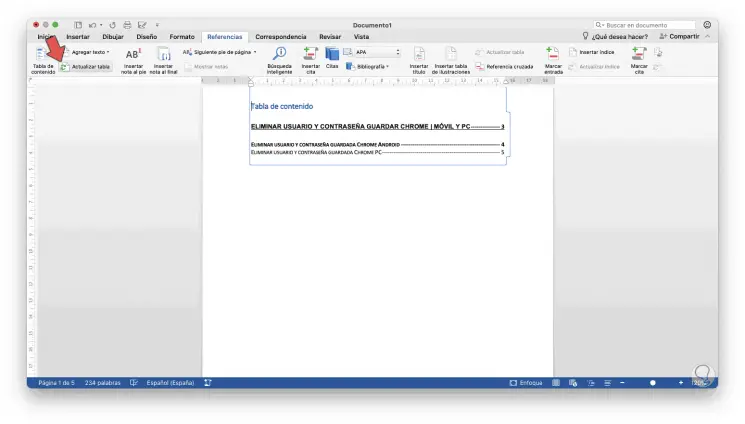
Step 17
The following message will be launched. There we can define the type of update to execute.
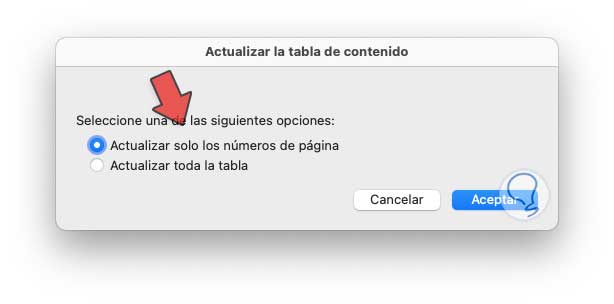
With this we have seen how to create and manage an index or table of contents in Word for macOS.