Word is part of the Office suite and as such provides us with a set of functions and tools so that the work in the text is as complete as possible, this covers a number of attributes and some tools give us the possibility to order the way as the text becomes visible to the user, the table of contents is part of this group of utilities and basically with the table of contents an orientation of the main topics of the document is given and we will have simple access to each one of them..
This table of contents is translated into an index with hyperlinks within Word that allows us to go to different parts of the document just by clicking on each title. In this way we will have a table of contents as a summary of what we have in our Word document. TechnoWikis will explain how to create a table of contents automatically in Word 2021.
To stay up to date, remember to subscribe to our YouTube channel! SUBSCRIBE
Create automatic table of contents in Word 2021
Step 1
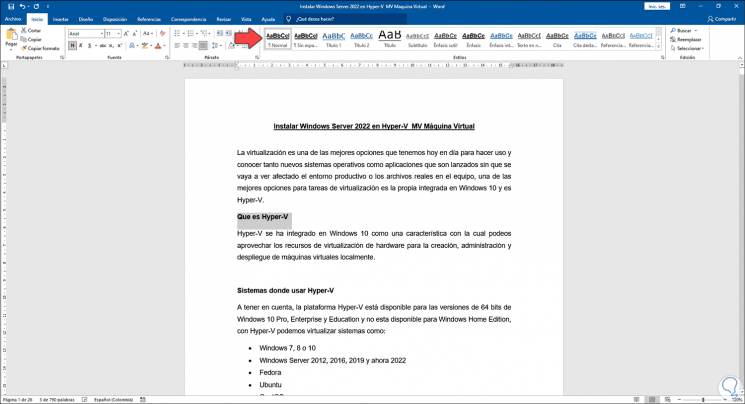
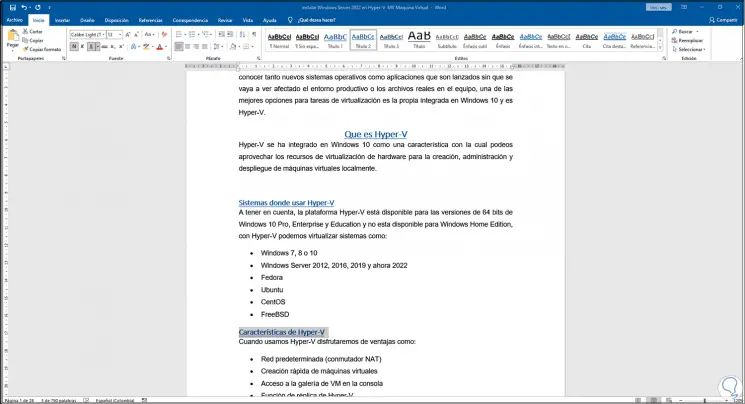
We open Word, then we select the titles and from the Start menu we define the type of title in "Styles":
Step 2
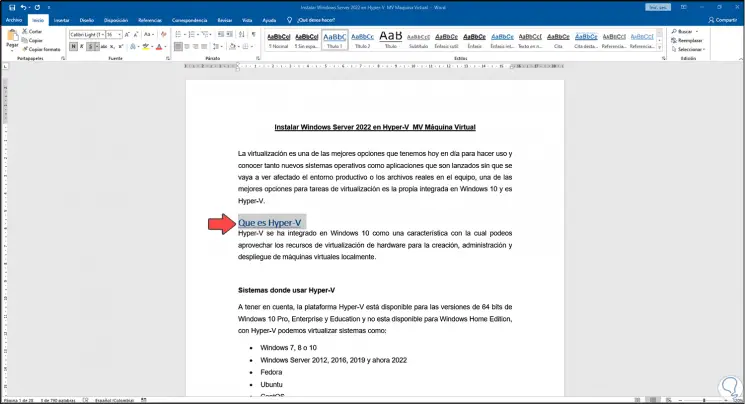
The main titles will be Title 1, the second Title 2 and so on, when selecting the title, in this case for example Title 1 we will see the change in the design of the selected text:
Step 3
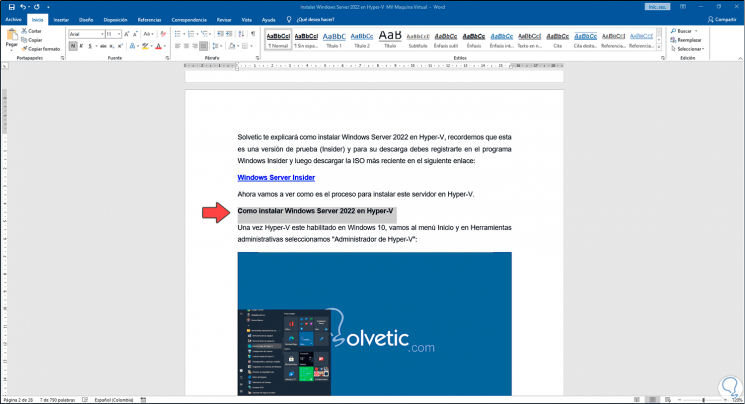
We can center the text for a better presentation of it, we select the subtitles:
Step 4
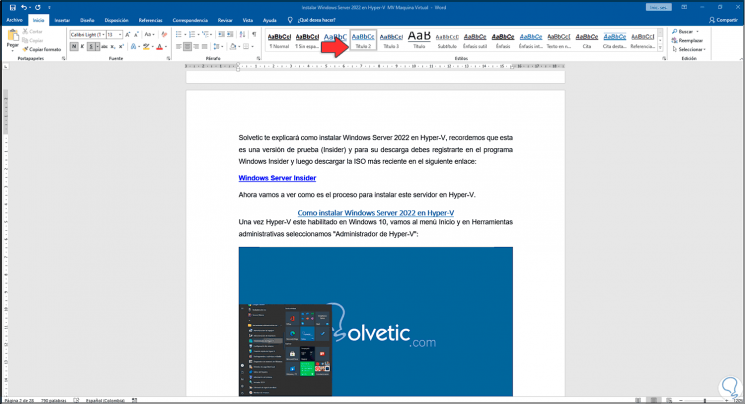
We apply the heading style as we consider:
Step 5
We repeat this with each segment of the document that we consider should be in the table of contents:
Step 6
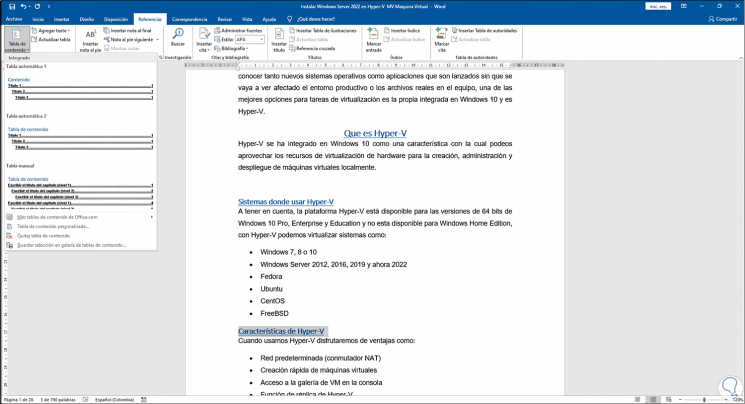
After this, in the "References" menu, display the "Table of contents" options:
Step 7
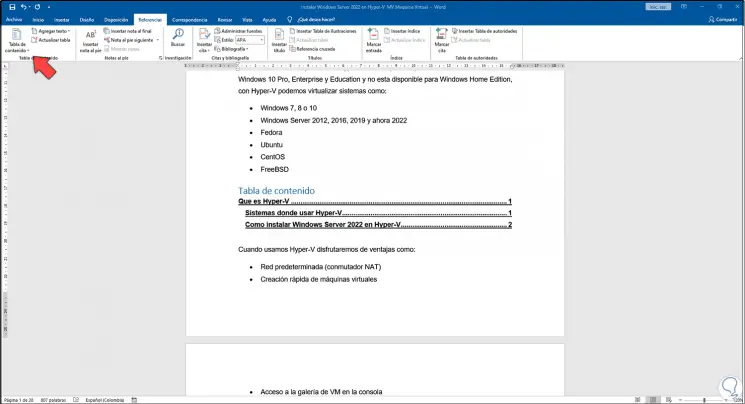
We select the desired automatic style, in this example we have selected automatic table 2, the change is immediate:
Step 8
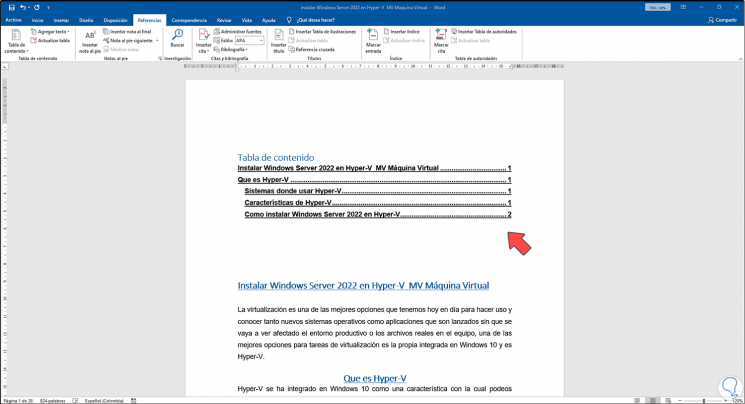
We set the table of contents at the beginning of the document for a more orderly presentation:
Step 9
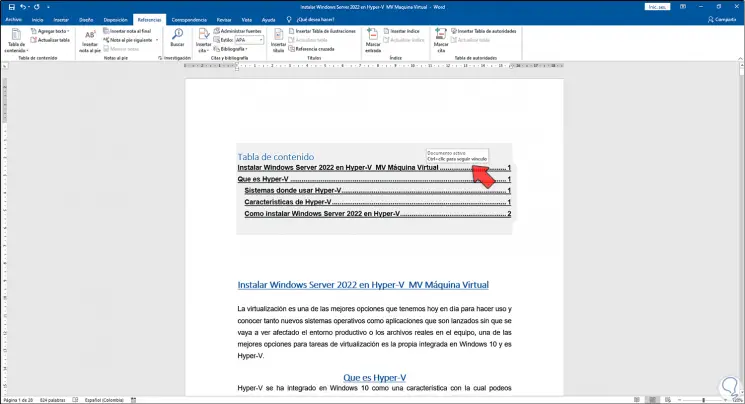
We can see the style of the table where the title and page number where it is hosted is indicated.
With the Ctrl + click keys we will go to the selected title in the table:
Step 10
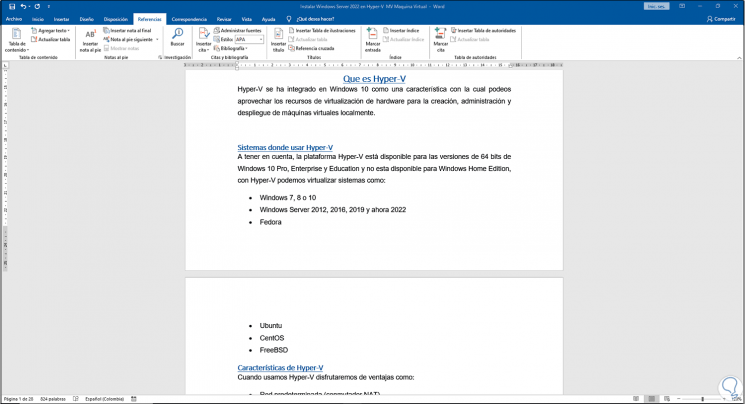
By clicking we will automatically go to that title:
Step 11
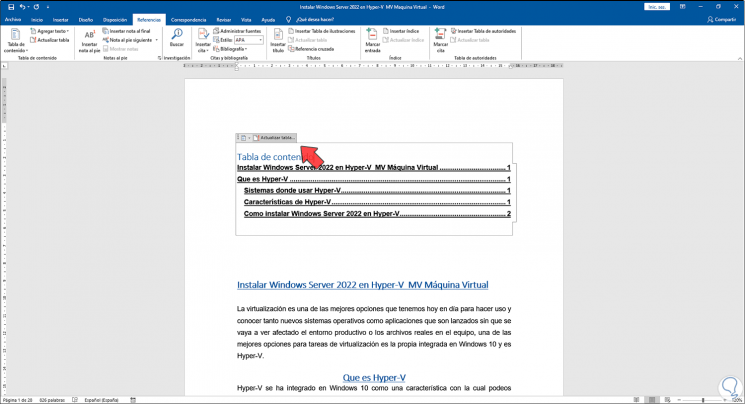
We edit a title, then select the table of contents and when selecting the table of contents we find the option to update the data:
Step 12
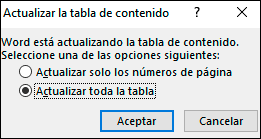
We click on "Update table" and the following will be displayed:
Step 13
There we define the type of update to be carried out, in this case it will be "Update the entire table", click on OK and we will see the change made to the update:
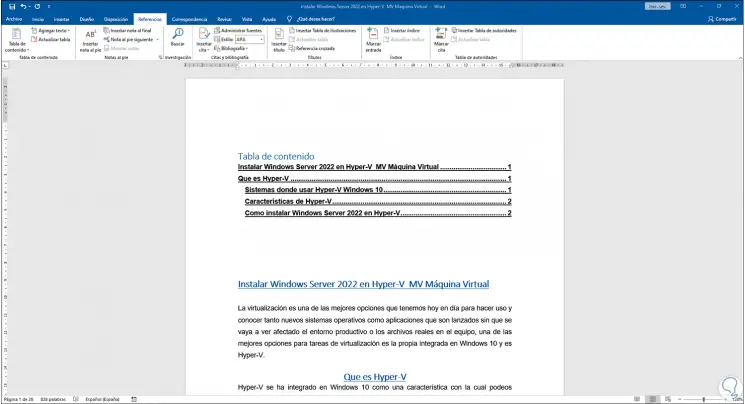
Step 14
You can select another automatic table of contents style from the References menu:
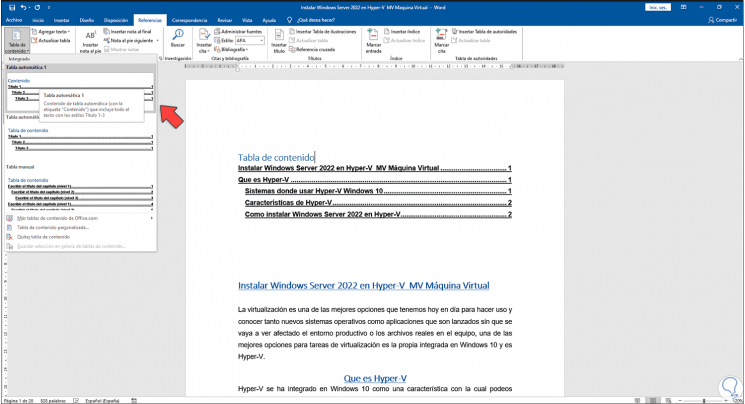
Step 15
By doing so, the change will be immediately applied to the table:
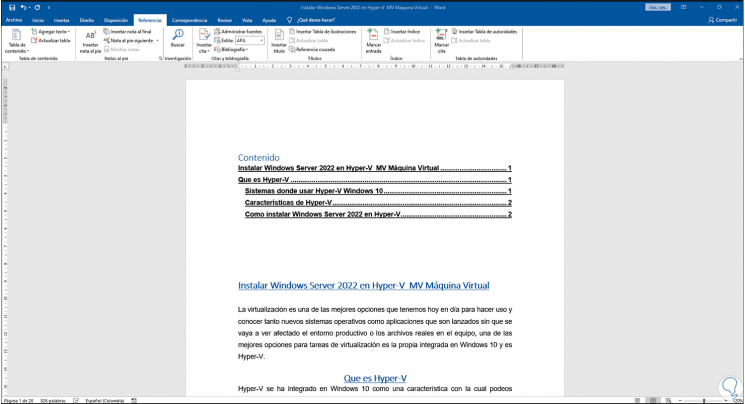
Step 16
From the contextual menu of the table of contents it is possible to change the style of this:
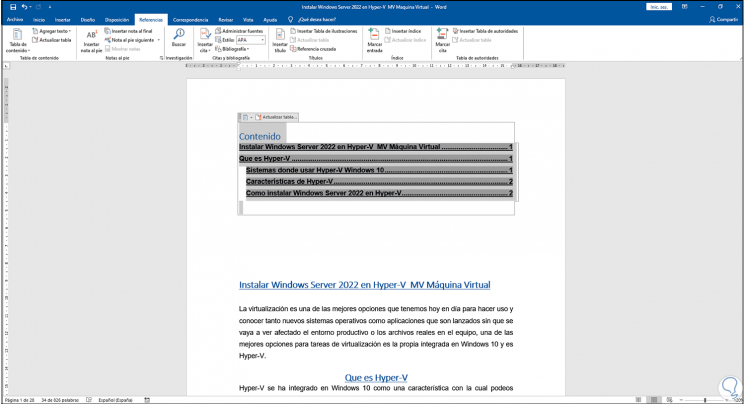
Step 17
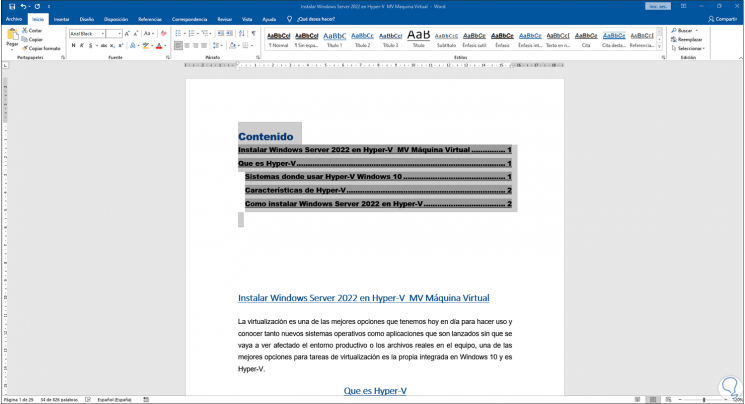
In the left corner we select all the content of the table in order to apply editing styles, when we select it we go to Home and in Fonts we can edit its size, color, font, etc. To delete the table of contents, from the menu we select "Remove table of contents"
Step 18
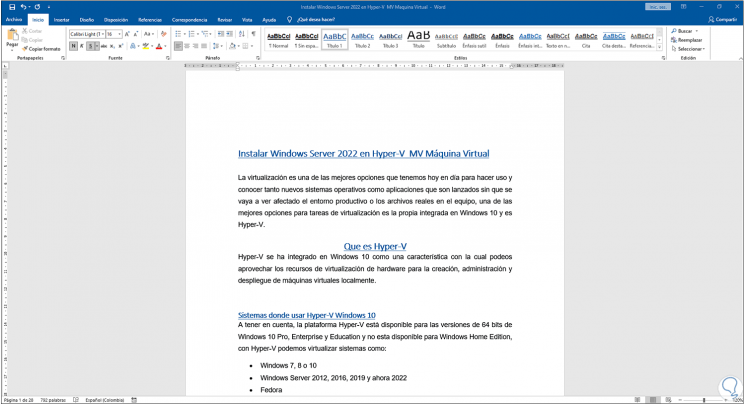
By doing this the table will no longer be available:
This has been the process to create a pivot table in Word 2021..