MySQL has been developed as a free database administration system which is installed on the LAMP stack (Linux, Apache, MySQL, PHP / Python / Perl), being one of the most popular languages since it implements the relational model by doing use of SQL (Structured Query Language) for everything that has to do with data management..
It is possible that at some point we want to remove MySQL from Ubuntu if we no longer work with the databases or simply if we have decided to use another platform, so TechnoWikis will explain how to uninstall it completely.
To stay up to date, remember to subscribe to our YouTube channel! SUBSCRIBE
How to uninstall MySQL in Ubuntu 20.04
Step 1
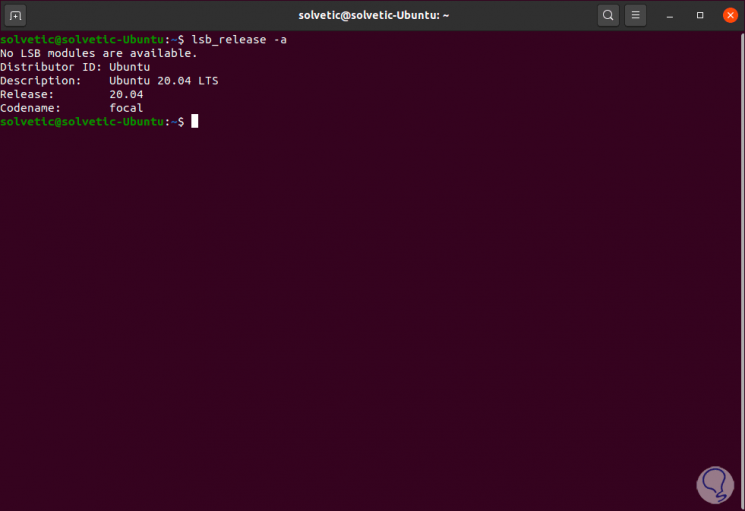
The first step to take will be to know the version of the system used, for this we go to the terminal and execute the following:
lsb_release -a
Step 2
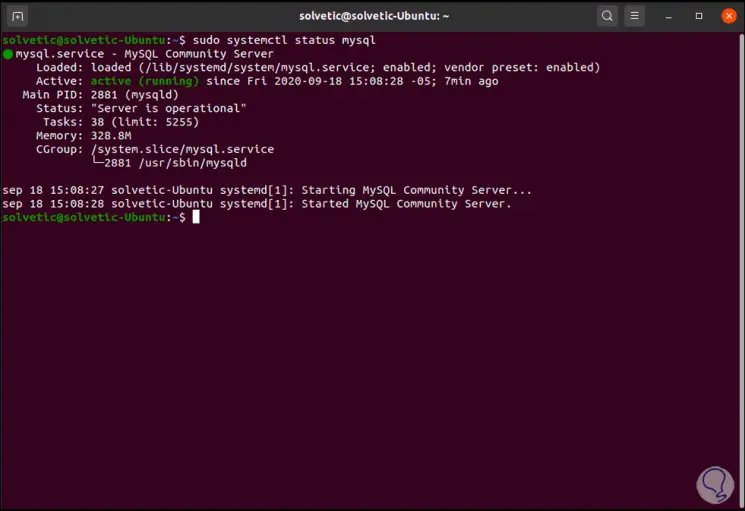
After this we are going to check the current state of MySQL, for this we will use the following command:
sudo systemctl status mysql
Step 3
We can verify that its status is "Active (running)", that is, it is active and running at the moment.
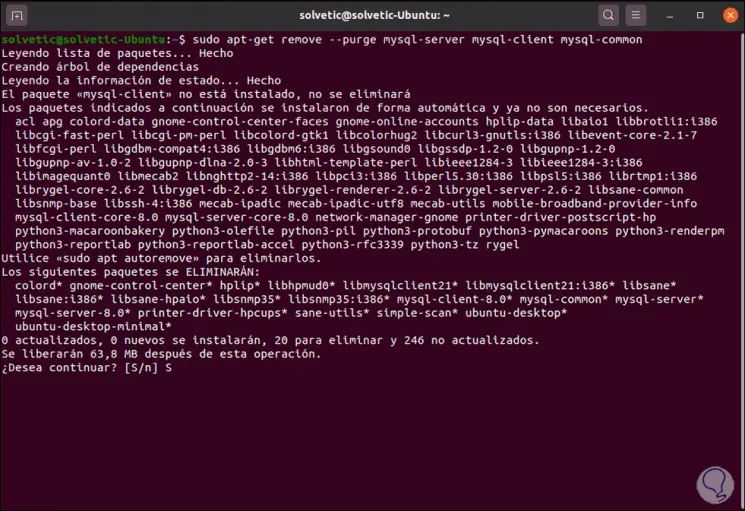
To uninstall MySQL and all its packages we are going to execute the following command:
sudo apt-get remove --purge mysql-server mysql-client mysql-common
Step 4
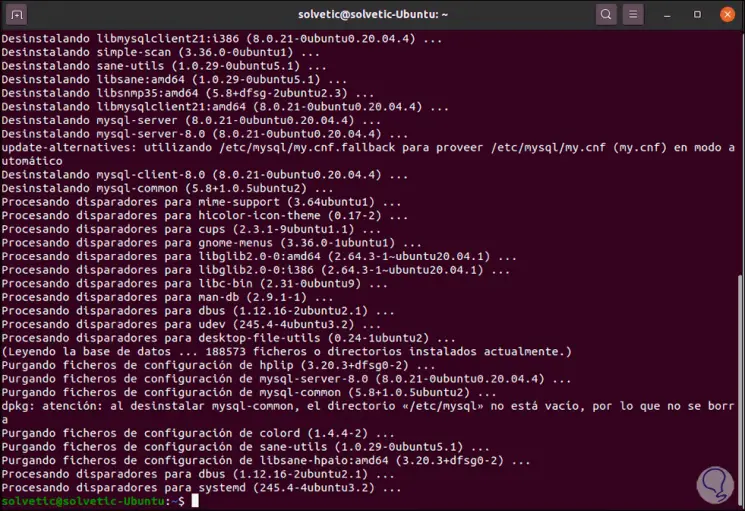
We enter the letter S to confirm the task of uninstalling MySQL in Ubuntu 20.04:
Step 5
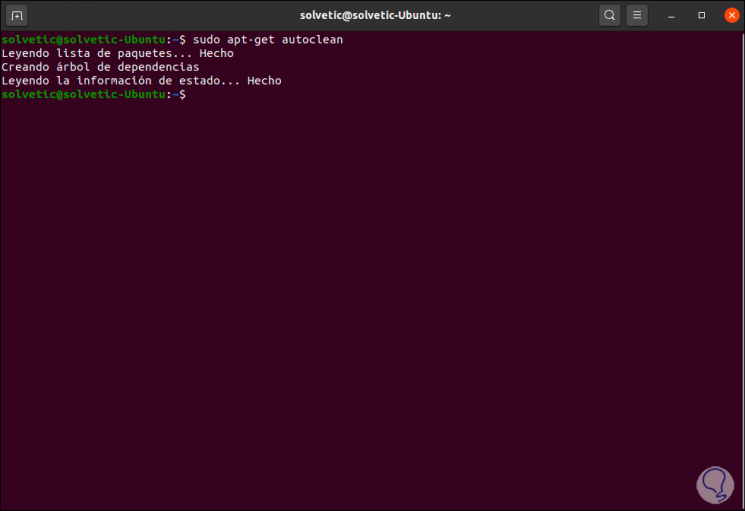
After this we are going to clean the packages associated with the following command:
sudo apt-get autoclean
Step 6
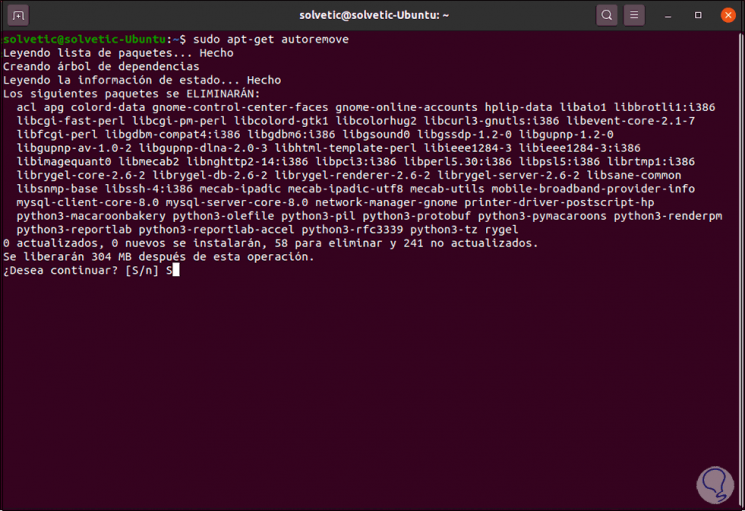
In addition, we can apply the automatic elimination of these:
sudo apt-get autoremove
Step 7
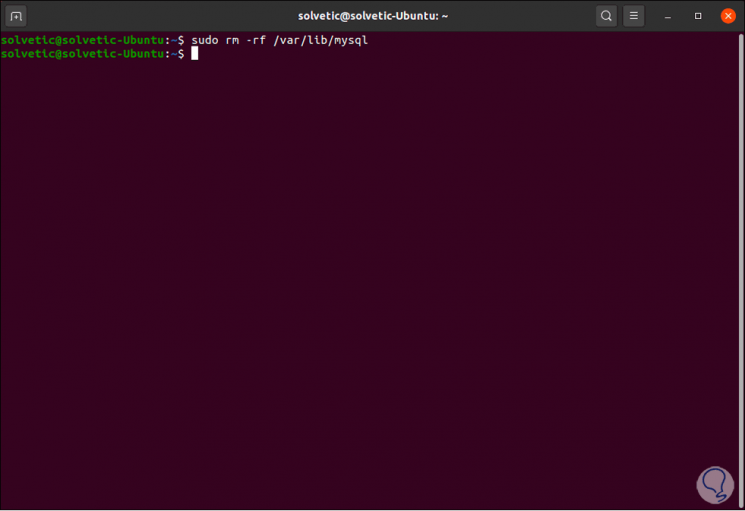
By default, MySQL stores the data files in the / var / lib / mysql directory, to eliminate these, we are going to use the following command with which we eliminate this information:
sudo rm -rf / var / lib / mysql
With this we have completely uninstalled MySQL from Ubuntu 20.04..