We have thousands of applications available to increase both the capacity of the system and our own and one of these strong segments is the creation of web applications. These entail a series of key requirements so that everything works correctly, both in terms of permissions and accessibility, and for everything to work as expected we have Flask..
What is Flask
Flask is a framework that has been written in Python thanks to which we have the best options for creating web applications quickly, not only quickly but without having to enter and edit too many lines of code.
Flask is based on Werkzeug's WSGI specification as well as the Jinja2 template engine, it has a BSD license. By using Flask, we will be having tools, libraries and technologies with which to create a web application will be something simple.
Flask components
Flask is made up of two elements that are:
- Werkzeug which is a library of utilities to be integrated with the Python language, acts as a web server gateway interface or a WSGI application to create software elements.
- Jinja which is a template engine for Python programming.
Flask Features
Among its characteristics we highlight:
- Allows the execution of individual tests
- It has development servers and debugging functionalities
- Use Jinja2 template styles
- Allows the creation of secure cookies for sites
To stay up to date, remember to subscribe to our YouTube channel! SUBSCRIBE
How to install Flask on Windows
Step 1
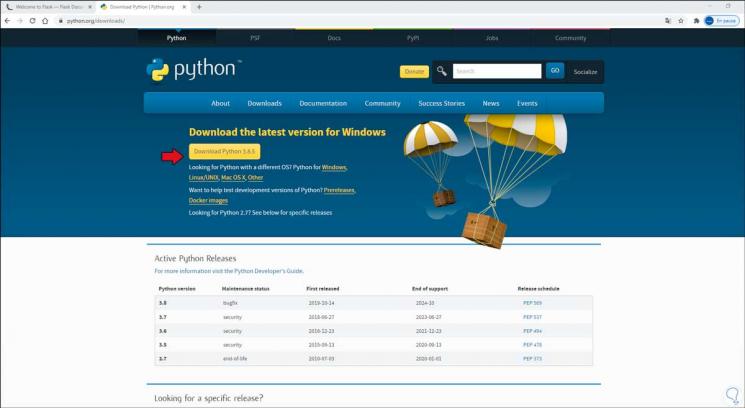
The first requirement is to have Python, in case of not having Python we can go to the following link:
Python
Step 2
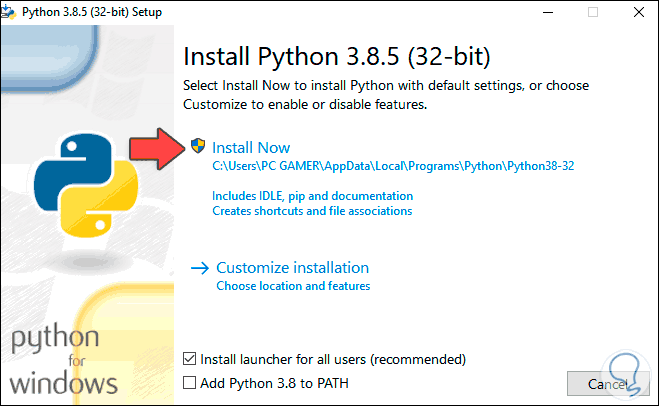
We download the most recent version and the installation wizard will be displayed:
Step 3
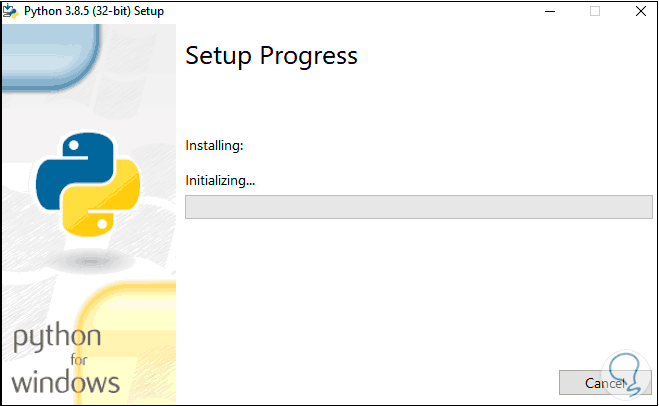
We select "Install Now" to proceed with the installation of Python in Windows 10:
Step 4
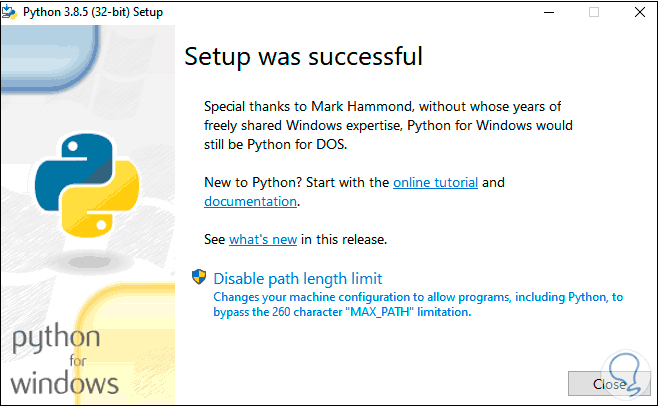
At the end we will see the following:
Step 5
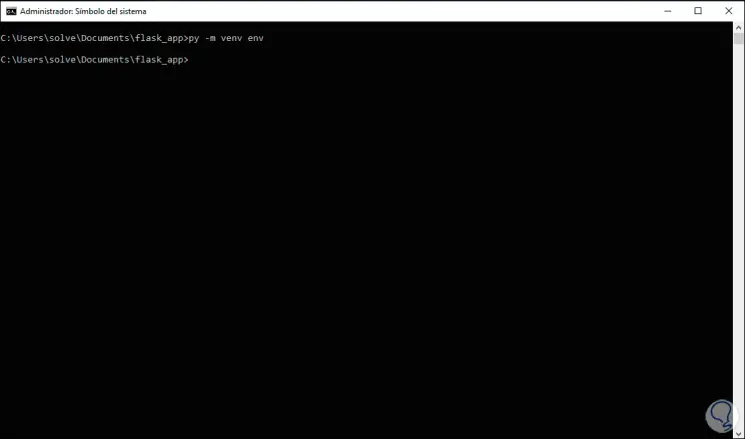
We will do this process if we do not have Python on the system. Once we have Python, we will create a folder where the application configuration will be hosted, in this case we have created one in Documents called "flask_app", after this we access the terminal and there we will go to the path of the created folder (using cd) and execute the following:
py -m venv env
Step 6
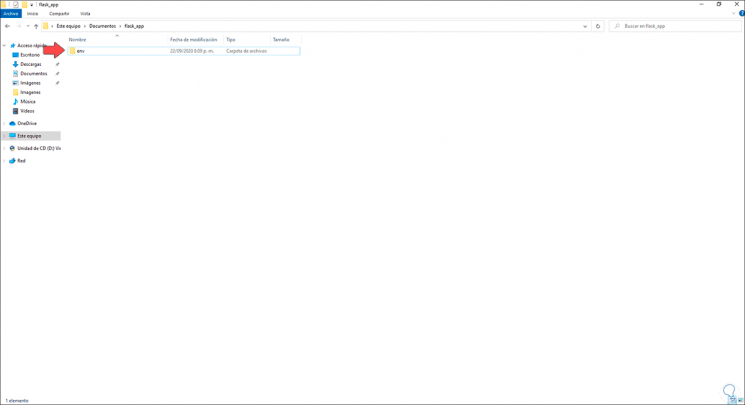
This will create the virtual environment of Flask, we go to the folder and observe the content:
Step 7
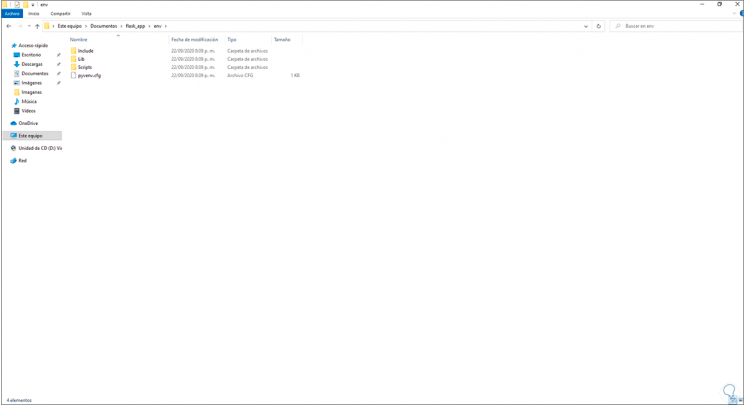
When double clicking on it we see its configuration files:
Step 8
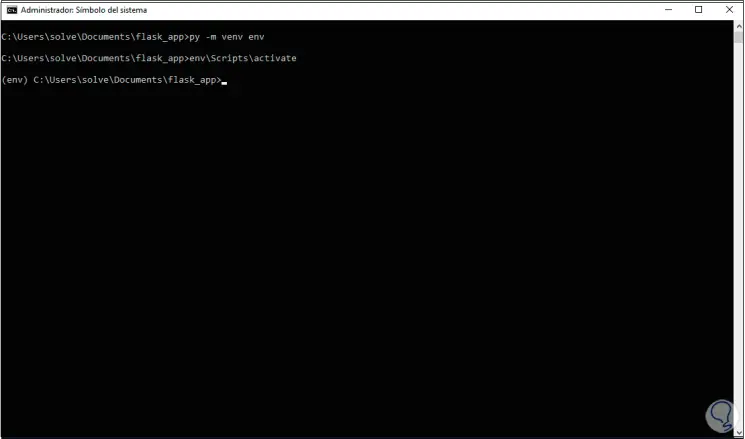
We return to the terminal and activate the environment with the following command:
env \ Scripts \ activate
Step 9
We install Flask with the following command:
pip install flask
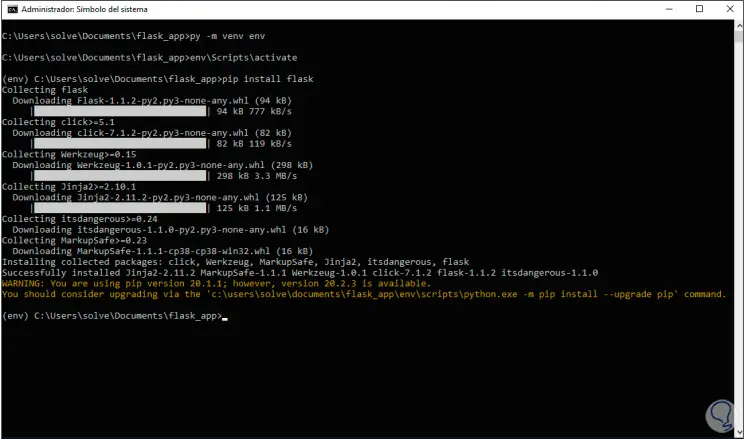
Note
at the bottom it is recommended to update pip to the most current version.
Step 10
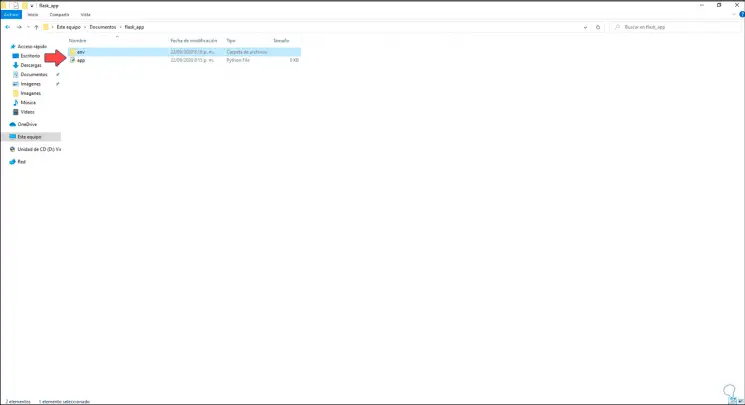
With some advanced editor, we recommend Sublime Text, we create a new file called app.py and save it in the folder created said .py file:
Step 11
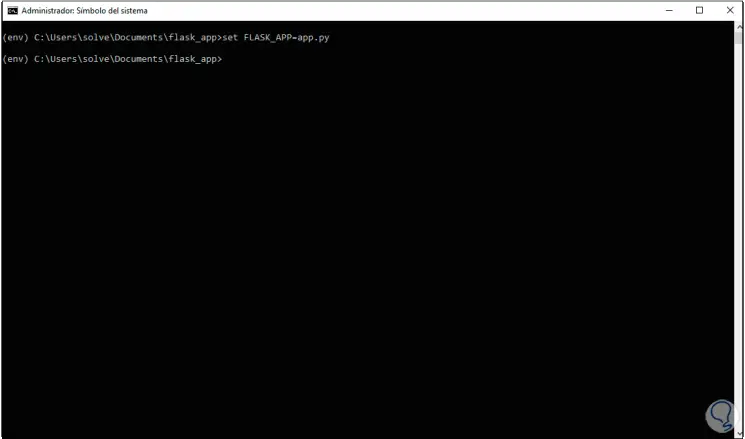
We establish the application with the following command:
set FLASK_APP = app.py
Step 12
Now we go to the file with the editor and enter the following:
from flask import Flask app = Flask (__ name__) @ app.route ('/') def index (): return '<h1> Hello! <h1>' 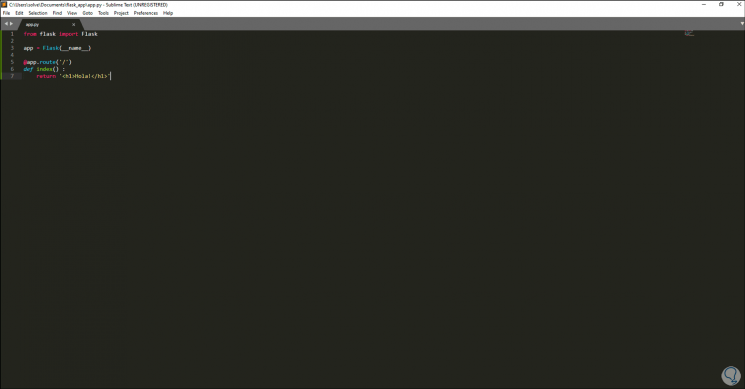
Step 13
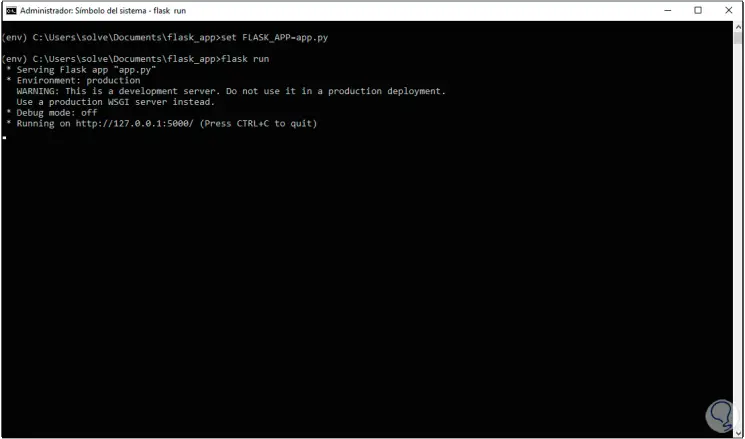
To run this environment we will go to the terminal and there we execute:
flask run
Step 14
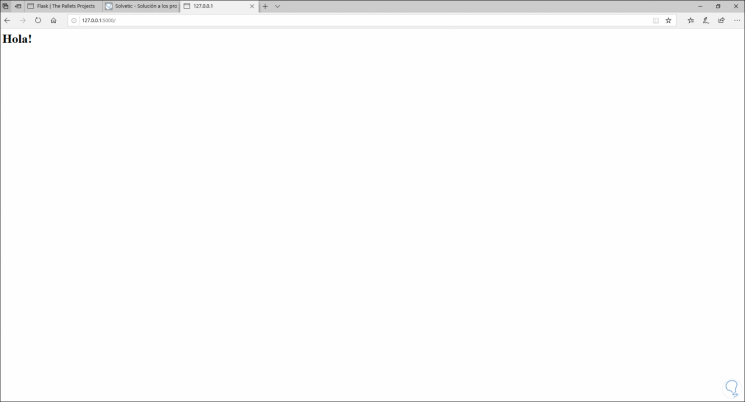
We have in mind the IP assigned there, we open a browser and when entering this address we will see the following:
Step 15
Now it is possible to add something else to our file, we set a name variable, we enter this:
from flask import Flask app = Flask (__ name__) @ app.route ('/ name') def index (<name>): return '<h1> Hello {}! <h1>'. format (name) 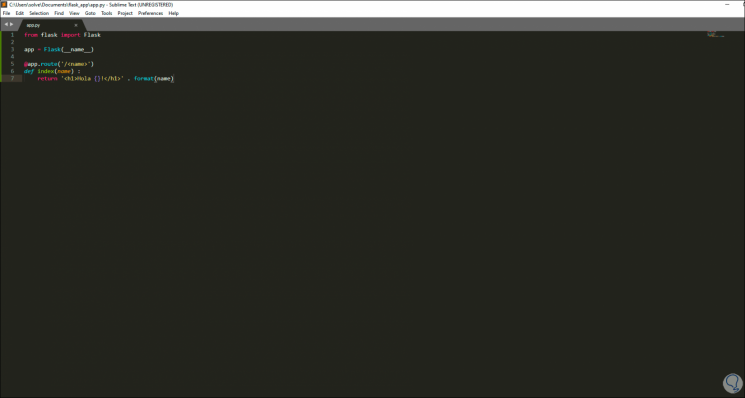
Step 16
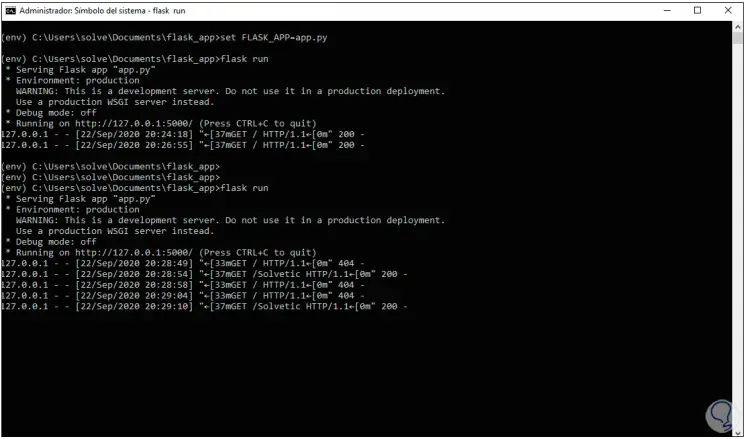
We save the changes, close the current process in the terminal with Ctrl + C and again execute:
Ctrl + R
flask run
Step 17
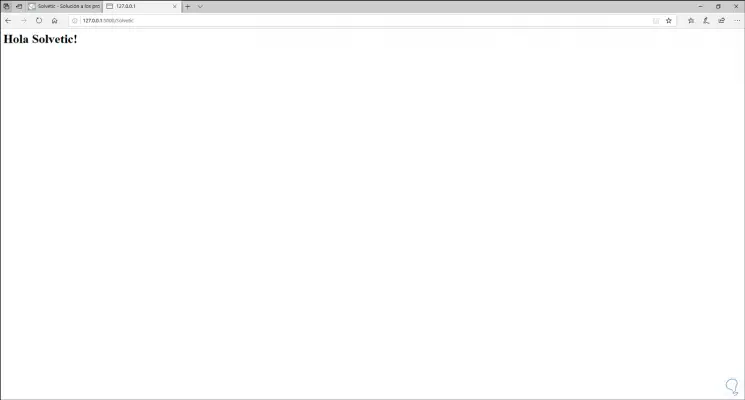
Now in the browser we must enter the following. We can see the change, if we do not establish the name an error will appear.
http: //127.0.01: 5000 / name
With this we have learned to install Flask in Windows 10 and have a tool to create websites..