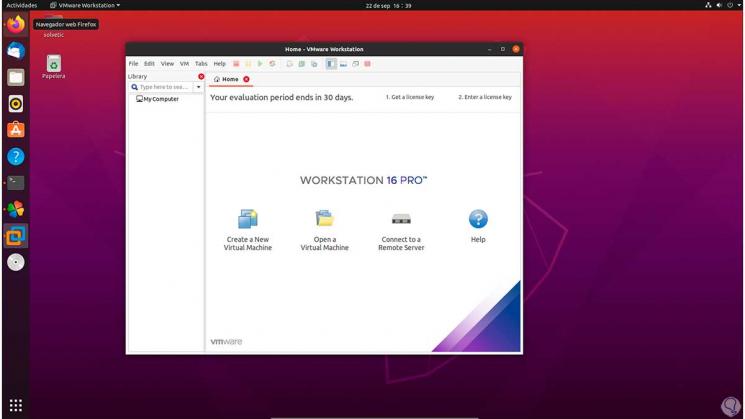
VMware is one of the leading platforms in everything related to virtualization, that is, thanks to it it is possible to create virtual machines to test new software or new operating systems without affecting the real production environment at any time. This translates into lower costs, less risk of losing information, and a complete picture of how a new deployment will perform..
VMware offers us different options to use and VMware Pro is one of them, this is the most complete solution and we can use a trial version for 30 days to know all its functionalities, for this reason in TechnoWikis we will explain how to install VMware Pro on your latest version 16.0 on Ubuntu 20.04 and knowing that we have a mechanism to test and validate apps and systems before they are installed on a real machine.
VMware Pro Features
Some of the features of this new version of VMware Pro are:
- Containers and Kubernetes support through the new CLI tool called vctl
- Games and applications will be supported with Direct3D version 11, this is known as "DirectX 11" or OpenGL 4.1.
- It is now allowed to allocate up to 8GB of vRAM to the guest through 3D acceleration to maximize overall performance
- New user interface with dark mode
- Improvements and new features in the Sandbox graphics rendering engine
- New Vulkan graphics rendering engine for Linux machines
- Accessibility improvements
To stay up to date, remember to subscribe to our YouTube channel! SUBSCRIBE
How to install VMware on Ubuntu 20.04
Step 1
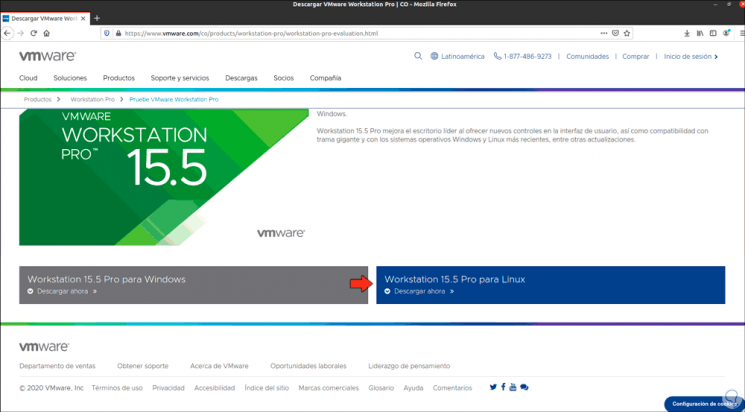
The first thing to do is go to the official VMware link:
VMware Pro
Step 2
We click on "Download 15.5 Pro for Linux" but we will see that the installer is 16.0:
Step 3
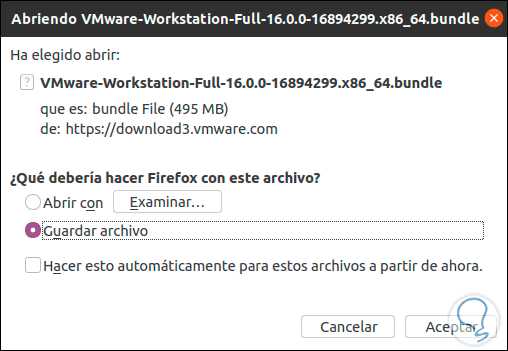
We click on "Save file" to host it locally. We validate the download:
Step 4
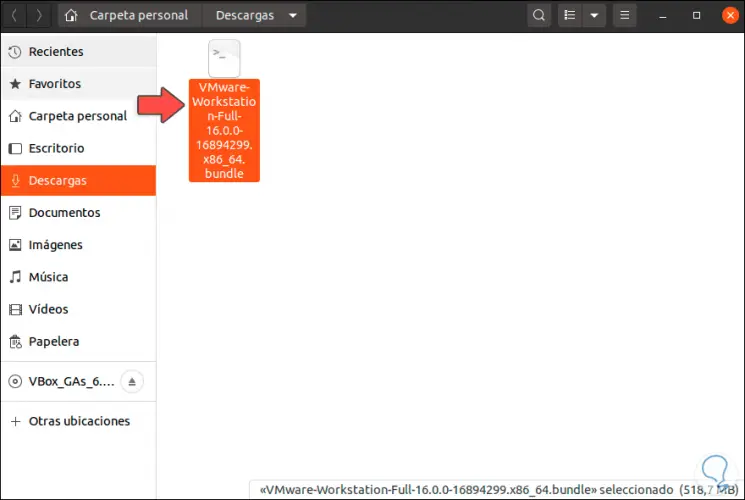
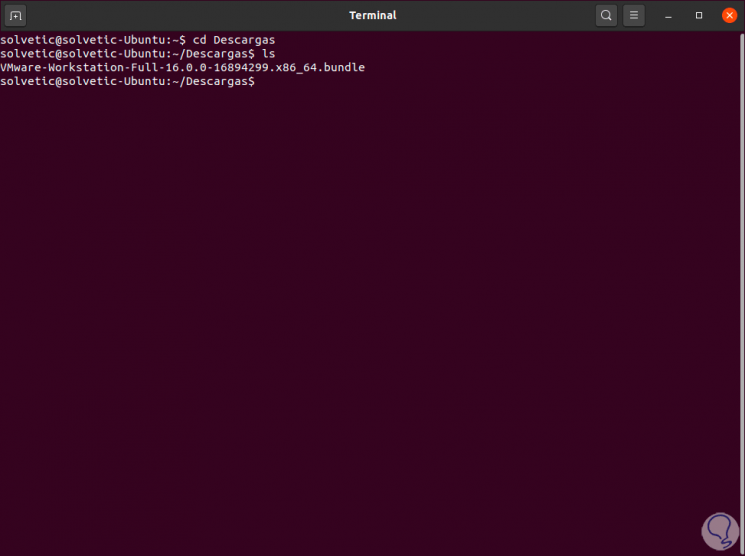
Once validated, we will go to the terminal, access the Downloads folder and with the command "ls" we list that VMware Pro 16.0 is available there:
Step 5
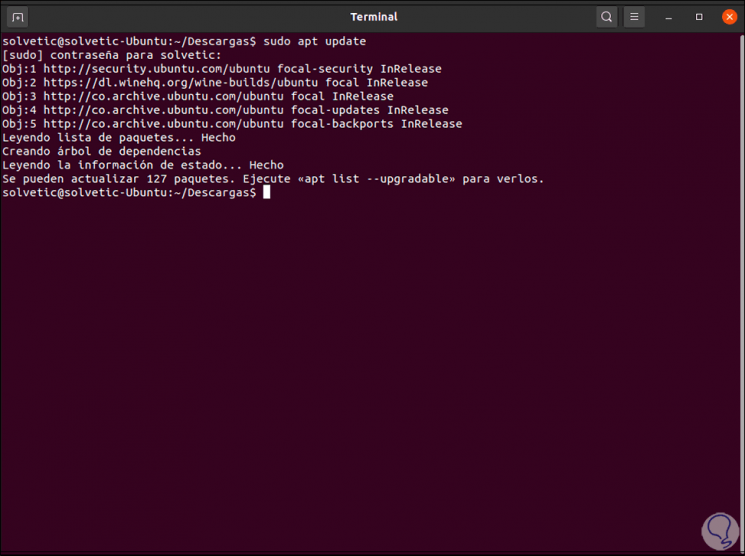
We proceed to update the system:
Step 6
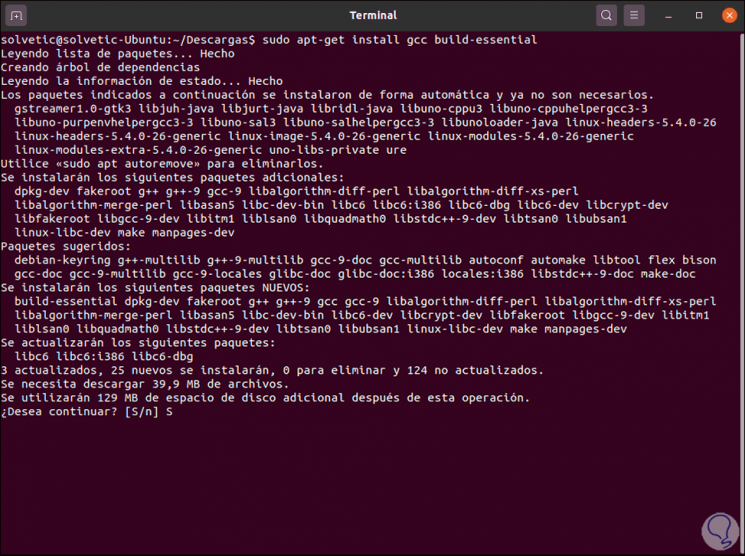
Once it is updated, we are going to install some necessary add-ons for its use:
sudo apt-get install gcc build-essential
Step 7
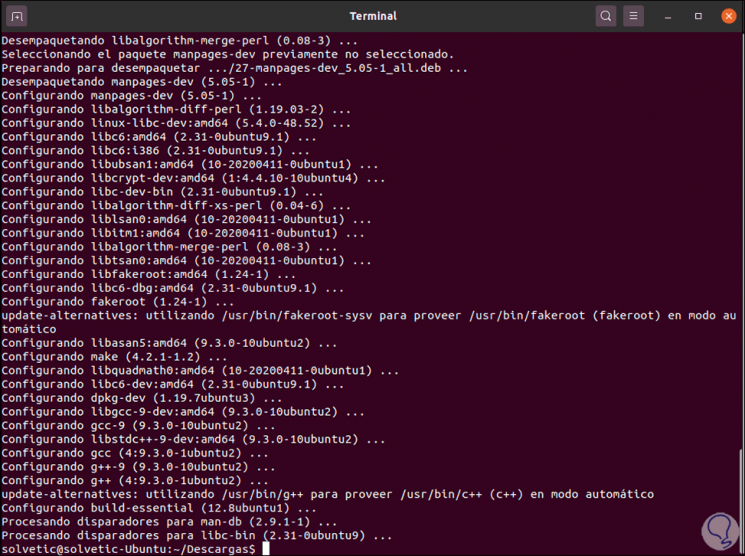
We enter the letter S to validate the download and installation of these:
Step 8
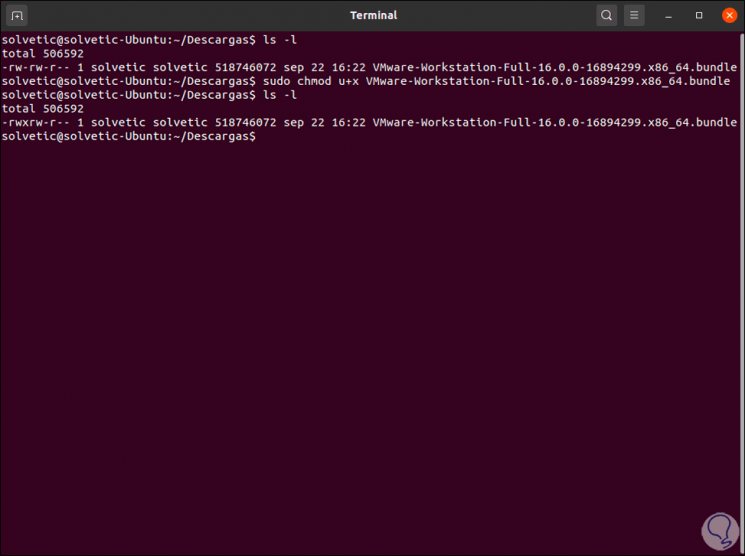
Now we are going to assign permissions to the VMware file, for this we enter the following:
ls -l (list the permissions) sudo chmod u + x file.bundle (we assign write permissions) ls -l (we check the change)
Step 9
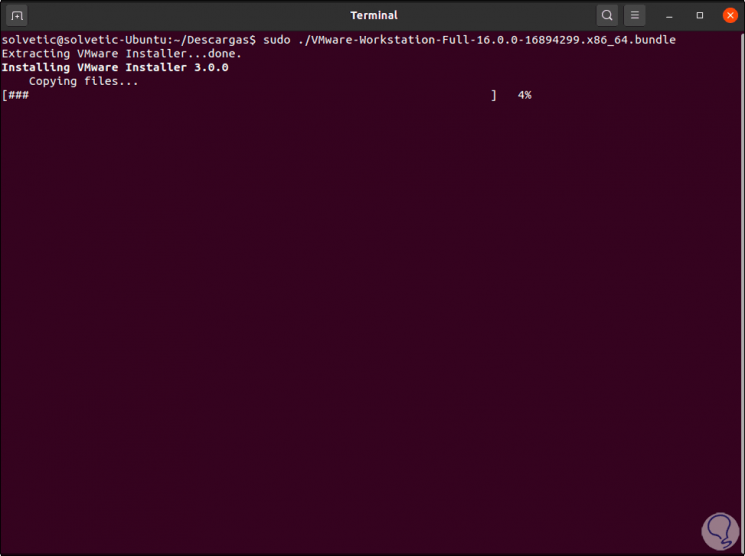
We are ready for the installation of VMware in Ubuntu 20.04, for this we execute the following:
sudo ./VMware-Workstation-Full-16.0.0-16894299.x86-64.bundle
Step 10
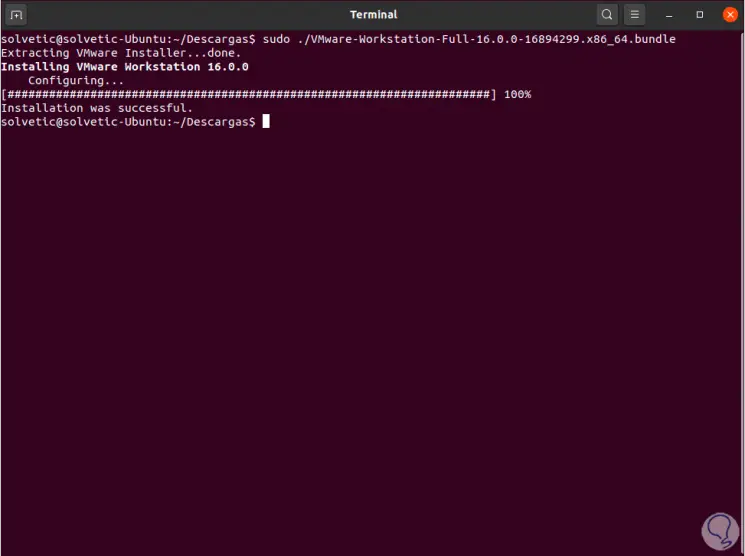
This is responsible for copying and installing the necessary files, once finished we will see the following:
Step 11
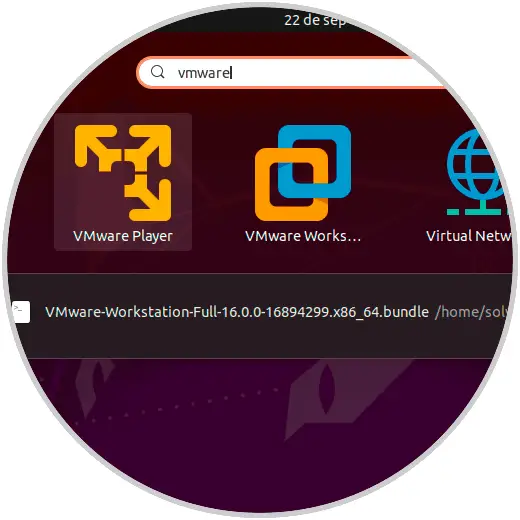
To access VMware we will go to Activities and there we look for it:
Step 12
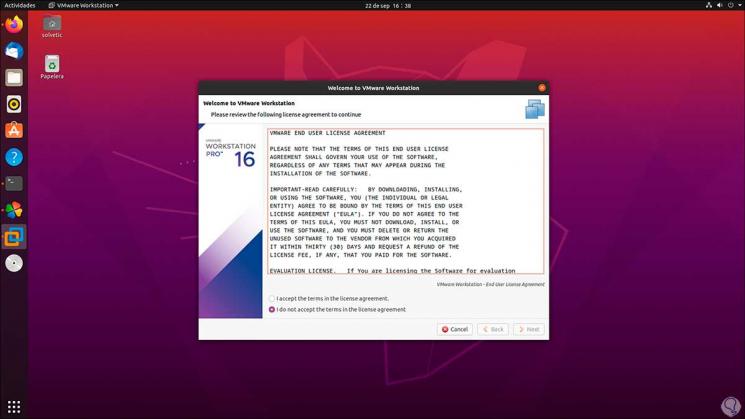
We click on VMware Workstation and the user license will be launched:
Step 13
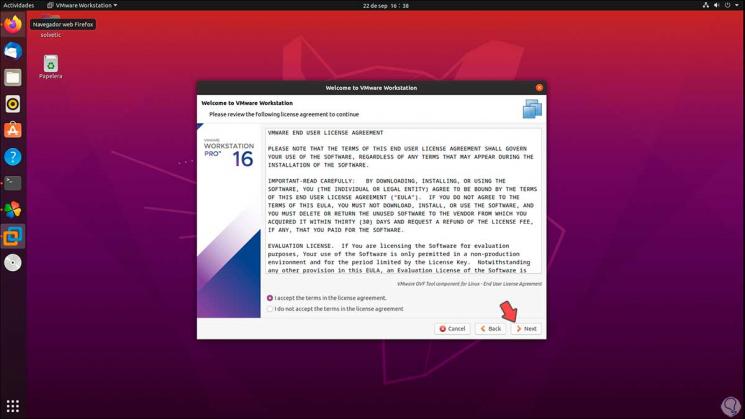
We activate the acceptance box and click Next:
Step 14
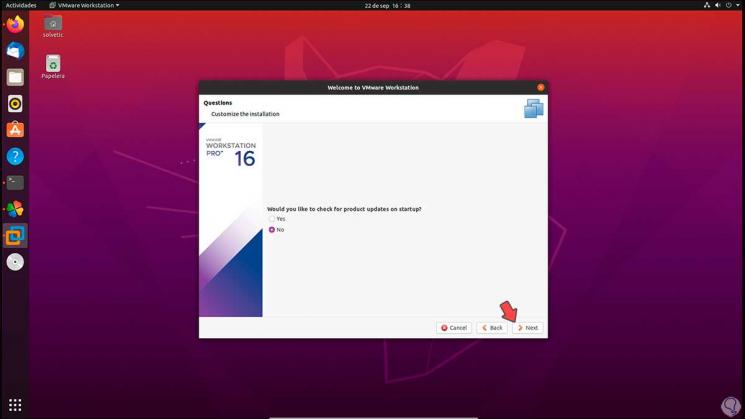
Again we accept the terms and now we can define whether to check for updates on VMware startup:
Step 15
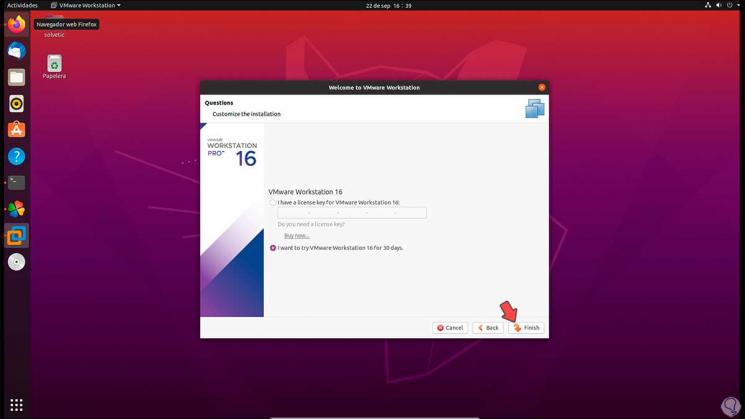
In the next window we activate the box to test VMware or enter the license if we have one:
Step 16
We click on Finish to complete the process:
Step 17
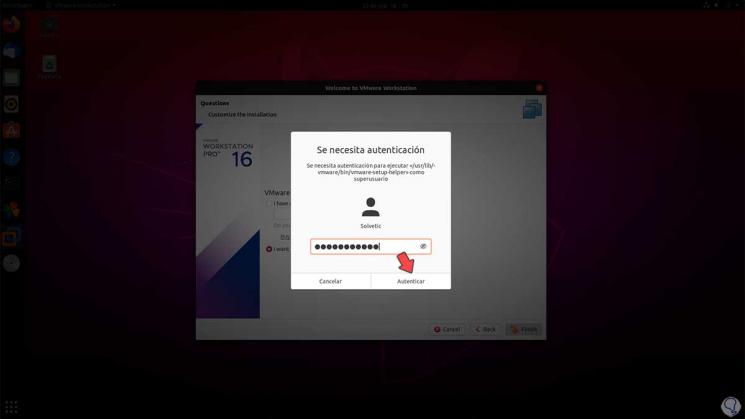
We authenticate the user and are ready to use VMware on Ubuntu 20.04.
