VMware is one of the most important bets when it comes to virtualization work and this is a fundamental area to prevent errors in real or productive environments. By virtualizing Ubuntu we can know the news of new operating systems, new applications or how the behavior and compatibility between them will be..
VMware Features
VMware is characterized by being one of the most complete platforms available in paid and free versions, but full of functionalities, its new version VMware 16 offers us:
- Compatibility with the execution of games and applications with Direct3D version 11 this is known as "DirectX 11" or OpenGL 4.1
- New user interface with dark mode
- Up to 8GB vRAM can be allocated to the guest using 3D acceleration
- Containers and Kubernetes support with the new CLI tool called vctl
- New Vulkan graphics rendering engine for Linux machines
- Updates and new features in the Sandbox graphics rendering engine
- Windows 10 Hyper-V support in version 2004
To stay up to date, remember to subscribe to our YouTube channel! SUBSCRIBE
TechnoWikis will explain how to install VMware on Ubuntu 21.04 and bring one of the best options to virtualize.
How to install VMware on Ubuntu 21.04
He passed
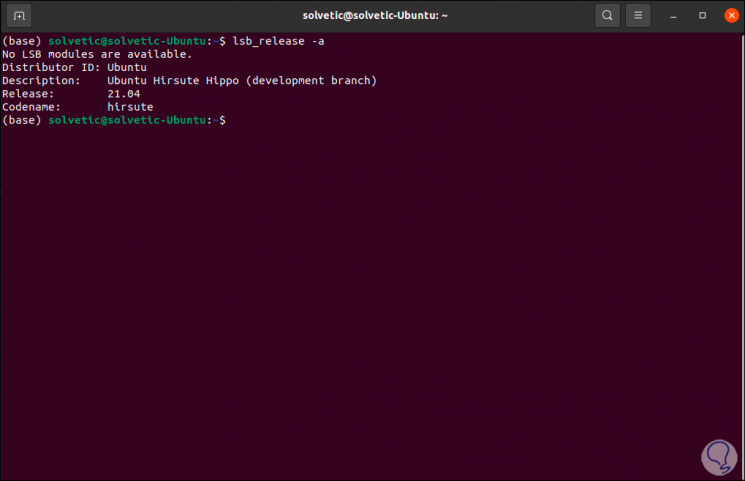
We check that we are using Ubuntu 21.04, for this in the terminal we execute:
lsb_release -a
Step 2
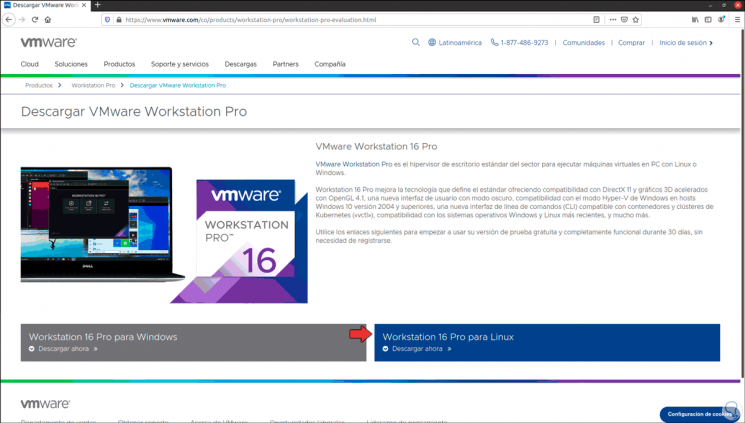
Now we go to the official VMware link:
VMware
Step 3
There we click on the line "Download now" in "Workstation 16 Pro for Linux", the following will open:
Step 4
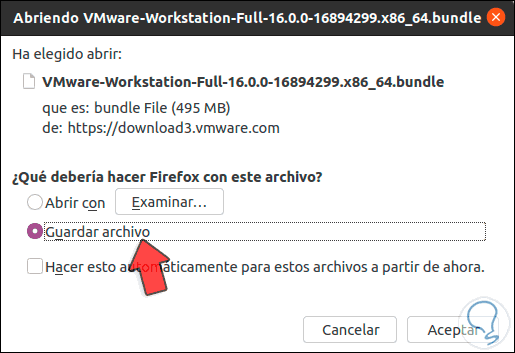
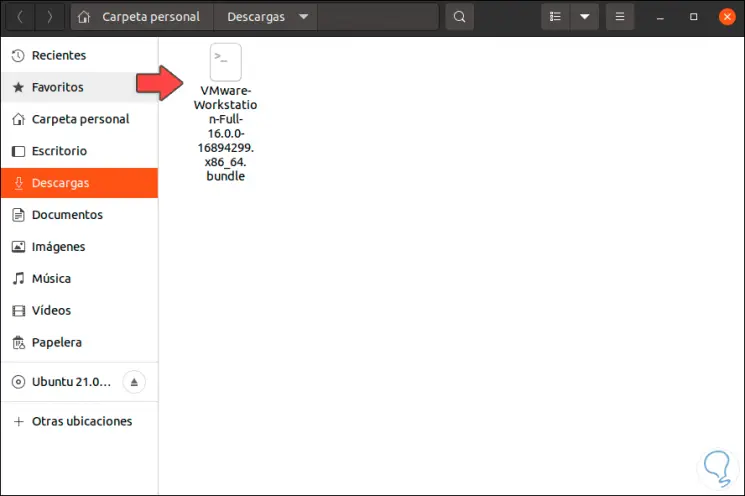
We click on "Save file" and once finished we go to the Downloads folder to check it:
Step 5
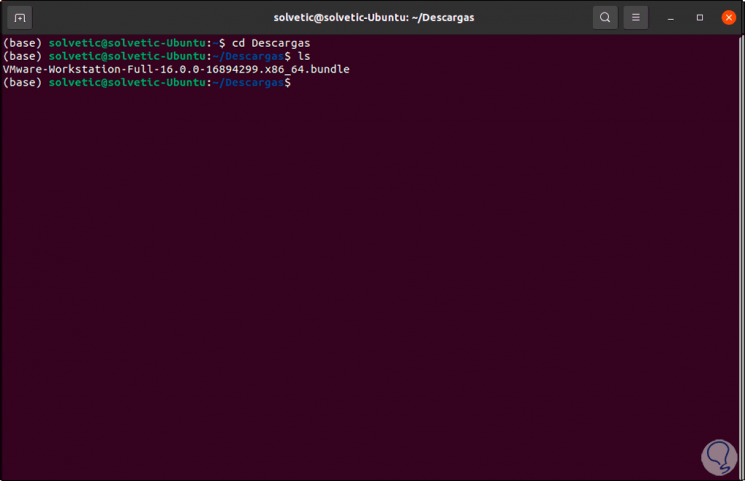
In the terminal we go to the Downloads folder and with the command "ls" we list the downloaded file:
Step 6
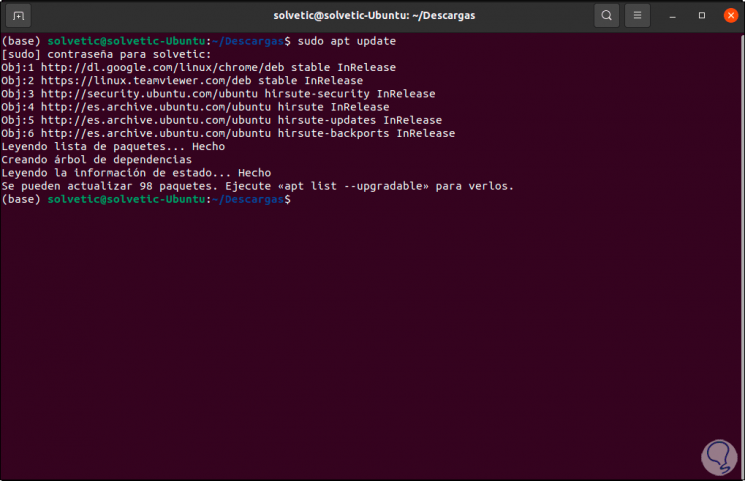
We update Ubuntu 21.04 with the following command:
sudo apt update
Step 7
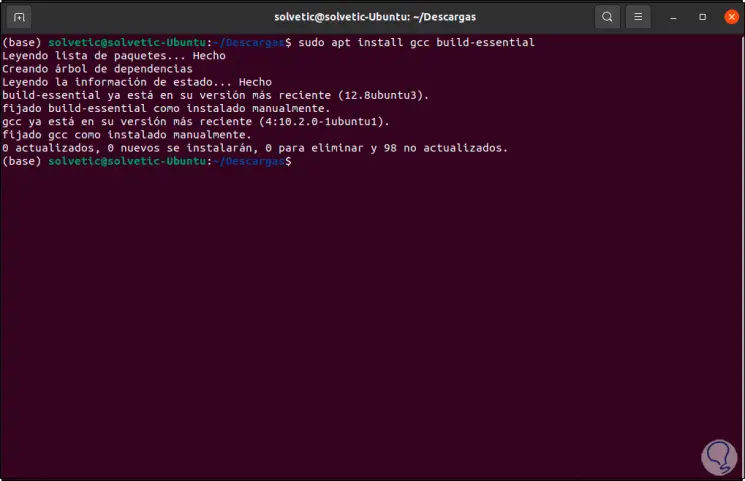
We install the required complements to be able to correctly install VMware in Ubuntu 21.04:
sudo apt install gcc build-essential
Step 8
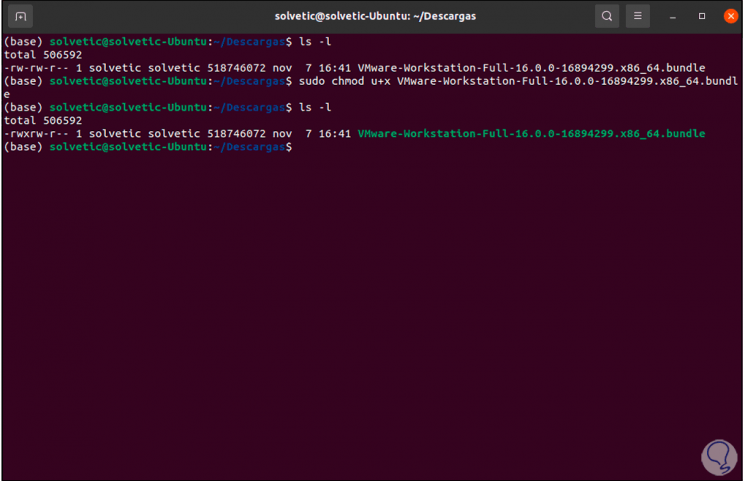
We are going to assign the corresponding permissions to the file, we will execute each of the following lines:
ls -l (list current permissions) sudo chmod u + x file.bundle (we assign write permissions) ls -l (we check the change in the file)
Step 9
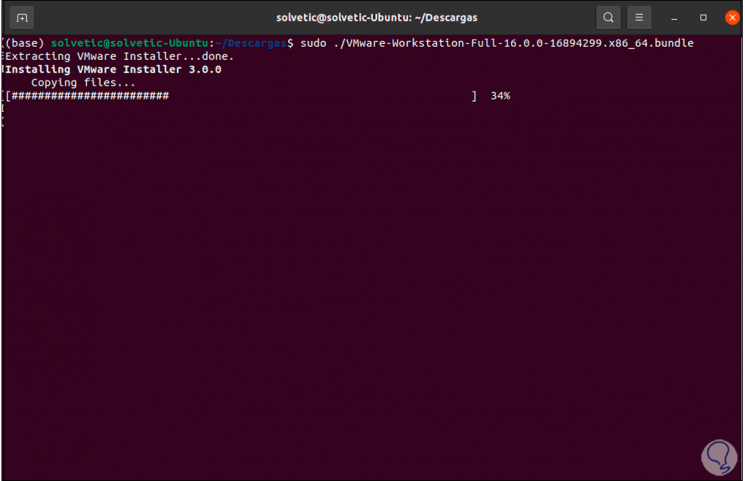
With the permissions assigned, it is time to install VMware on Ubuntu 21.04 with the following command:
sudo ./VMware-Workstation-Full-16.0.0-16894299.x86-64.bundle
Step 10
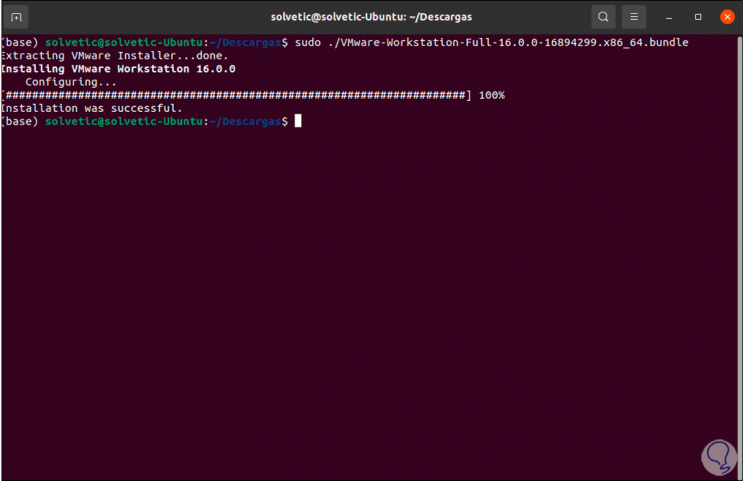
At the end of the installation process we will see the following:
Step 11
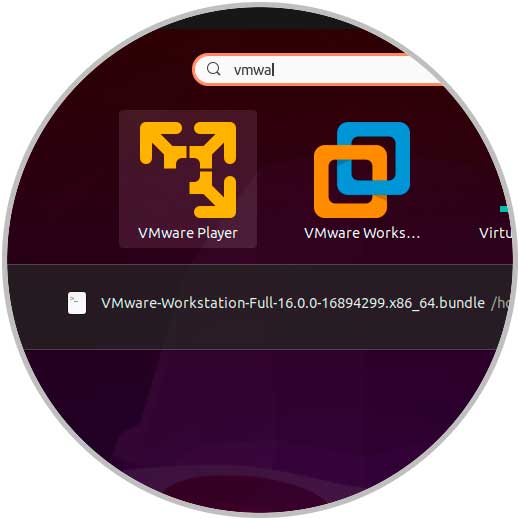
In this way we have installed VMware in Ubuntu 21, now we go to Activities and from there we open VMware:
Step 12
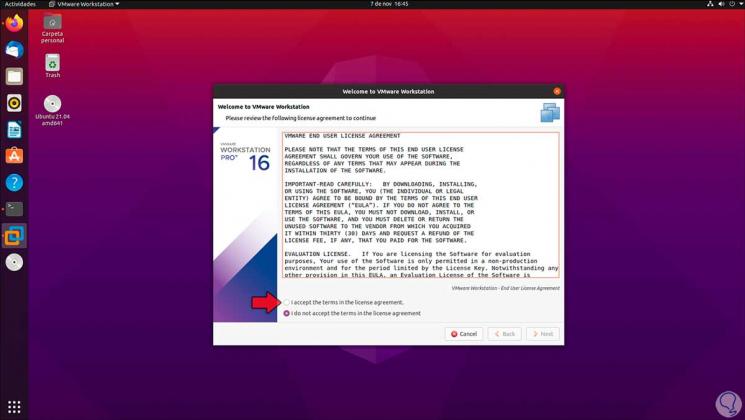
When we open it we will see the following:
Step 13
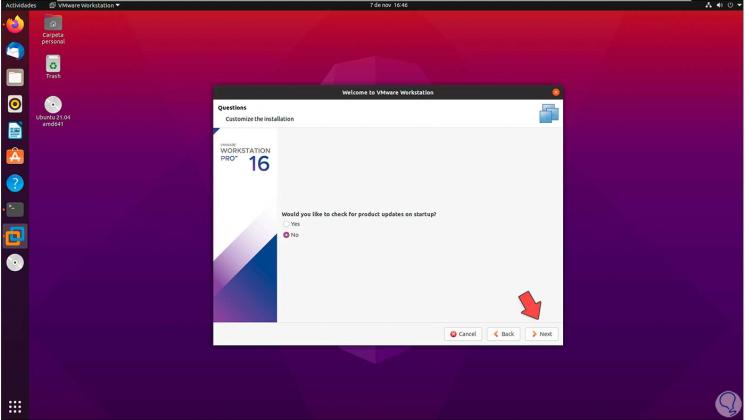
We accept the terms of the license of use and then we can configure additional parameters:
Step 14
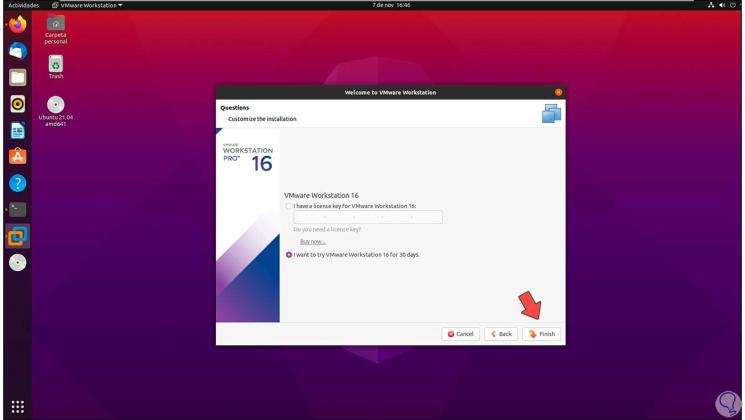
In the next window we can enter the password or use the 30-day trial:
Step 15
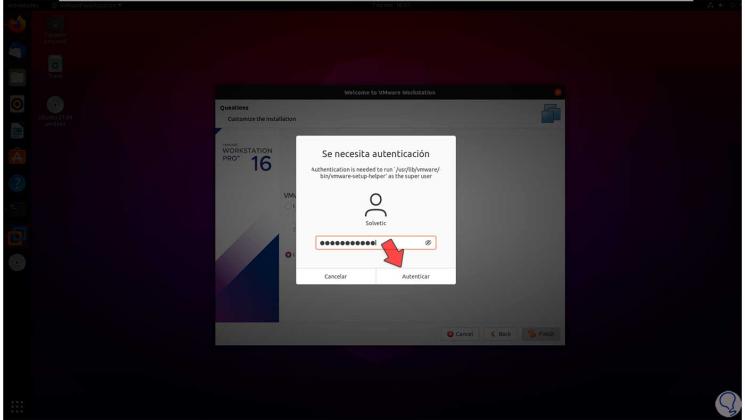
We click on "Finish" and we must enter the password to confirm it:
Step 16
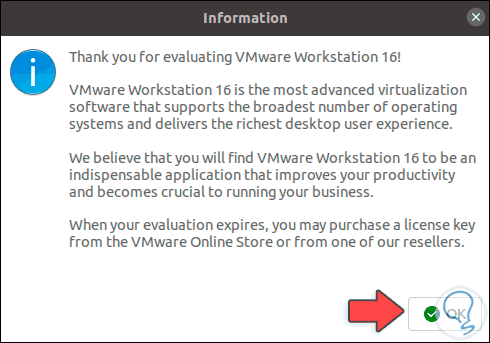
We will see the following message:
Step 17
We click OK and we are ready to use VMware in Ubuntu 21.04 with each of its functionalities:
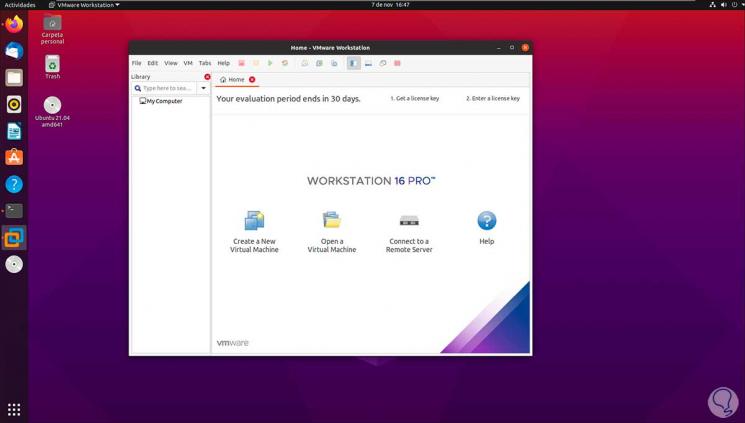
With these steps we have installed VMware in the new version of Ubuntu..