Virtualization has been developed in order to provide the user with a practical option to mount virtual machines with newly released operating systems or that are still in beta. With virtualization in Linux we can avoid that a real and productive environment is affected by changes or failures in these systems. In addition, when we create a virtual machine we do not use more resources than necessary and we can test systems such as Windows, Linux, Android or macOS even when the real system is not compatible. On Linux, embedded virtualization is made possible by KVM.
KVM (kernel-based Virtual Machine) is developed as an open source virtualization technology which is integrated into the operating system and thanks to it, Linux is allowed to work as a hypervisor, where the host machine can run isolated virtual environments. which are the virtual machines (VM).
KVM technology is capable of turning Linux into a type 1 hypervisor which does not require an operating system. We mentioned this since hypervisors need components based on the operating system to offer them to virtual machines (I / O components, device drivers,), so KVM already hosts these values by being integrated directly with the Linux kernel .
To stay up to date, remember to subscribe to our YouTube channel! SUBSCRIBE
TechnoWikis will explain how to install KVM in Ubuntu 21.04 and thus get the most out of this technology.
1. How to install KVM on Ubuntu 21.04
Step 1
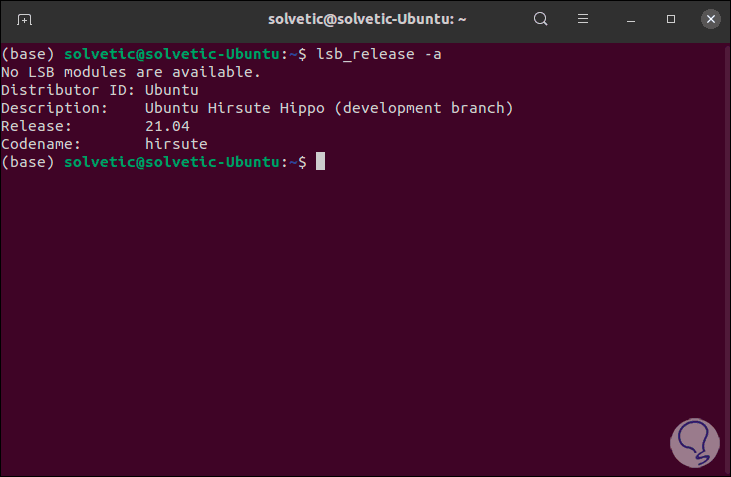
The first thing is to know that we are working on Ubuntu 21.04, for this in the terminal we execute:
lsb_release -a
Step 2
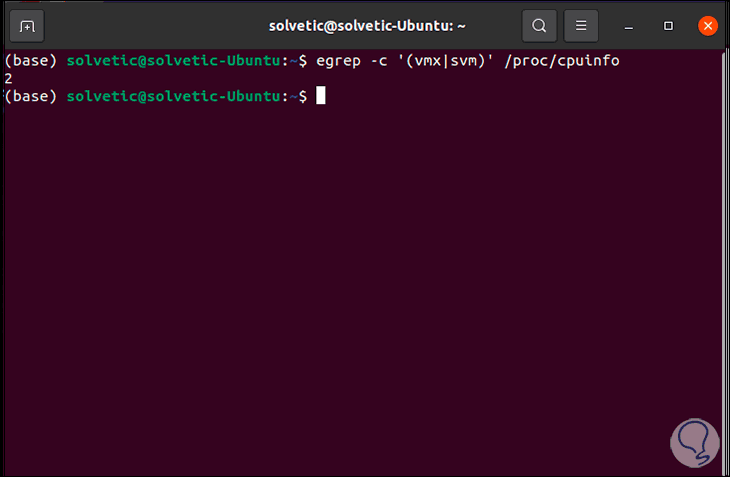
Now we must check if Ubuntu 21.04 is compatible with KVM, we verify this with the following command:
egrep -c '(vmx | svm)' / proc / cpuinfo
Step 3
If the result is greater than zero (0), we can have KVM:
Step 4
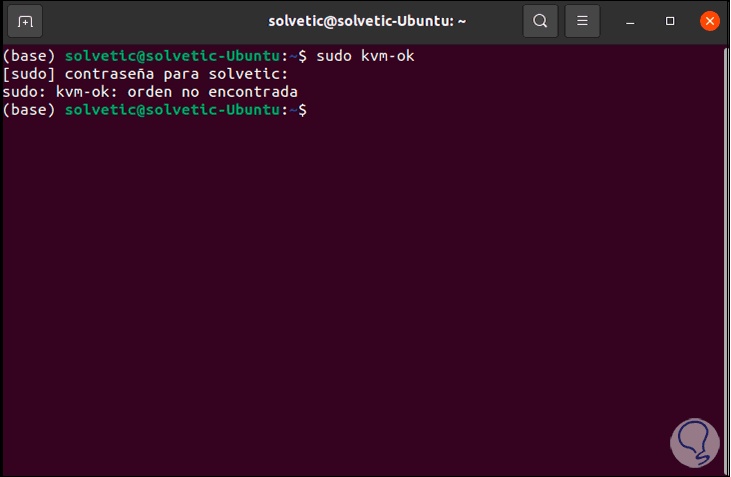
Now we check that Ubuntu 21.04 can support KVM:
sudo kvm-ok
Step 5
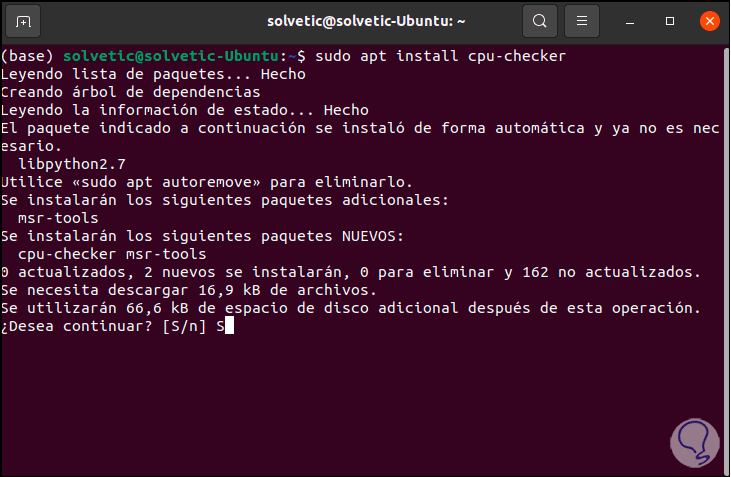
When this error is generated, we must install the utility that does the correct analysis, we will execute:
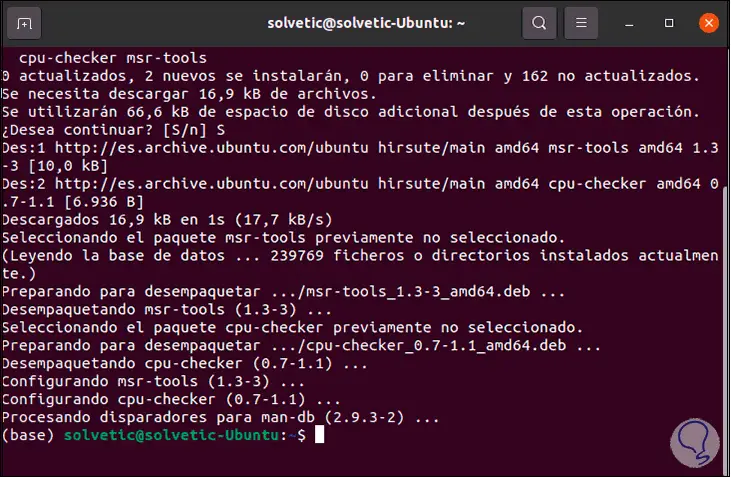
sudo apt install cpu-checker
Step 6
We enter the letter S to confirm the download and installation of the utility:
Step 7
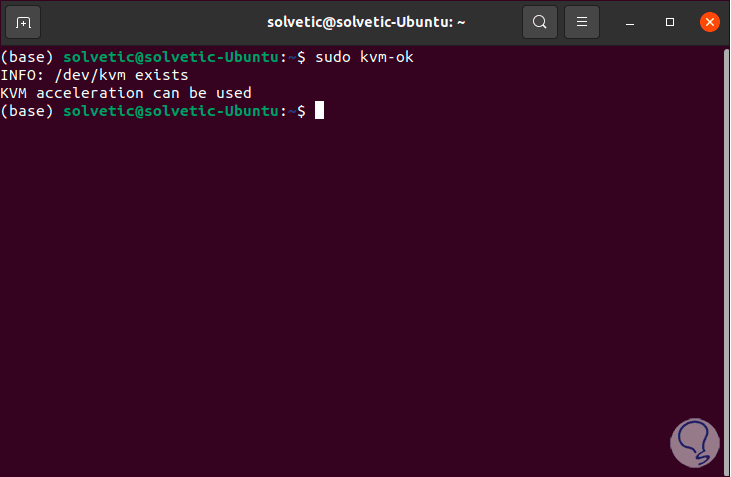
We check the support again. We see that it does support KVM.
sudo kvm-ok
Step 8
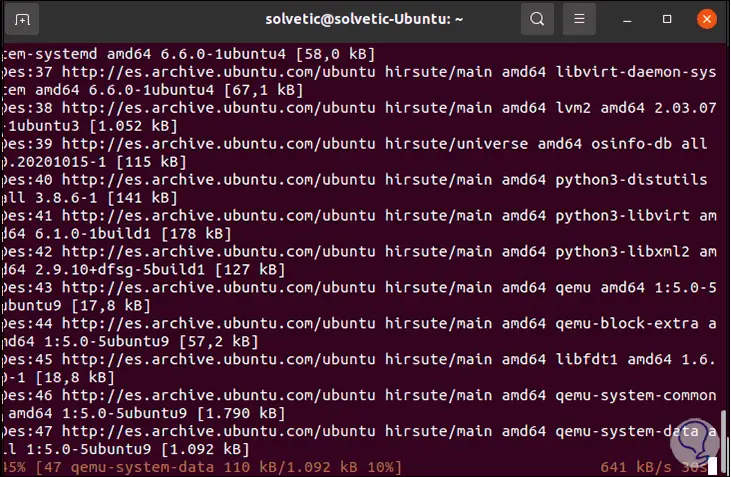
With this verified, we are going to install KVM and its dependencies with the following command:
sudo apt install -y qemu qemu-kvm libvirt-daemon libvirt-clients bridge-utils virt-manager
Step 9
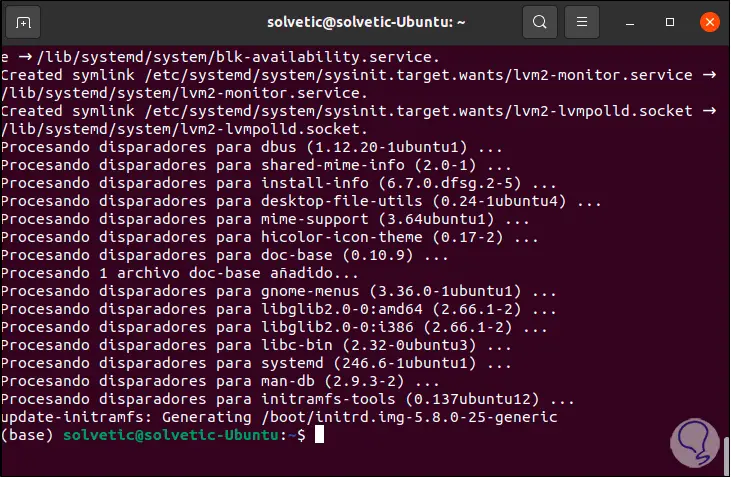
At the end of this process we will see the following:
Step 10
We have installed the following:
- The qemu package (fast emulator), this is an application to enable hardware virtualization
- The qemu-kvm package which is the main KVM package
- The libvritd-daemon which is the virtualization daemon
- The bridge-utils package with which we can establish the bridge connection so that other users have access to the virtual machine
- The virt-manager with which we can manage virtual machines through the graphical user interface
Step 11
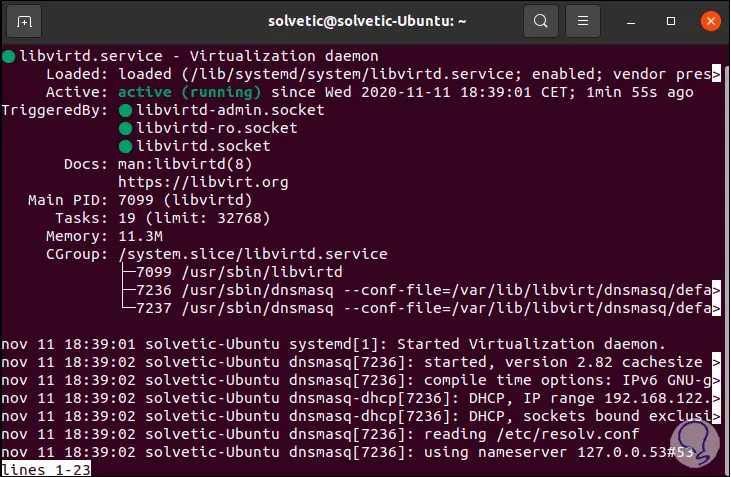
We check the status of the libvirt daemon:
sudo systemctl status libvirtd
Step 12
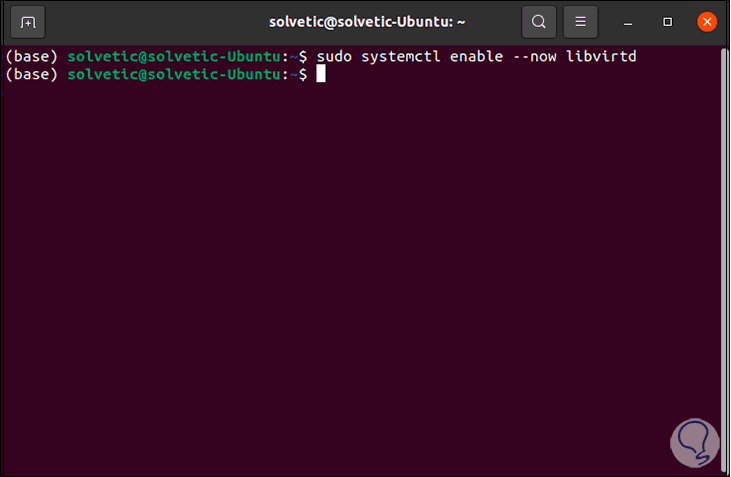
We enable it with the Ubuntu 21.04 boot:
sudo systemctl enable --now libvirtd
Step 13
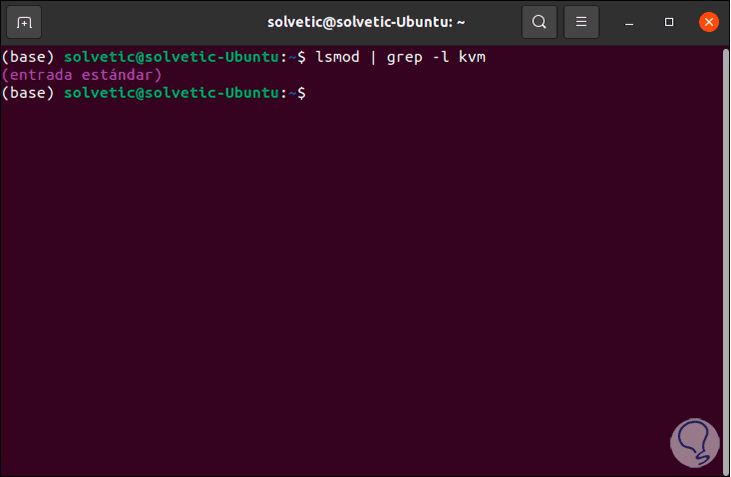
We check that the KVM modules are running:
lsmod | grep -l kvm
Step 14
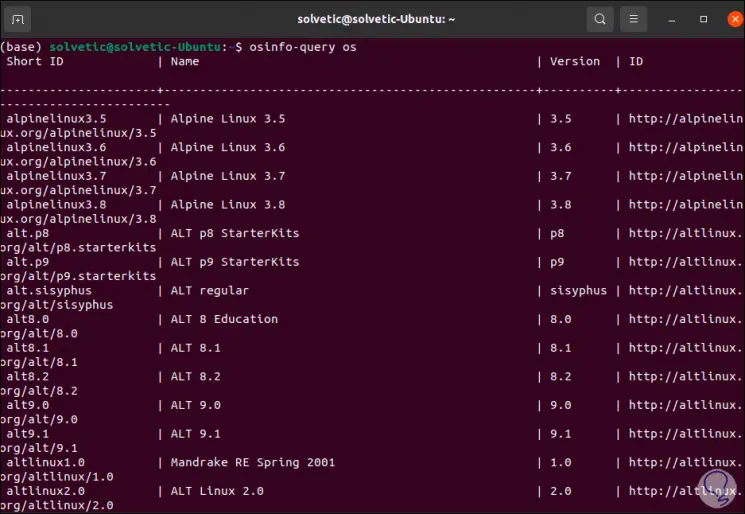
We are ready to create our virtual machine with KVM on Ubuntu 21.04. We can list all compatible systems and distributions with the following command:
osinfo-query os
To install the virtual machine we can use two methods, from the terminal or graphically.
2. Create virtual machine in Ubuntu 21.04 from Terminal
Step 1
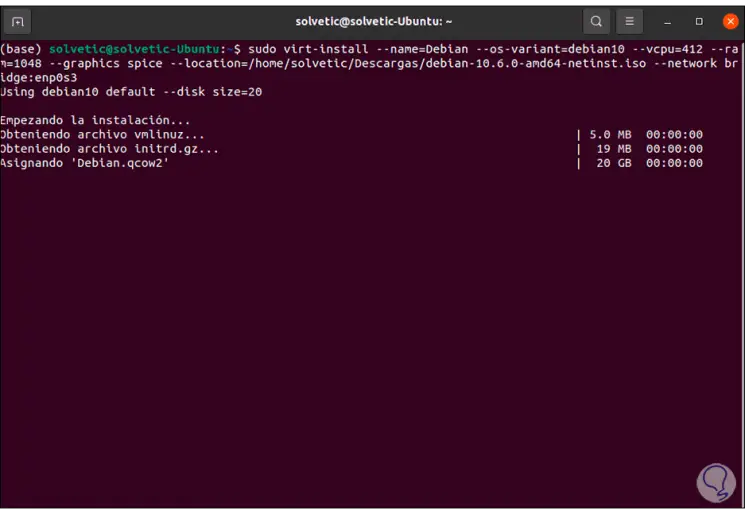
For this process we will use the command "virt-install" in the following way:
sudo virt-install --name = Debian --os-variant = debian10 --vcpu = 412 --ram = 2048 --graphics spice --location = /home/technowikis/Downloads/debian-10.6.0-amd64-netinst.iso --network bridge: enp0s3
Step 2
In this case we define. This will create the virtual machine from terminal.
- Name of the distribution or system
- Path where the ISO file is
3 . Create virtual machine in Ubuntu 21.04 graphical mode
Step 1
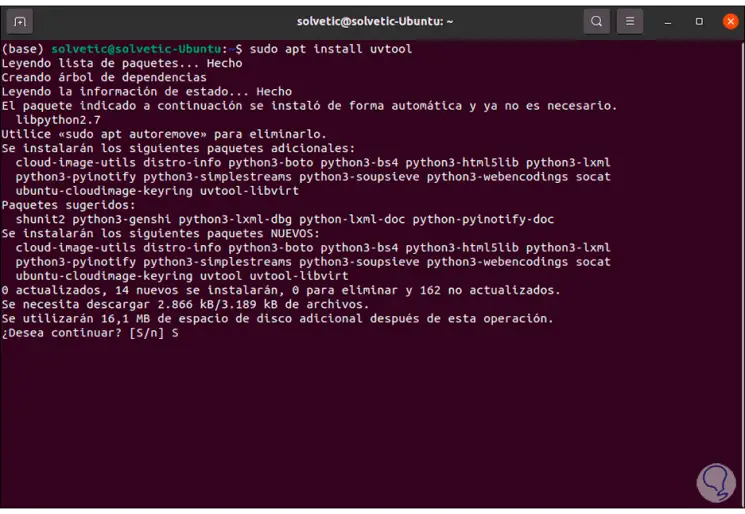
It is a more complete process, first of all, we install the required dependencies:
sudo apt install uvtool
Step 2
We enter the letter S to confirm the download:
Step 3
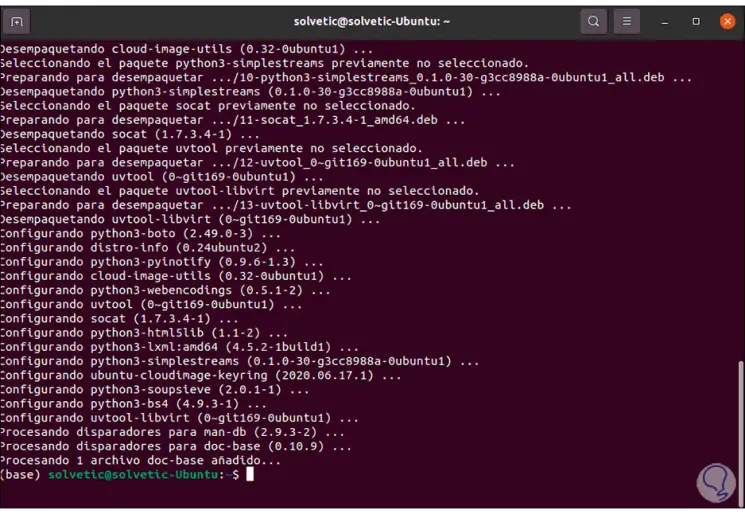
Once installed we execute the following to access the administrator:
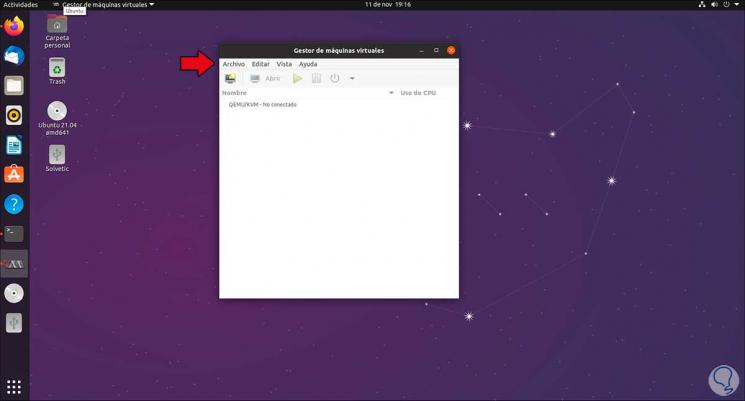
sudo virt-manager
Step 4
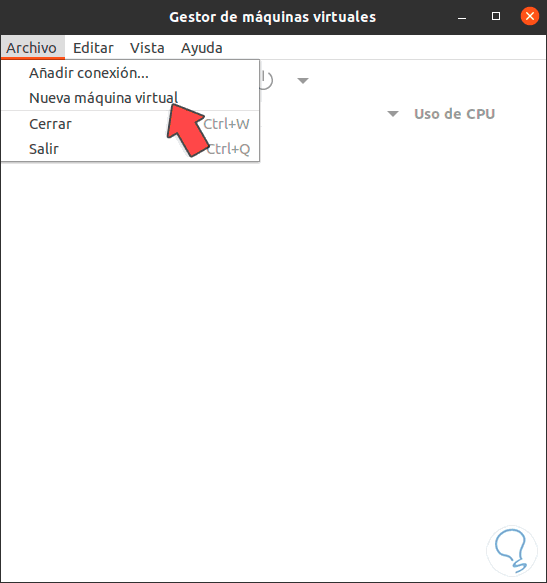
To create the machine from here, go to the menu "File - New virtual machine":
Step 5
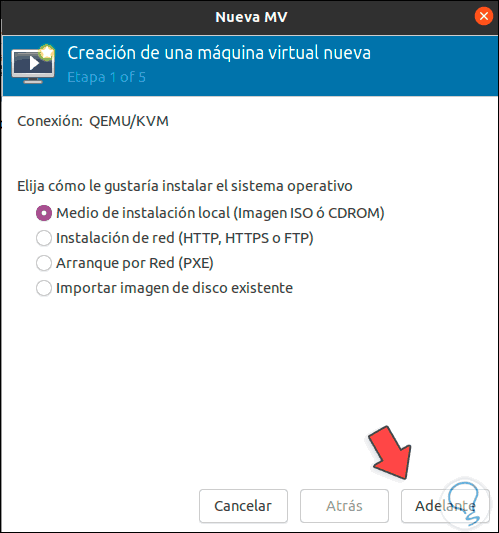
We establish the resource from where we will install:
Step 6
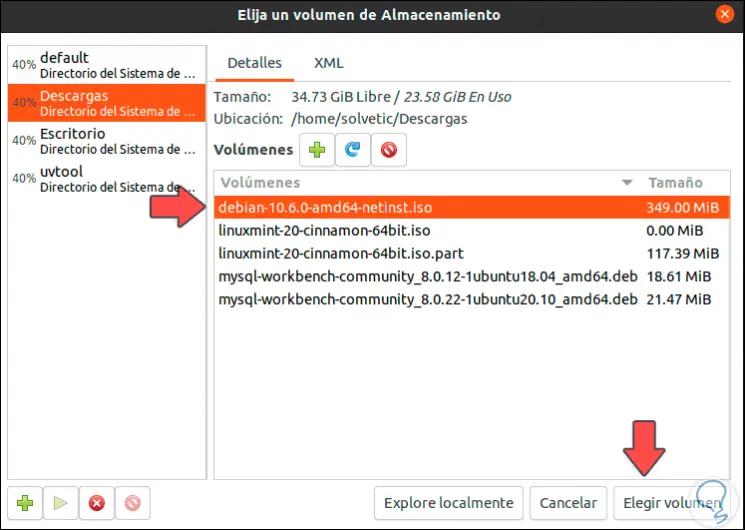
We click on Browse and choose the downloaded ISO image:
Step 7
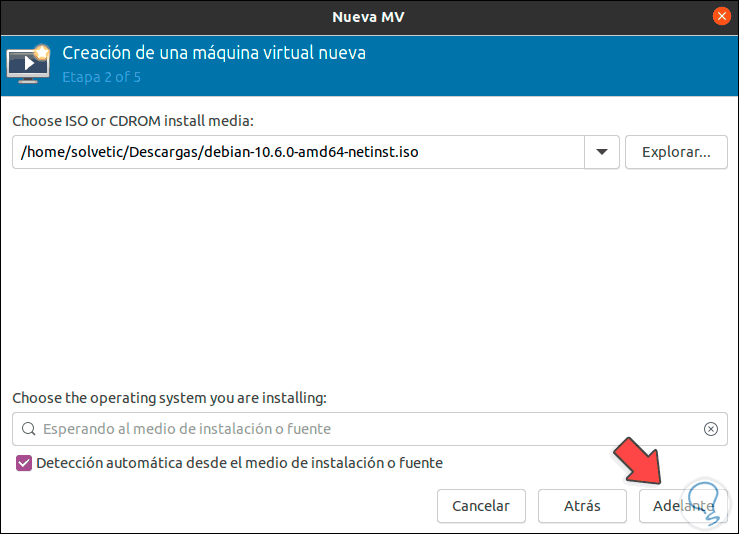
We click on "Choose volume" and we will see this integrated path:
Step 8
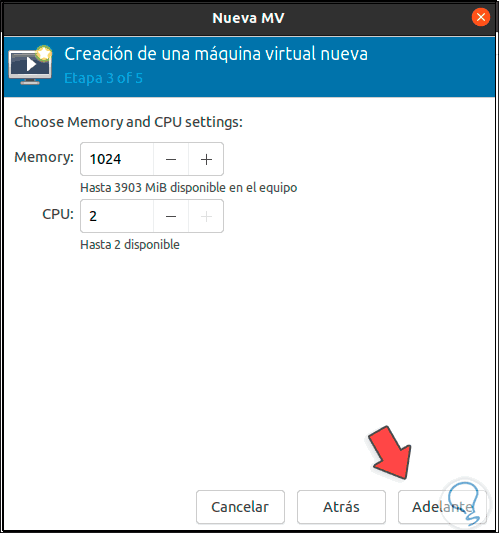
We click on Forward and now we define memory and CPU:
Step 9
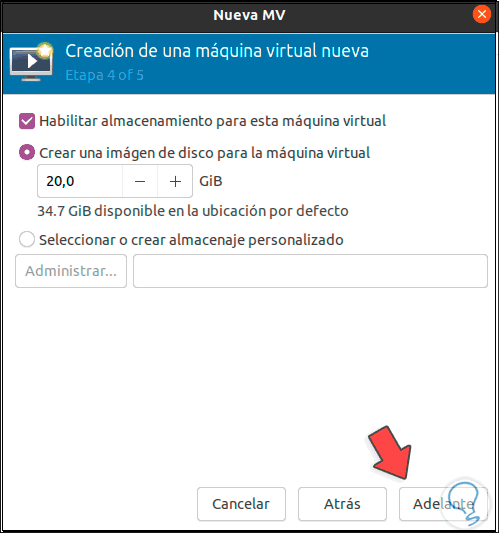
Click on Forward and we define the size of the virtual hard disk:
Step 10
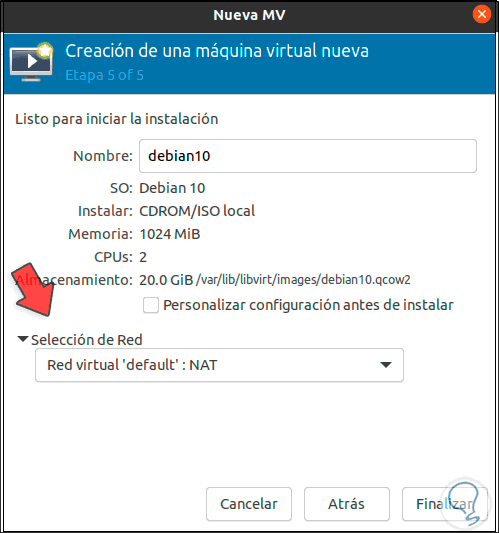
Click Forward again and define the name of the virtual machine and select the network adapter to use for it:
Step 11
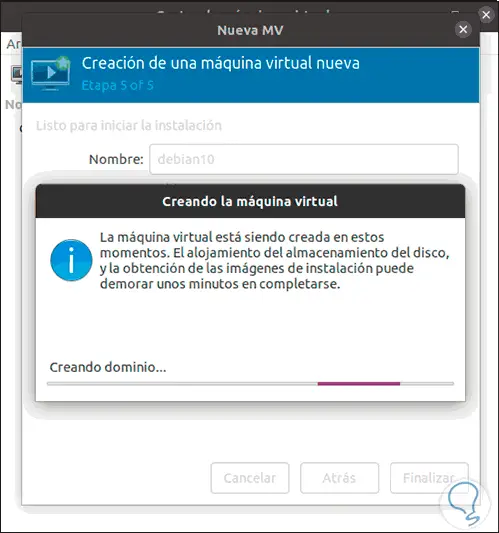
We click on Finish and the virtual machine creation process will proceed:
Step 12
When the machine completes automatically, it will start:
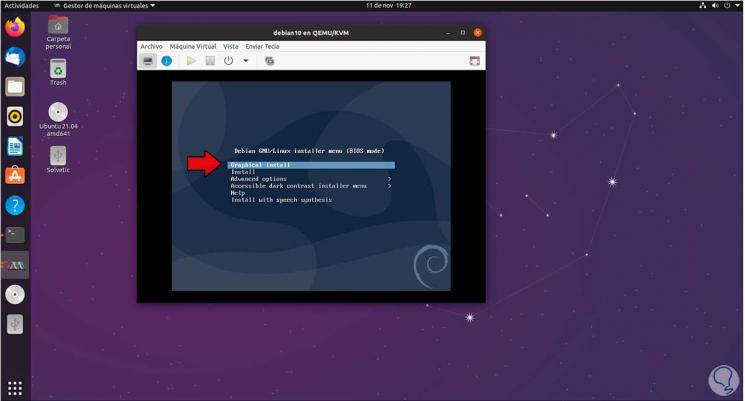
Step 13
KVM gives us different options to manage virtual machines:
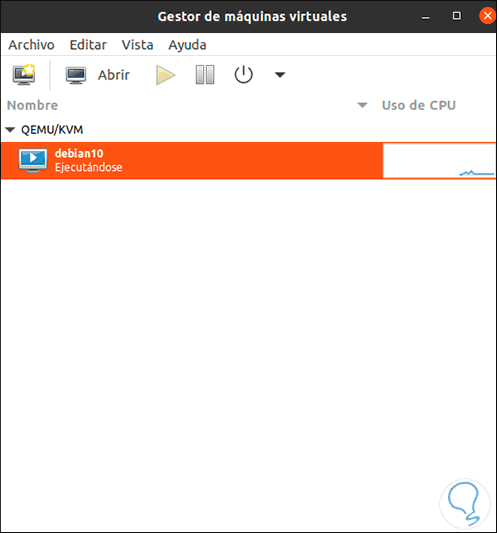
Step 14
From the menu we control it:
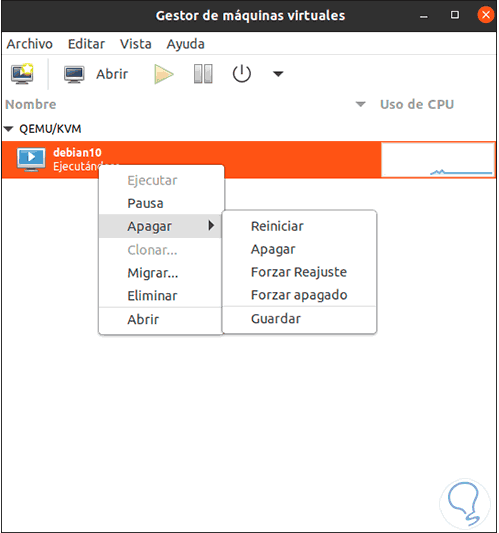
We see how KVM is a comprehensive solution integrated into the operating system itself to work with virtual machines.