Managing a UNIX operating system is not always a simple task due to the amount of services and processes linked to it, but today all this task is simplified by having functional and dynamic tools to obtain the data and present it in a much more organized and easy way. to understand. Monitorix is one of these free tools with which it is possible to obtain control over different aspects of a Linux server and thus monitor Linux and TechnoWikis will explain what it is and how to use Monitorix on Linux..
What is Monitorix
Monitorix has been developed as an open source system monitoring tool which allows us to control system services and resources in a fully functional way, its structure is composed of two values that are:
- a compiler, monitorix, this is a Perl daemon which starts automatically
- a CGI script called monitorix.cgi
As of version 3.0, Monitorix has its own integrated HTTP server, thus avoiding the use of third-party servers.
Monitorix Features
Monitorix Among its main features we highlight:
- System load average and usage (system.pm)
- Supports an unlimited number of processors or cores
- It allows us to define the number of graphics per row
- Supports up to 20 hardware temperature sensors
- Has selectable identification sensors for each available graph
- Supports up to 16 core compatible temperature sensors
- Supports up to 9 fan speeds
- Supports 4 CPU compatible temperature sensors
- Supports an unlimited number of sensor groups
- Allows you to change the name of each sensor
- Supports up to 8 drives per graphic
- Allows you to hide the real name of each mount point
- Displays disk I / O activity for each available file system
- Alert capabilities for each file system on the server
- Deploys the use of ARC, ARC cache and L2ARC cache
- Unlimited number of virtual machines
- Supports up to 8 virtual machines per graphic
- Can monitor multiple disks and network interfaces for each virtual machine
- Supports SSH Login, Telnet, Samba and Netatalk
- Supports ProFTPD, vsftpd, and Pure-FTPd server log file format
- Compatible with NFS v2, v3 and v4 and many more features
Let's see how to install Monitorix and use it on Linux..
To stay up to date, remember to subscribe to our YouTube channel! SUBSCRIBE
Monitor Lonux server with Monitorix
Step 1
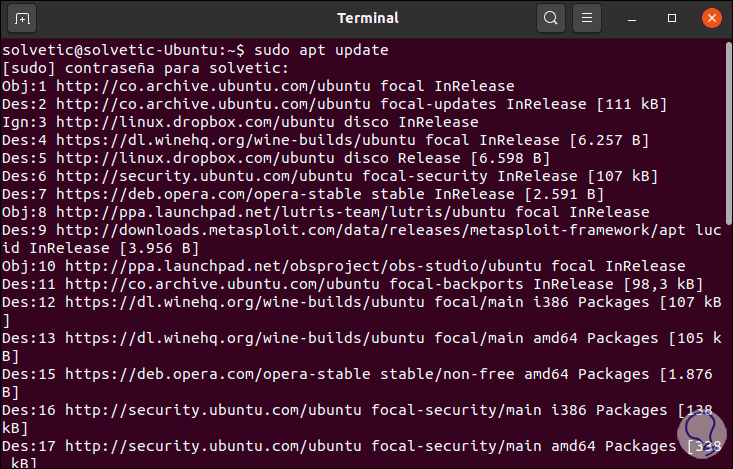
First, we are going to update the system packages with the following command:
sudo apt update
Step 2
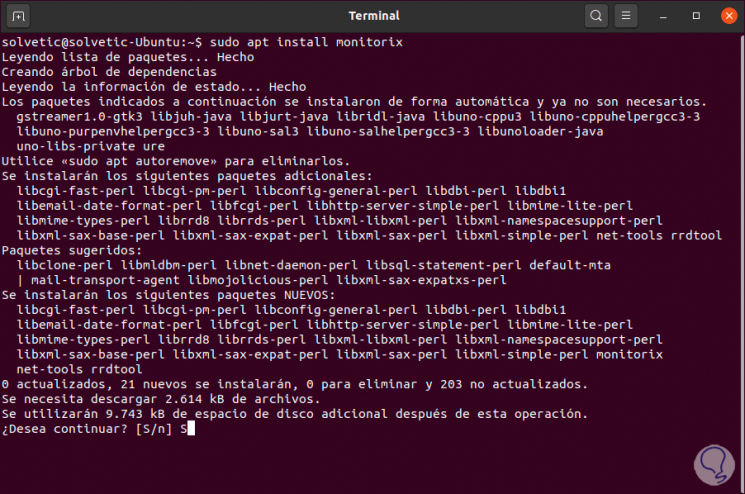
After this we install Monitorix with the following command:
sudo apt install monitorix
Step 3
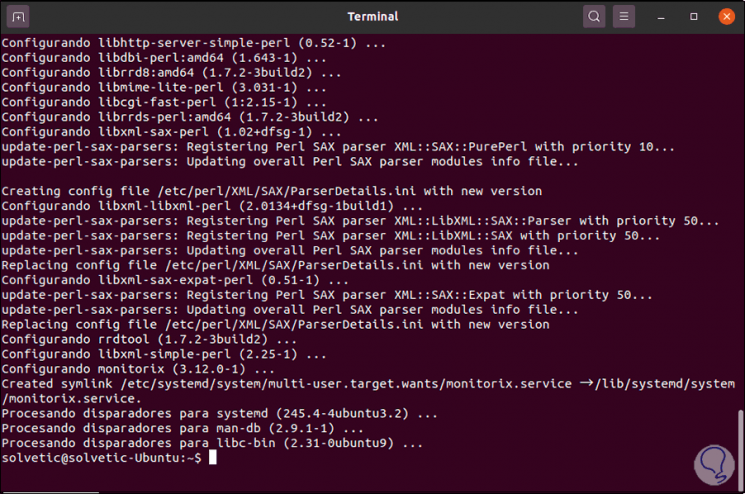
We enter the letter S to confirm the download and installation of the application:
Step 4
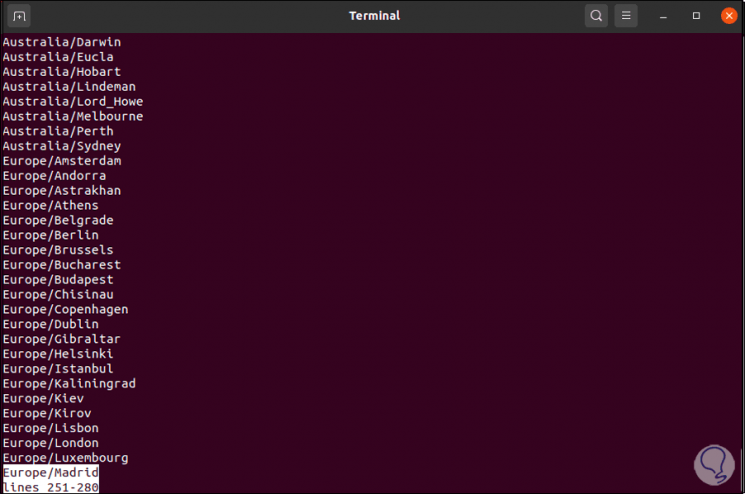
After this we are going to generate the list of available zones which are presented in the format "REGION / COUNTRY", we execute:
timedatectl list-timezones
Step 5
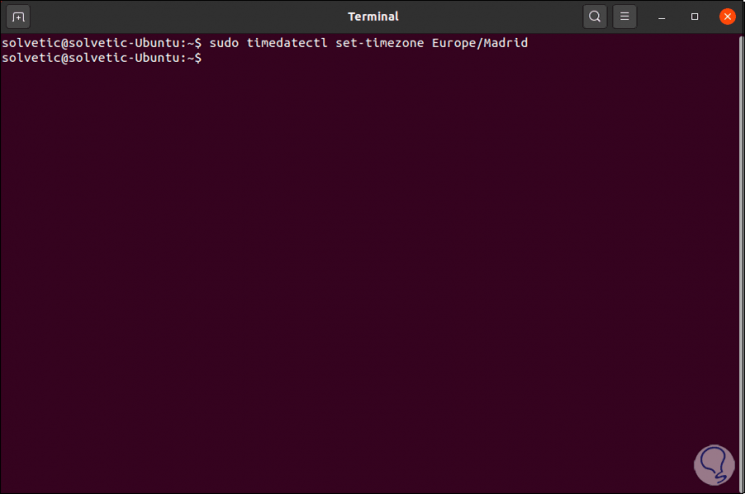
There we locate the desired zone, in this example Europe / Madrid, we copy it and now we establish this zone in the computer with the following command:
sudo timedatectl set-timezone Europe / Madrid
Step 6
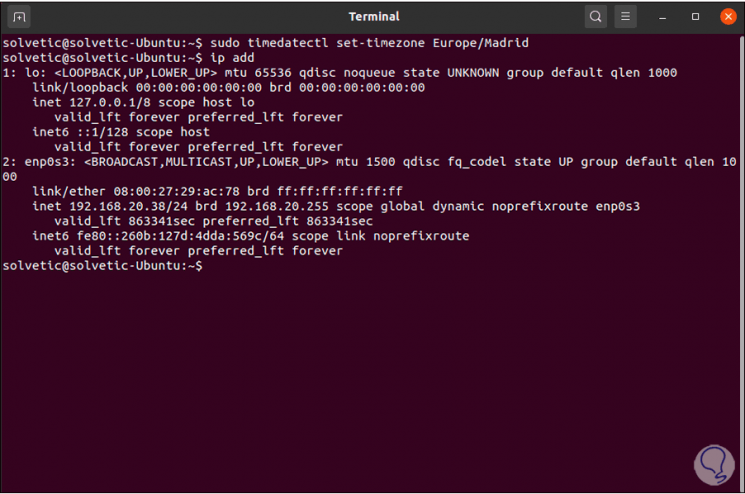
After this we are going to identify the IP address of the device with the command "ip add":
Step 7
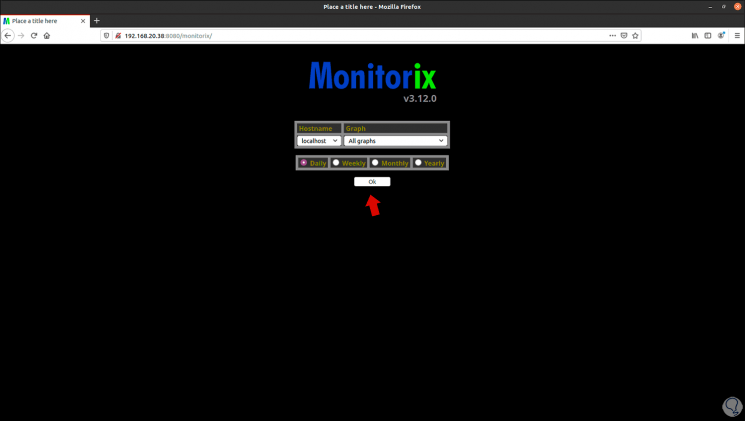
With the known IP we go to a browser and enter the following:
http: // IP_LINUX: 8080 / monitorix /
Step 8
There we can define the following:
- Used server (in this case localhost)
- Information frequency (daily, weekly, monthly or yearly)
Step 9
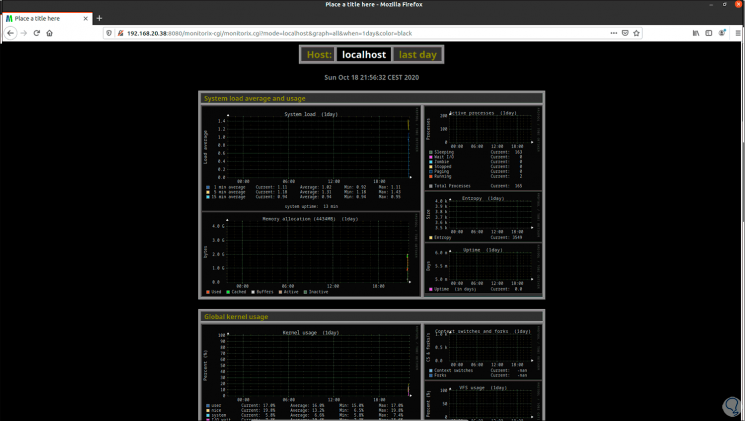
We can leave the default values and click OK, we will see the data display:
Step 10
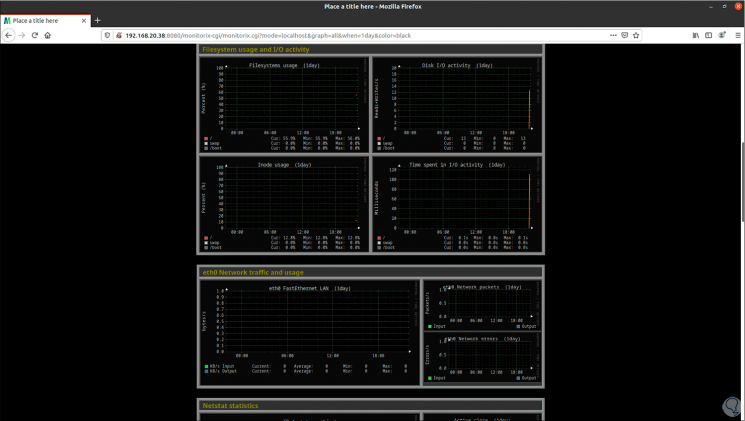
Each of the reports is in real time, we can go down to have access to the other data available in Monitorix:
Step 11
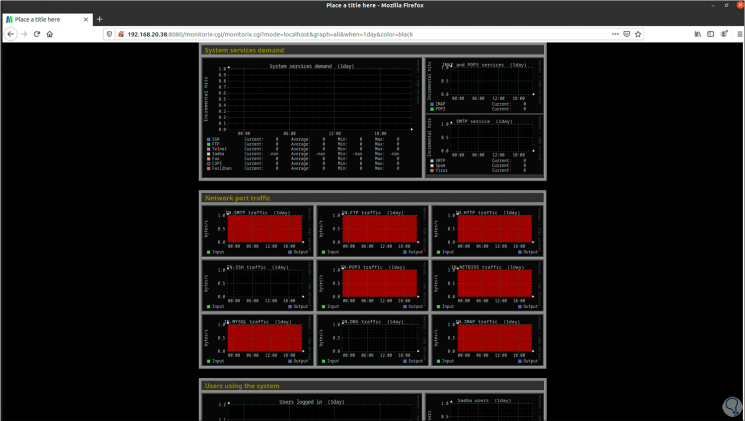
At the bottom we find more components:
With this simple process we have installed Monitorix on Linux to keep a precise control of the data and services.