When managing environments with Linux servers we have a great advantage and we have numerous free tools to monitor the system both hardware and software thanks to free code. Each tool has its own characteristics and approach, some more complete than others, and today TechnoWikis will talk about a special one called Scout_Realtime for use in Linux environments ..
What is Scout_Realtime
Scout_Realtime has been developed as a simple tool which is web based in order to carry out a complete monitoring of the various metrics of the Linux server in real time.
Parameters
By using this tool, we will obtain parameter metrics such as:
- Top processes, the 10 most important, and all in real time.
Features and benefits
Some of the features and advantages that we will have when using Scout_Realtime are:
- Update graphics every second: this utility has a historical context of the graphics of each metric with which the monitoring will be done completely in real time
- View disk and network activity: Disk utilization metrics, available hard disk space and current network traffic have been added
- Grouping processes by name, Now processes are grouped with the same name and the number of running processes is displayed, in the same way, when a new process is activated, it will be displayed in the web console
- Metrics of memory use, there is a special metric for all current use of RAM since it is one of the factors that has a higher impact at the level of performance in Linux.
1. How to install Scout_Realtime on Linux
Step 1
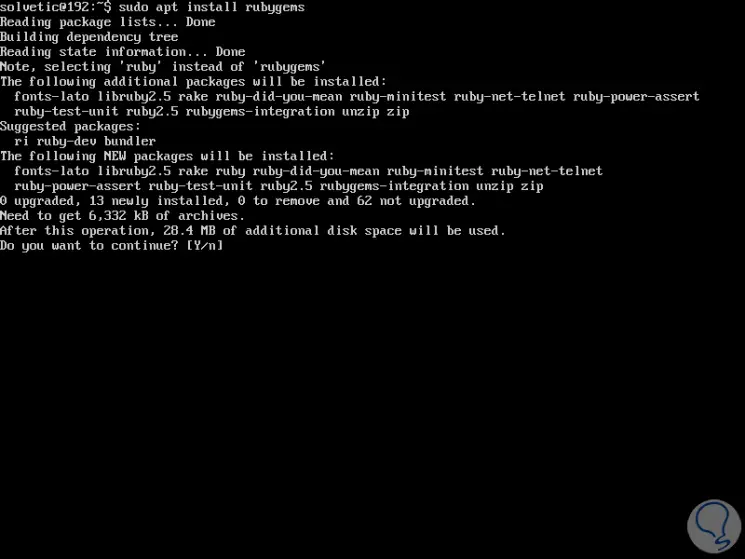
To install scout_realtime on the Linux server, we must have Ruby 1.9.3+ installed, which can be installed with any of the following commands depending on the distro used:
sudo apt-get install rubygems (Debian / Ubuntu) sudo yum -y install rubygems-devel (RHEL / CentOS) sudo dnf -y install rubygems-devel (Fedora)
Step 2
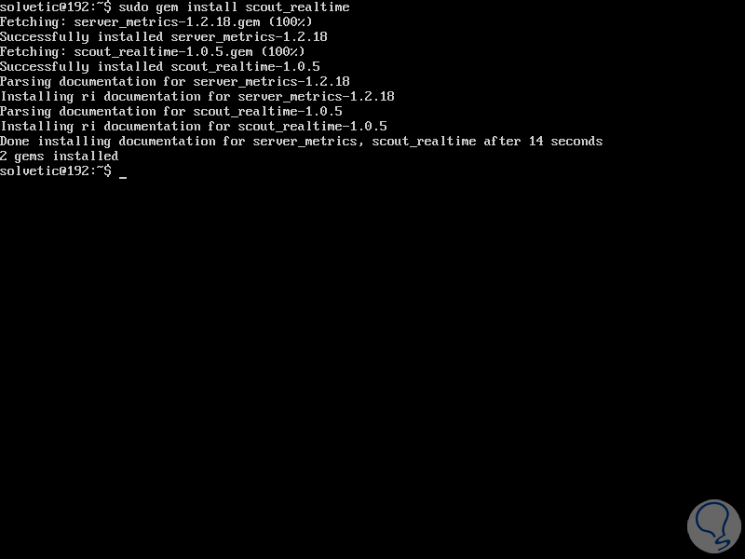
Enter the letter Y or S to confirm the download and respective installation. Once this step is complete, we proceed to install the Scout_realtime package with the following command:
sudo gem install scout_realtime
Step 3
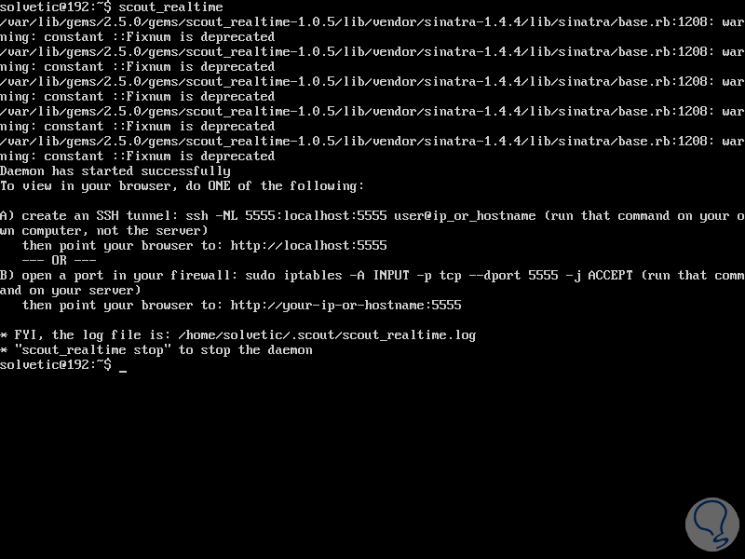
Once the scout_realtime package has been installed, it will be necessary to start the scout_realtime daemon, so that it can collect the server metrics in real time, for this we execute the following:
scout_realtime
Step 4
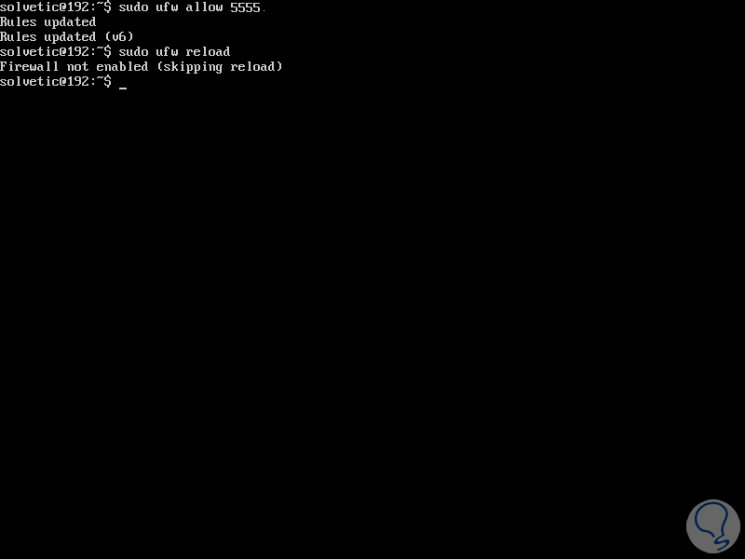
With this result we can verify that the scout_realtime daemon is running on the Linux server and that for the monitoring process remotely the port 5555 will be available, in case of using the integrated firewall, it will be necessary to enable port 5555 for scout_realtime to listen in the firewall and thus allow requests to be carried out.
To do this we execute the following:
In Debian or Ubuntu
sudo ufw allow 5555 sudo ufw reload
In CentOS 7
sudo firewall-cmd --permanent --add-port = 5555 / tcp sudo firewall-cmd reload
Step 5
If the firewall is not enabled, it can be activated by executing the following:
sudo ufw enable Access to Scout_Realtime
2. How to access Scout_Realtime on Linux
Step 1
Once we carry out this process, it will be possible to access the tool from any browser using the following syntax:
http: // localhost: 5555
or
http: // IP_address: 5555
Step 2
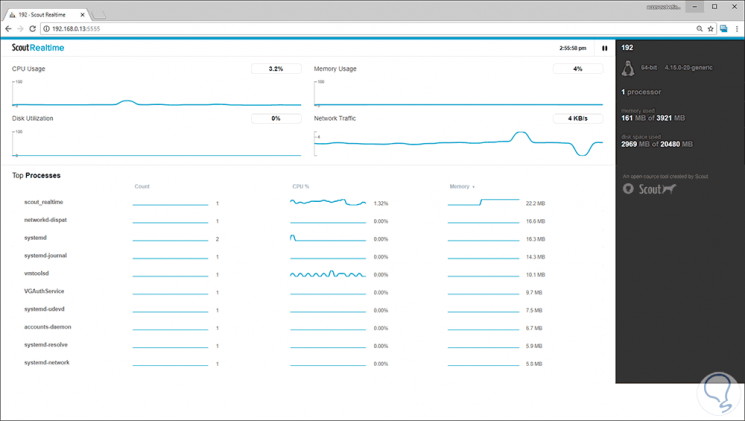
The result will be as follows:
Step 3
There we found the following:
- At the top the real-time use of CPU, disk, memory and network
- In the lower part the 10 most relevant processes of the system
- On the side we will see the architecture and system version, computer name, number of processors, RAM used and free hard disk space.
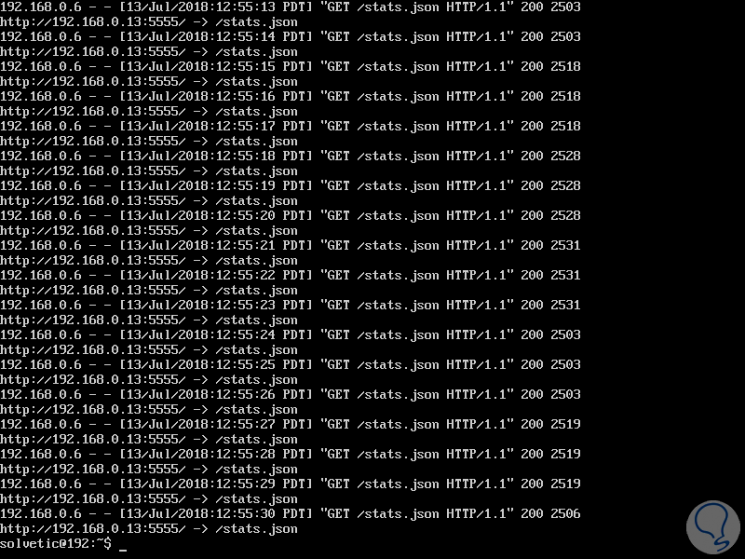
By default, the scout_realtime records are stored in the .scout / scout_realtime.log directory, to see their contents we can use the cat command like this:
cat .scout / scout_realtime.log
Step 4
If we want to stop the utility daemon, we execute the following command:
scout_realtime stop
To completely uninstall Linux Scout_Realtime, you will need to use the following command:
gem uninstall scout_realtime
Thus, this simple utility allows us to keep constant and real-time monitoring of the main components of our Linux servers.