The tools we have today to communicate with our contacts are very numerous, but each one of them offers different options. Zoom is the leading platform that had strong growth due to situations in the world that forced the majority of work and activities to be carried out from home, but still Zoom has been present for both the home and the office offering a reliable platform, safe and with the necessary tools for a proper job..
When we access a meeting in Zoom, the camera and microphone of the equipment are activated by default , it is natural that meetings require these components but in special situations it may not be necessary to use the camera and microphone to avoid distractions. for this we will see how to deactivate both the camera and the microphone in Zoom either in the meeting or by default.
To stay up to date, remember to subscribe to our YouTube channel! SUBSCRIBE
1. How to disable camera and microphone in Zoom in a meeting
Step 1
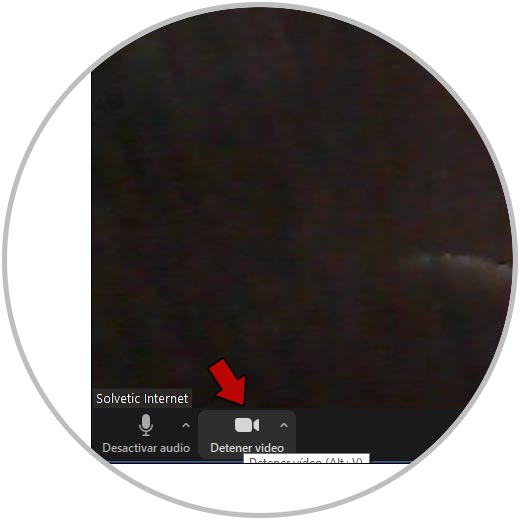
To deactivate the camera, we access the meeting and click on the option "Deactivate video" located at the bottom or we can use the Alt + V keys:
Alt + V
Step 2
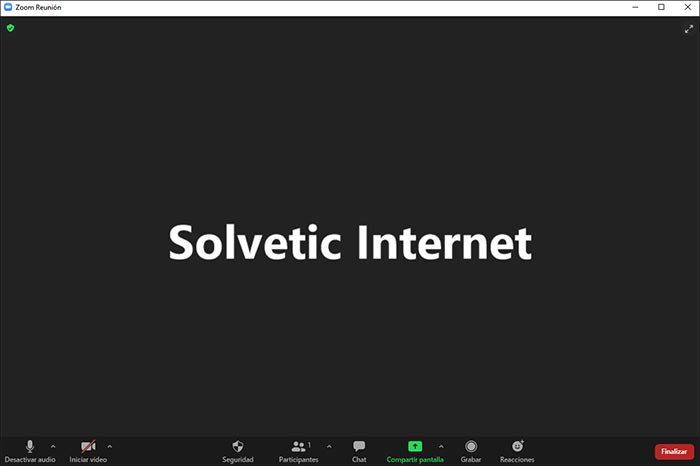
By clicking there we see that the camera has been disabled:
Step 3
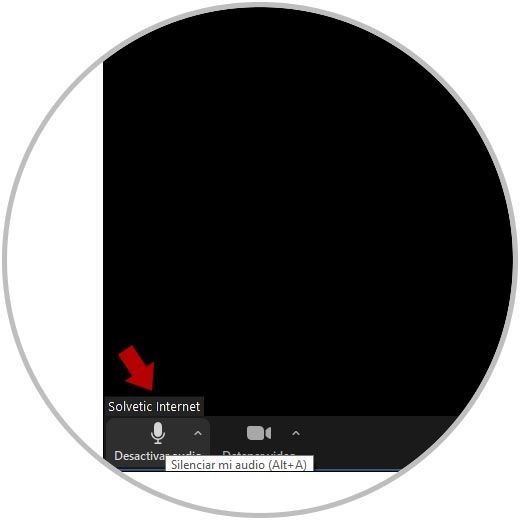
To deactivate the audio we can use the Alt + A keys or click on the option "Deactivate audio" in the lower left corner:
Step 4
By clicking there we see that the microphone is deactivated:
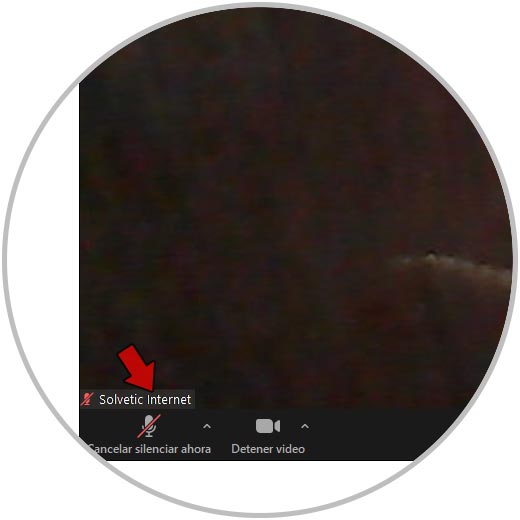
To reactivate it, click on "Cancel silence now"..
2. How to disable camera and microphone in Zoom by default
Step 1
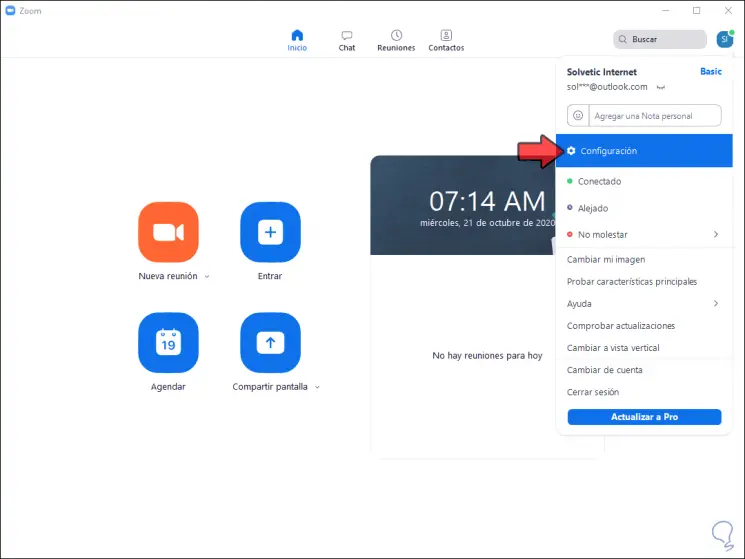
If we want both the camera and the microphone to be disabled in Zoom, we must open the Zoom application in Windows 10, click on our profile and select “Settings”:
Step 2
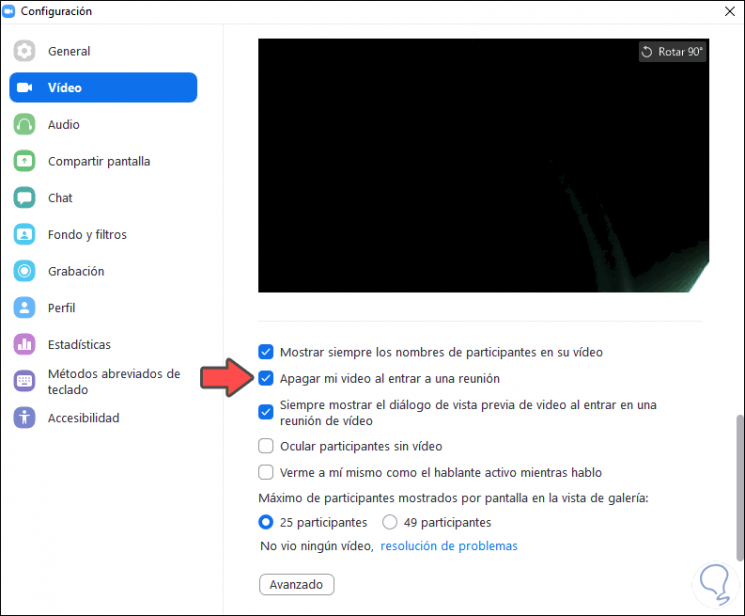
After this we go to the "Video" section and activate the box "Turn off my video when entering a meeting":
Step 3
Then we go to the "Audio" section and there we activate the box "Mute my microphone when entering a meeting":
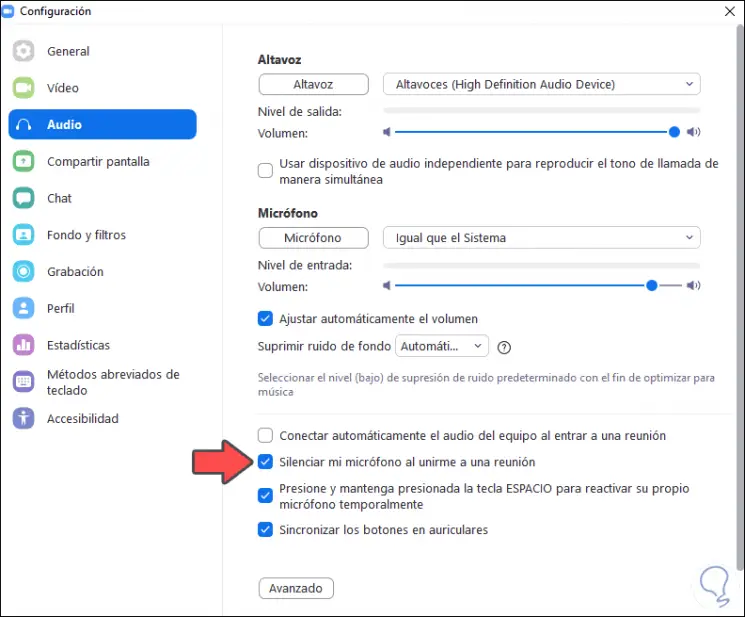
The changes are applied automatically.
We can disable the camera and microphone either in a meeting or by default and you have learned it thanks to TechnoWikis..