Consumers often complain about the poor quality and poor durability of today's computers and laptops. Obviously we are not referring to software, but to Hardware. It is more than obvious that the hardware of a computer or laptop will sooner or later fail or break, however this will be more related to the type of use we make of said hardware, than to the quality of it. For example, if we carry out a large number of heavy processes with our equipment, the health of the processor may suffer.

Related: Windows 10: Enable or Disable Reserved Storage
There are users who take more care of their computers than others, and therefore, the hardware of these computers usually last longer without failures or problems. An example of hardware that tends to deteriorate greatly in notebook computers is the battery. However, few are those who repair their processors, which are constantly operating and at different levels depending on the processing needs..
For all this, it is a very good idea to keep an eye on the state or health of our computer's processor. So it is a good idea to keep an eye on it. Currently, there are many tools that allow you to check the status of your CPU, however, if it has a CPU that is Intel, you should know that there is an official tool from the manufacturer that will offer you much more accurate and reliable data.
In that regard, you should know that Intel is not the only manufacturer of all the CPUs in the world. Check if you have an Intel CPU before using this tool. The easiest way to check for an Intel CPU is to look for an "Intel Inside" sticker on your computer case or cover. You can also get to know this information, going to the Performance tab in the Task Manager (select the CPU graph and check the upper right corner)..
Having said this, we want to show you step by step how to know the health status of the processor (CPU) of your Windows 10 computer:
How to check the health status of the Intel CPU of your computer or laptop:
- The first thing will be to download the official program: Intel® Processor Diagnostic Tool. This can be done from the following link:
Download Intel® Processor Diagnostic Tool for 64-Bit Computers
Download Intel® Processor Diagnostic Tool for 32-Bit Computers

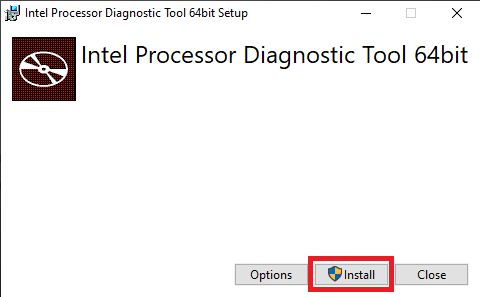
- Once the tool is downloaded, you must run the downloaded file to proceed with its installation.
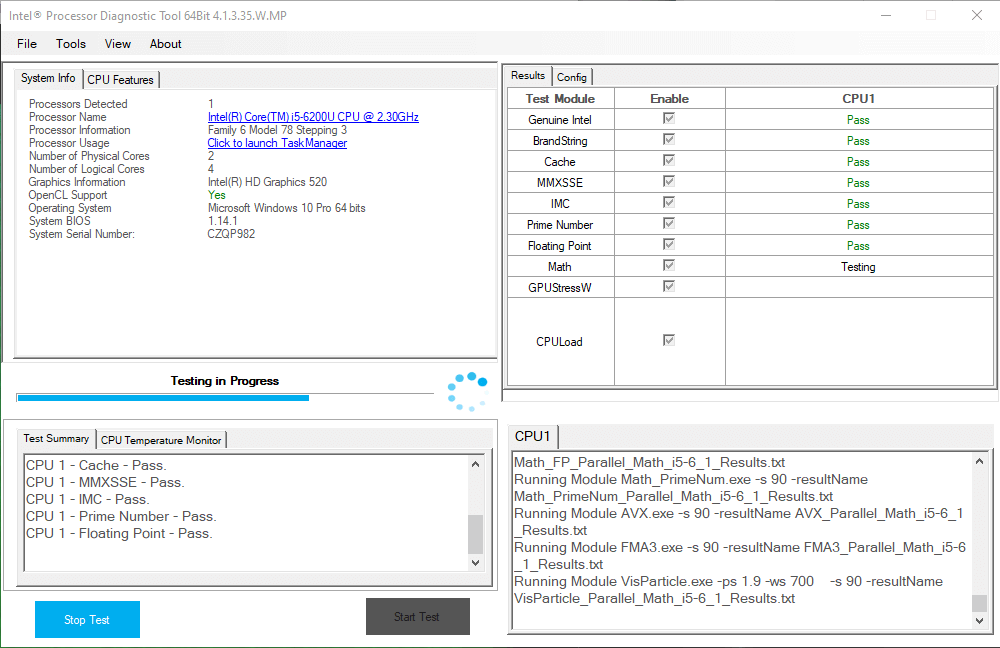
- Once installed you must run the small program to check how the interface of the same opens..
- Automatically the test of verification of your CPU will begin.

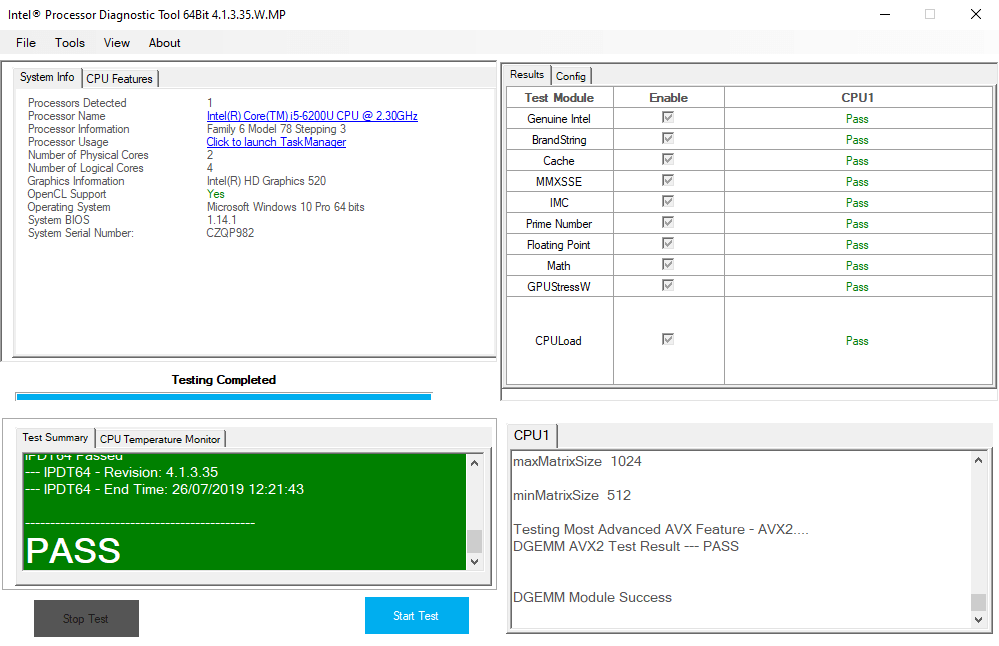
- After several minutes, the tool will finish the check and will show you if your processor has passed all the stress tests.
- If the processor fails in any of these tests, the rest will automatically be canceled. The complete verification process can take between 10 and 30 minutes depending on the power of your hardware.

Once all the tests are completed, regardless of whether they failed or passed, you will get a summary of results that will tell you if something is wrong or not. If the test stopped due to an error, you can go to Tools> Stop testing on fail> off . This will allow you to carry out the rest of the tests if any of them fails.
As for the test results, the interface will show you which tests passed and which did not. They will differ based on your CPU's capabilities, but you can review the test summary and see what tests were run. An average user is unlikely to understand the details of these results, but if they have tests that failed, you can look for possible solutions for it.
CPUs can be repaired, but repair can be as expensive or nearly as expensive as a new CPU. In the event that your processor has errors or failures, you should consider the cost of the repair and compare it with the price of a new one. If this difference is not very great, we recommend without a doubt, the purchase of a new one.