Undoubtedly, one of the most popular Linux distributions for everything related to security issues is Kali Linux which has a focus on the security of systems and applications using multiple tools for it. Kali is a Debian- based Linux distribution with advanced security features integrating various penetration tests to see the security and safety status of a company regardless of its size..
Kali Linux Features
Among all the features of Kali Linux we find:
- It offers an open source Git tree, this means that its source code is available to anyone who wants to modify or rebuild additional packages
- Add more than 600 penetration testing tools
- FHS compliant making it easy for Linux users to locate binaries, support files, libraries and more in a simple way
- It is compatible with wide-range wireless devices thus allowing compatibility with USB devices and other wireless devices.
- GPG-signed packages and repositories
Kali Linux versions
Kali offers us as users to have access to future versions of the system through the Daily Build model, that is, we can download the ISO image (in beta phase) of the next version that will come out of Kali which is Kali Linux 2021, the image ISO is available for systems:
These images can be found at the following link:
Kali Linux 2021
Now, to safely test this type of trial versions, TechnoWikis recommends you use a virtualization platform and what better than VirtualBox which is completely free and full of functions, we can download VirtualBox at the following link:
VirtualBox
Let's see how to install Kali Linux 2021 on VirtualBox.
To stay up to date, remember to subscribe to our YouTube channel! SUBSCRIBE
How to install Kali Linux 2021 on VirtualBox
Step 1
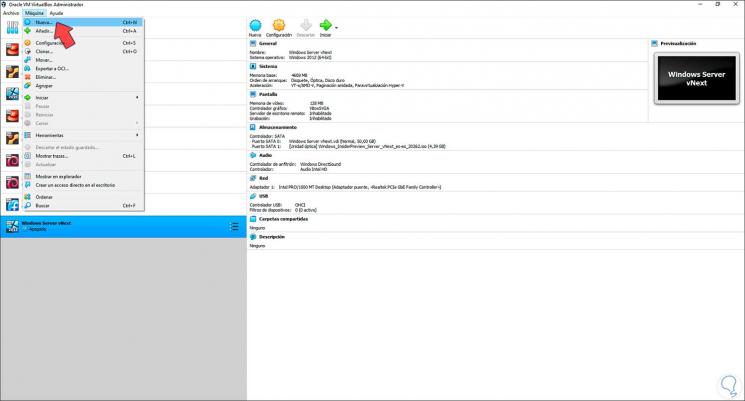
Open VirtualBox and from the "Machine" menu select "New":
Step 2
Additionally you can create the virtual machine:
- Using the following keys:
Ctrl + N
- Clicking on the New button
Step 3
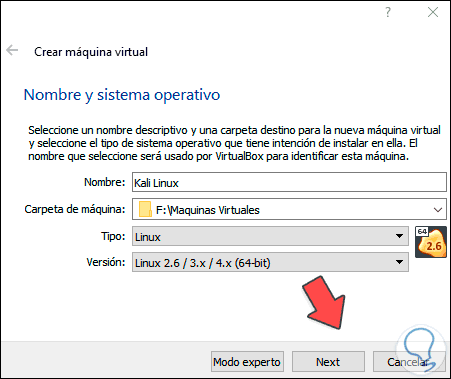
We enter the name of the virtual machine and select the type and version to use:
Step 4
In this case we define:
- In the Type field we select Linux.
- In the Version field we select Linux 2.6 / 3.x / 4.x (64 bits)
Step 5
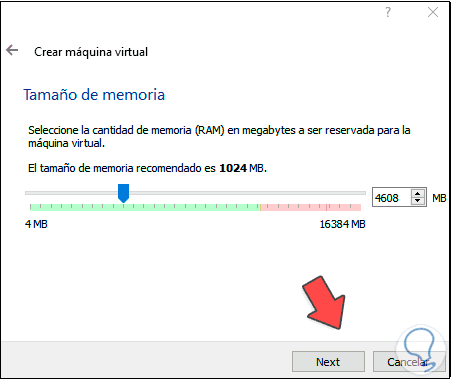
Then we define the RAM to use in Kali Linux 2021:
Step 6
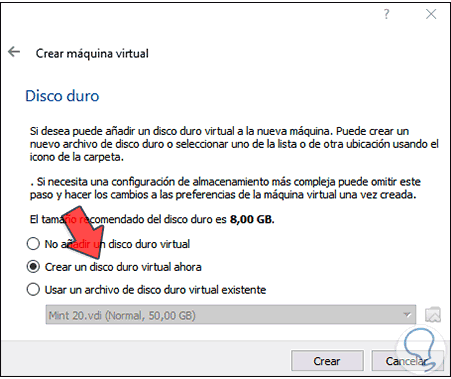
In the next window we are going to create the virtual hard disk by selecting "Create a virtual disk now":
Step 7
Click on Create to choose the type of disk, in this case we select the VDI (Virtual Disk Image) option:
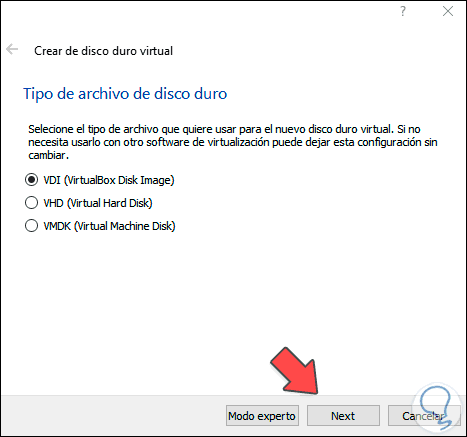
Step 8
After this we define how the storage will be configured, in this case "Dynamically reserved":
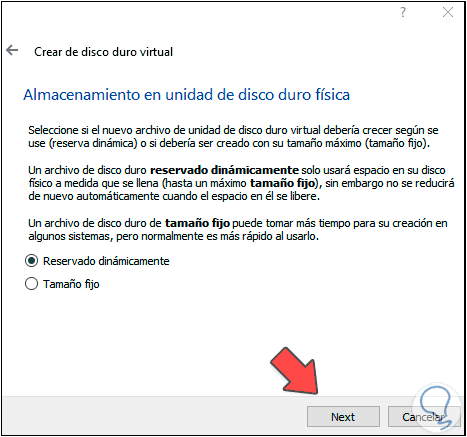
Step 9
Now we set the location of the virtual hard disk and set the size of the hard disk. Click Create again to complete the process.
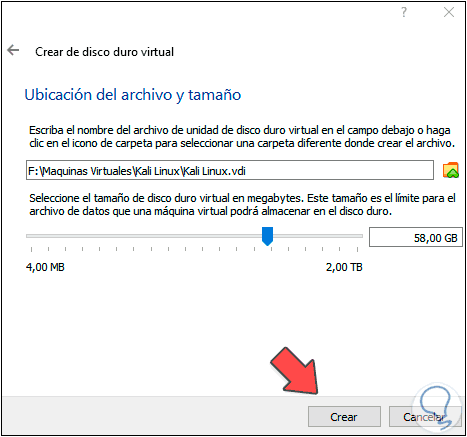
Step 10
We access the virtual machine configuration and in the "Storage" section click on the CD drive:
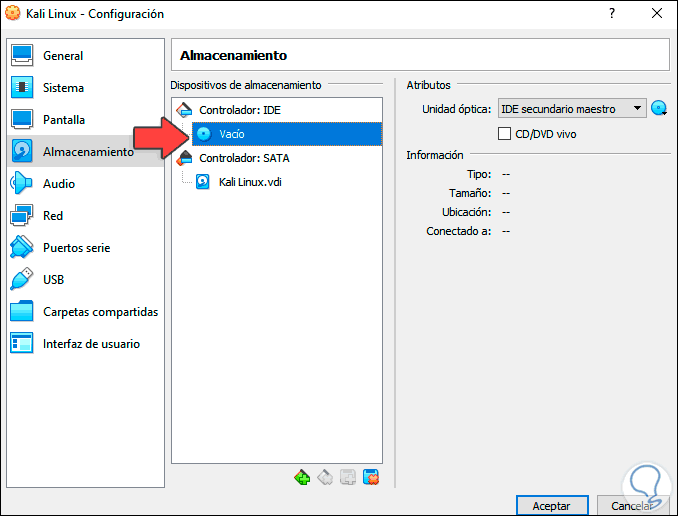
Step 11
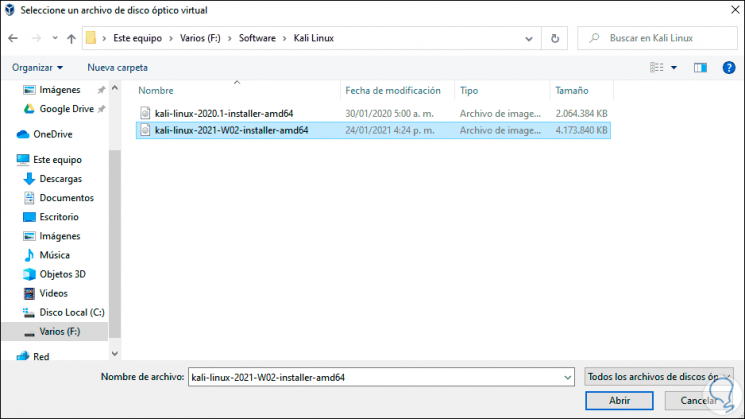
Click on the CD icon and choose "Select disk", then select the ISO image of Kali Linux 2021 that has been downloaded:
Step 12
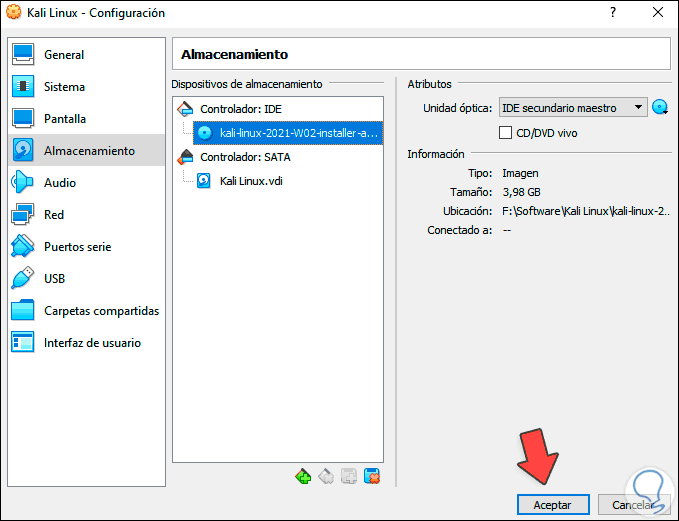
Click Open to integrate it:
Step 13
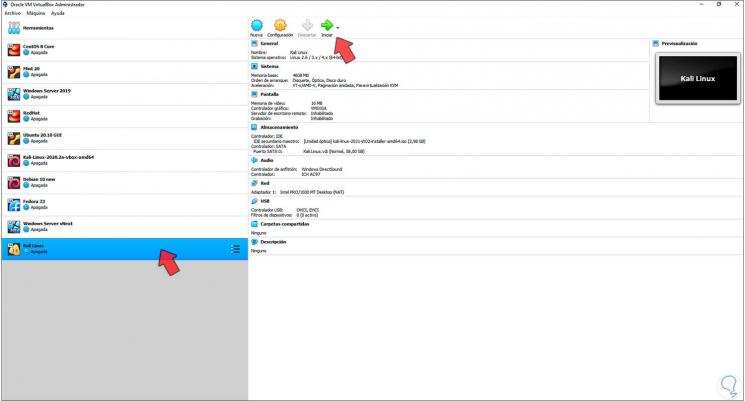
Click OK to complete the process.
Step 14
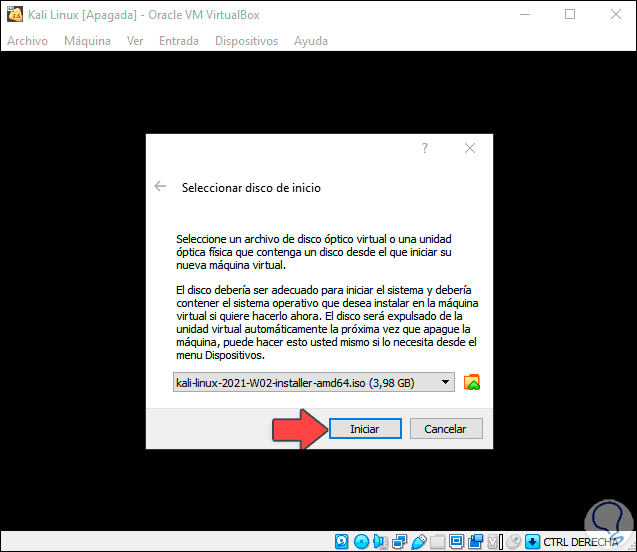
Start the virtual machine and select the ISO to use again:
Step 15
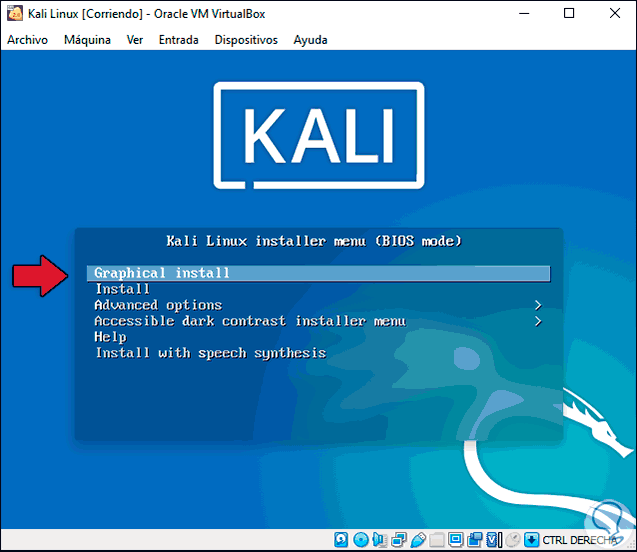
Click on "Start" and in the next window select "Graphical Install":
Step 16
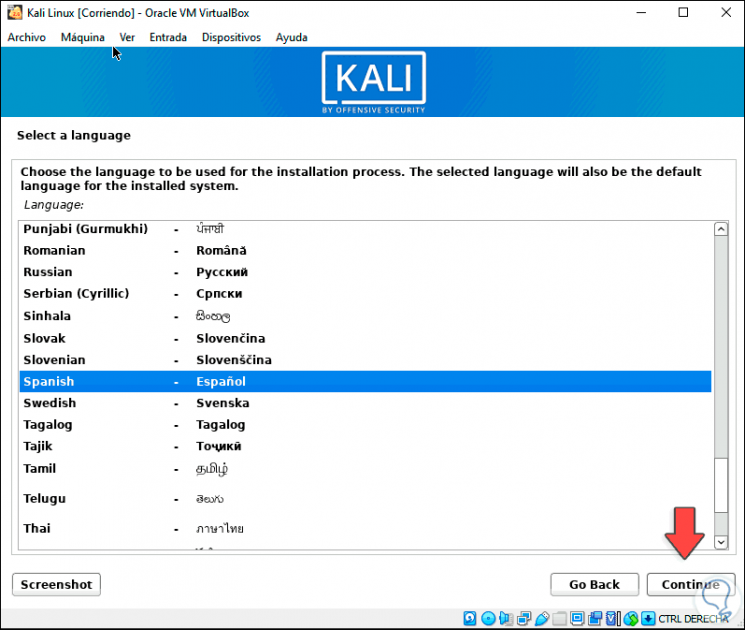
Defines the language of the operating system:
Step 17
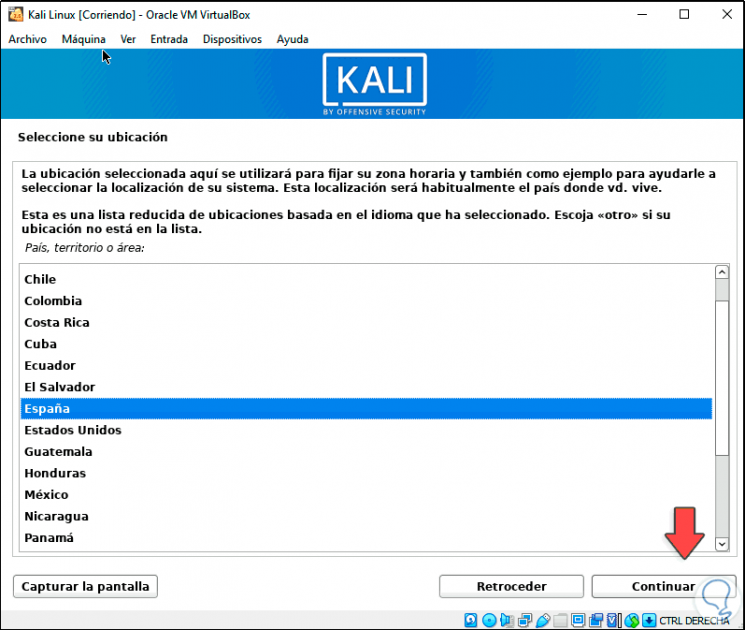
Then select the geographic location:
Step 18
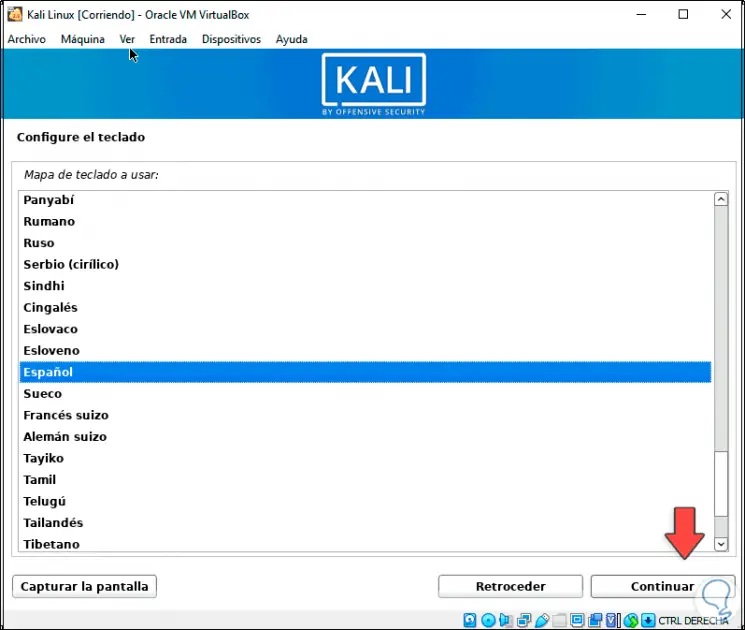
Then define the keyboard language:
Step 19
Click Continue and the automatic configuration process will start:
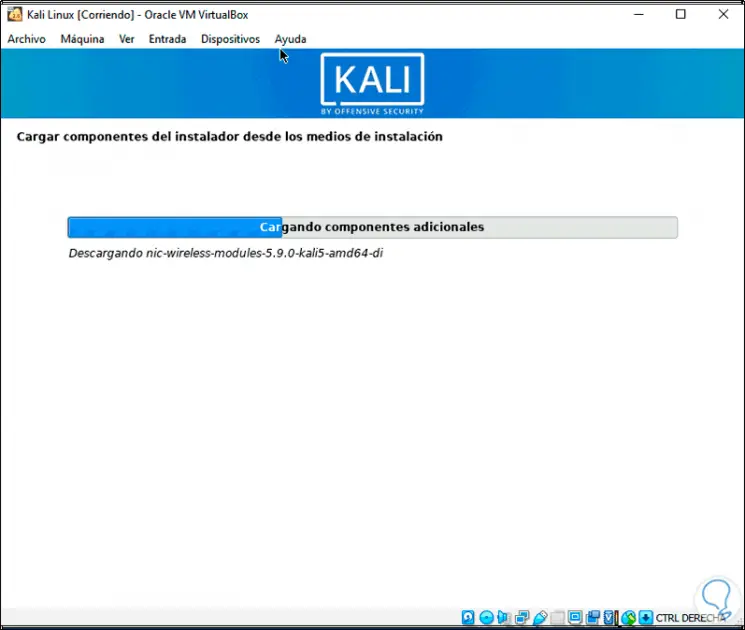
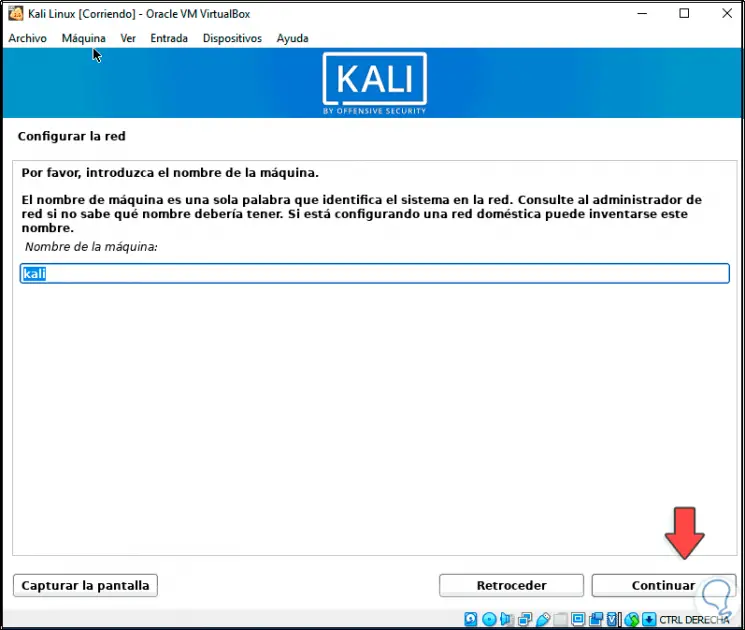
Step 20
The network will automatically be adjusted and we will define the name of the equipment:
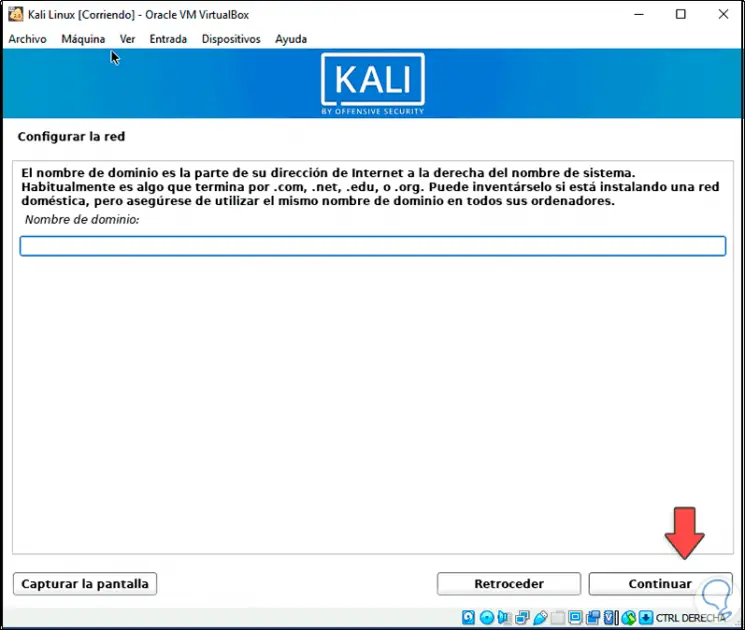
Step 21
In the next window we can (if we have one) add the domain name:
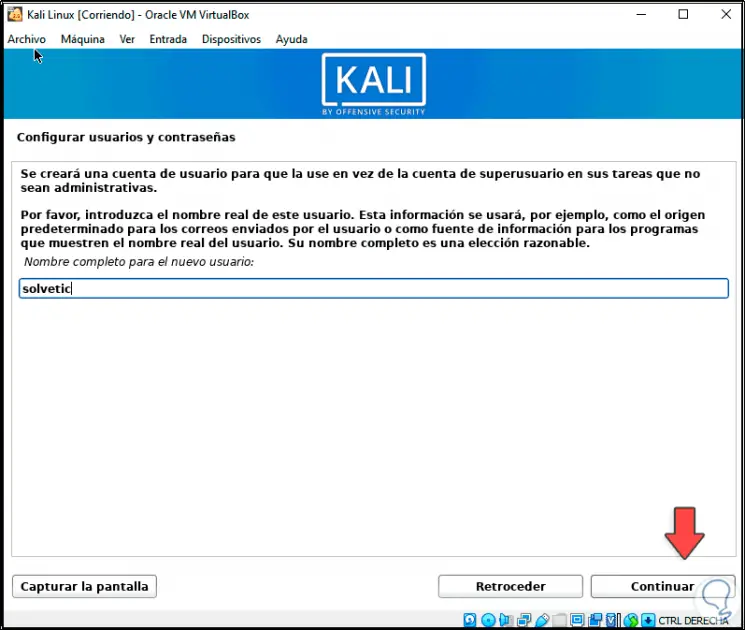
Step 22
Then we enter the username:
Step 23
Click Continue and Kali will set the default name:
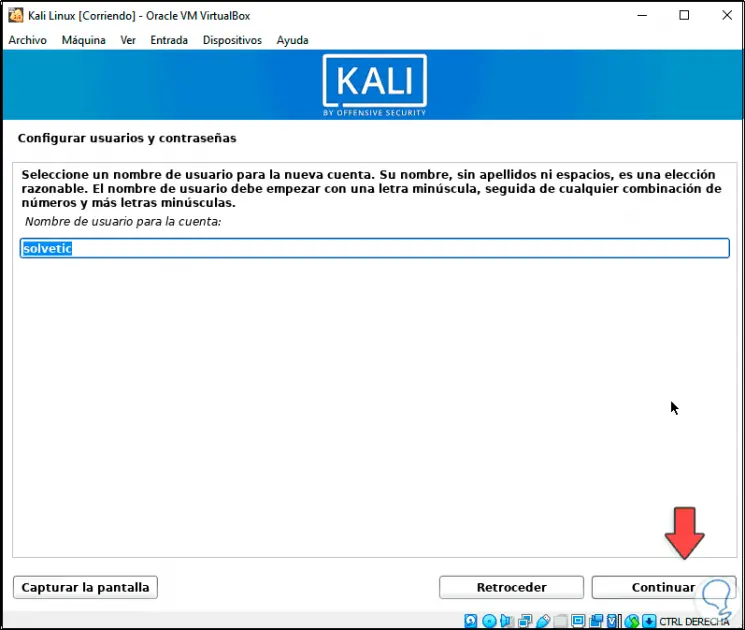
Step 24
Next, we assign the user's password:
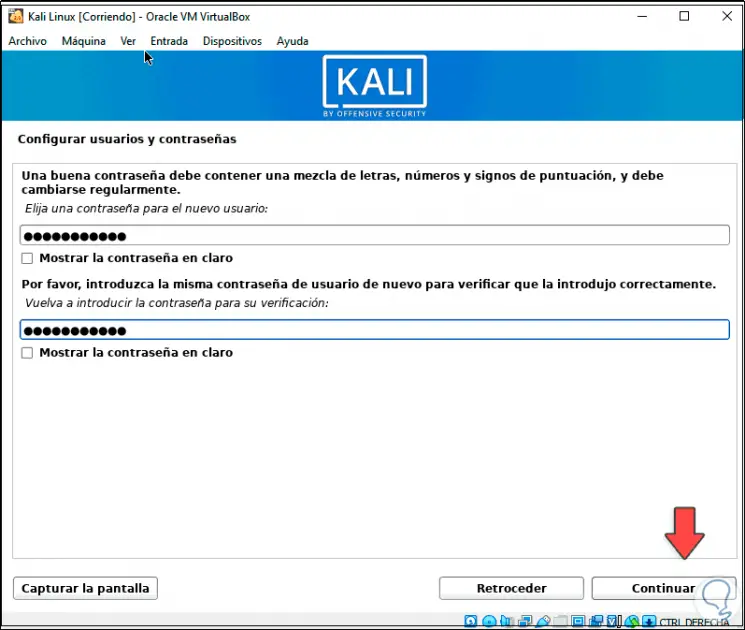
Step 25
Based on the selected country, we must indicate the area to use:
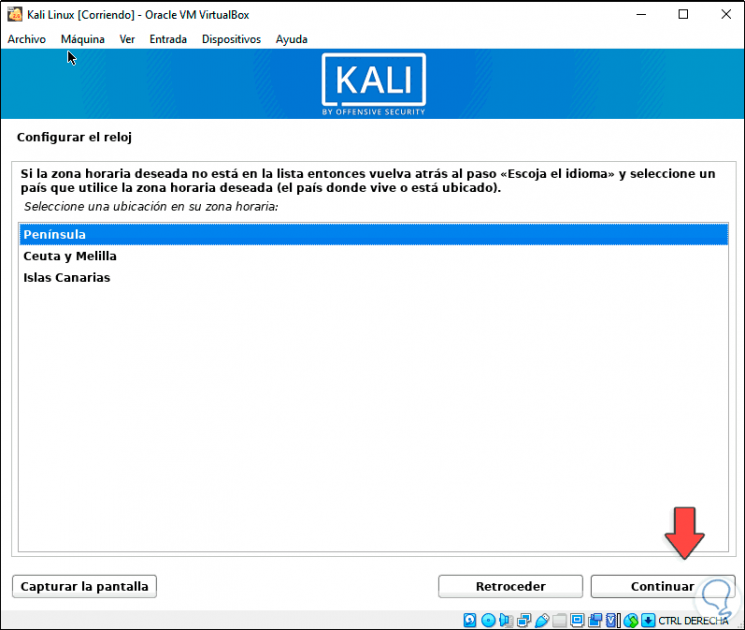
Step 26
In the next step define the type of partitioning to use:
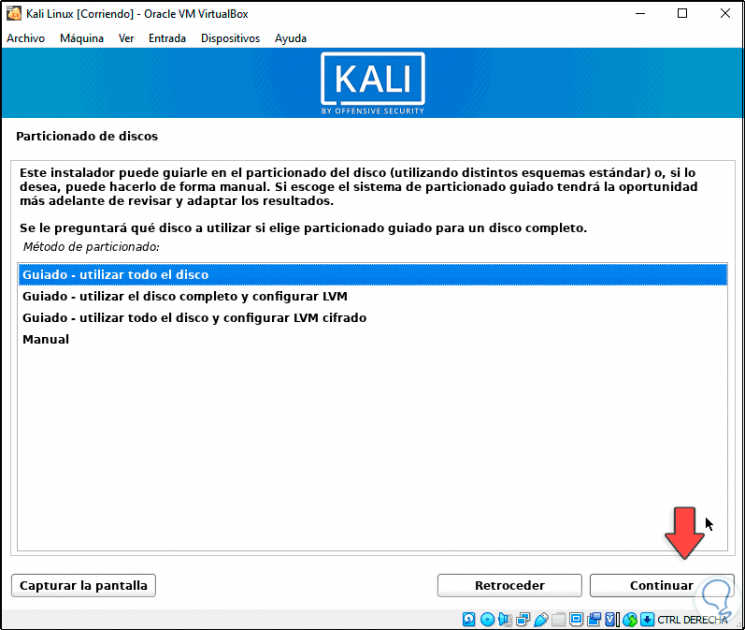
Step 27
There we can use extra security methods with the LVM options or select Manual if we want to assign the partitions manually, in this case we leave the default value and then select the disk where Kali Linux 2021 will be installed:
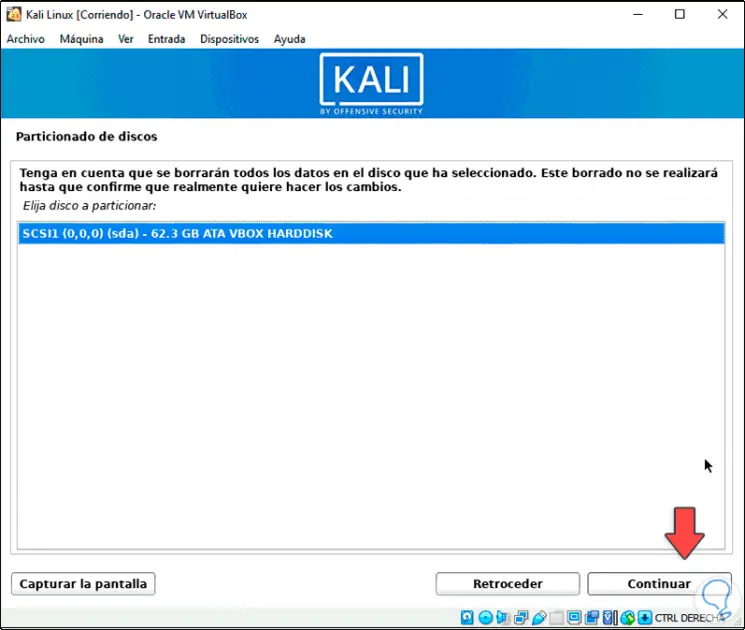
Step 28
We establish the partitioning:
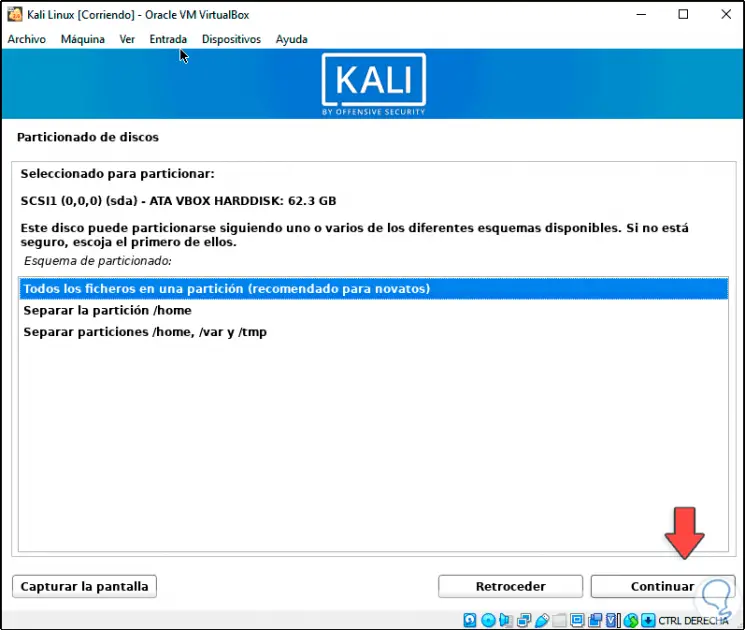
Step 29
At the end we will see the following:
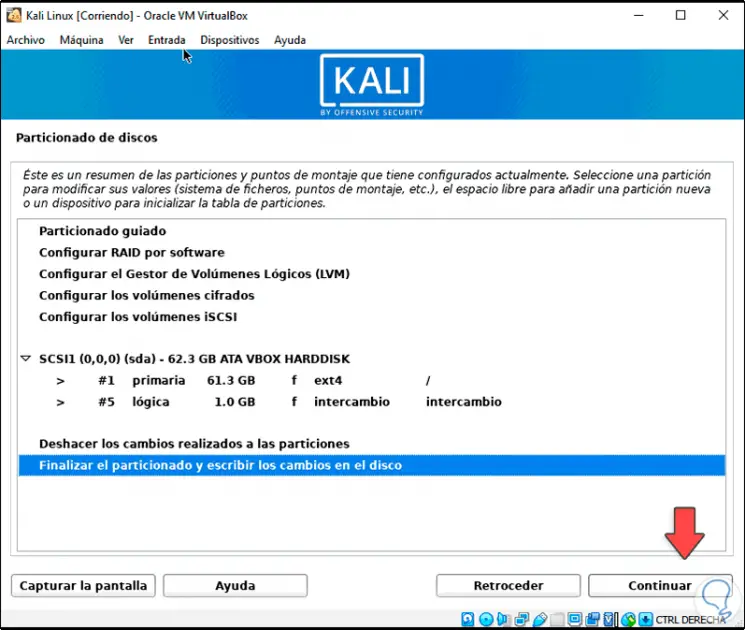
Step 30
Select "Finish partitioning and write changes to disk" and then we must confirm it by activating the Yes box:
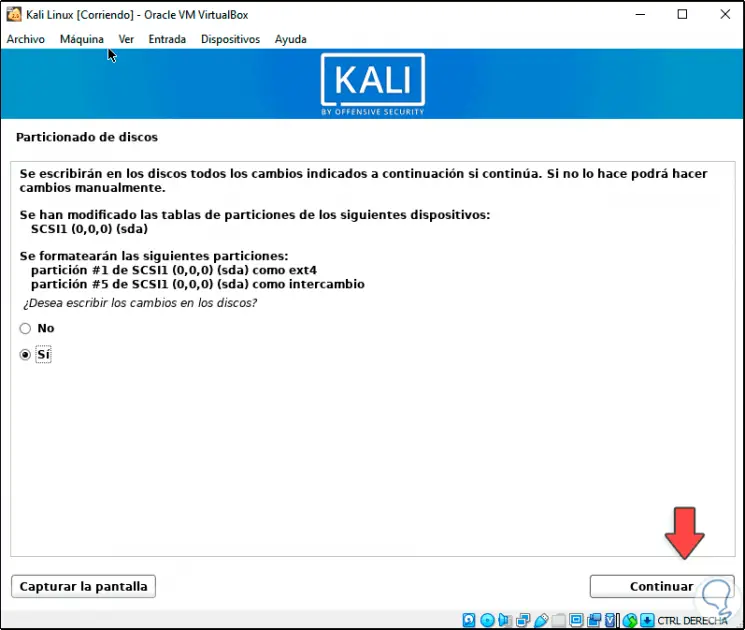
Step 31
Click Continue to apply the changes and the installation of Kali Linux 2021 will begin:
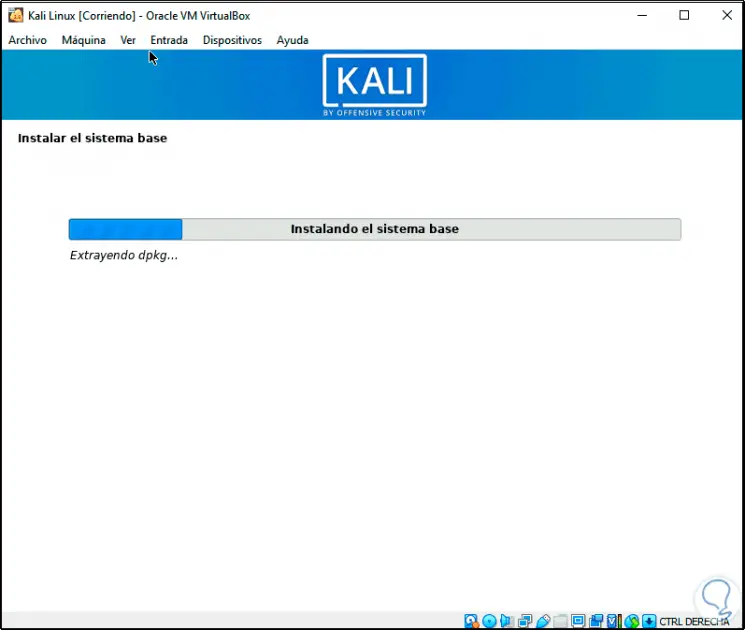
Step 32
During this process we must select the desired programs in Kali Linux:
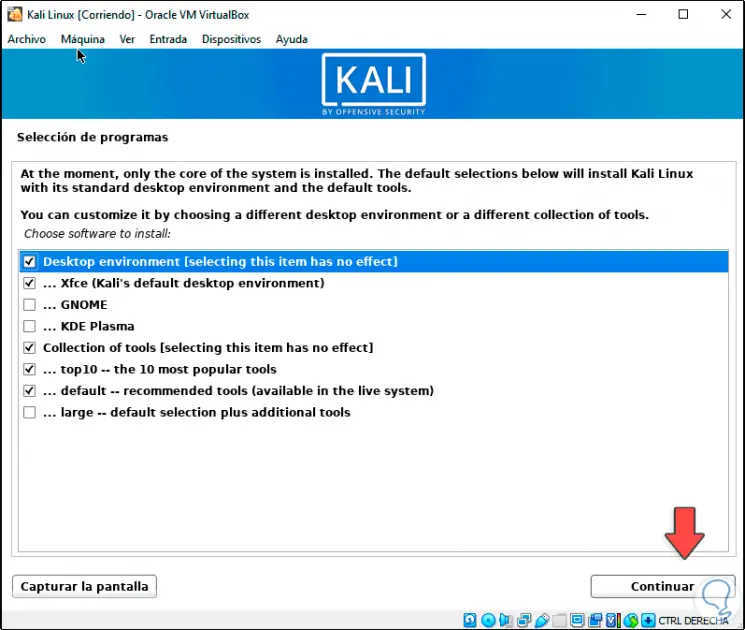
Step 33
Click Continue to download and install the required packages:
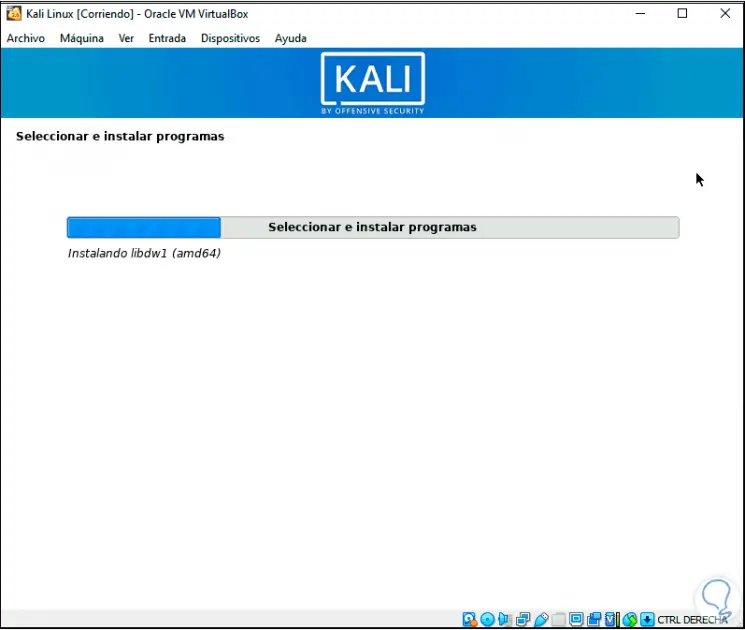
Step 34
After this we select where the GRUB bootloader will be installed:
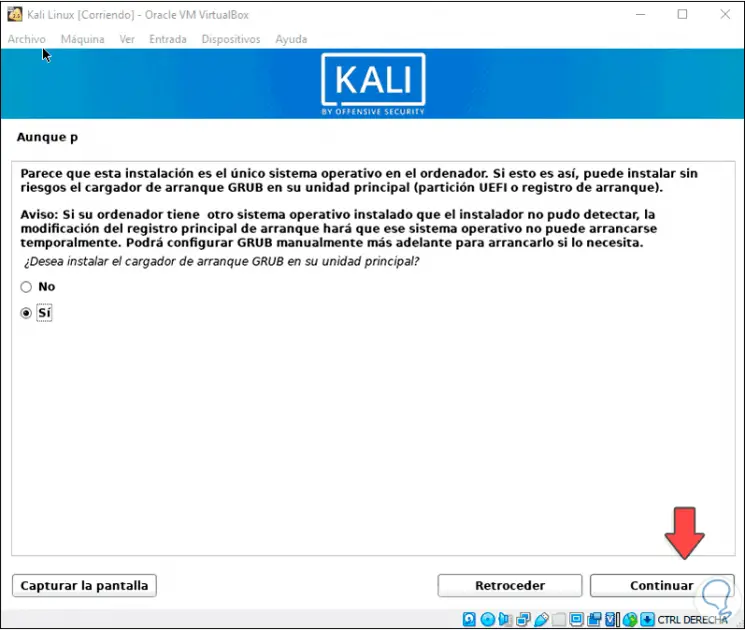
Step 35
We select the disk where the manager will be installed:
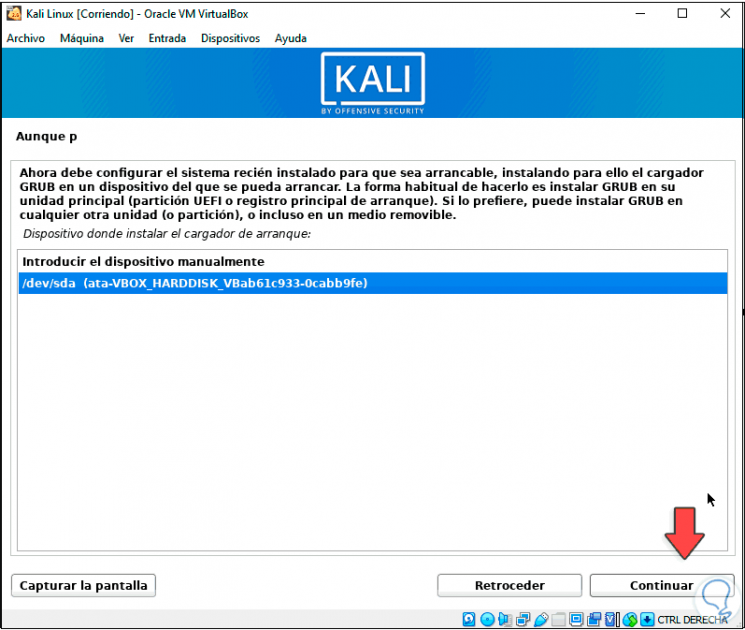
Step 36
Click Continue to complete the installation:
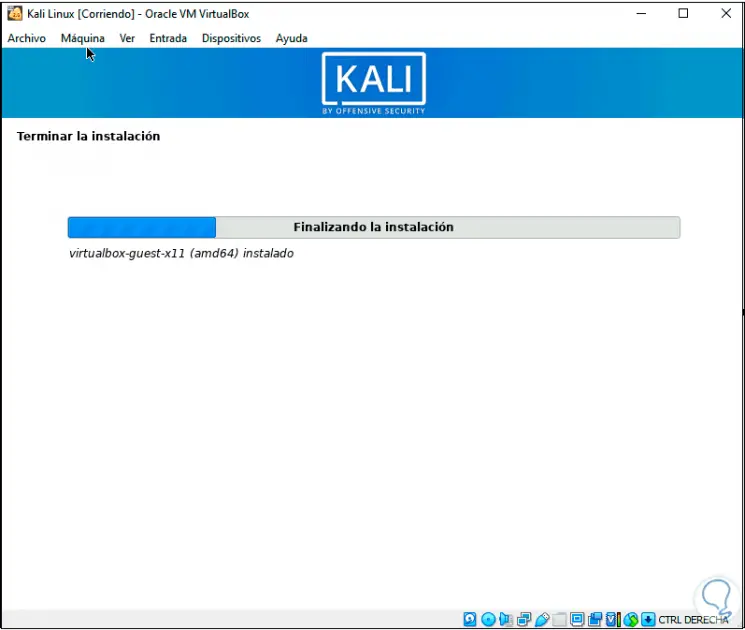
Step 37
At the end we will see the following:
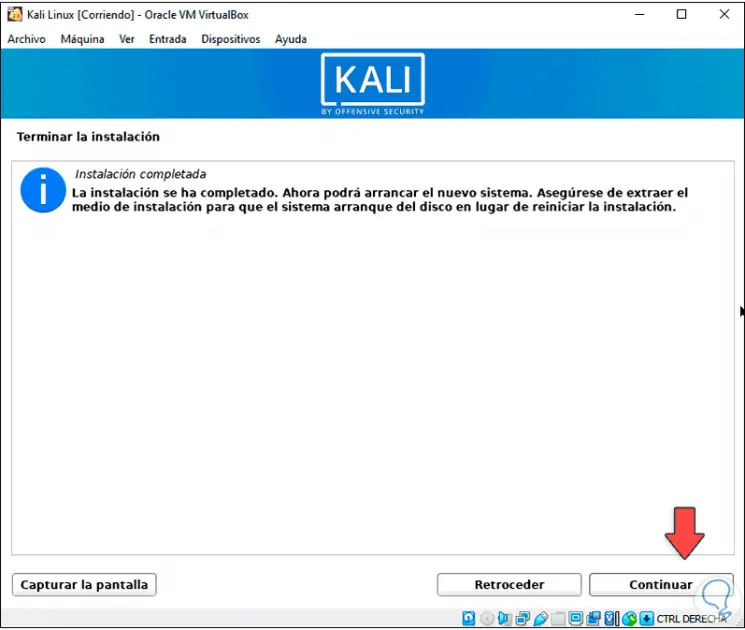
Step 38
We click Continue to restart the system and we will see this:
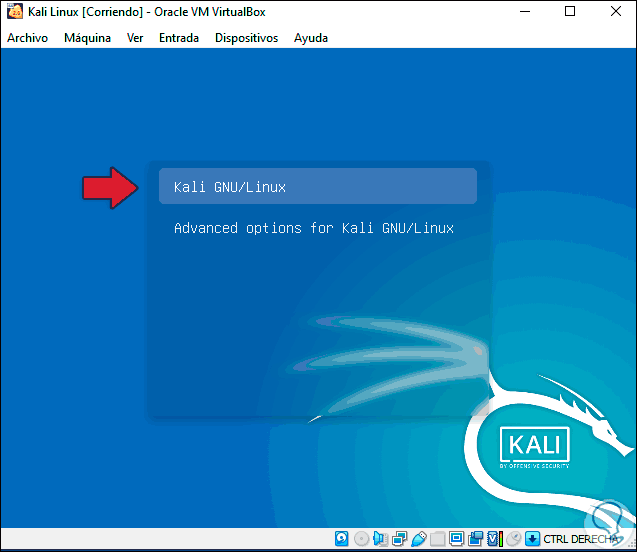
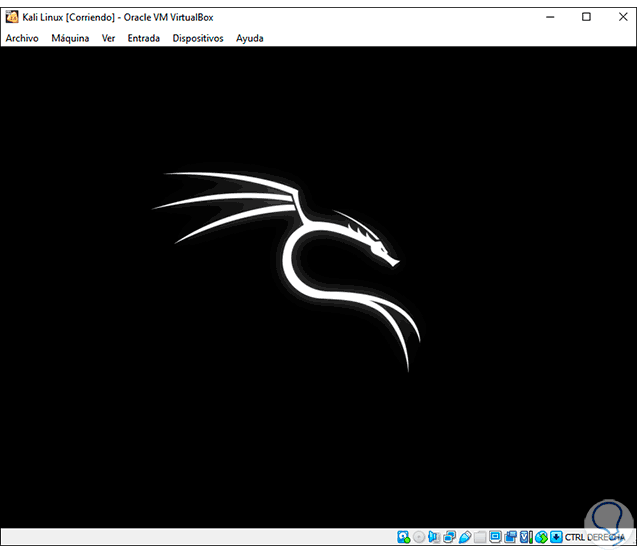
Step 39
We select "Kali GNU / Linux" and the system will start:
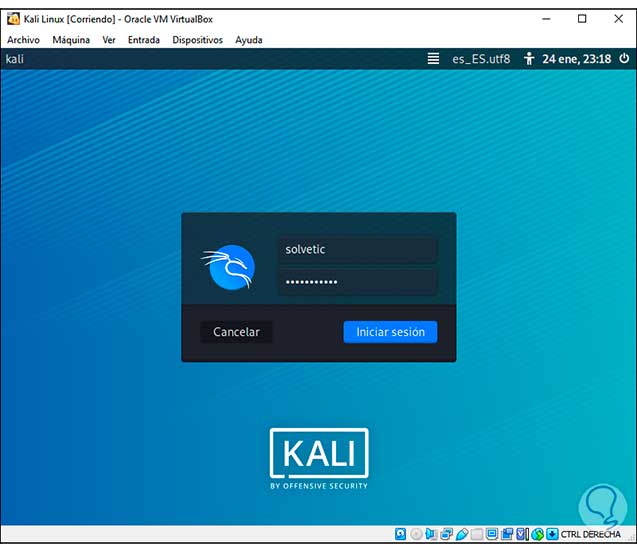
Step 40
We log in with the registered credentials:
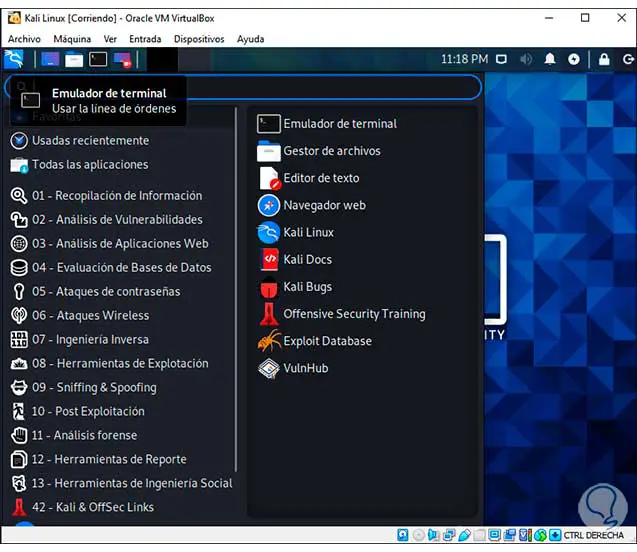
Step 41
By logging in we can access the Kali Linux 2021 tools:
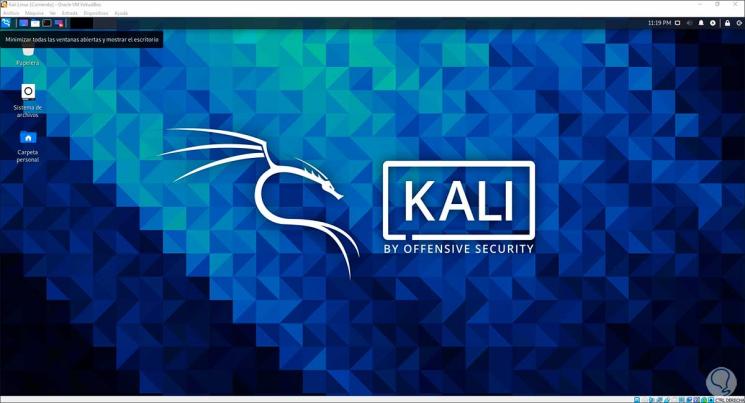
Step 42
We can maximize the window and VirtualBox will automatically adjust the full size of the virtual machine:
This is the complete process to install and test everything new that Kali Linux 2021 will have in VirtualBox so as not to expose a physical system..