One of the most striking and secure Linux applications is Kali, this is a distribution focused exclusively on the security of a system and environment since it has a large number of penetration tools to detect, analyze and help those systems that have vulnerabilities. security, Kali Linux as such is a Debian-based Linux distribution whose purpose, as we said, is to perform advanced penetration tests and security audits. It is also interesting to know how to update Kali Linux to get the latest version available. this guarantees an optimal level of privacy in an organization, this security is achieved through:
privacy options
- Reverse engineering and much more
Kali Linux Features
Among the various features of Kali Linux we find:
- It has an open source Git tree which can be modified by developers frequently
- It offers us more than 600 penetration testing tools
- FHS compliant which allows detection of binaries, support files, libraries and much more
- Compatible with multiple wireless devices
- Support for multiple languages
- Packages and repositories signed by GPG
- Support for ARMEL and ARMHF
One of the best ways to get to know and try Kali Linux is in a virtual environment, in this case we can make use of one of the most versatile platforms for this, such as VirtualBox, its free download is available at the following link:
VirtualBox
VirtualBox can be used in various operating systems and offers complete interaction between the virtual machine and the physical system, while the free download of Kali Linux is available at the following link:
kali linux
TechnoWikis will explain in this tutorial how to install Kali Linux in VirtualBox and learn about its potential..
To stay up to date, remember to subscribe to our YouTube channel!
SUBSCRIBE ON YOUTUBE
How to install Kali Linux on VirtualBox
Step 1
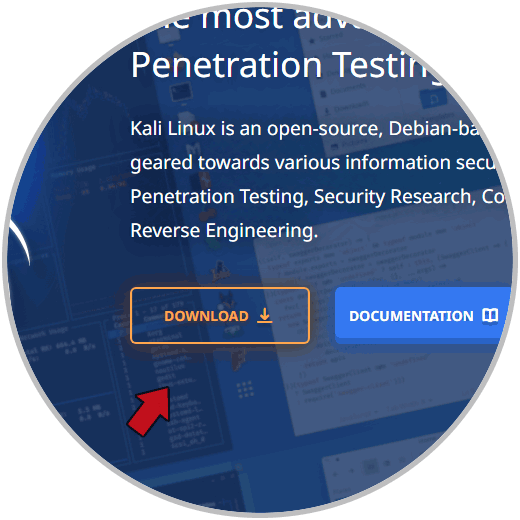
In the Kali URL we will see the following:
Step 2
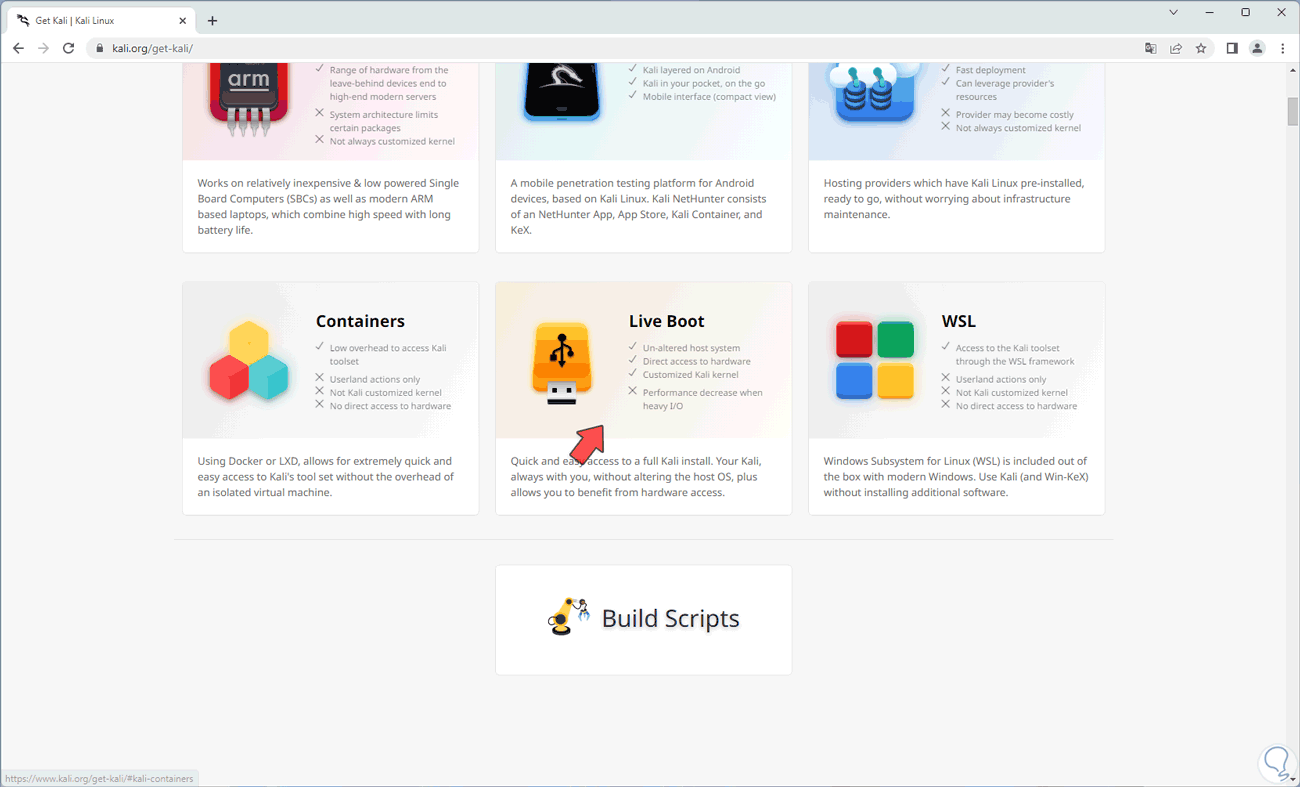
We click on "Download" and now we will see this. We click on "Live Boot"
Step 3
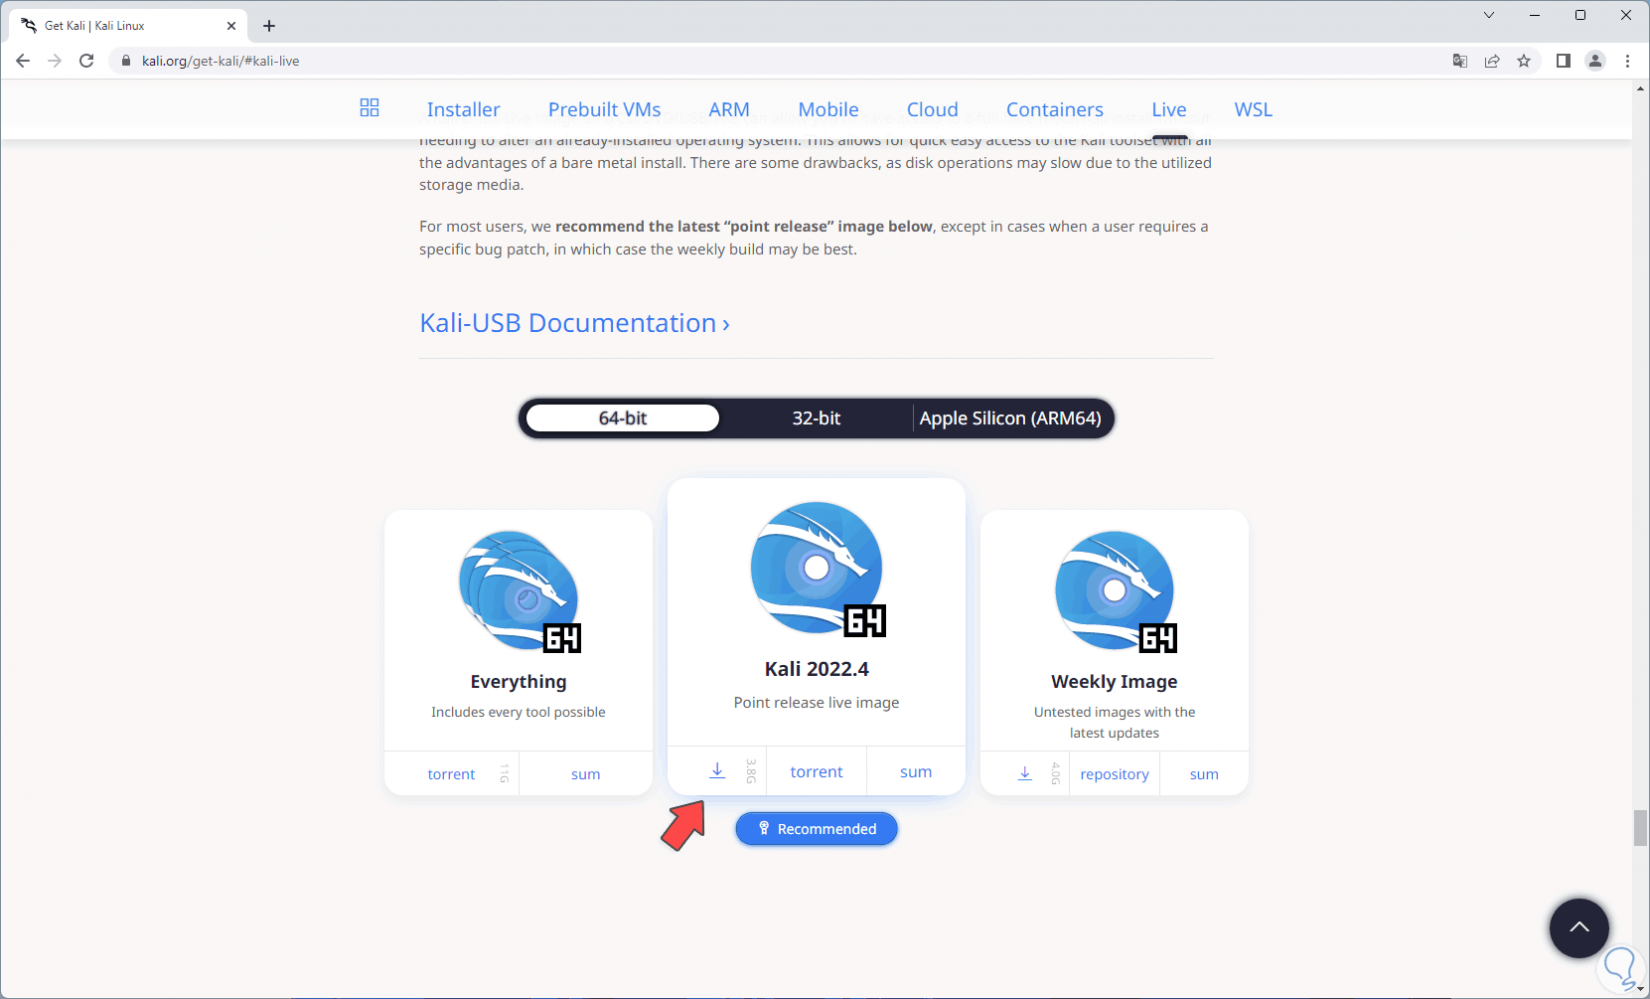
and then we download the desired architecture:
Step 4
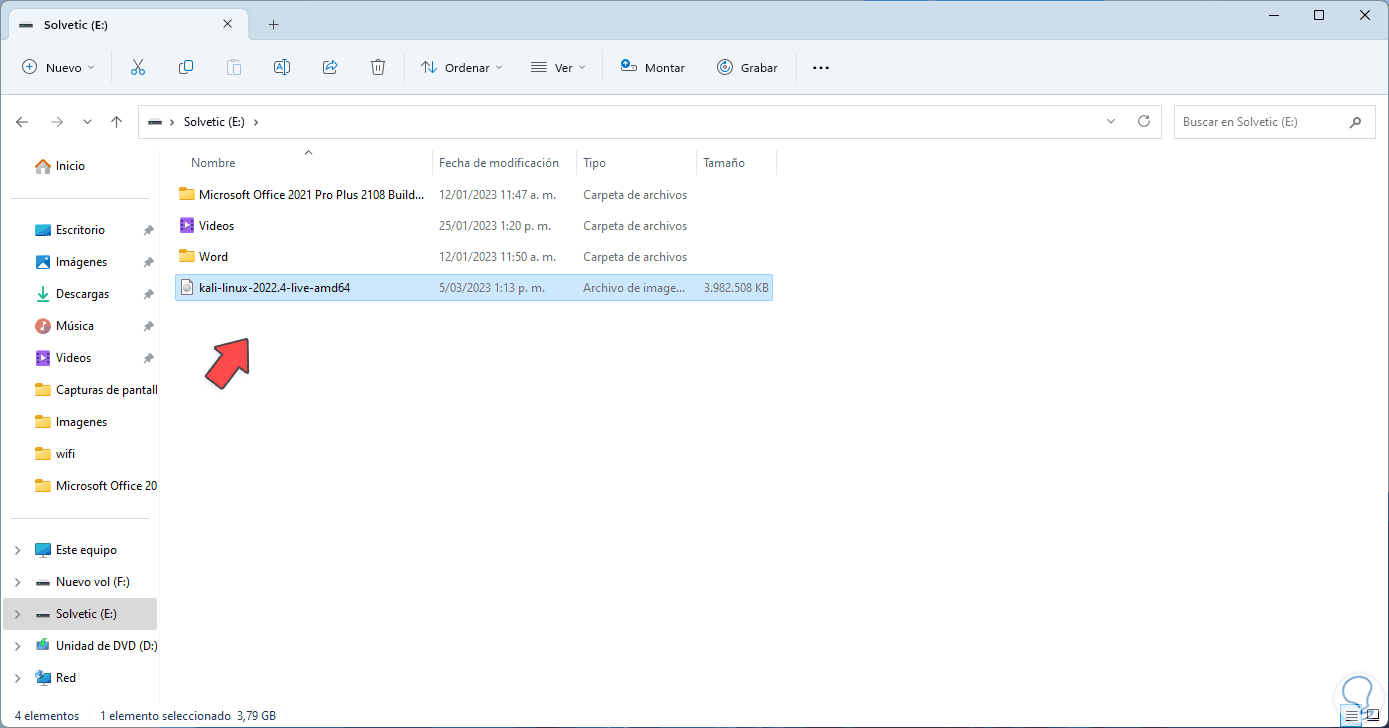
Check the download:
step 5
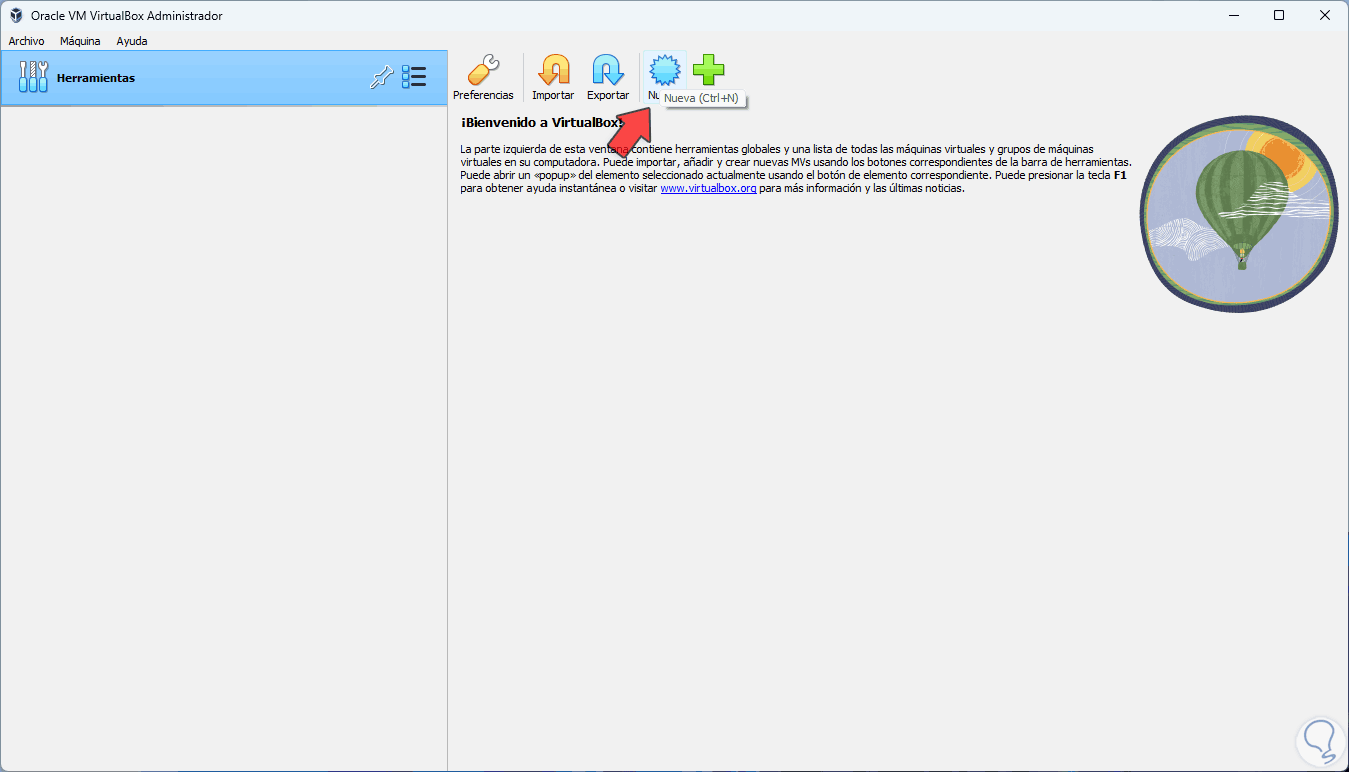
We open VirtualBox and click on "New":
step 6
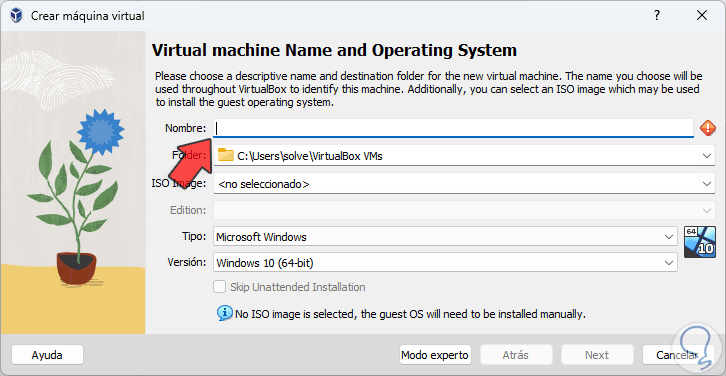
The following will open. We assign the name of the virtual machine.
step 7
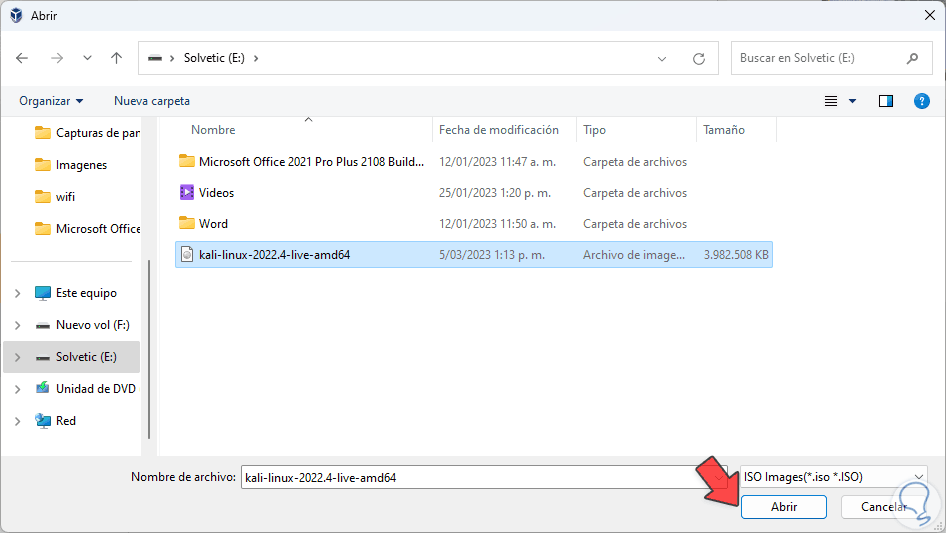
We can define the path where it will be installed, in ISO Image we click on Other and select the Kali ISO image that has been downloaded:
step 8
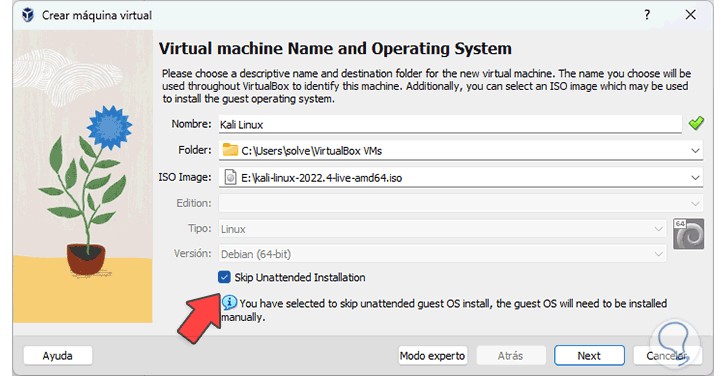
We will see the integrated ISO. We activate the "Skip Unattended Installation" box to customize the parameters of the machine:
step 9
, we click Next and assign the RAM memory:
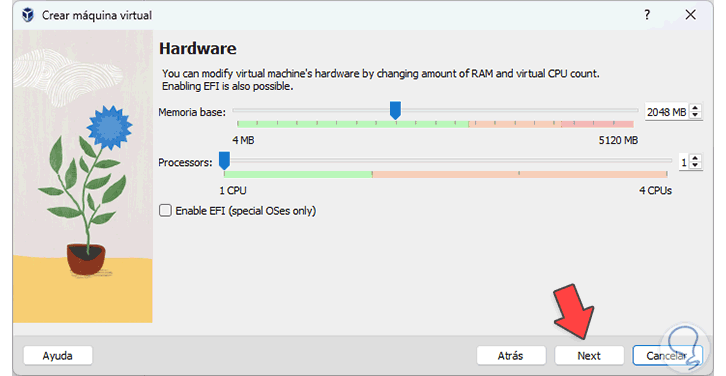
step 10
In the following window we establish the hard disk size:
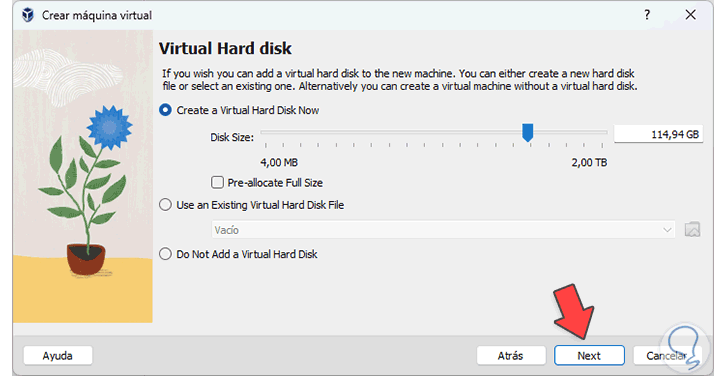
step 11
We click Next to see a summary of the virtual machine:
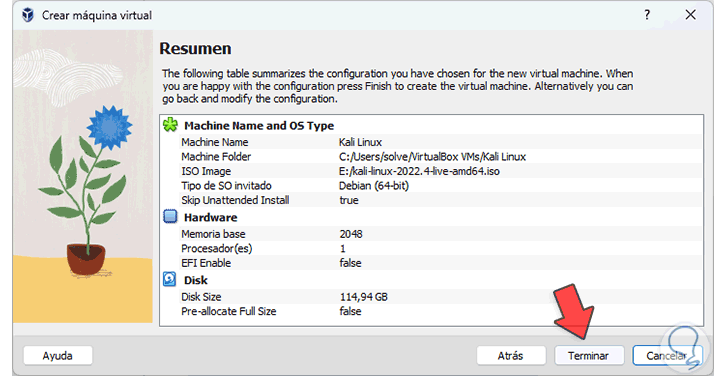
step 12
Apply the changes. We click on "Settings":
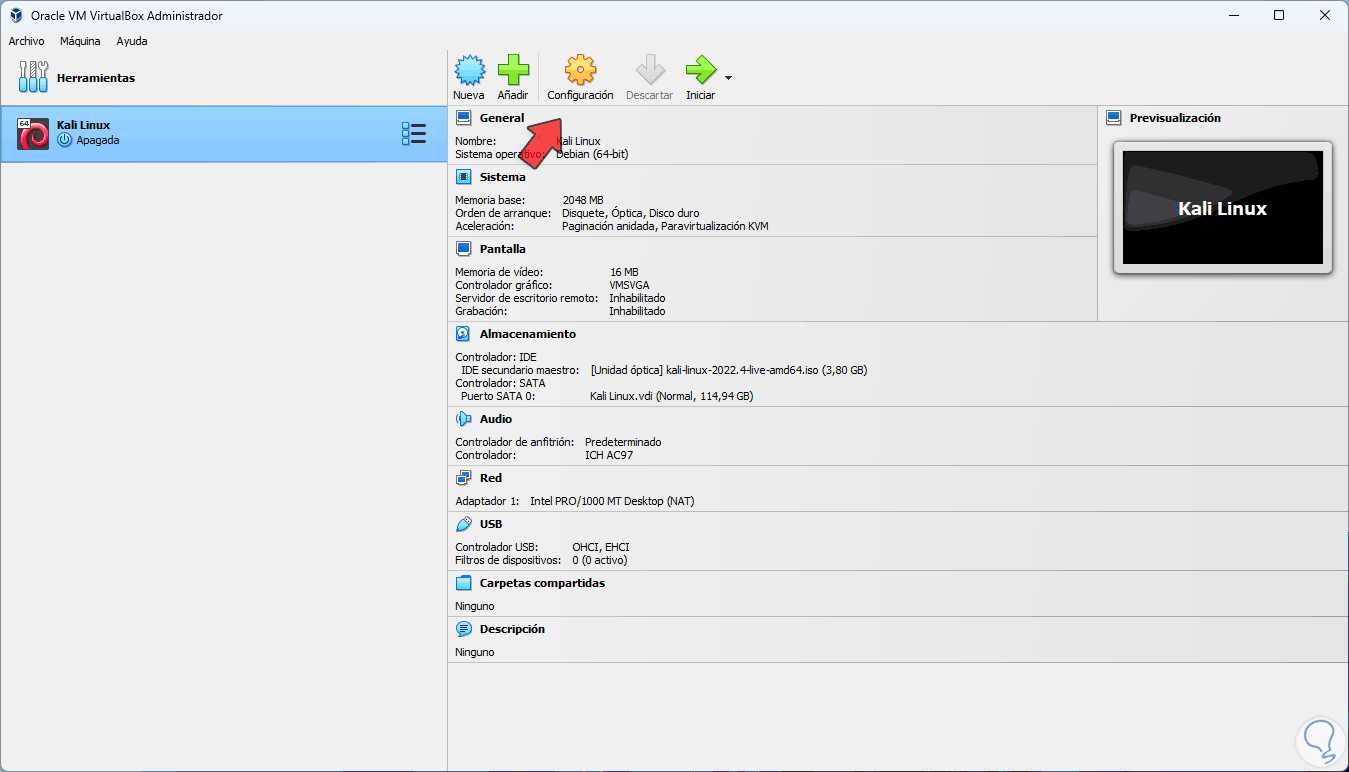
step 13
We will go to the Network section:
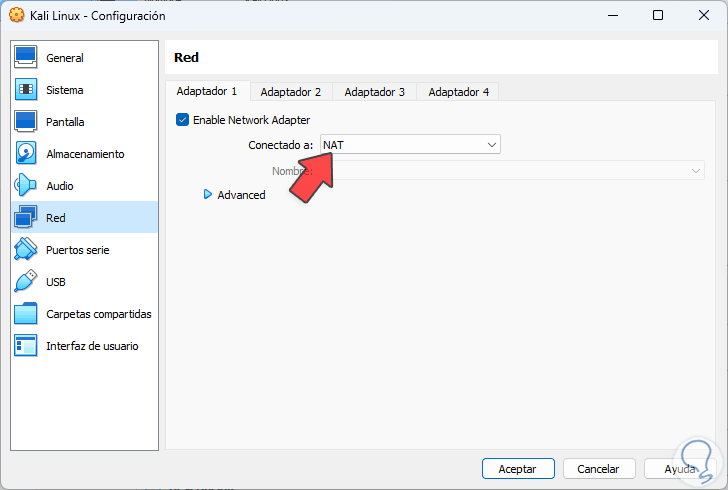
step 14
There we assign the bridge adapter so that there is a network connection in the virtual machine:
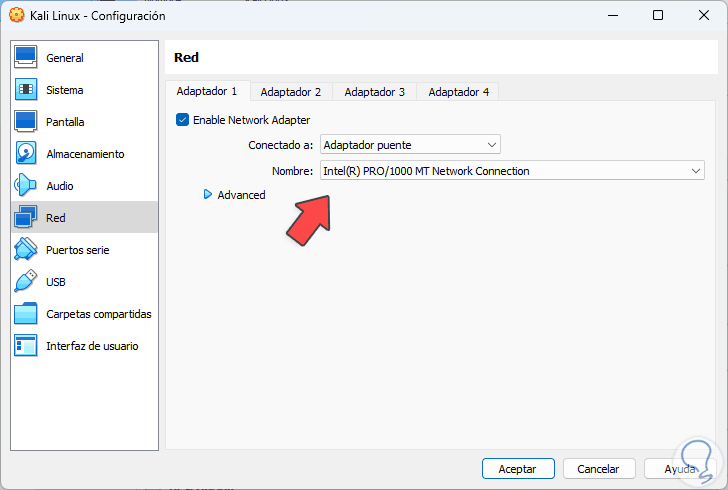
step 15
In Storage, validate that the disk with the Kali ISO is there:
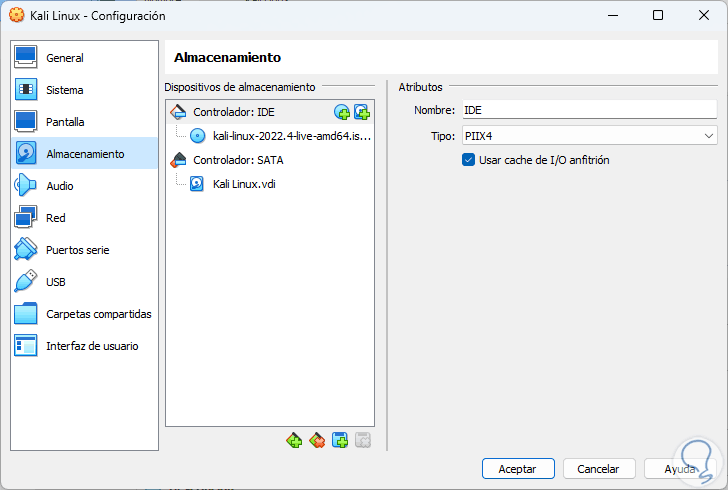
step 16
Apply the changes. We click on "Start" to load the virtual machine:
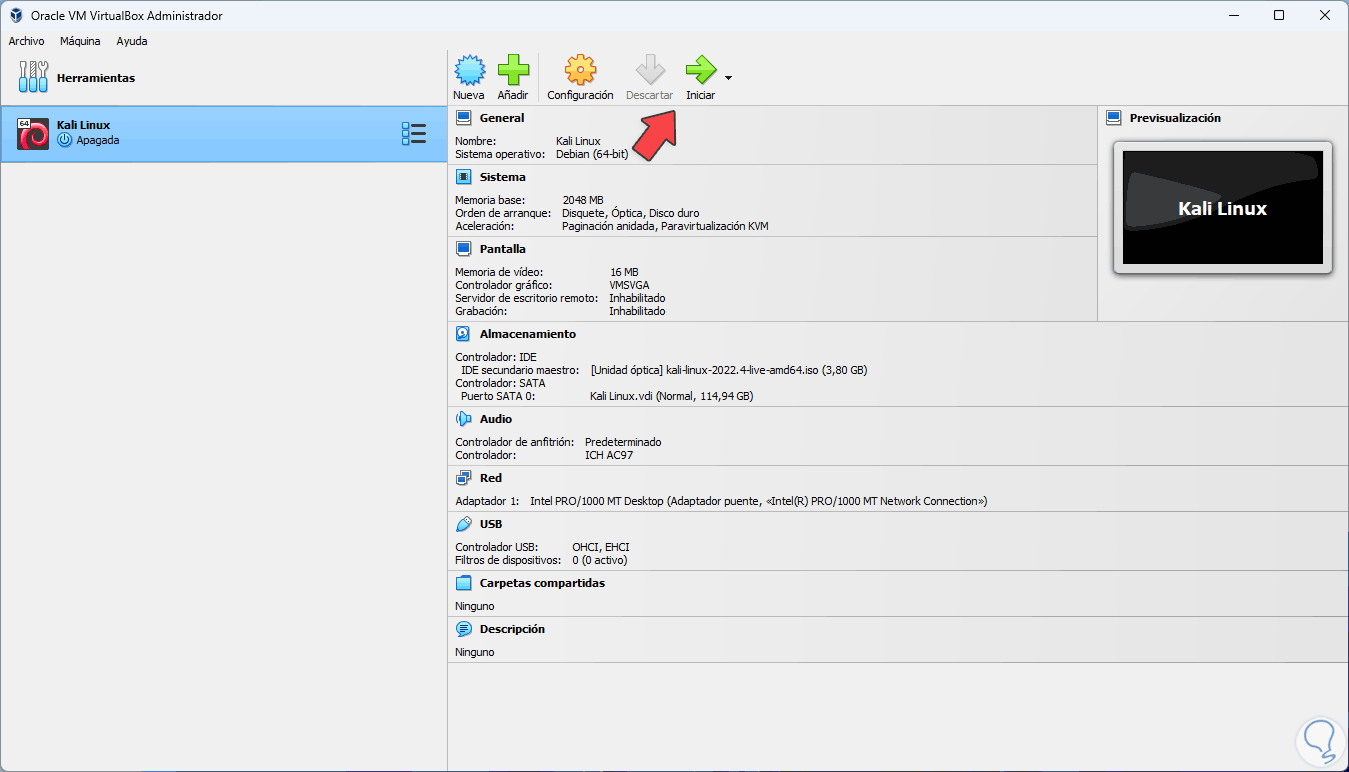
step 17
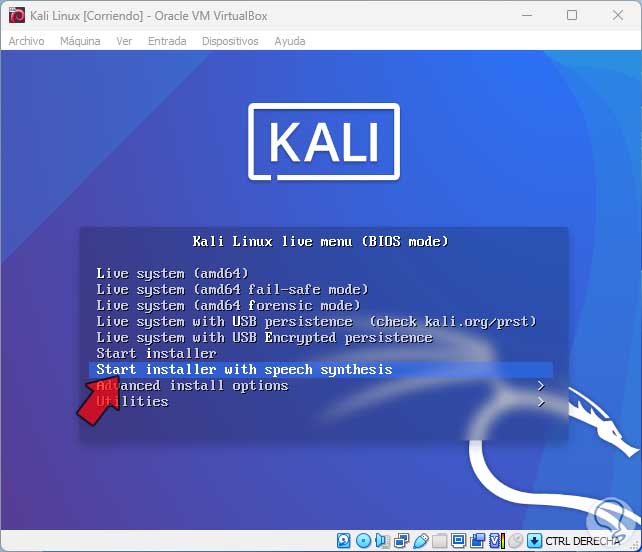
We click on "Live System" to know the system before installing it.
Note
When using VirtualBox for the first time we will see the following message:
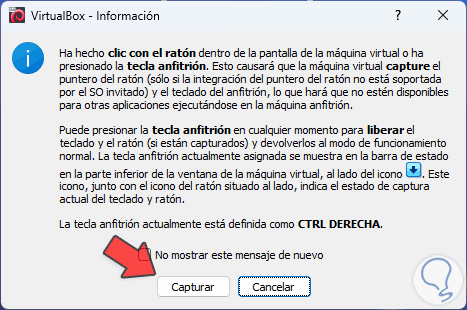
There we click on "Capture" to be able to use the mouse in the virtual machine.
step 18
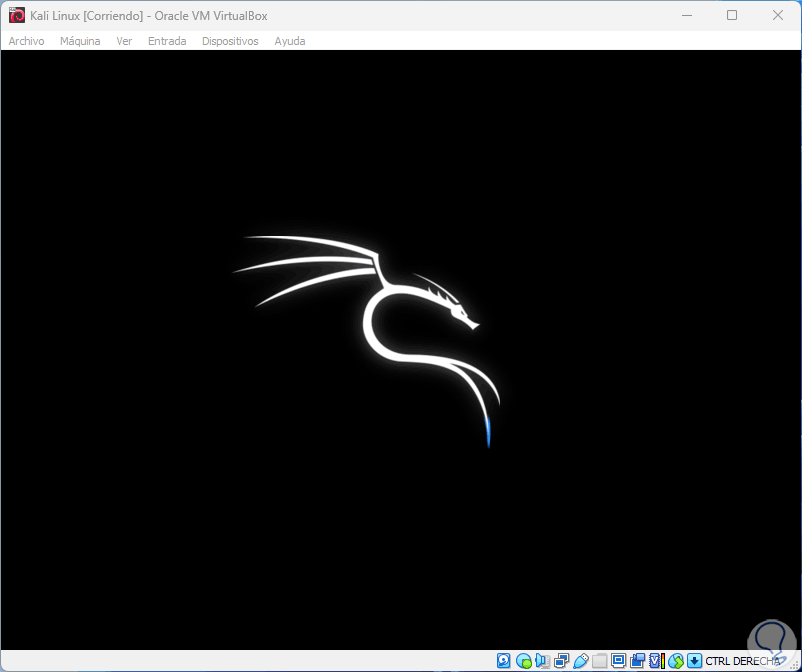
We expect Kali services to load:
step 19
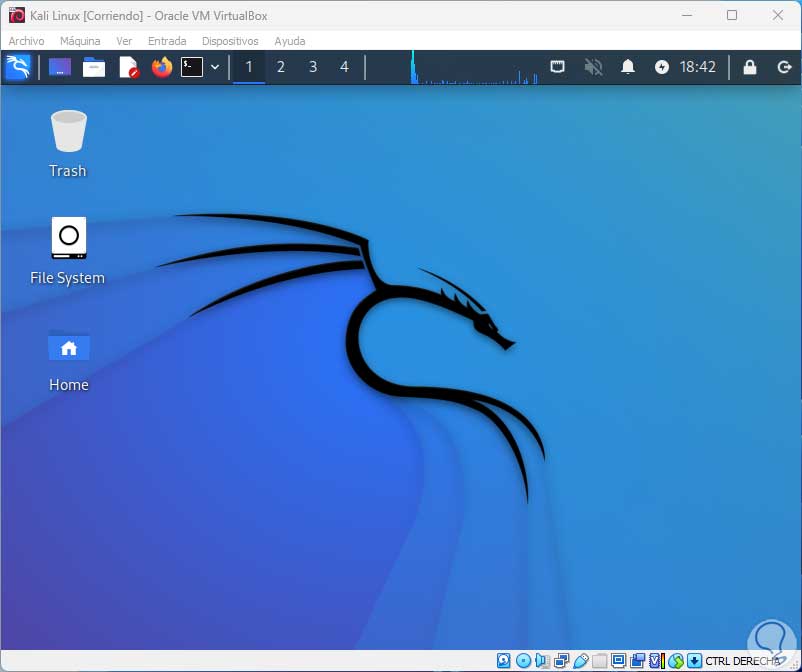
We will have access to Live Mode or Live:
step 20
There it is possible to use the system without being installed but all the changes will be lost when logging out or restarting the machine, to install Kali in VirtualBox we click on "Machine - Restart":
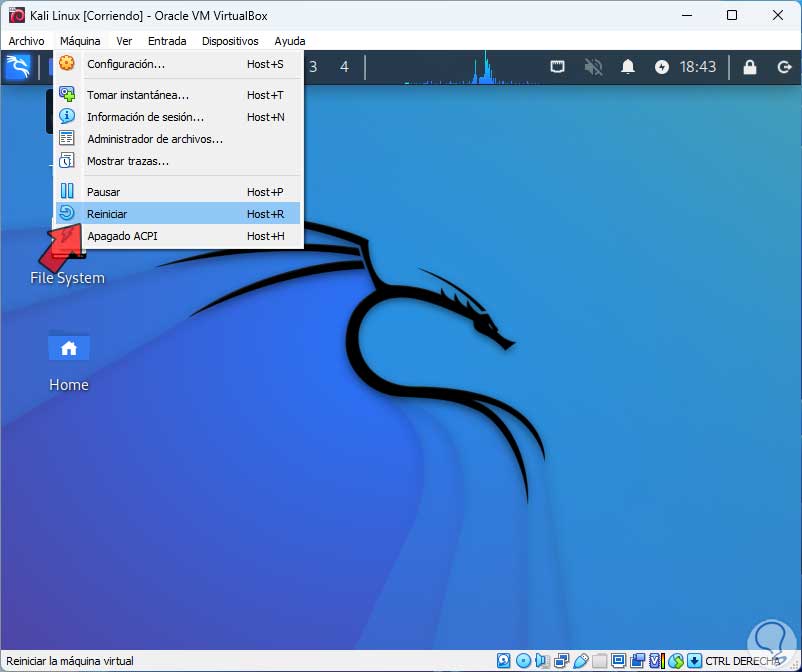
step 21
We click on "Start installer" to install Kali Linux in VirtualBox:
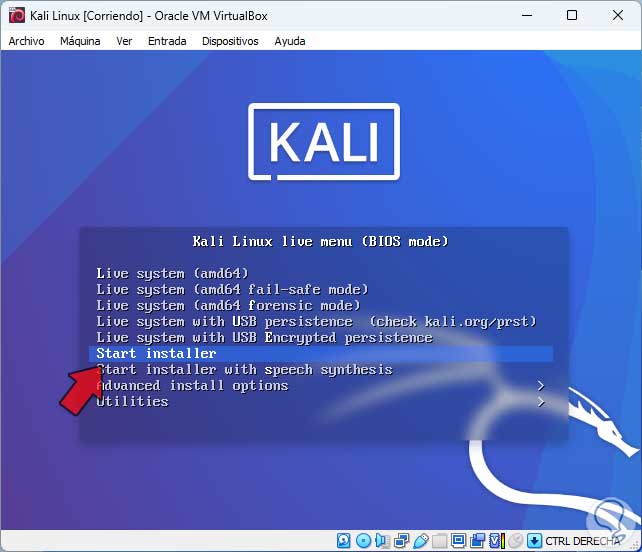
step 22
Select the language of Kali:
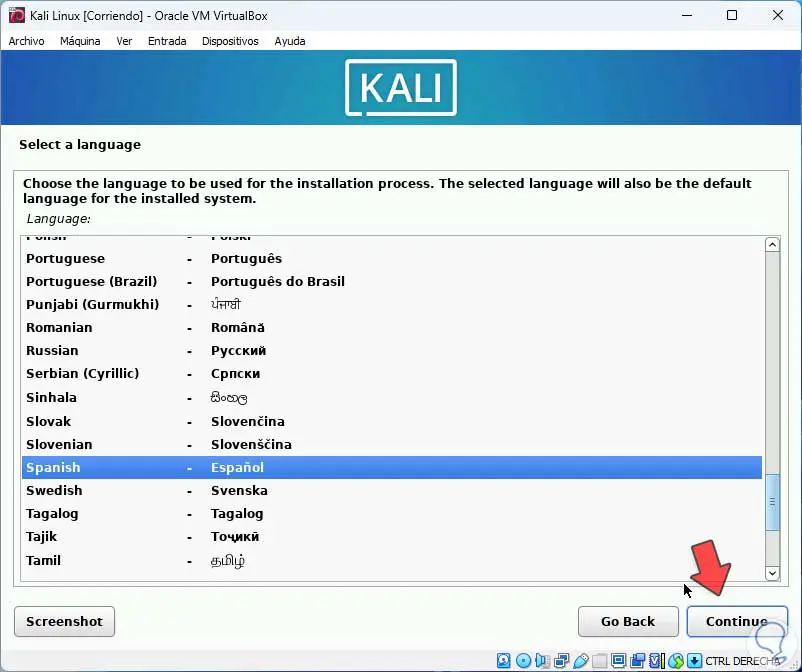
Step 23
Now select the location:
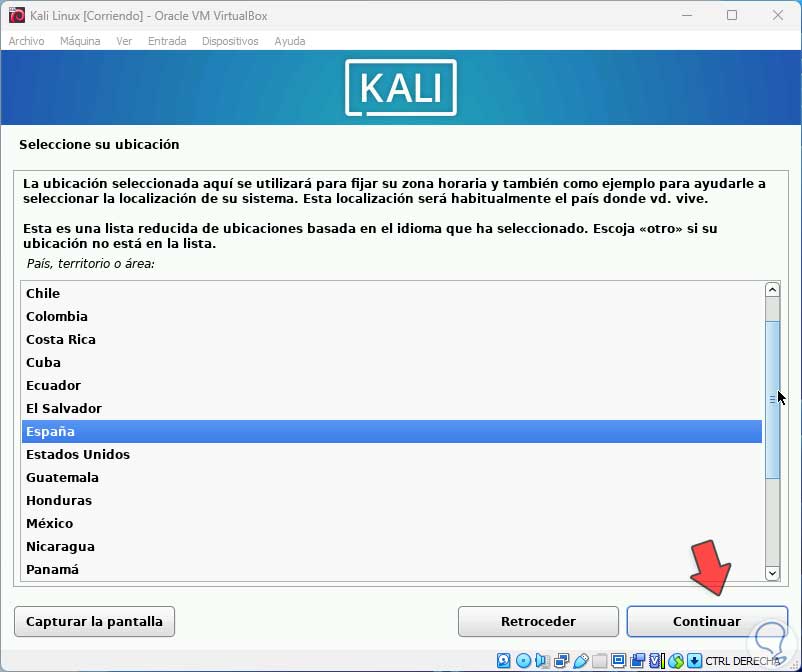
step 24
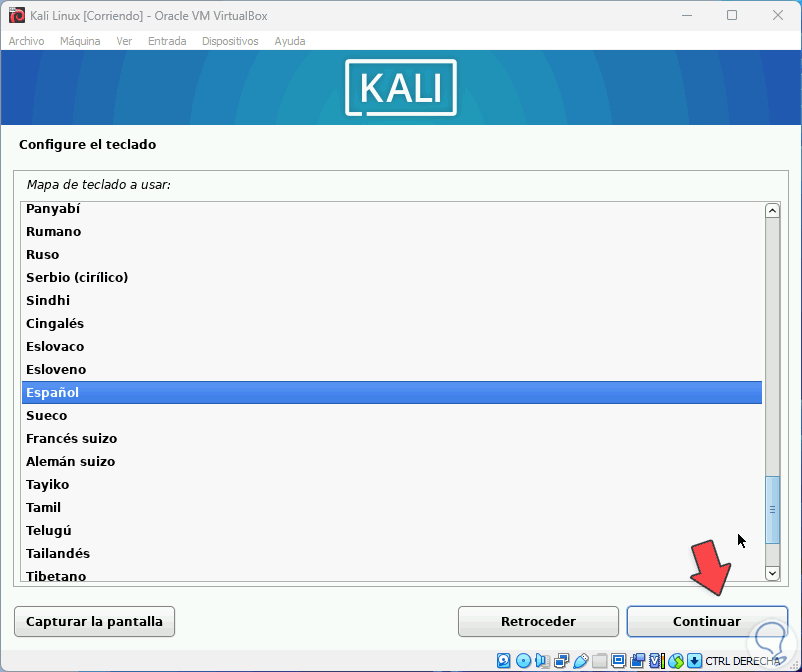
Then select the keyboard language:
step 25
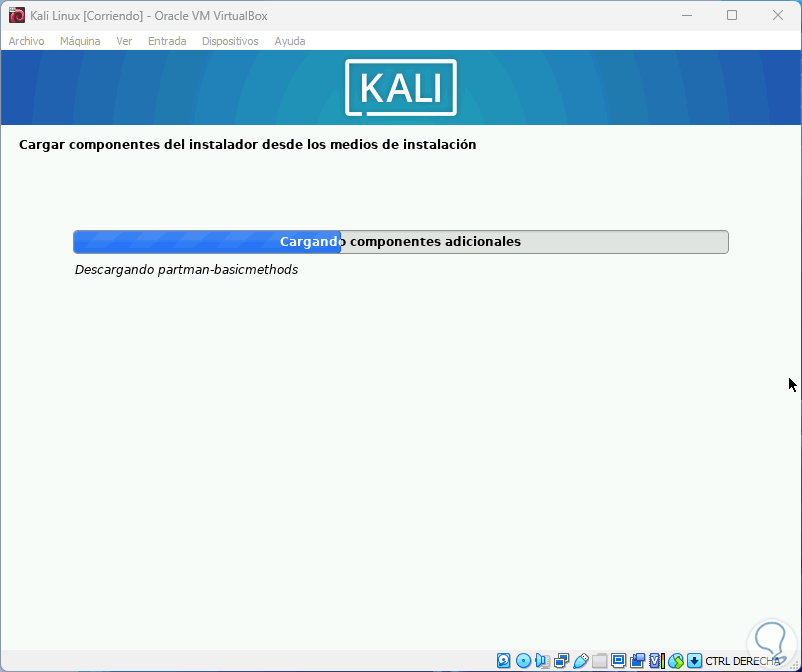
We expect them to load the additional processes:
step 26
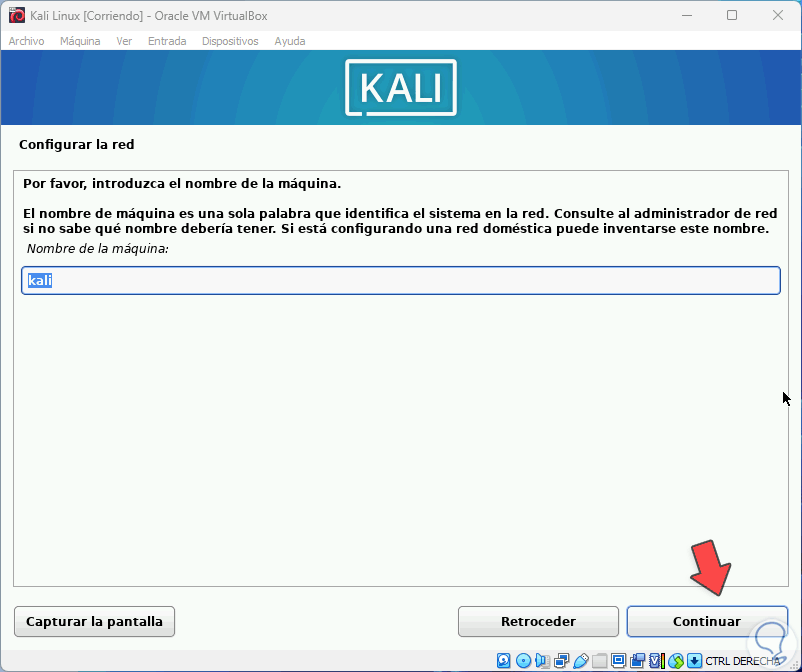
Assign a name to the machine:
step 27
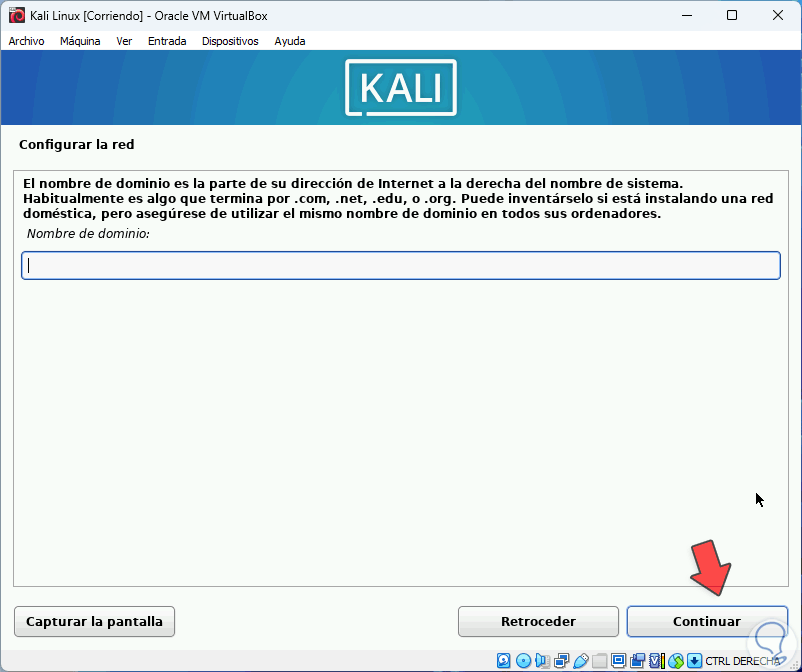
Enter, if it exists, the domain name:
Step 28
After this we assign the administrator user:
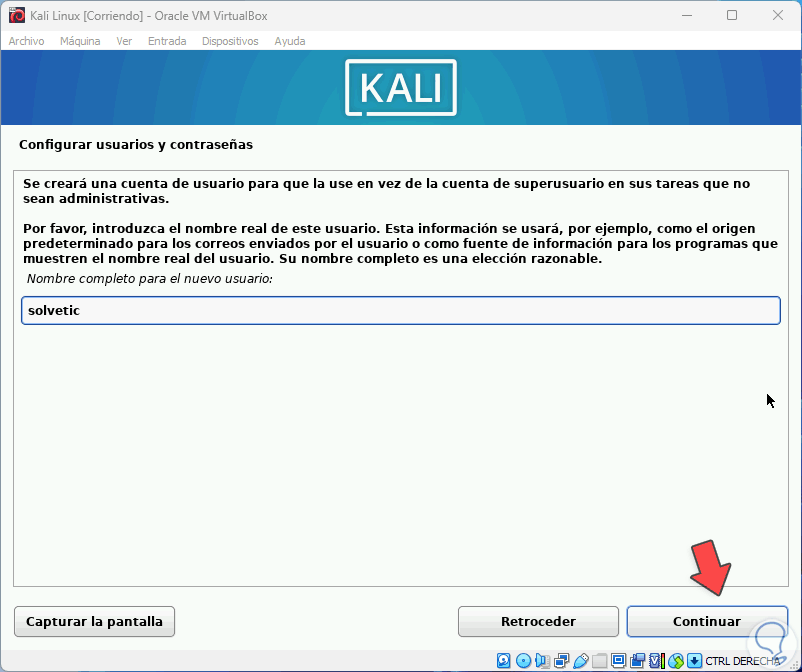
Step 29
We click on "Continue" and it will be confirmed:
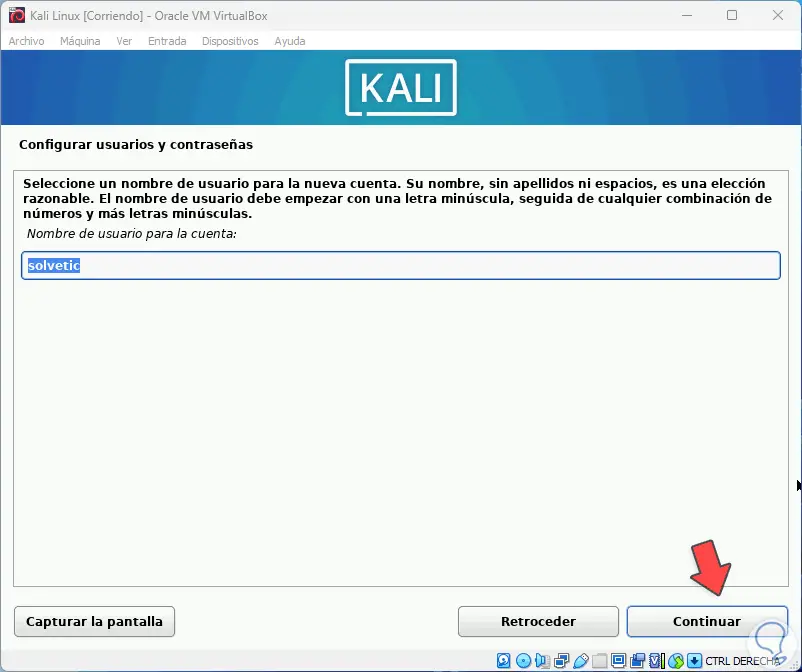
step 30
We set the password:
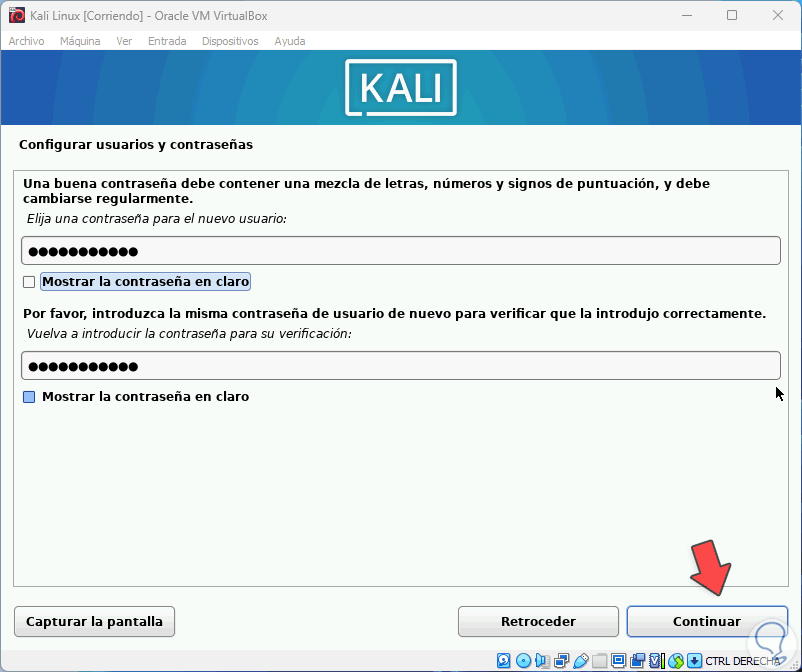
step 31
The next step will be to select the time zone:
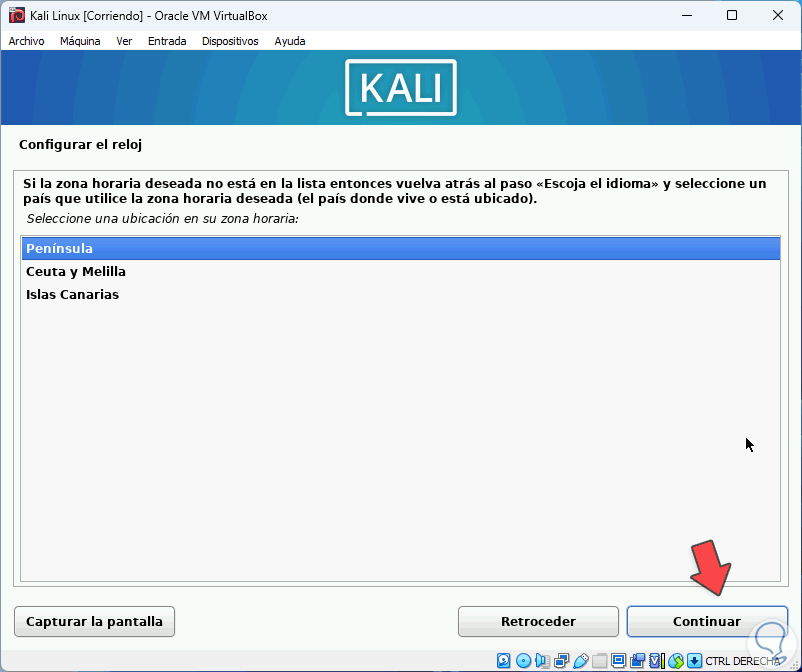
step 32
Now we will see the following:
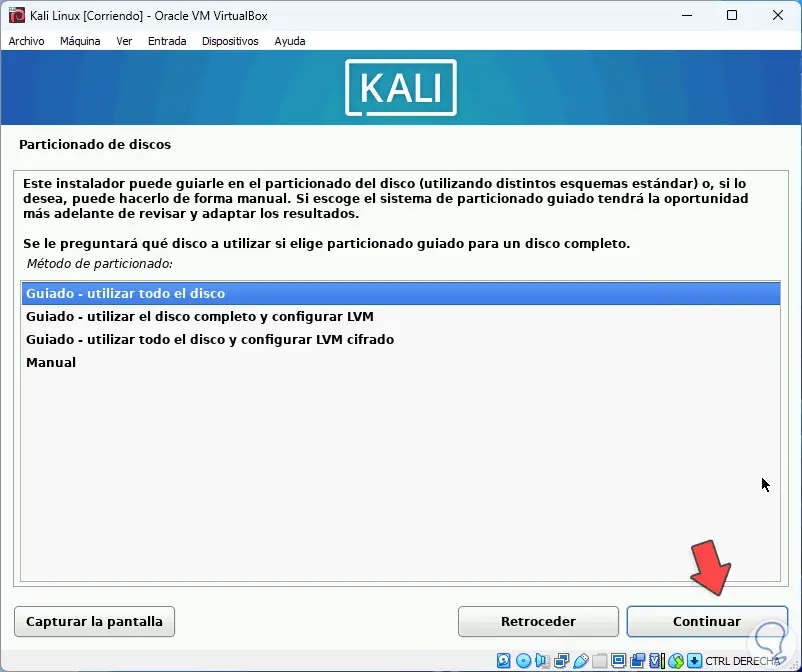
We define the partitioning of the disks based on the needs, by default we can let Kali himself establish these values, we click on "Continue" to select the disk:
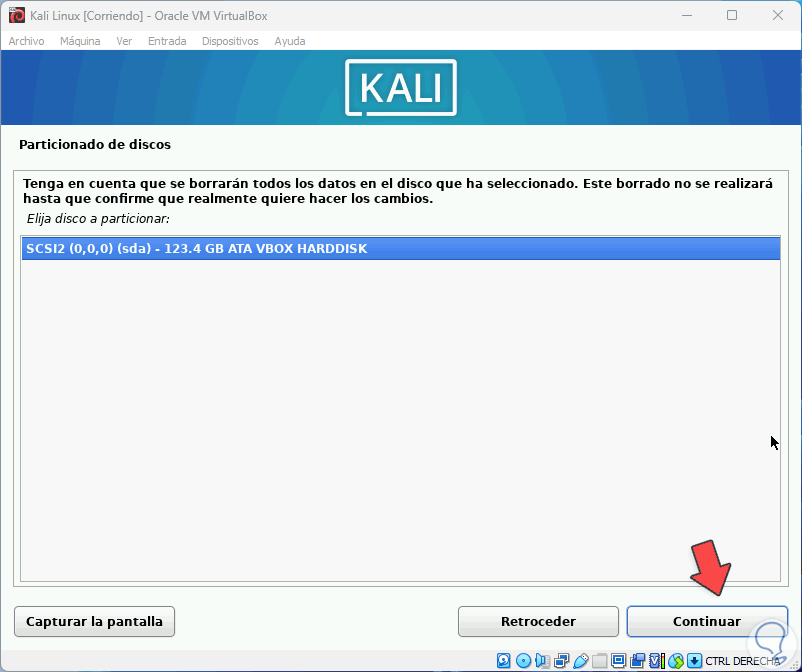
Step 33
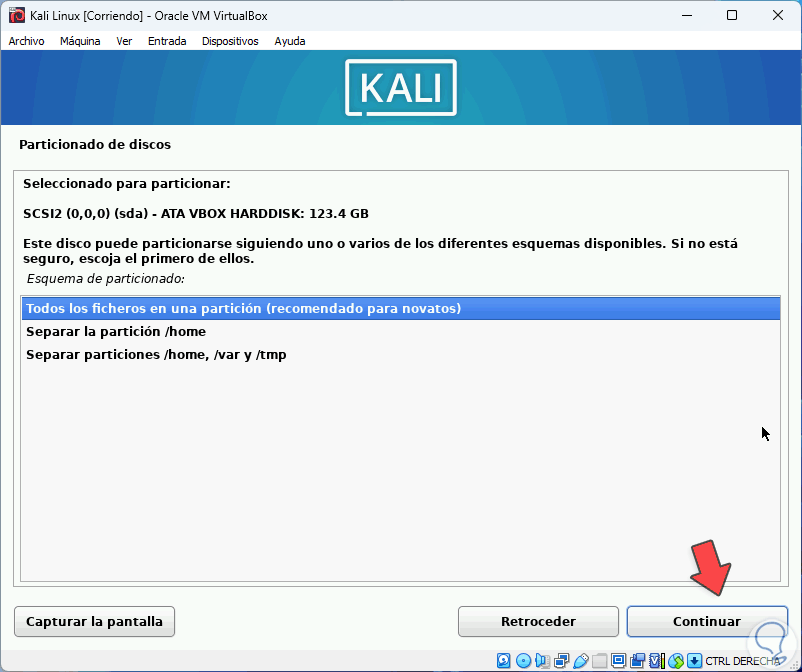
We select the partition structure:
Step 34
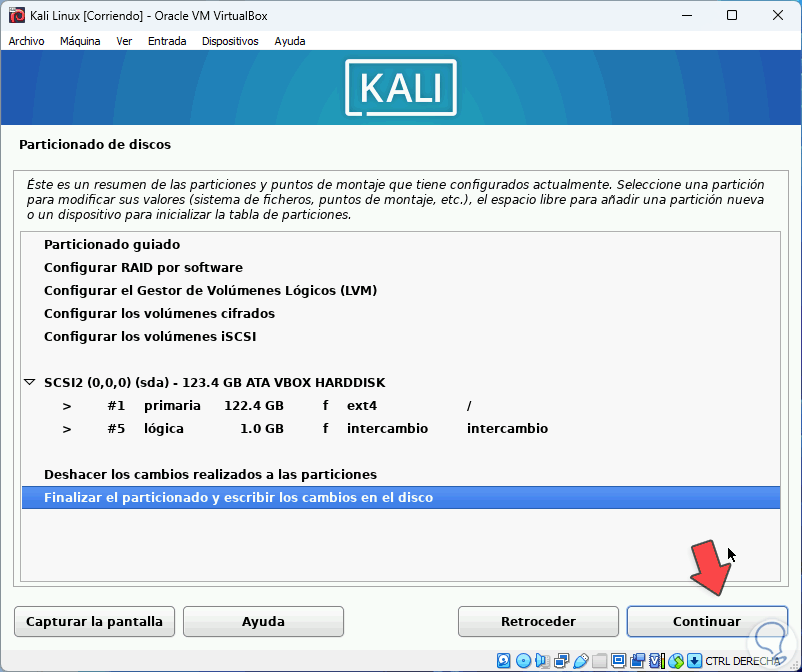
We will see how the space will be distributed:
step 35
We click on "Continue" and confirm the process:
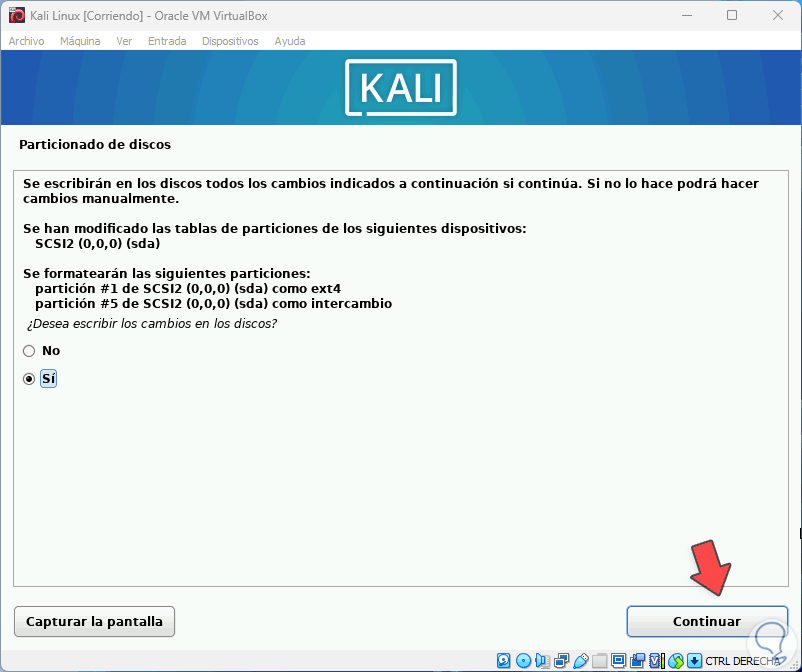
Step 36
The installation of Kali Linux in VirtualBox will start:
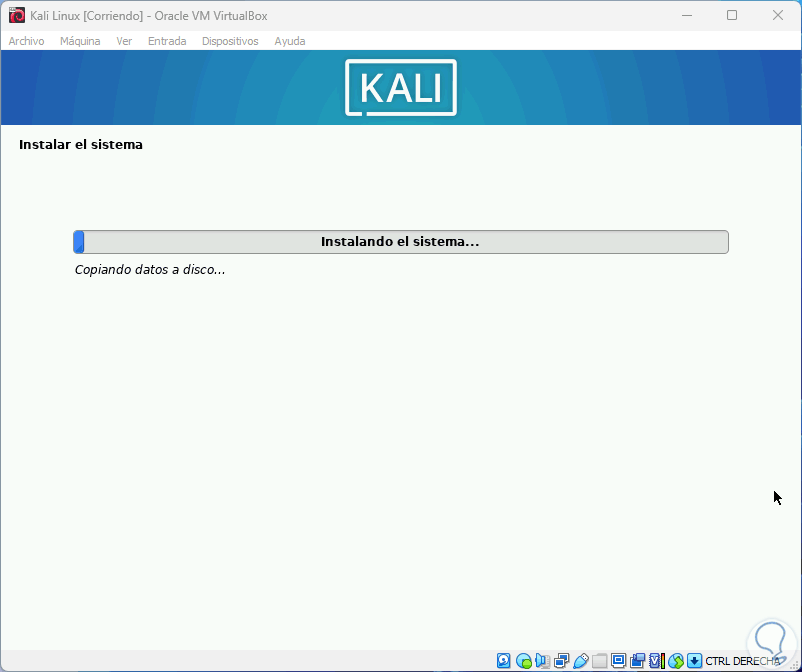
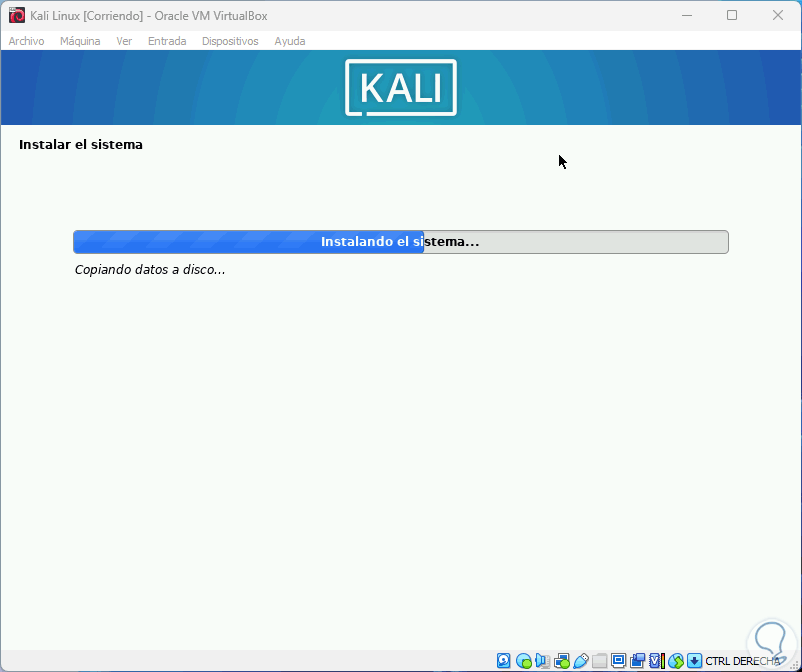
Step 37
We look forward to the process moving forward:
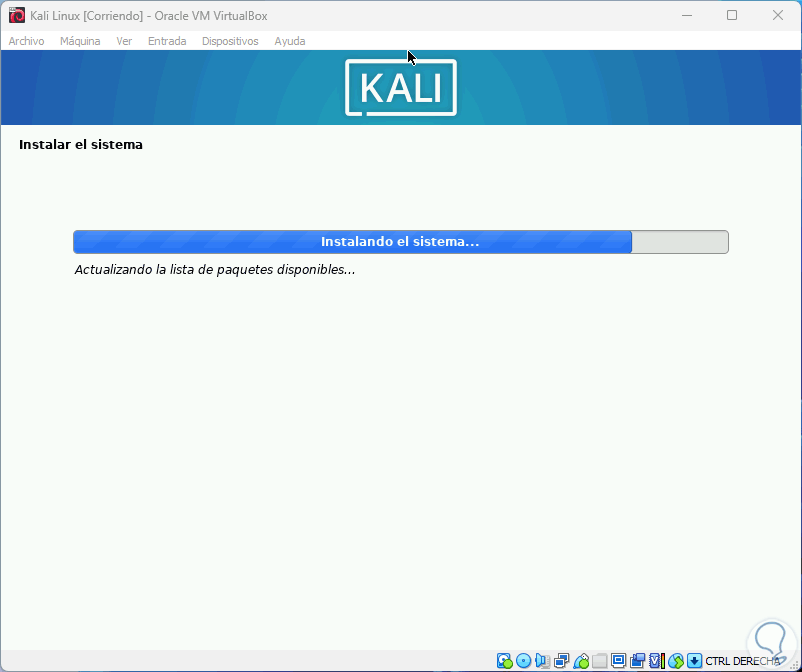
Step 38
The package download process will start:
Step 39
Confirm whether or not a network mirror will be used:
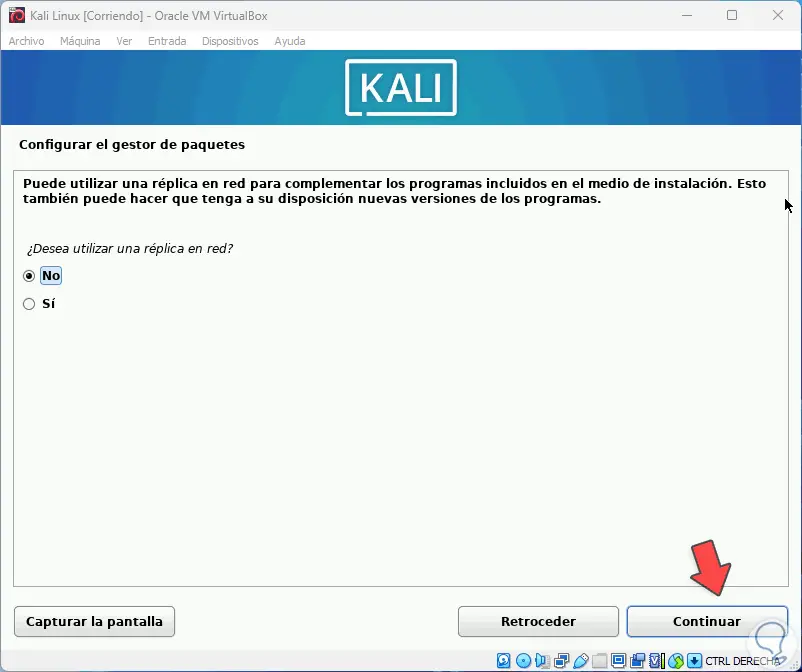
step 40
We activate the "Yes" box to install the GRUB bootloader:
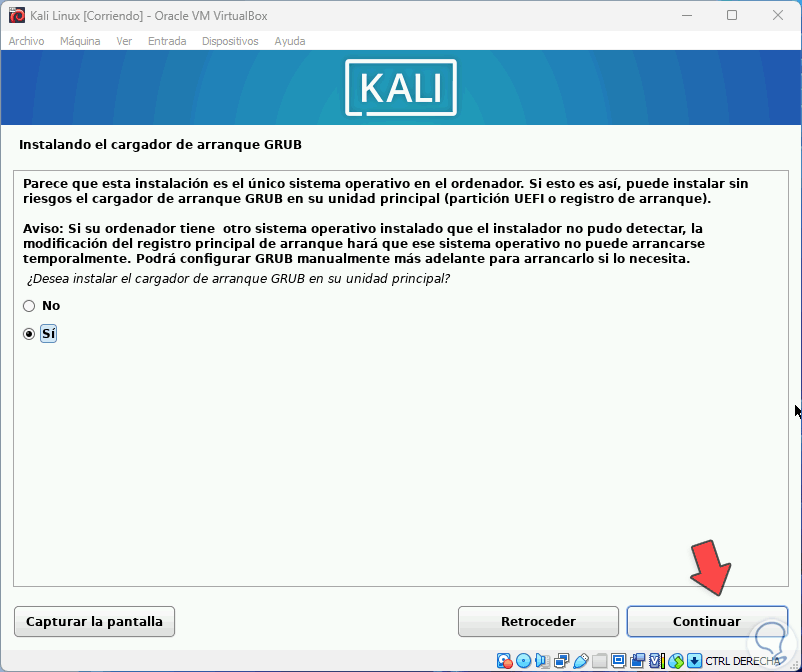
Step 41
Select the partition in which it will be installed:
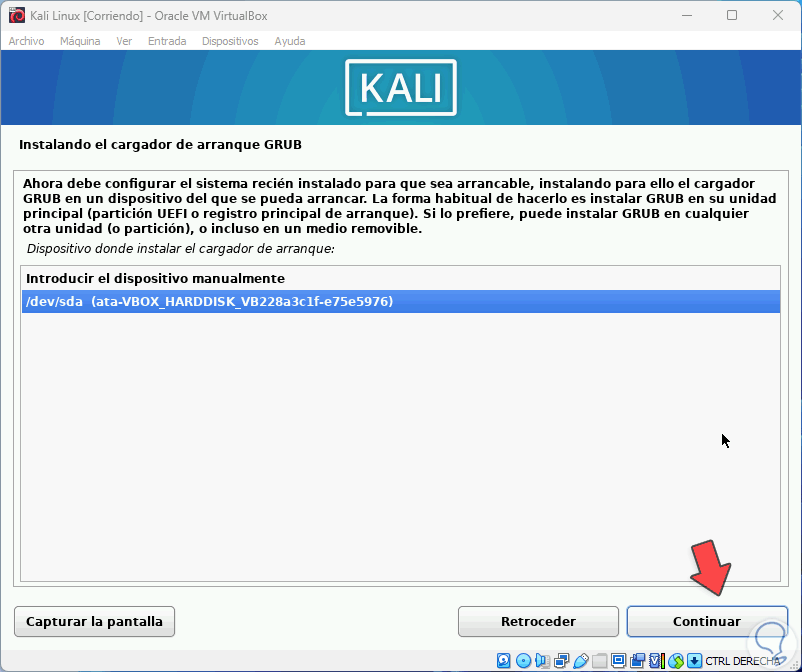
step 42
The process will continue:
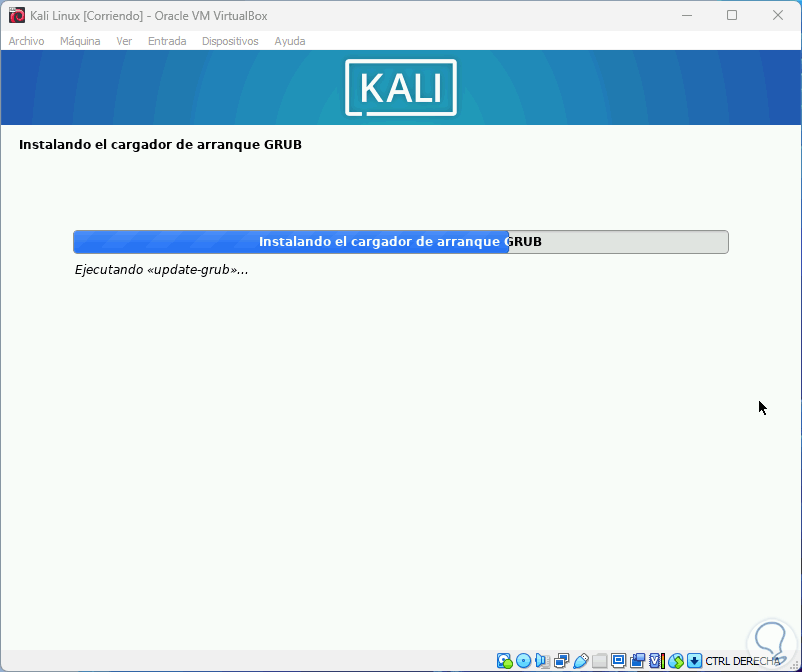
Step 43
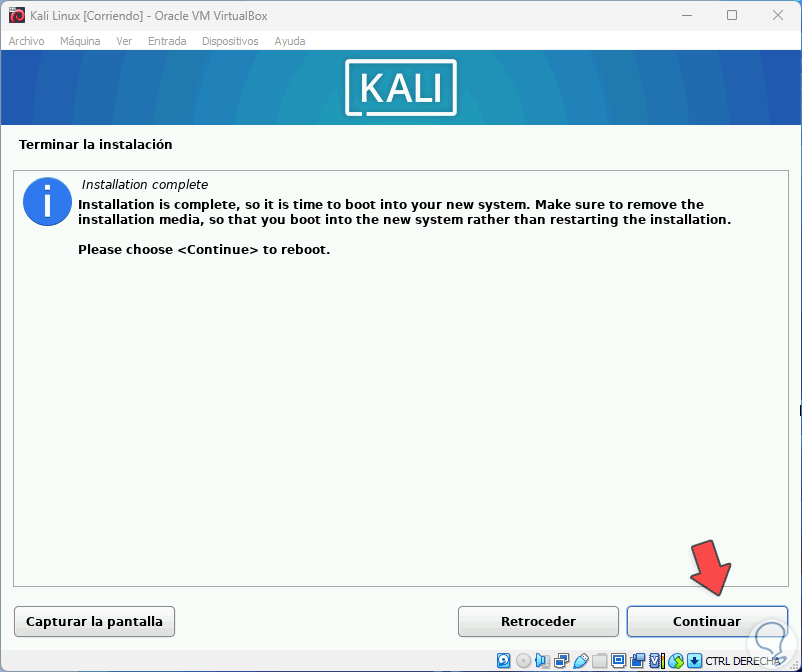
Complete the installation process:
Step 44
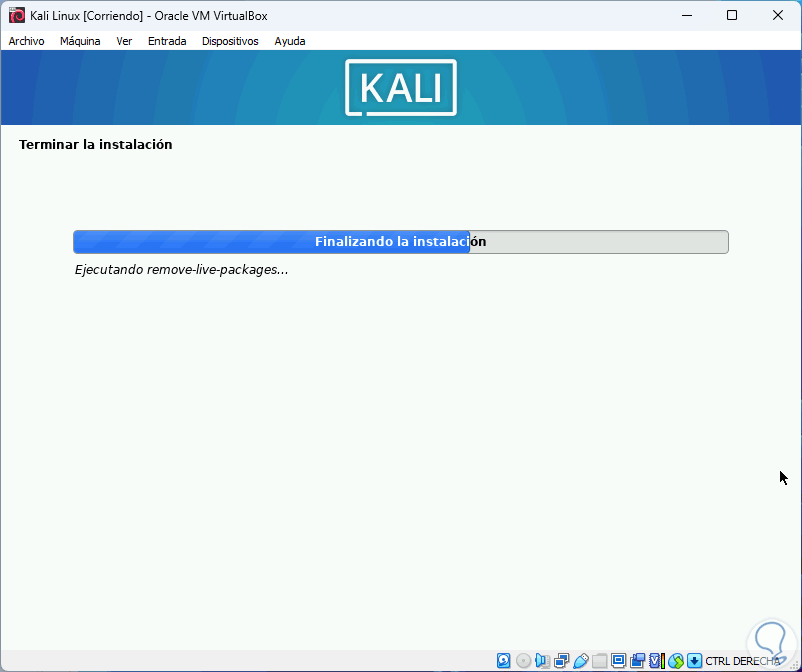
We click on "Continue" to finish this process:
step 45
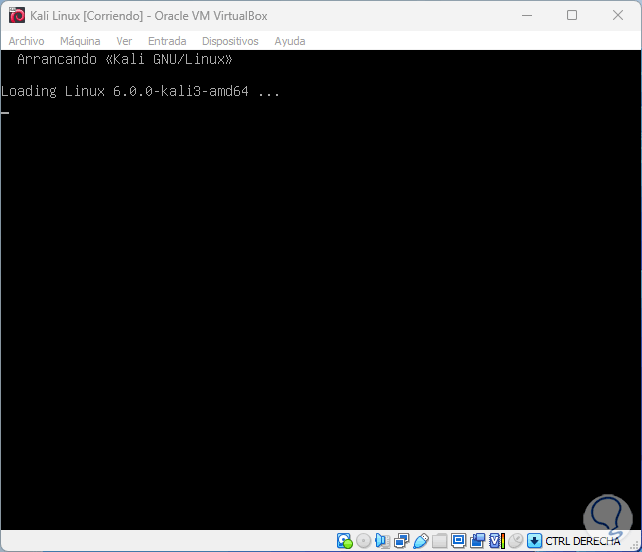
The virtual machine will be restarted:
Step 46
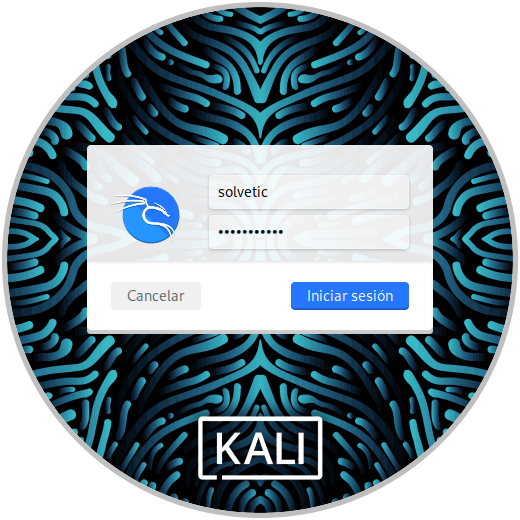
Log in:
Step 47
By maximizing the window the virtual machine will be extended:
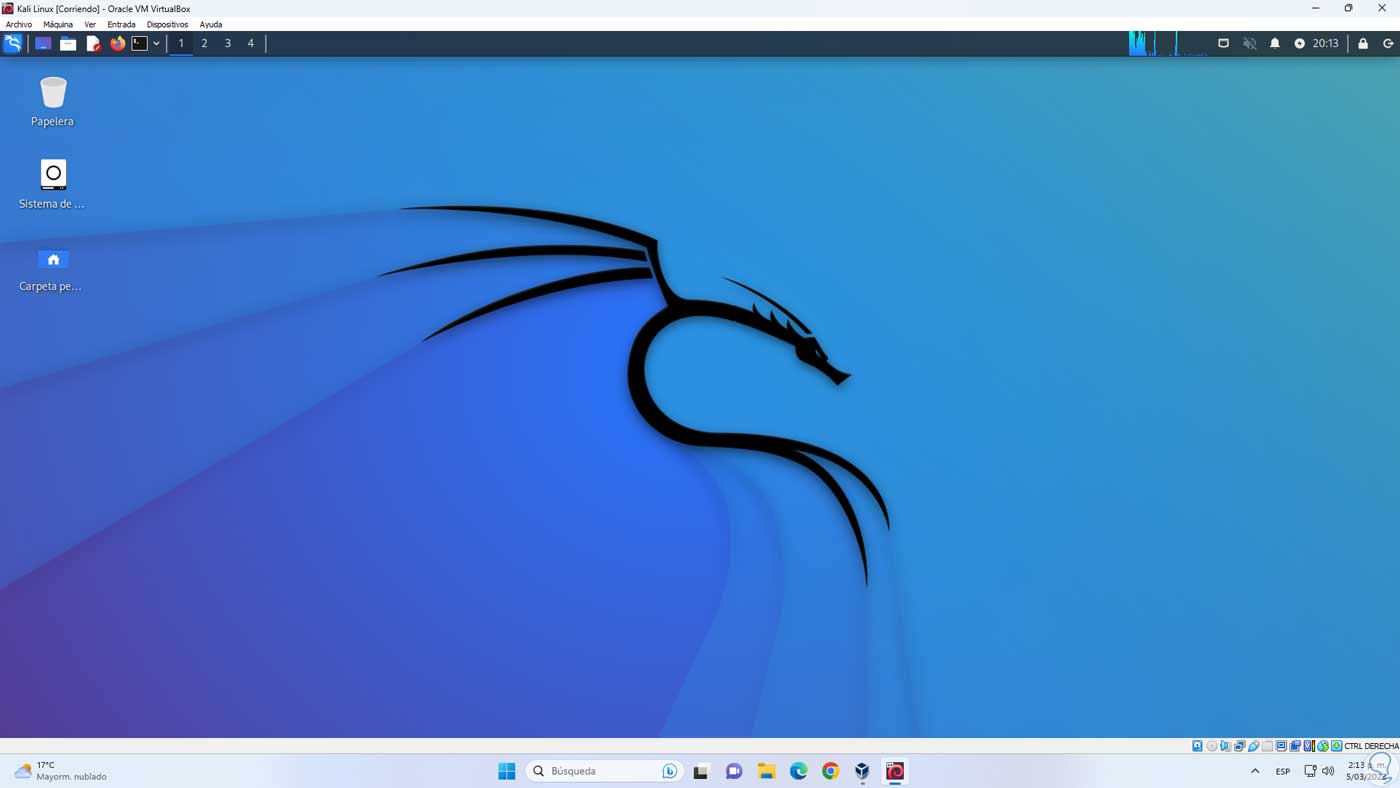
Step 48
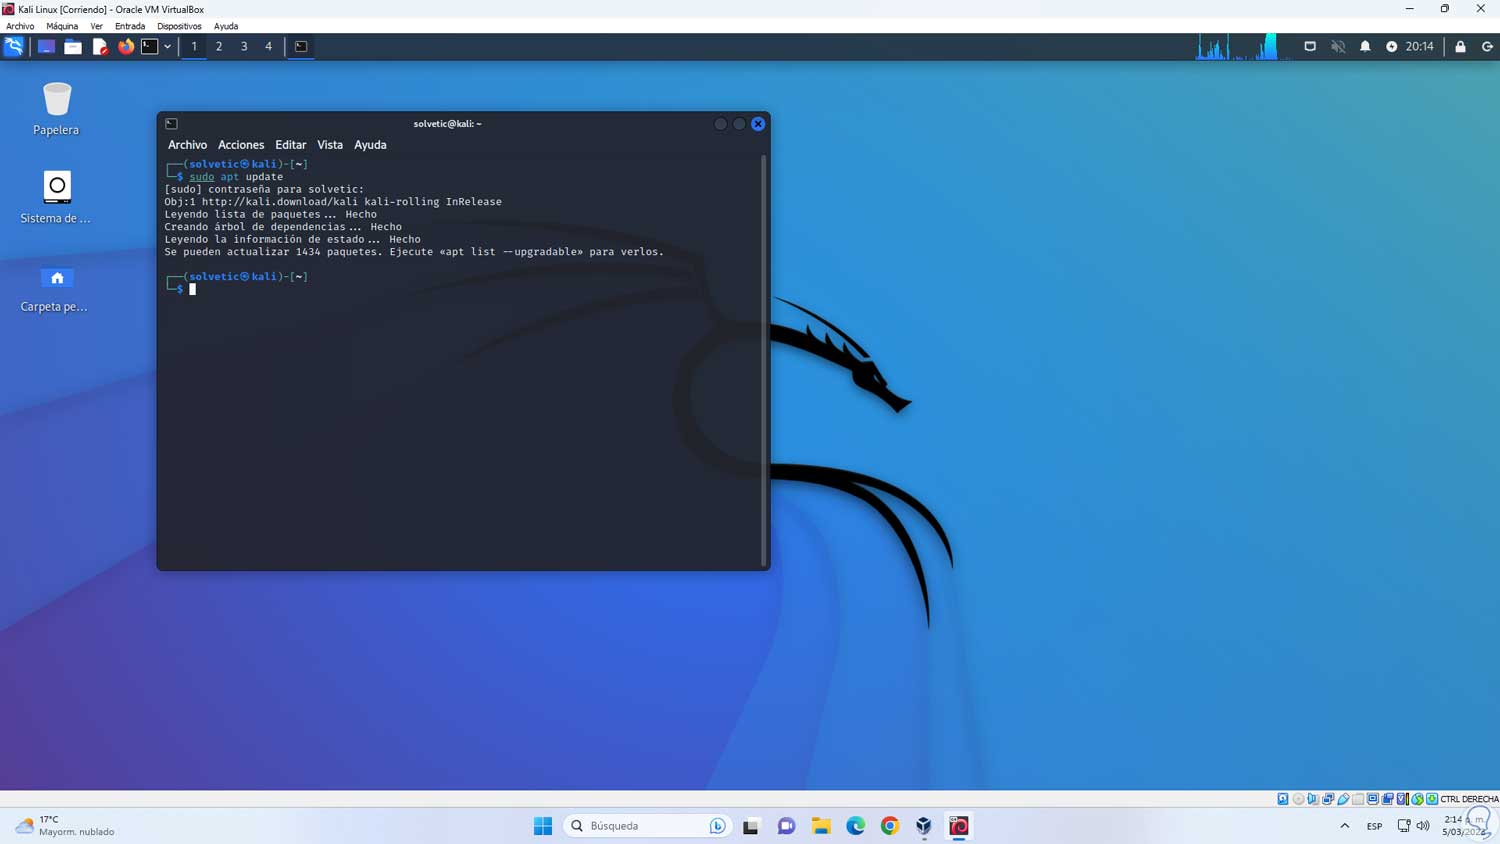
To install the VirtualBox Guest Additions which allow a complete interaction between the virtual machine and the physical PC we open the terminal and update the system with the command:
sudo apt Update
Step 49
Enter the password:
step 50
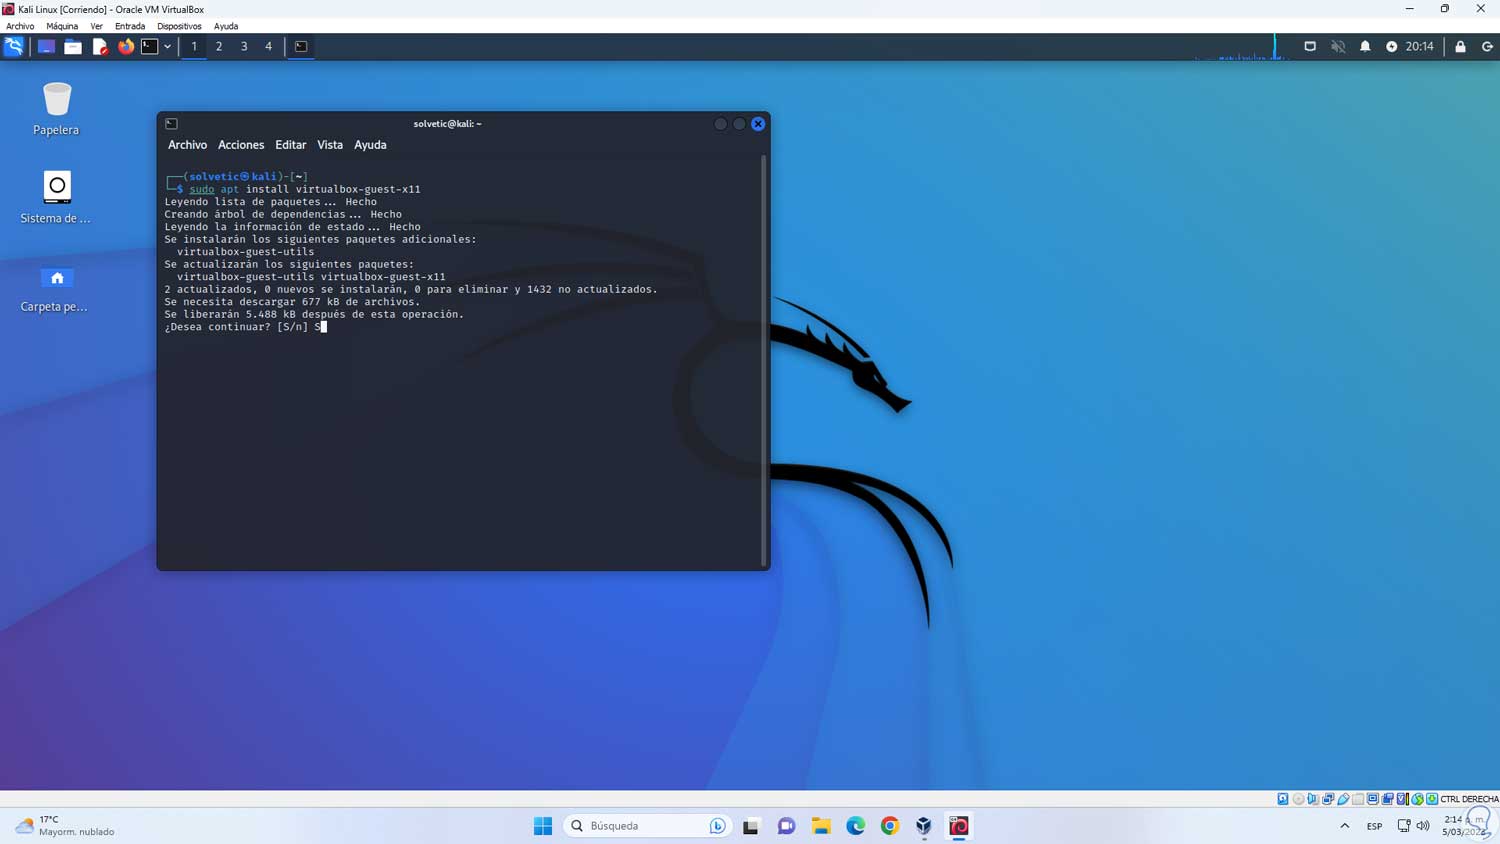
We execute the following to install the Guest Additions:
sudo apt install virtualbox-guest-x11
step 51
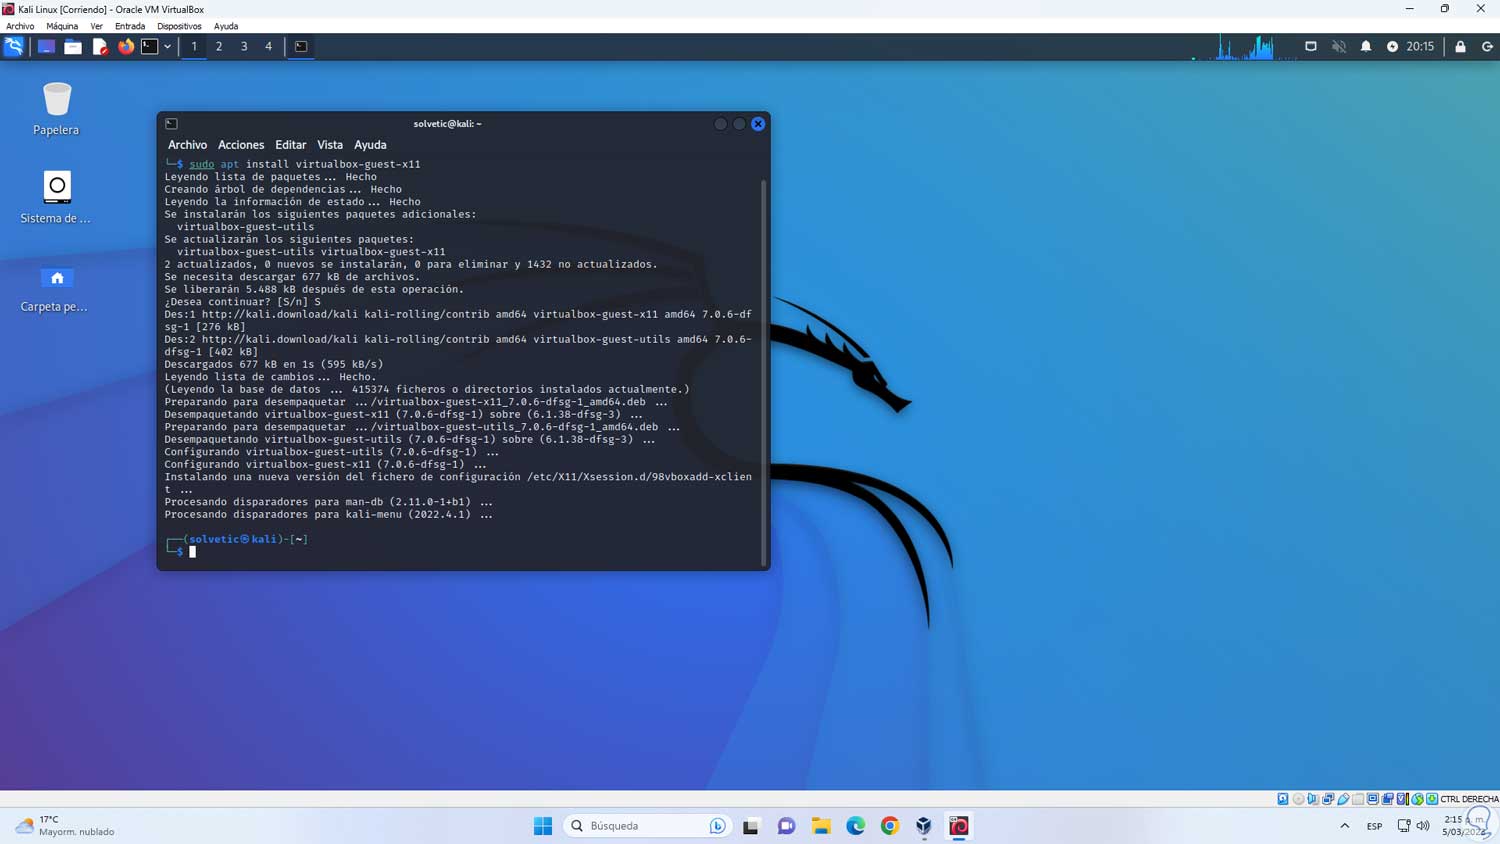
Confirm the operation by entering the letter S:
step 52
Reboot the virtual machine:
reboot
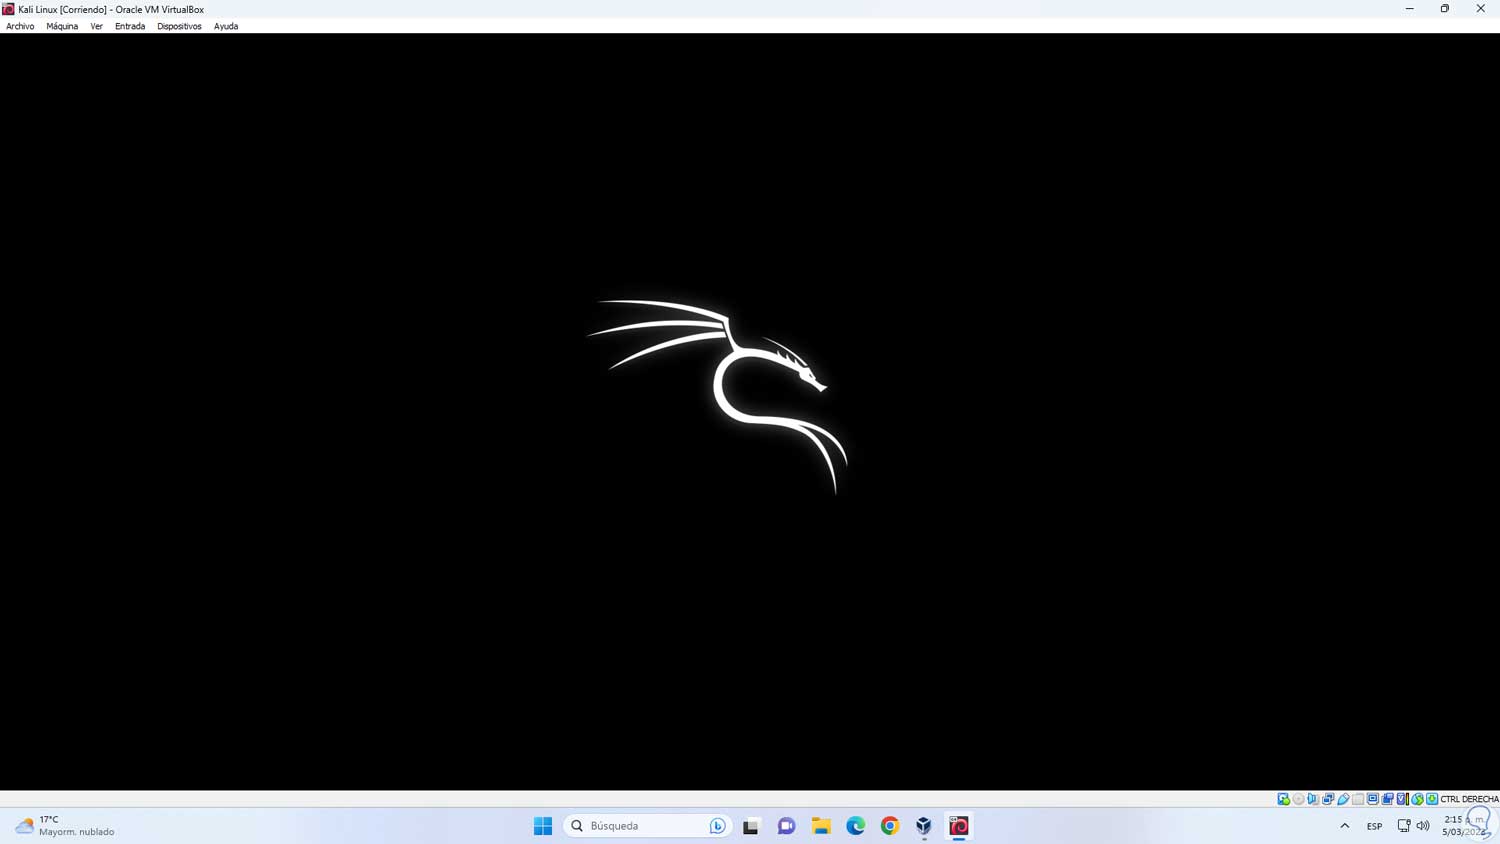
step 53
Log in and now it will be possible to use Kali Linux to the fullest in VirtualBox:
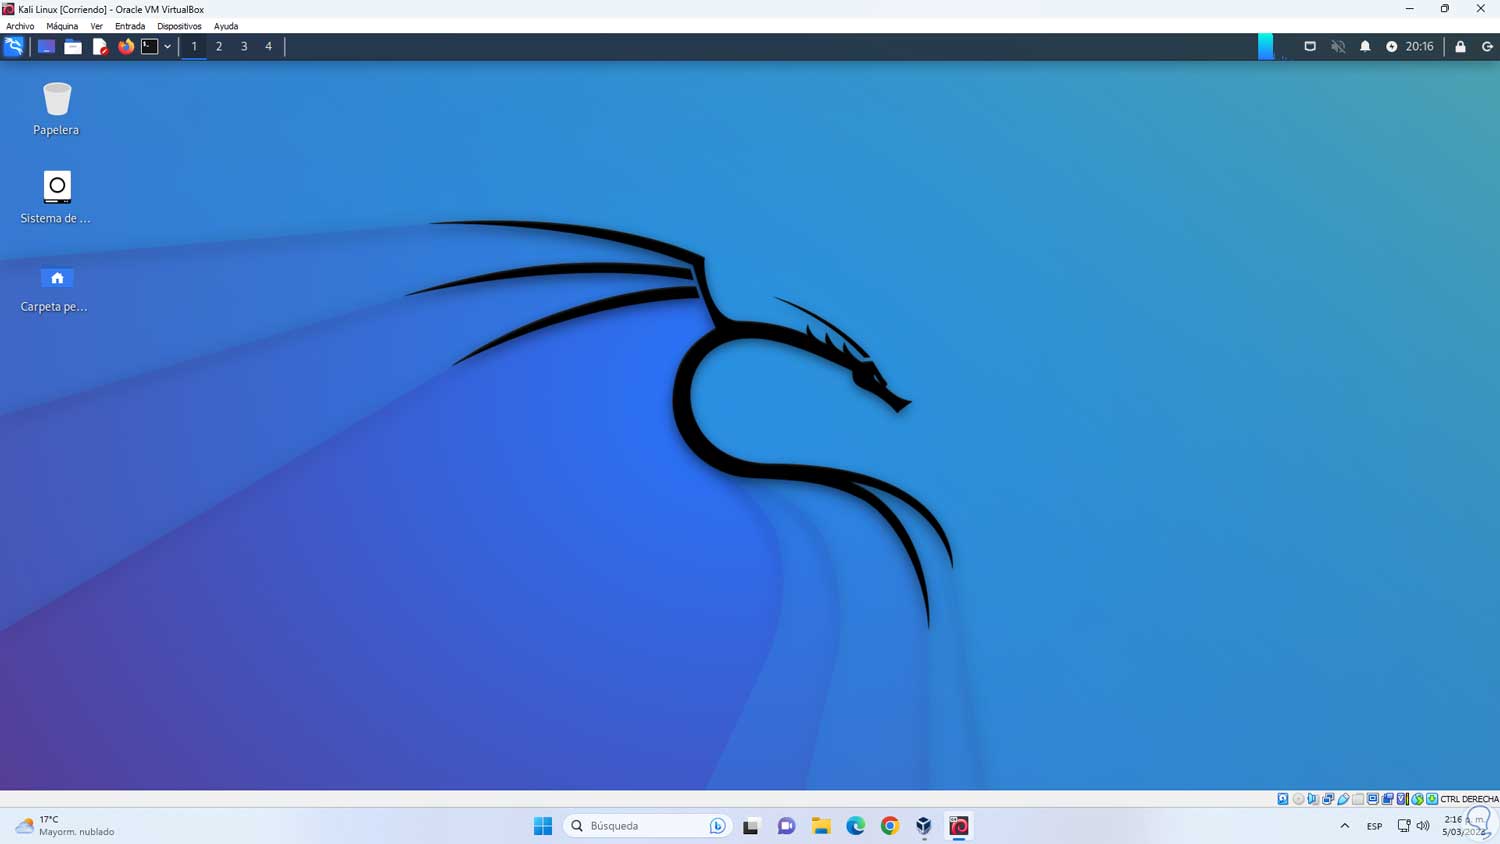
This is the way how we can install Kali Linux in VirtualBox and get to know one of the best Linux distributions..