Today we use our computers for many things, so choosing the correct operating system is important so that we feel comfortable when working with it. However, we may have some reluctance to install an operating system on our PC without prior testing. The good part is that if we have the possibility to do it, thanks to the virtualization programs which allow us to install operating systems on them to be able to test them in advance..
VirtualBox is one of the most comprehensive solutions for all the issues of virtualization of environments which give us the power to test new operating systems, applications and in general to know the impact that some of this will have on a productive environment.
characteristics
VirtualBox offers us various features such as:
- Completely free application
- Portable since VirtualBox is can be run on both 32-bit and 64-bit operating systems based on Intel x86-64 based processors
- Does not require hardware virtualization as it integrates Intel VT-X or AMD-V technologies by default
- It allows to add the Guest additions which are a software package which is installed in the invited virtual machines and these optimize performance and at the same time give us additional integration and communication with the host system where VirtualBox is running.
- It allows creating groups of virtual machines for better control without losing functions such as start, close, pause, reset, save state, shutdown, etc.
- Supports multi-generational snapshot creation
- Allows you to manage machines remotely thanks to the VirtualBox Remote Desktop Extension (VRDE)
- Comprehensive hardware support as it is compatible with SMP, USB, full ACPI, iSCSI and PXE
Kali Linux is a security operating system with which we can perform hundreds or thousands of penetration tests to check the security levels of an operating system. That is why TechnoWikis will explain to you through this tutorial how to install VirtualBox in Kali Linux ..
How to install and configure VirtualBox on Kali Linux
Step 1
The first thing will be to go to the official VirtualBox download link at the following URL:
VirtualBox
Step 2
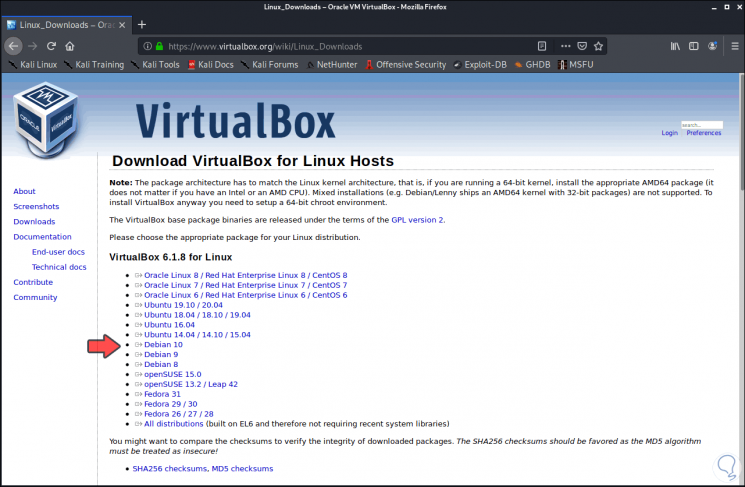
There we select "Linux Distributions" and after this we download the latest version of Debian. This is because Kali Linux is Debian based. This file must be saved locally in Kali Linux.
Step 3
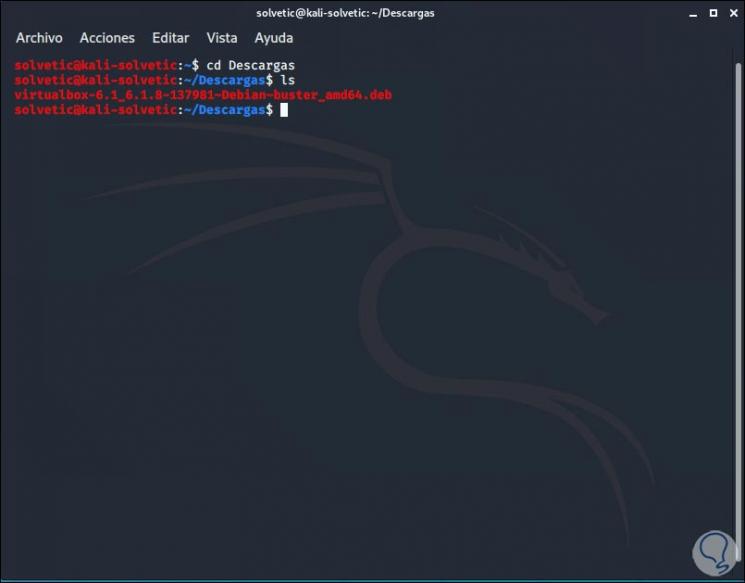
After this we access the Kali terminal and access the Downloads library and with the command "ls" to list the download we have just made:
Step 4
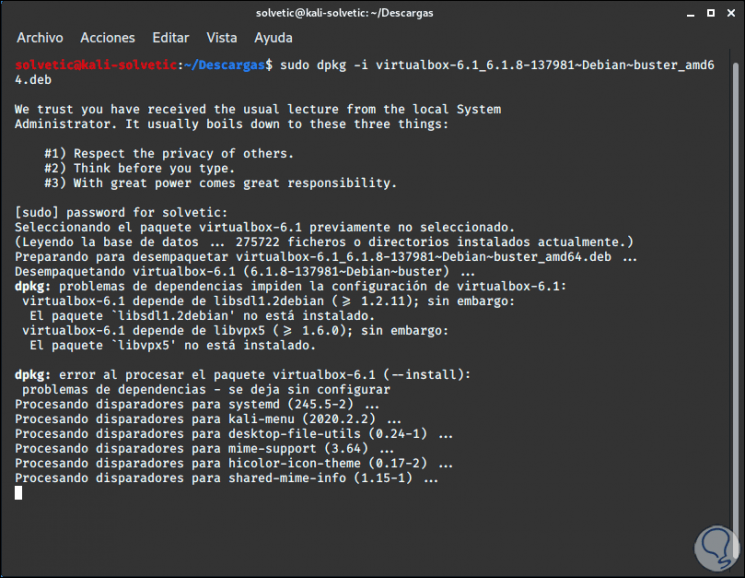
We proceed to extract this content by executing the following syntax:
sudo dpkg -i "file.deb"
Step 5
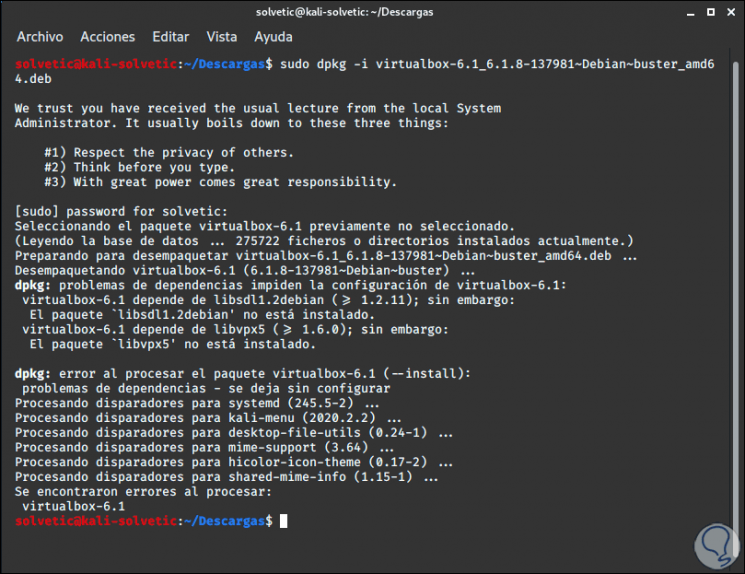
It is normal for the extraction result of the following error:
Step 6
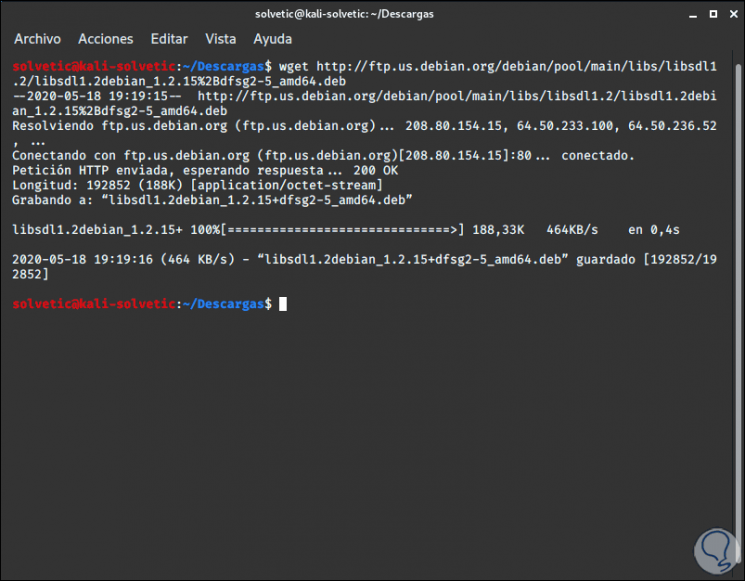
This is due to the lack of some dependencies, for this we are going to download them with the following order:
Wget http: / /ftp.us.debian.org/debian / pool / main / libs / libsdl 1. 2 / libsdl1. 2 debian_1. 2.15 + dfsg2- 5_ amd64.deb
Step 7
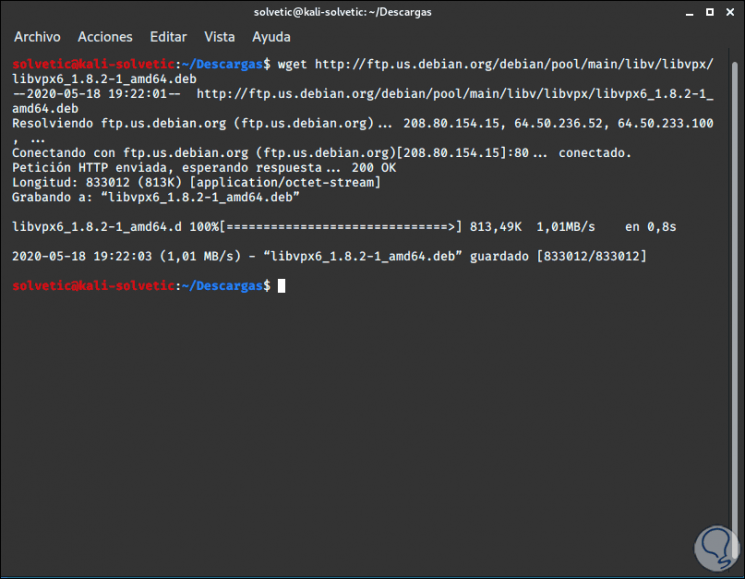
Now we download the following:
wget http: / /ftp.us.debian.org/debian / pool / main / libv / libvpx /libvpx6_1.8.2-1_amd64.deb
Step 8
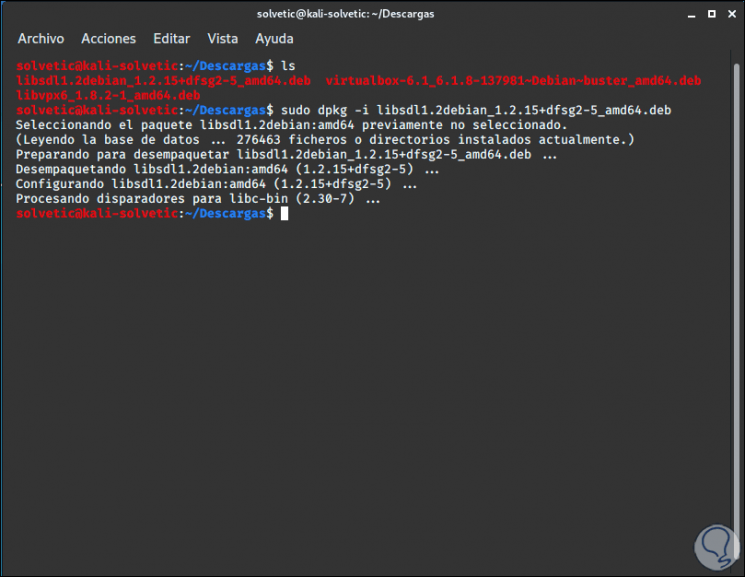
We extract the content of libsdl:
sudo dpkg -i libsdl1 .2debian_1 .2 .15 + dfsg2-5_amd64 .deb
Step 9
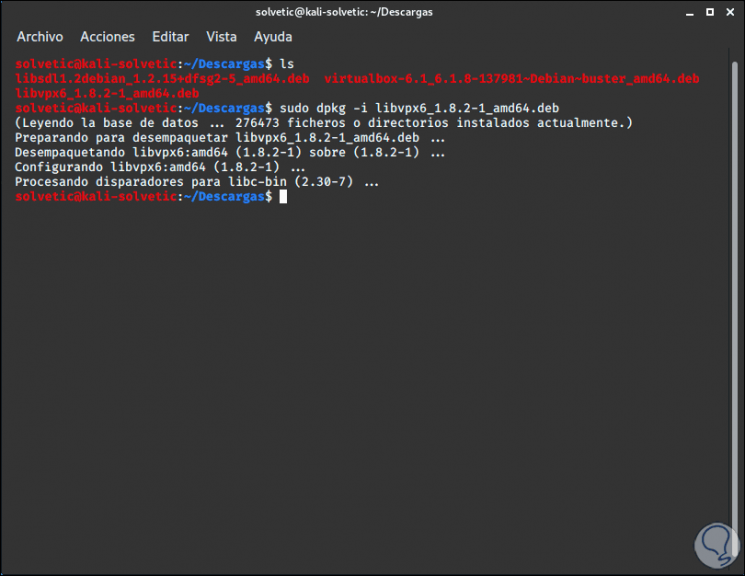
Now we extract the libvpx package:
sudo dpkg -i libvpx6_1 .8 .2-1_amd64 .deb
Step 10
Again we run the VirtualBox file:
sudo dpkg -i "file.deb"
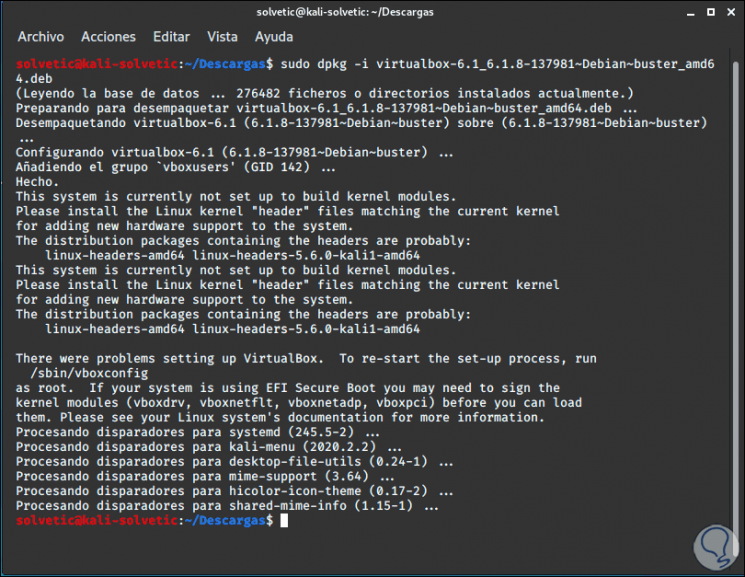
Step 11
We can see that this time it has had no problems, but there is a warning that the system has not been configured to build the kernel kernels, to correct this we will execute the following command:
sudo apt-get install dkms build -essential
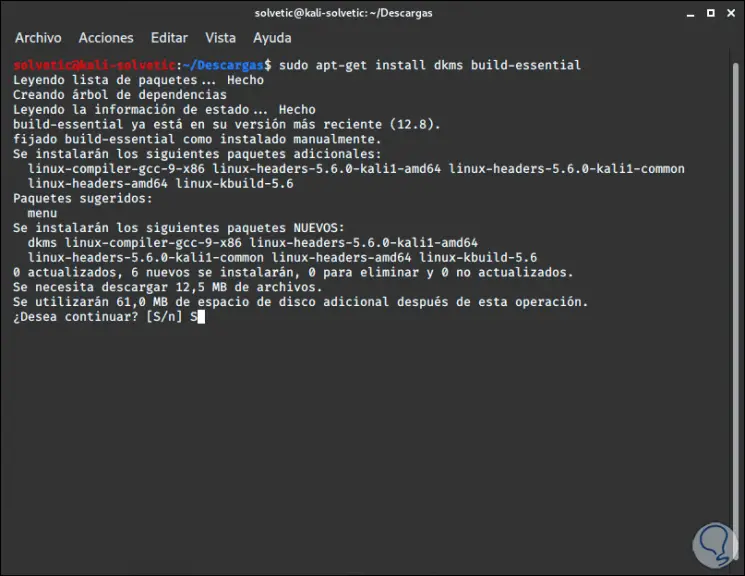
Step 12
We enter the letter "S" to confirm the download and installation of this utility:
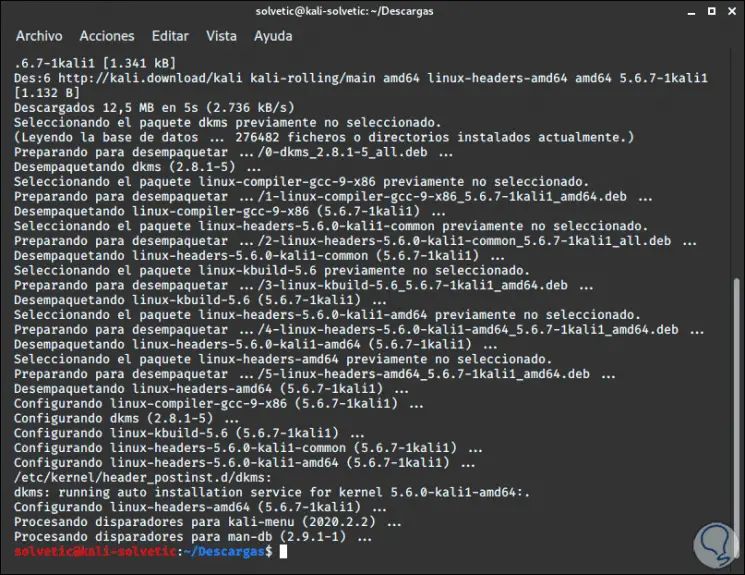
Step 13
Now from the terminal we run "virtualbox" and the application will be deployed:
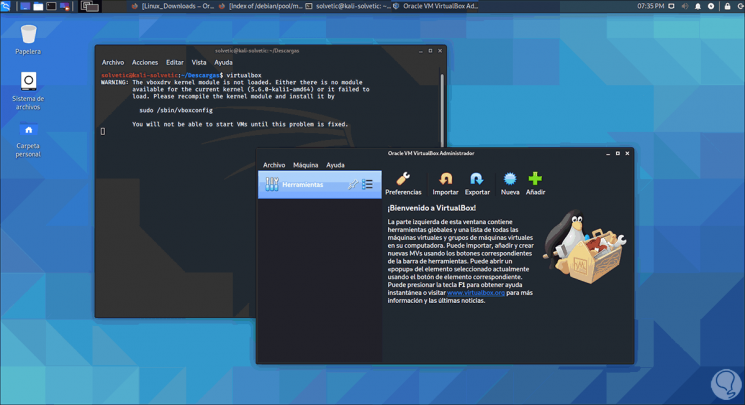
Step 14
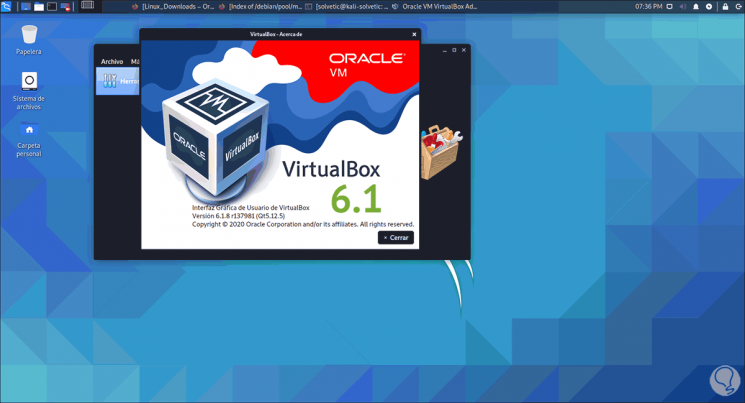
We check the version from the Help menu - About VirtualBox:
Step 15
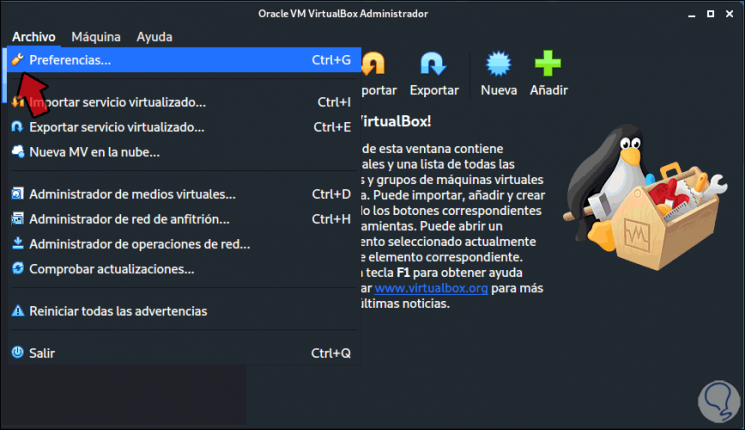
We go to the menu "File - Preferences":
Step 16
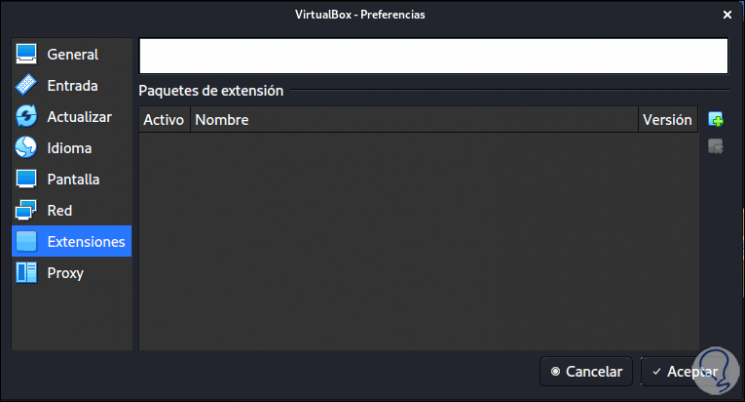
From there we can manage different VirtualBox parameters in Kali Linux:
Step 17
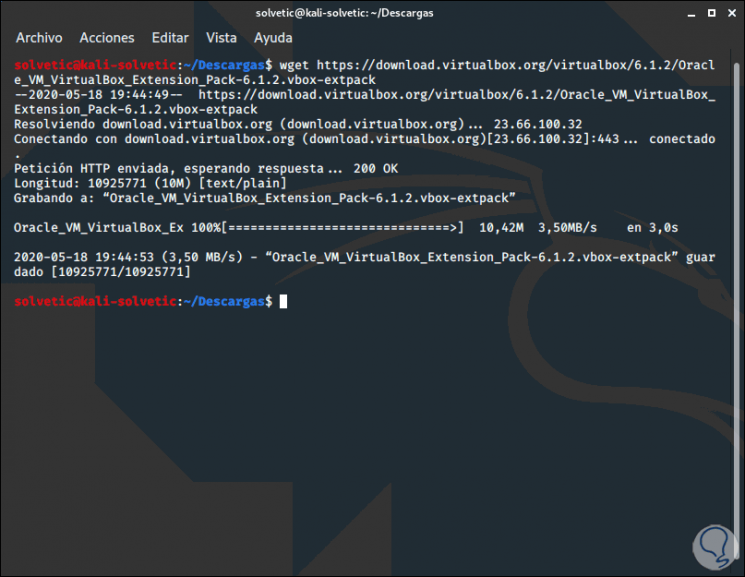
The extensions play a fundamental role in the interaction between the physical and the virtual machine, to install these package extensions we will execute the following:
wget https: / /download.virtualbox.org/virtualbox /6.1.2/ Oracle_VM_VirtualBox_Extension_Pack- 6.1 . 2 .vbox-extpack
Step 18
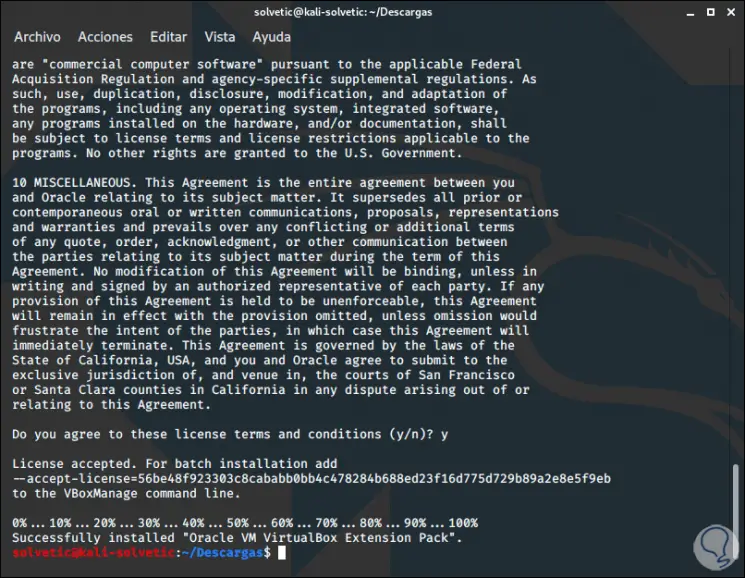
Now we execute the following:
sudo vboxmanage extpack install Oracle_VM_VirtualBox_Extension_Pack-6 .1 .2 .vbox-extpack
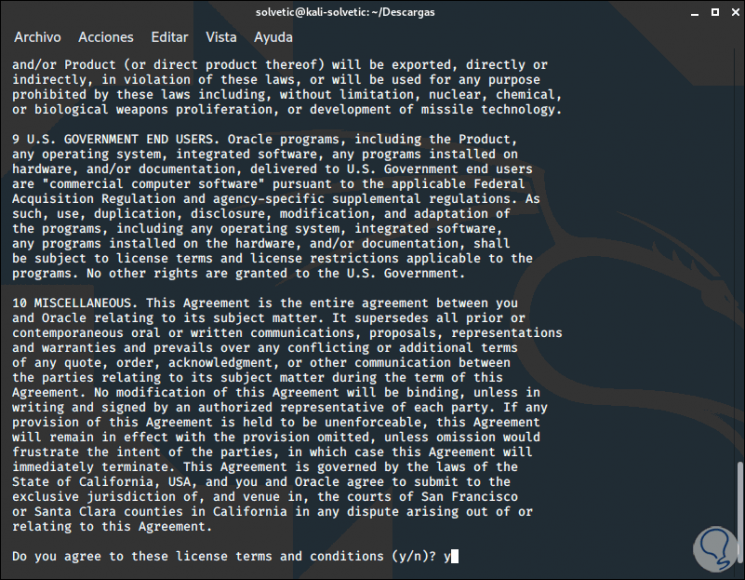
This will display the license terms for the extensions:
Step 19
We enter the letter "y" and press Enter to add the VirtualBox extensions:
Step 20
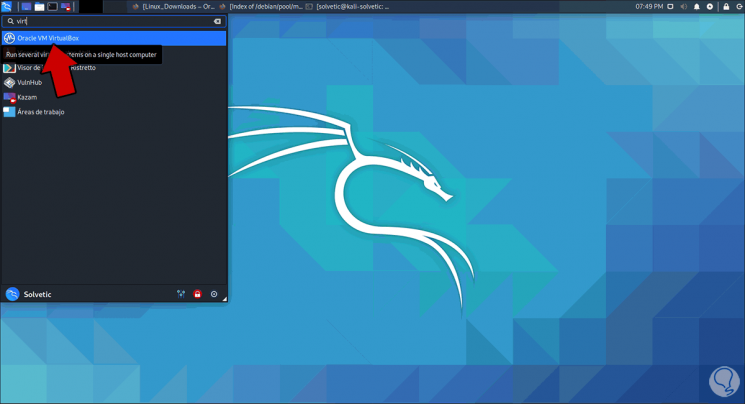
It will now be possible to launch VirtualBox from the Kali Linux menu:
Step 21
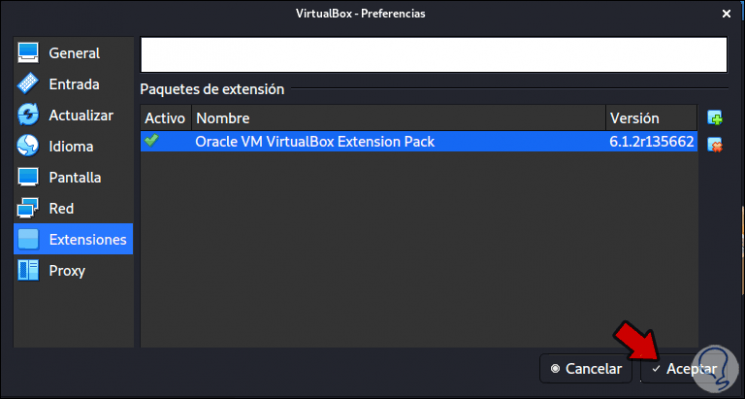
If we now go to the File - Preferences menu we can see that the package extensions have been installed correctly:
Step 22
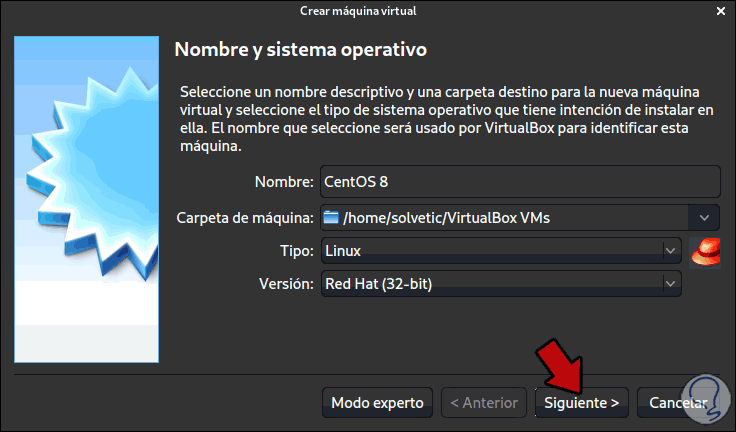
We are now ready to create our virtual machines from the Machine - New menu:
Step 23
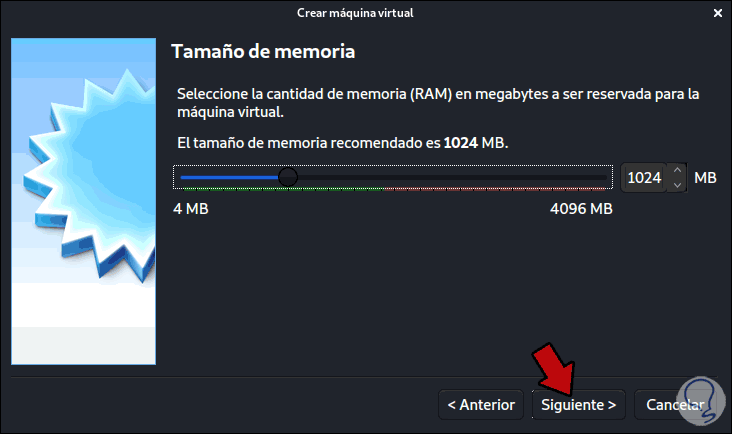
We can define the variables already known in VirtualBox:
Step 24
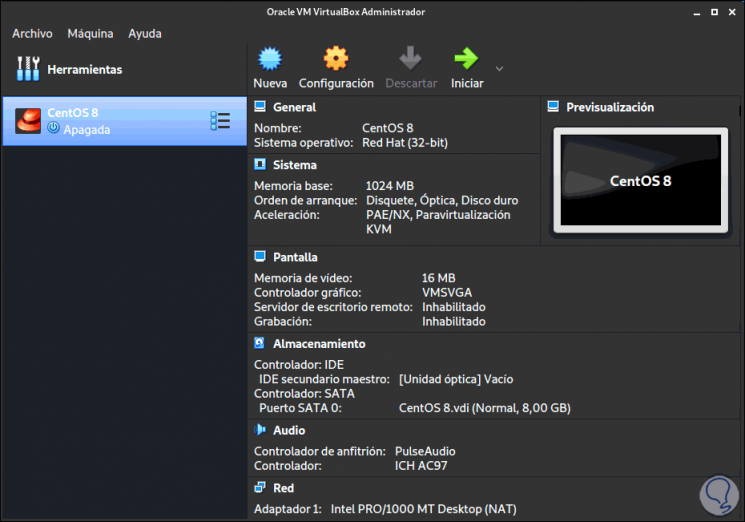
We access the configuration of the virtual machines with the same functions:
With these steps that TechnoWikis has explained to you, you have an expert security system and an application that helps you create secure environments that do not affect a real system thanks to virtualization.