Having the best options to manage the various aspects of Linux is something we all look for, to help us in this task we find Anaconda which is a package manager which provides us with various levels of file and package control for better use of each one of them. Kali Linux is a version of Linux focused on security and it is possible to install Anaconda there in its Anaconda Individual Edition version to have an additional working tool..
Anaconda has more than 1,500 open source packages with free support so your work experience is not limited. Specifically, the Anaconda Individual Edition version offers us multiple packages and open source libraries to access them, Anaconda is available for Windows architectures- 64-bit x86, 32-bit x86; MacOS- 64-bit x86; Linux- 64-bit x86, 64-bit Power8 / Power9.
Advantages Anaconda Kali Linux
Some of its advantages are:
- Integration of Conda packages which is a cloud-based repository where we have more than 7500 data science and machine learning packages, these can be installed with the conda-install command, additionally it is compatible with open source packages Conda, R , Python and more.
- Anaconda Individual Edition is a completely open source Python distribution platform.
- Ability to manage environments with which it is possible to build, distribute, install, update and manage software on various platforms.
- Dynamic user interface in which we can launch applications and manage packages and environments without using the command line.
Let's see how to install Anaconda on Kali Linux..
To stay up to date, remember to subscribe to our YouTube channel! SUBSCRIBE
Install Anaconda on Kali Linux
Step 1
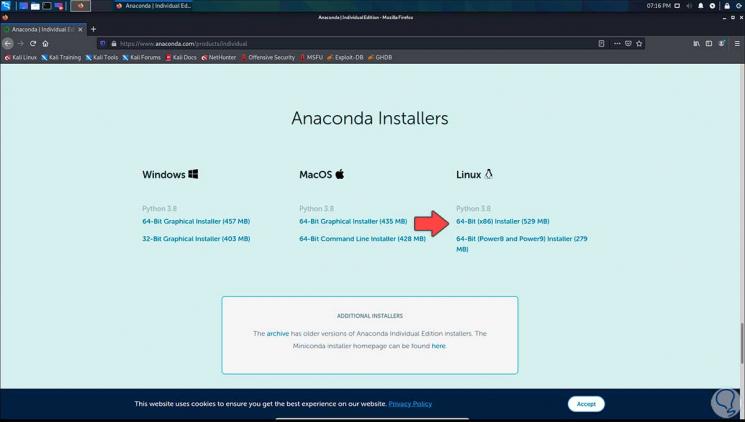
We go to the Anaconda URL and download the Linux installer at the following link:
Anaconda
Step 2
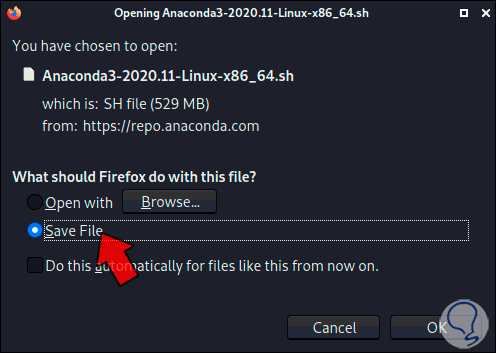
This file is saved locally:
Step 3
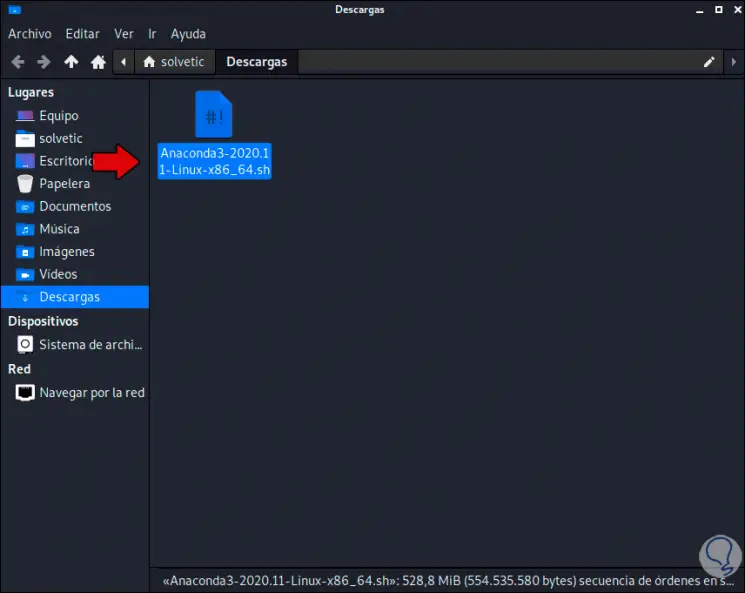
Once it is downloaded we check the download:
Step 4
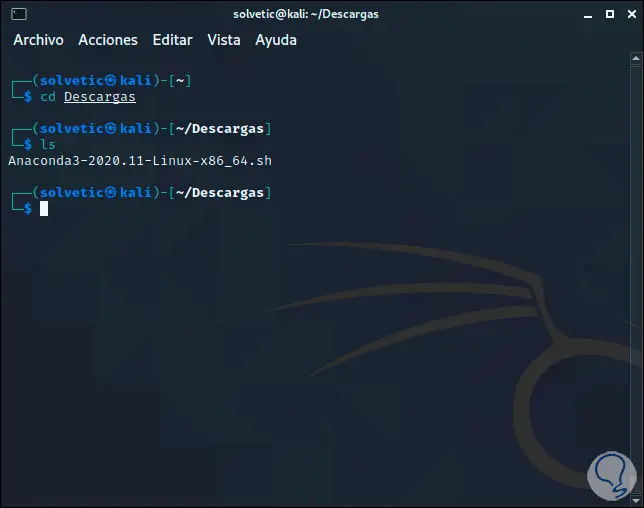
We open the terminal, we go to Downloads with the command "cd" and with "ls" we list the content:
Step 5
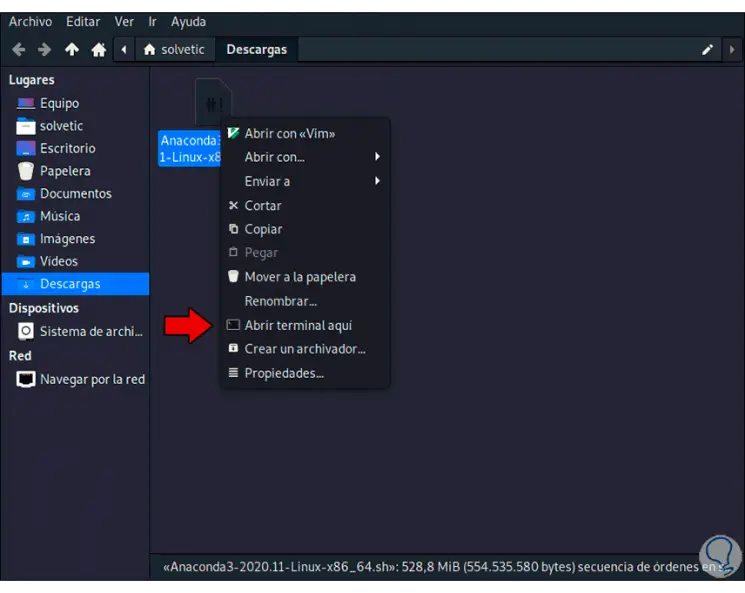
There we see the sh file that we have downloaded, it is necessary to grant the permissions to it, for this we open the Downloads folder and right-click on the downloaded file, select "Properties":
Step 6
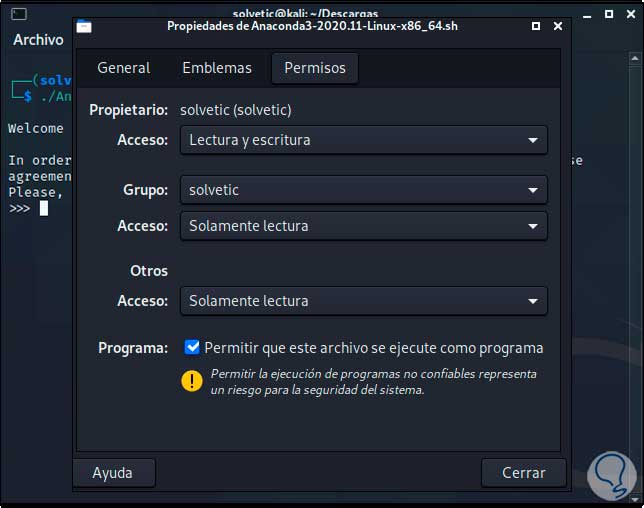
In the "Permissions" tab we activate the "Allow this file to run as a program" box. Apply the changes.
Step 7
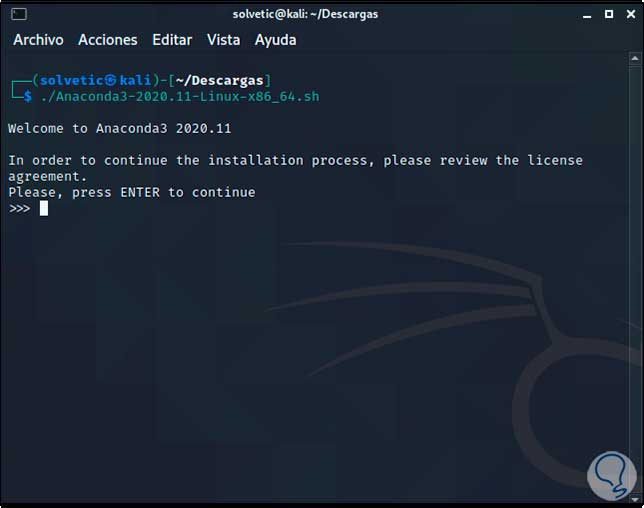
We go back to the terminal and run the installer with the following syntax:
./Anaconda.sh
Step 8
We press Enter to confirm and after this we will see the Anaconda use license:

Step 9
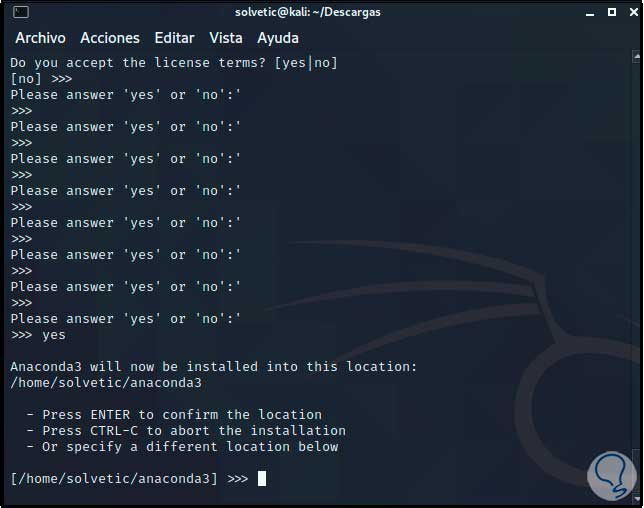
We press Enter to accept the license by entering "yes":
Step 10
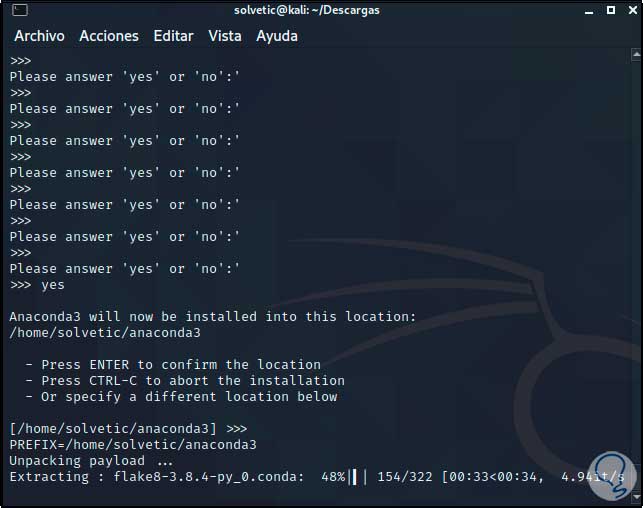
Once we enter “yes” we press Enter again to confirm the installation of Anaconda in Kali Linux:
Note
if there is a previous installation, we must use the -u parameter.
Step 11
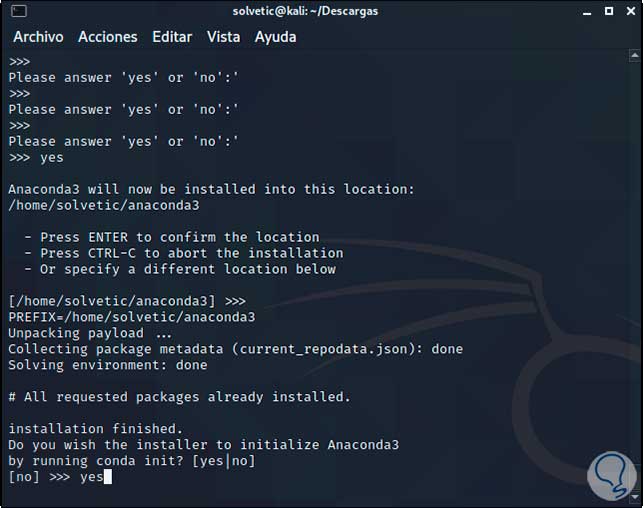
After this process we will see the following:
Step 12
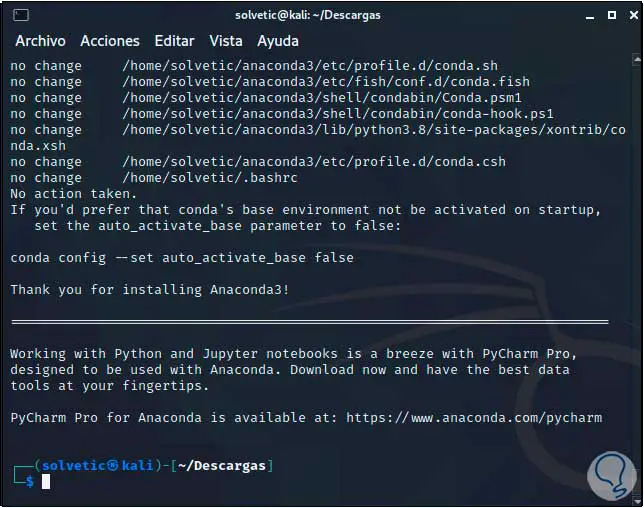
There it is indicated if we want to initialize Anaconda, we enter "yes" and press Enter to finish the Anaconda installation process:
Step 13
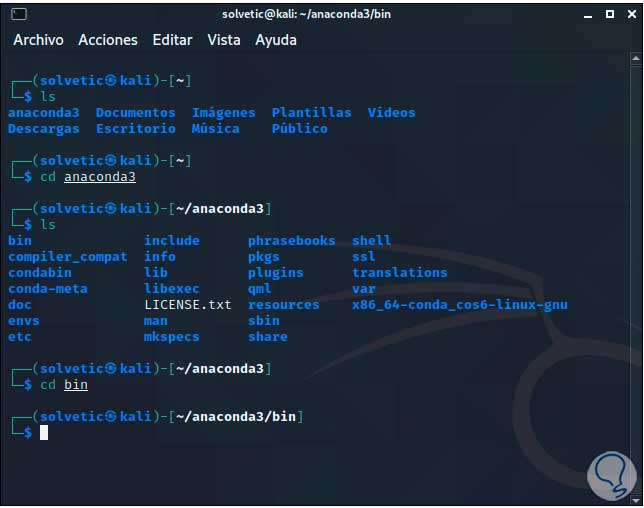
We return to the root directory with "cd" and go to the path "anaconda3 / bin":
Step 14
We list the content with ls:
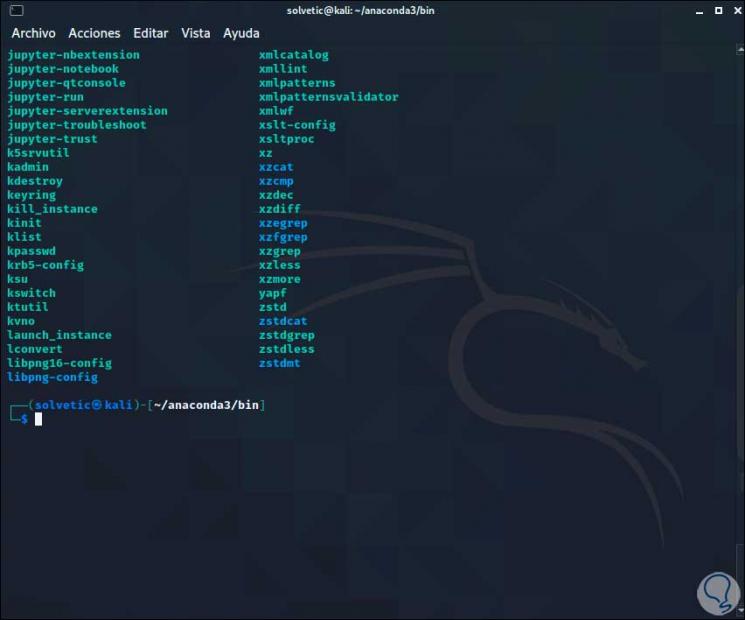
Step 15
There we execute "source activate root" to activate the root user on Anaconda:
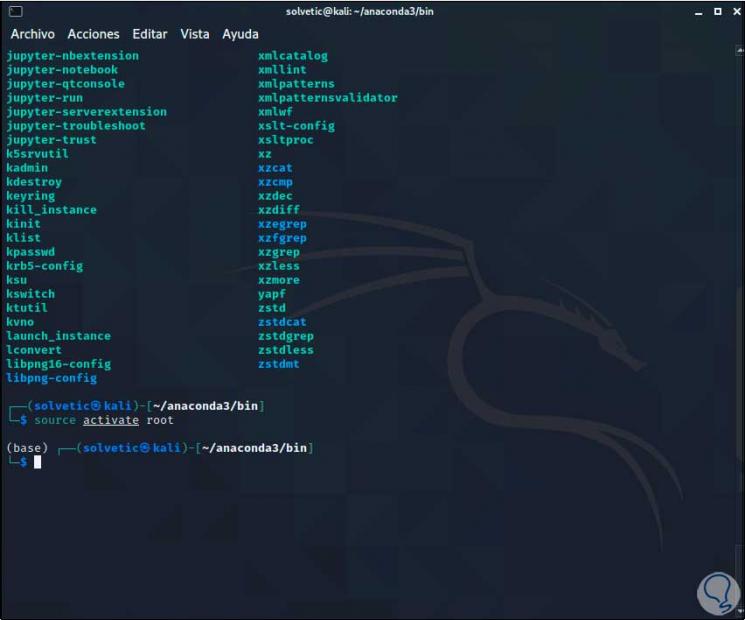
Step 16
Now we update Anaconda with the command "conda update anaconda":
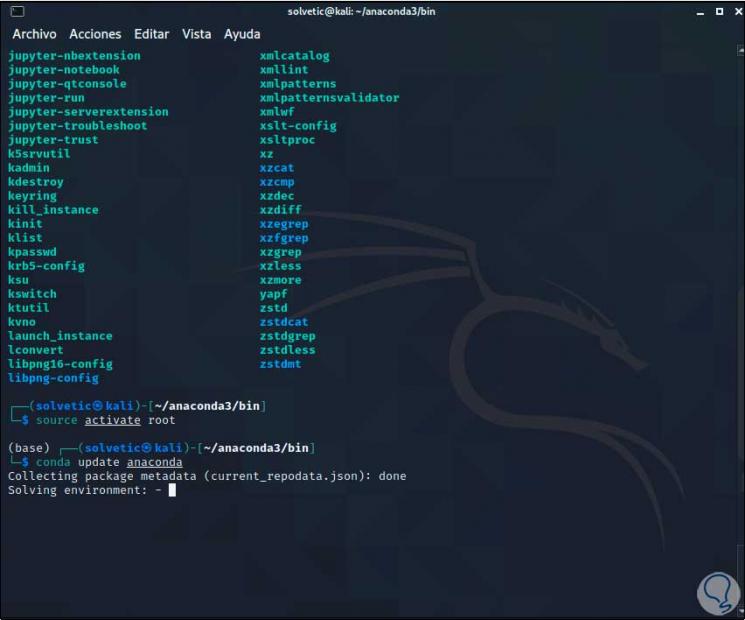
Step 17
Then we will see the following:
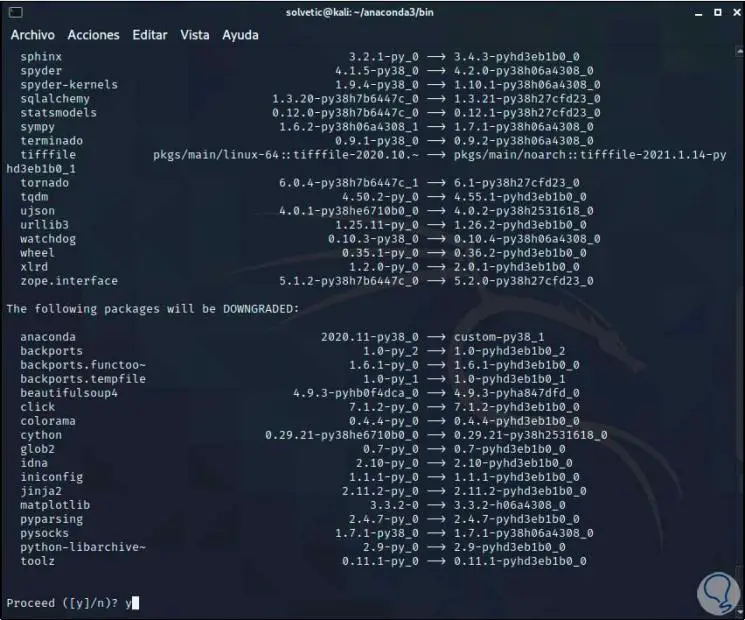
Step 18
We enter the letter "y" to apply the changes:
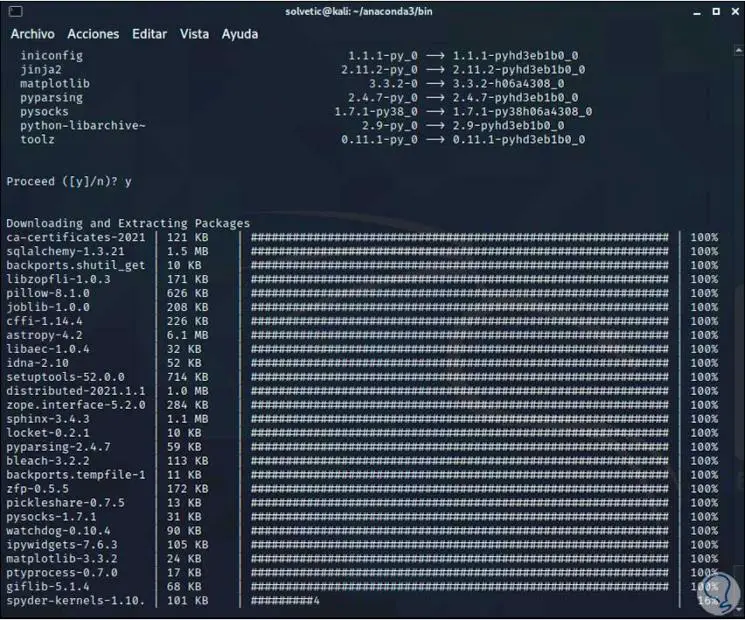
Step 19
At the end we will see the following:
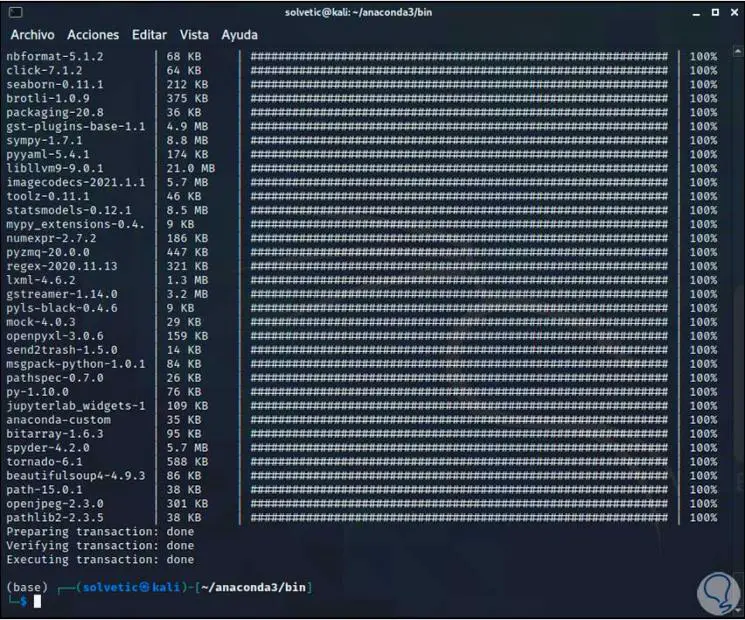
Step 20
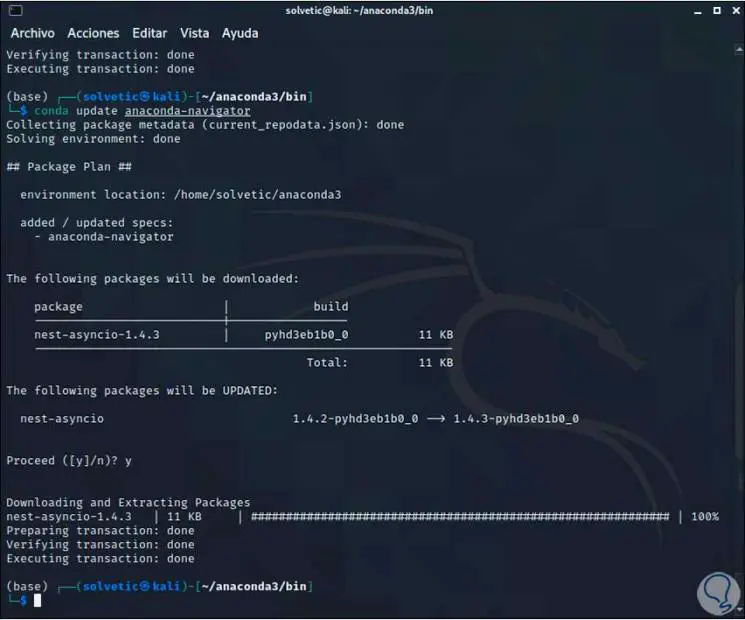
Now we update the Anaconda browser with the command "conda update anaconda-navigator":
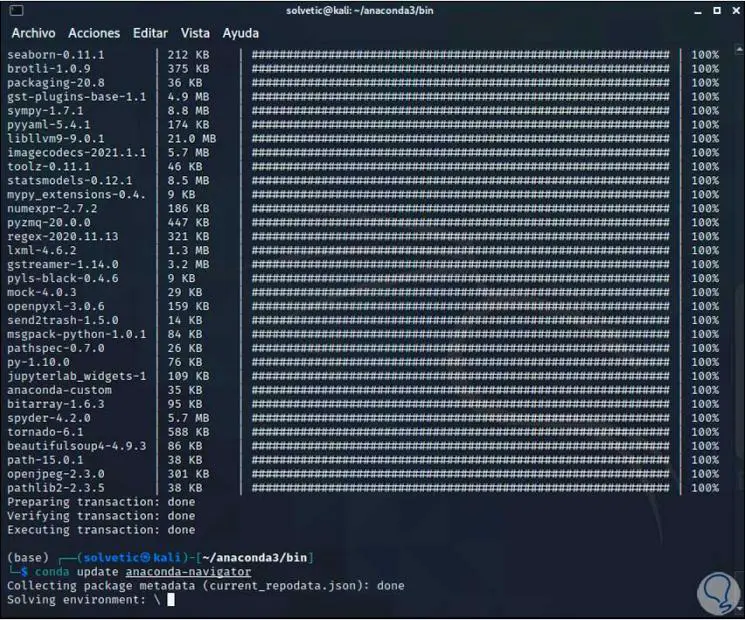
Step 21
We enter "y" to confirm the changes:
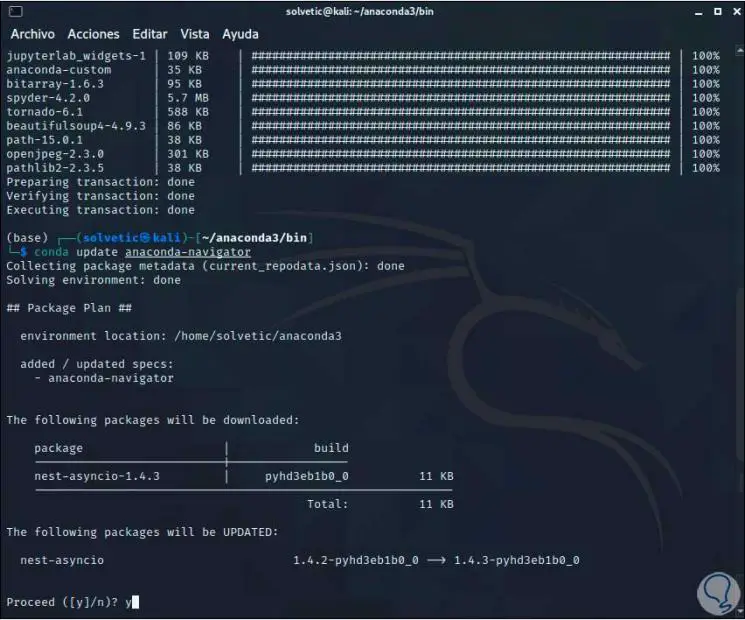
Step 22
At the end we will see this:
Step 23
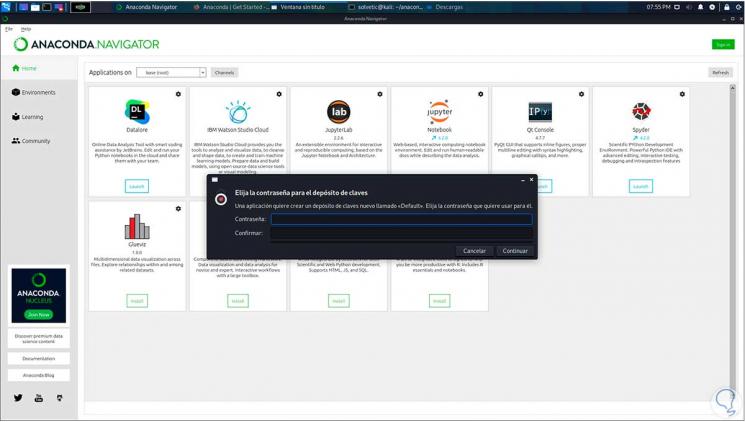
Now let's go to "anaconda3 / bin" and run the Anaconda browser with the command:
anaconda-navigator

Step 24
When accessing this we will see the following:
Step 25
There we can see each of the Anaconda parameters and utilities, in this case we access Jupyter to see the Anaconda content:
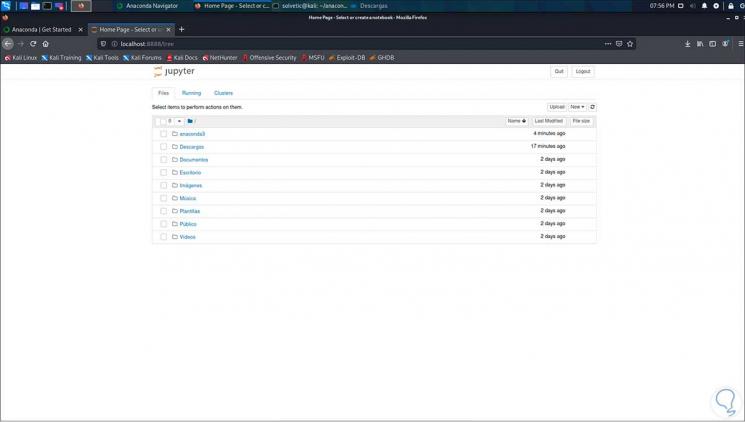
From this point on, Anaconda has been installed on Kali Linux and we can make it available for use.